Build a DIY Drip Irrigation System That Works

Build a DIY Drip Irrigation System That Works
Build a DIY Drip Irrigation System That Works
Why Your Garden Needs a Drip Irrigation System
Creating Your Garden Watering Blueprint
Choosing the Right Drip Irrigation Parts
Installing Your Custom Drip System
Maintaining Your System for Lasting Success
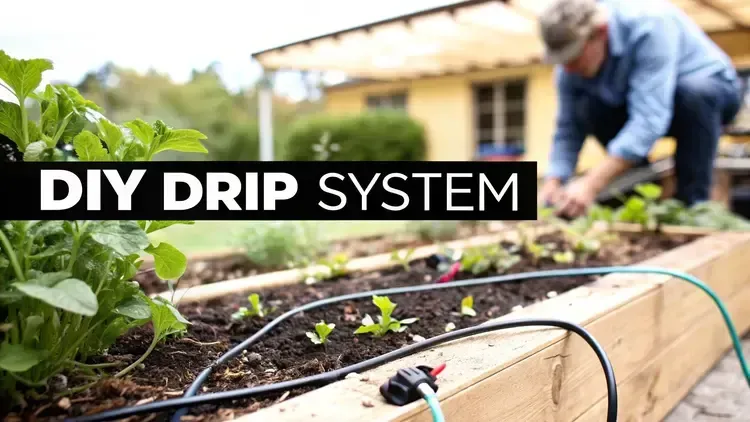
Imagine having a healthier garden that practically waters itself, all while using less water and saving you a ton of time. That’s not just a pipe dream; it's exactly what a DIY drip irrigation system can do for you. This is a project that puts you in the driver's seat, delivering water right where your plants need it most—the roots—for stronger growth and far less waste.
Why Your Garden Needs a Drip Irrigation System
A DIY drip irrigation system is honestly one of the best upgrades you can make for your garden, and the benefits go way beyond just saving a few bucks on your water bill.
Think about how traditional sprinklers work. They just throw water everywhere, watering your pathways and the weeds just as much as your prize-winning tomatoes. Plus, all that water sitting on the leaves is a perfect invitation for fungal issues like powdery mildew. A targeted drip approach is so much smarter.
By letting water drip slowly and directly into the soil at the root zone, you create the perfect environment for your plants to really dig in and thrive. The soil gets to absorb the moisture deeply, which encourages strong, resilient root systems. It’s a huge improvement over the shallow, weak roots you often get from the light, frequent spray of a sprinkler.
More Than Just Water Savings
The perks don’t stop at your water meter. Since you're not soaking the entire garden bed, the soil surface between your plants stays drier, which means way fewer weeds will have a chance to pop up. For me, that means less time spent on my hands and knees pulling out unwanted intruders.
A well-designed drip system automates one of the most time-consuming garden chores. Instead of dragging a hose around, a simple timer can handle the watering for you, ensuring consistency even when you're busy or on vacation.
This shift toward smarter watering isn't just a trend for us home gardeners; it's a reflection of a bigger, global move. The worldwide drip irrigation market, currently valued at USD 6.94 billion, is expected to nearly double by 2030. That growth is all about tackling water scarcity and finding more efficient ways to grow things, from backyard gardens to massive farms.
Before you start laying pipes, it helps to see the big picture. Here’s a quick look at what you’re getting into and the payoff you can expect.
DIY Drip Irrigation At a Glance

This table just scratches the surface. The real win is the peace of mind you get from knowing your garden is getting exactly what it needs to thrive.
Making the Right Watering Choices
Having precise control is great, but you still need to tune the system to your garden's unique personality. Understanding when and how much to water is what turns a good system into a great one.
Here are a few real-world examples:
My beds with heavy clay soil hold water forever. I run the system with a slow drip for a longer time, but I do it less often.
The sandy patch near the back of the lot drains in a flash. That area gets shorter, more frequent watering cycles.
My vegetable garden has totally different thirst levels than the established perennial bed next to it. Each gets its own schedule.
This targeted approach ensures every plant gets just the right amount of water without a drop wasted. If you’re not sure where to even start with a watering schedule, our guide on how often you should water your plants is a fantastic starting point.
Ultimately, a DIY drip system empowers you to build a garden that's not just more productive, but more efficient and a whole lot more enjoyable.
Creating Your Garden Watering Blueprint
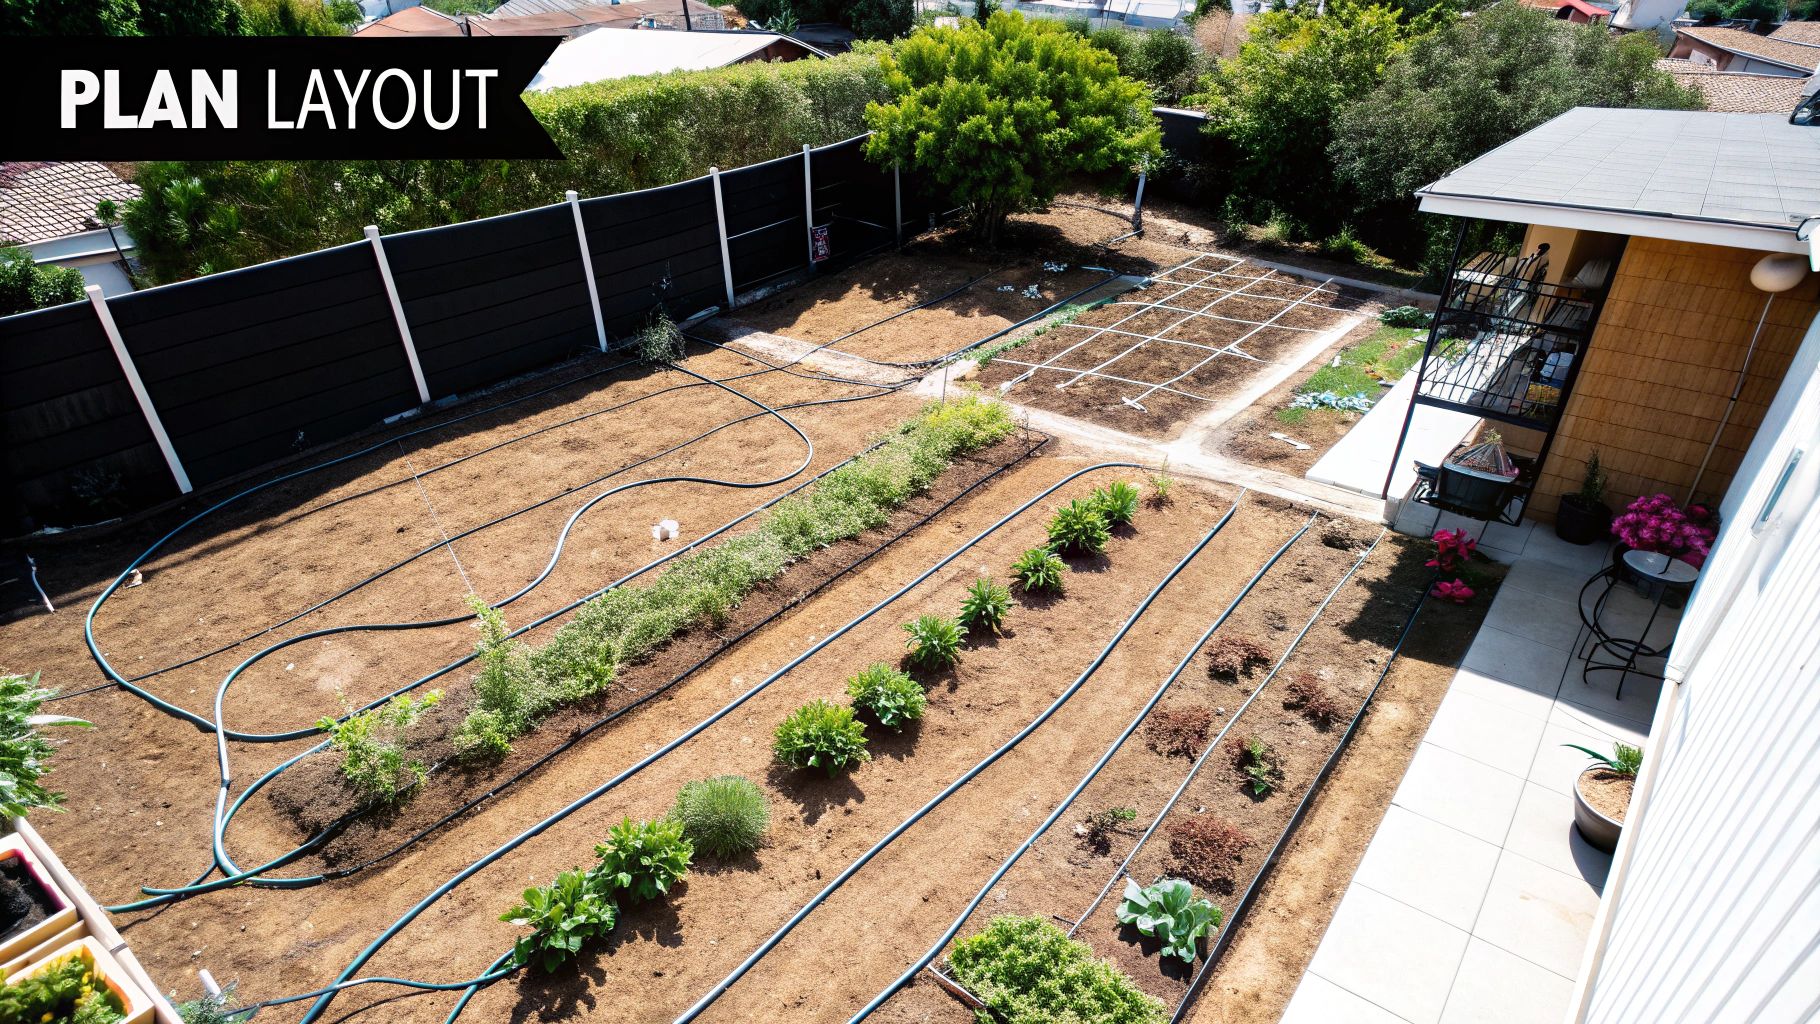
Alright, let’s get our hands dirty—figuratively, for now. Jumping straight into buying parts for a DIY drip irrigation system without a plan is like trying to build furniture without instructions. You’ll end up with extra pieces, a lot of frustration, and a system that just doesn’t quite work.
A truly successful project starts with a simple, thoughtful blueprint. This is where you save yourself time, money, and a whole lot of headaches down the road.
Grab a notepad and a pen—or a tablet if you’re more of a digital planner—and sketch out your garden area. Don't worry about making it a perfect architectural drawing. The goal is a functional map that shows where everything is, from your raised beds and container pots to the rows of vegetables and any established shrubs you want to include.
Once you have the basic shapes down, it's time to get out the measuring tape. Measure the dimensions of each garden bed and the distances between them. Critically, you need to measure the distance from your water source—usually an outdoor spigot—to the farthest point you need to water. These numbers are vital for knowing exactly how much mainline tubing you'll need to buy.

Mapping Your Watering Zones
Here’s a pro tip that makes a huge difference: not all plants have the same thirst level. This is why creating "watering zones" is a total game-changer for efficiency and plant health.
A zone is simply an area of your garden with plants that have similar water needs. For instance, you might have one zone for your thirsty tomatoes and cucumbers, another for drought-tolerant lavender and rosemary, and maybe a third just for your potted patio plants.
Grouping plants this way lets you customize the water delivery for each area. You can run tubing to one zone more frequently or use emitters with a higher flow rate, all while conserving water in another. This simple act of planning prevents you from overwatering some plants while leaving others parched. If you're new to laying out your garden beds, our detailed guide on garden planning for beginners can help you think through placement and grouping.
A well-zoned system is the secret to a happy, diverse garden. It ensures your delicate herbs aren't drowned and your big vegetable plants get the deep watering they crave to produce a great harvest.
This approach of maximizing water efficiency is catching on globally. The drip irrigation market, valued at around USD 6.1 billion, is projected to expand significantly as more people recognize its benefits for increasing productivity while conserving water. You can learn more about the growth of the drip irrigation market and how it's shaping agriculture.
Checking Your Water Source and Pressure
Your blueprint isn't complete without two critical technical details: your water source location and its pressure. Most residential systems connect directly to an outdoor hose bib. Make sure to note its location on your sketch, as all your mainline tubing will start from this point.
Next, you need to check your home's water pressure, which is measured in Pounds per Square Inch (PSI). Don't guess. You can buy an inexpensive pressure gauge from any hardware store that simply screws right onto your spigot.
Here's why this is so important:
Typical Home Pressure: Most houses have a water pressure somewhere between 40 and 60 PSI.
Ideal Drip System Pressure: Drip irrigation components, on the other hand, are designed to operate at a much lower pressure, usually between 15 and 30 PSI.
If you ignore this difference, the high pressure from your spigot will cause fittings to pop off and emitters to blow out, creating geysers where you wanted drips. This makes a pressure regulator a non-negotiable part of your system. It attaches right at the spigot and automatically steps the pressure down to a safe level, protecting your entire setup from damage.
With these measurements and details, your blueprint is now complete. You have all the data you need to build a reliable and effective system.

Choosing the Right Drip Irrigation Parts
Walking into the irrigation aisle at a hardware store can feel like trying to read a foreign language. With so many strange-looking fittings and rolls of tubing, it’s easy to feel overwhelmed. I’ve been there. Let’s cut through the confusion and build your visual shopping list, breaking down every essential component for your DIY drip irrigation system so you can shop with confidence.
Think of your system starting at the spigot and working its way out to the garden. The first set of parts you’ll need is the “head assembly,” which is basically the brain of the whole operation. These pieces connect right to your hose bib and get the water ready before it ever enters the main tubing.
You can often find these bundled together in a kit, but here are the non-negotiable parts you absolutely need:
Backflow Preventer: This is a crucial safety device. It stops any dirty irrigation water from siphoning back into your home's drinking water supply. Don't skip this.
Filter: A simple screen filter is your first line of defense, catching sediment and debris that would otherwise clog up the tiny emitters down the line.
Pressure Regulator: As we’ve talked about, this is what steps down your home's high water pressure to the low 15-30 PSI range that drip systems require to function properly.
I use this handy splitter with a built-in gauge and shutoff—it checks your water pressure on the spot and lets you easily control or reroute flow to your drip lines or garden hose.
Hose Timer: Here’s the key to true automation. A good battery-operated timer lets you set a consistent schedule, so your garden gets watered perfectly even when you’re on vacation.
A simple hose timer like this Orbit model is a total game-changer—set it once and your garden waters itself on schedule, even if you’re off enjoying a long weekend.
Selecting the Right Tubing
Once your head assembly is sorted, you need the tubing to carry the water out to your plants. You’ll mainly be working with two sizes, and they each have a specific job.
The backbone of your entire system is 1/2-inch poly tubing. This is your main supply line, running from the spigot assembly out to your garden beds. It's tough, UV-resistant, and carries the bulk of the water where it needs to go. While you might use 1/4-inch tubing as a main line for a few patio pots, the 1/2-inch size is the standard for almost any in-ground or raised-bed garden.
From this main line, you’ll branch off with 1/4-inch micro-tubing. This smaller, more flexible tubing is what you snake directly to your individual plants. To connect it, you’ll use a special punch tool to poke a clean hole in the 1/2-inch line, then insert a small barbed connector to attach the 1/4-inch tubing.
Think of the 1/2-inch tubing as the highway and the 1/4-inch tubing as the local streets that lead right to each plant's doorstep. This structure gives you incredible flexibility to deliver water exactly where it's needed.
Matching Emitters to Your Plants
The final pieces of the puzzle are the emitters—the little gadgets that actually drip, spray, or bubble water onto the soil. Choosing the right one is all about matching the delivery method to the plant type. Getting this right is what makes a DIY system so incredibly efficient.
For instance, a single pressure-compensating dripper is perfect for a tomato plant, delivering a slow, steady supply of water directly to its root zone. But for a dense patch of groundcover like creeping thyme, a micro-sprayer that casts a gentle, circular pattern is a much better fit.
Let's look at the most common types so you can pick the right tools for the job.
Choosing Your Drip Irrigation Emitters
Selecting the right emitter isn't just about getting the water out; it's about delivering it in the most effective way for each plant's needs. The table below breaks down the most common options to help you choose the right hardware for your specific garden layout.

By thinking through your garden's layout and plant types, you can select a combination of tubing and emitters that ensures everyone gets exactly what they need to thrive. This thoughtful approach is what takes a drip system from just being convenient to being a seriously effective gardening tool.
Installing Your Custom Drip System
Okay, this is where the fun starts. With your blueprint sketched out and a pile of parts ready to go, it's time to bring that custom irrigation plan to life. All the planning pays off right here, and you’ll see your system come together piece by piece, starting right at the spigot.
Your first move is to build the head assembly. This is the "brain" of the operation. Just screw the components together in the right order, directly onto your outdoor faucet.
Start with the backflow preventer.
Then, attach the filter.
Next up is the pressure regulator.
Finish with the timer.
Hand-tightening is usually all you need. If you want a little extra security, a gentle turn with a wrench will create a snug, leak-free seal.
Rolling Out and Cutting Your Tubing
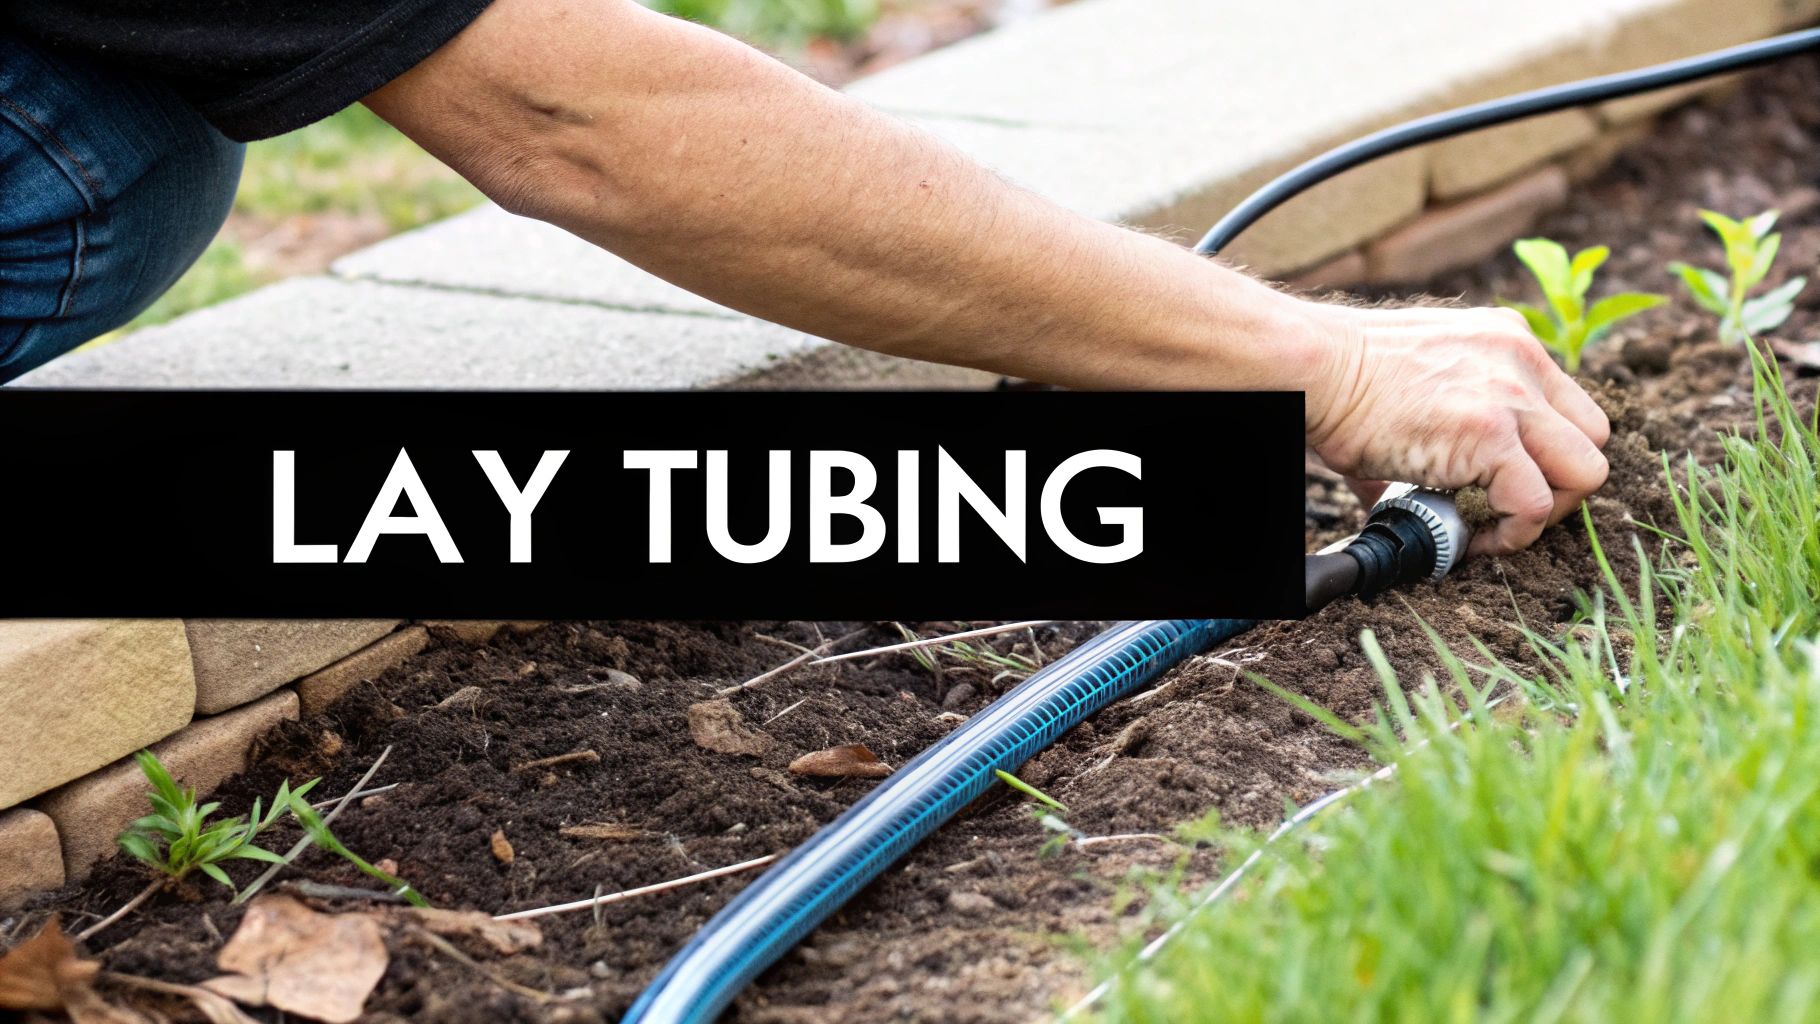
With the head assembly built, connect your main 1/2-inch tubing. Here’s a pro tip that will save you a ton of frustration: let the coiled tubing sit out in the sun for an hour or so before you start. The warmth makes that stiff poly tubing much more flexible and way easier to unroll and lay flat.
Now, run the mainline from the spigot along the paths you mapped out in your plan. When you need to branch off to different garden beds or make a sharp turn, grab your fittings. Use sharp tubing cutters or a sturdy pair of shears to get a clean, straight cut. A jagged edge is just asking for a leak. Push the tubing firmly into the tees, elbows, and couplers until you feel it snap into place.
Once the main "highway" of your system is laid out, you need to cap the end of each line with an end cap or a figure-8 closure. This is critical—it builds the pressure needed for the emitters to work correctly down the line.
Placing Emitters and Feeder Lines
It's time for the precision work—getting water exactly where your plants need it. This means punching holes in your 1/2-inch mainline and either inserting emitters directly or connecting smaller 1/4-inch feeder lines. This is where a well-designed system truly shines, and it’s a big reason why the global market for this tech is expected to hit USD 15.09 billion by 2032. As we all look for ways to grow more with less, efficient watering is becoming non-negotiable. You can read more about the future of drip irrigation on fortunebusinessinsights.com.
Let’s say you have a straight row of tomato plants. The easiest approach is to punch holes in the 1/2-inch tubing every 18-24 inches and pop 1-GPH drip emitters directly into the holes. Use the specialized punch tool for this. It creates a perfect-sized, clean opening that seals tight and prevents leaks. A firm push is all it takes to seat the emitter.
One of the most common rookie mistakes is punching too many holes too close together. This can weaken the mainline tubing and cause major pressure drops, leaving plants at the end of the line thirsty. Stick to your plan and space them out.
For plants that aren't in a neat row or are growing in containers, the 1/4-inch micro-tubing is your best friend. Punch a hole in the mainline, insert a barbed connector, and attach a length of 1/4-inch tubing. You can then run this smaller, more flexible tube right to the base of each plant and attach whatever emitter you chose.
This graphic breaks down the simple, three-step workflow for getting your emitters in place.
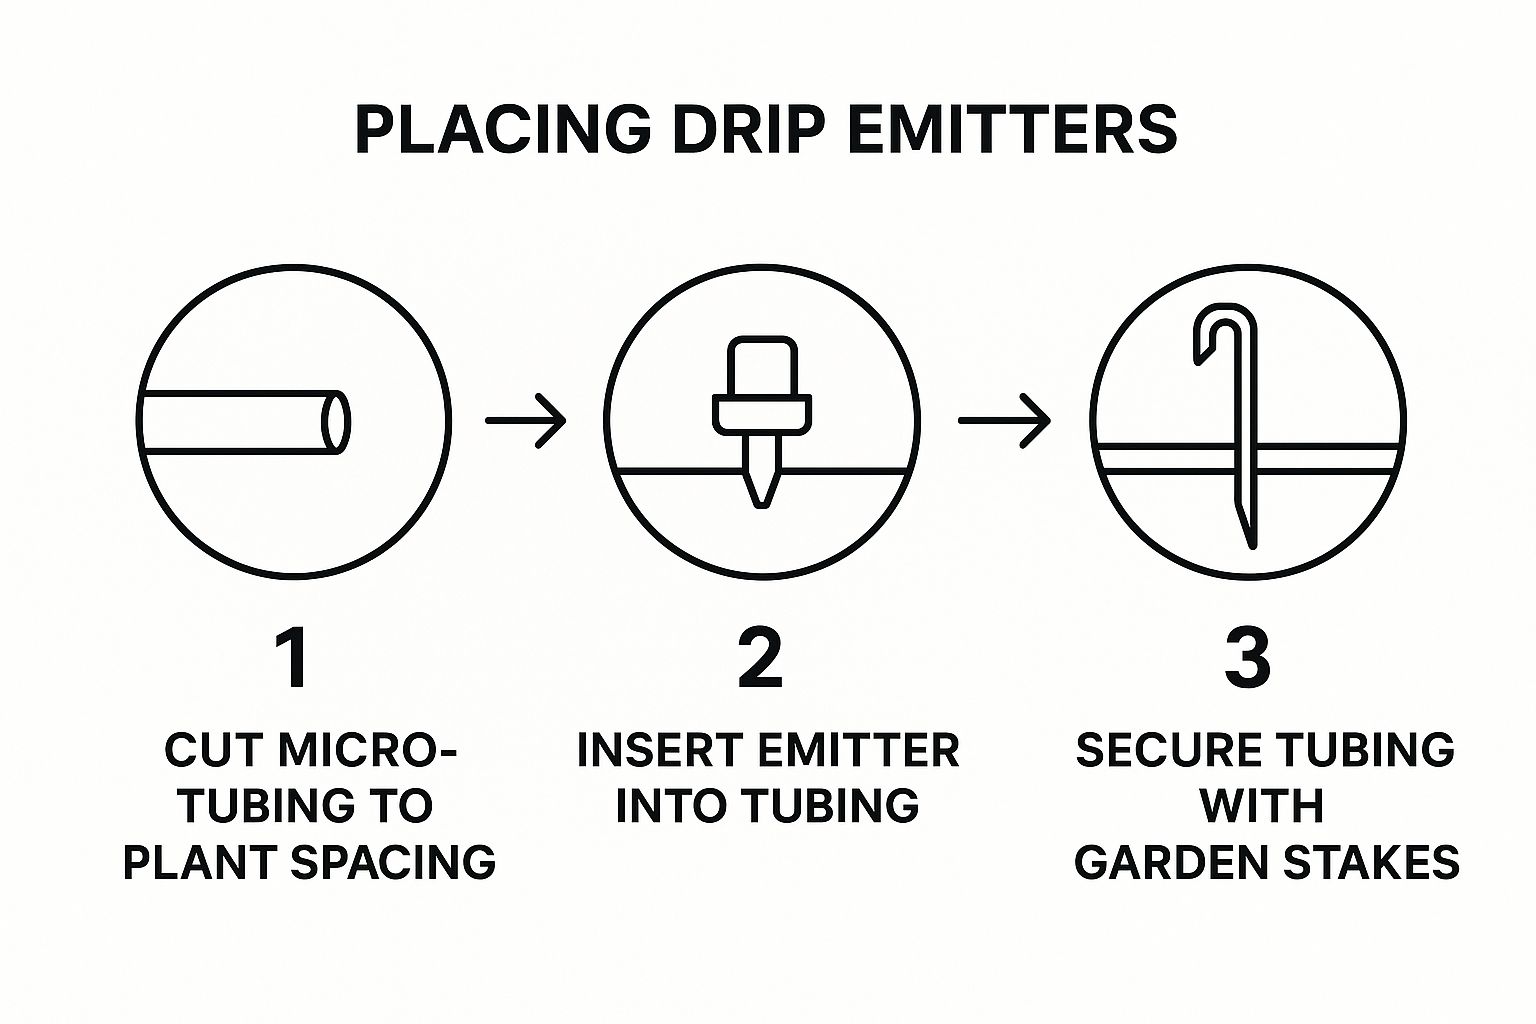
As you can see, it’s a simple process: cut the micro-tubing to length, insert the emitter on the end, and use a stake to hold it securely right where you want it. This gives you precise, secure watering for every single plant.
Creating a Watering Loop for Raised Beds
Raised beds are perfect for a really efficient setup. Instead of just running a single line down the middle, you can create a loop with your 1/2-inch tubing to equalize the water pressure.
Here’s how you do it:
Run a feeder line from your main supply to one edge of the raised bed.
Use a tee fitting to split the line, running tubing along both of the long sides of the bed.
Connect the two ends at the far side with a couple of elbow fittings and a short piece of tubing. This completes the rectangle, or "loop."
This loop design is fantastic because it helps equalize pressure throughout the entire bed. That means the plants at the far end get just as much water as the ones closest to the source. From this main loop, you can then run your 1/4-inch lines to individual plants, creating a super-effective and uniform watering grid.
Don't forget to use garden stakes to pin the tubing down. It keeps everything secure, tidy, and out of your way.
Maintaining Your System for Lasting Success
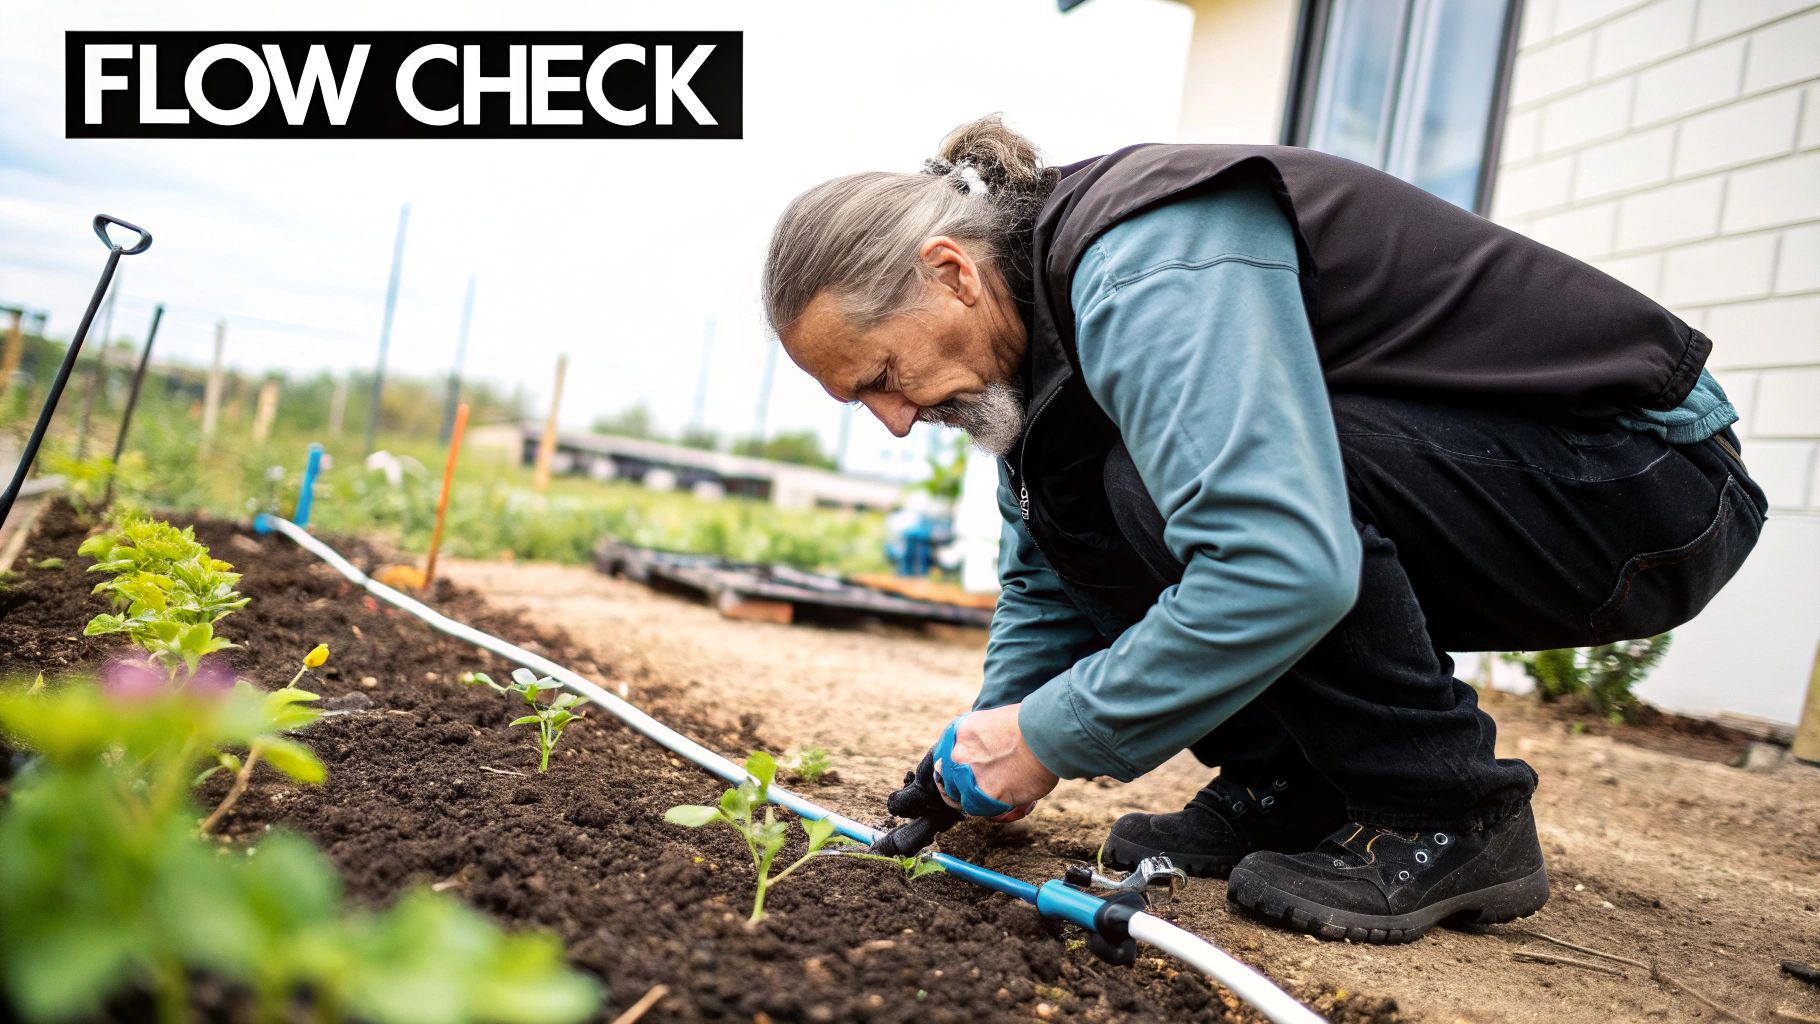
Once that last emitter is staked down and the dirt is brushed off your hands, it’s easy to think the job is done. But your DIY drip irrigation system isn't a "set it and forget it" project—not if you want it to last.
A little proactive care is what separates a system that works for one season from one that keeps your garden thriving for years. Think of it as protecting your investment. Regular check-ups prevent the classic headaches: clogs, leaks, and freeze damage that can turn your efficient setup into a leaky mess.
The very first thing you should do is a full system test. Turn on the water and take a walk. Trace the entire length of your tubing, from the spigot all the way to that final emitter. Keep an eye out for any drips or sprays from the fittings; if you spot a leak, a firm push is usually all it takes to seal it.
Make sure every single emitter is dripping like it should. If you notice an emitter at the end of a long run seems weak, it might be a pressure issue. Your line could be too long, or you might have too many emitters for your home's water pressure.
Your Seasonal Maintenance Checklist
The best maintenance is simple and follows the rhythm of the seasons. A few small tasks here and there will stop bigger problems from ever cropping up. It’s like a quick health checkup for your garden’s circulatory system.
Here’s a practical checklist I follow:
Spring Startup: Before turning the water on for the season, walk the lines and inspect the tubing for any cracks or animal-chew damage from the winter. Once it looks good, flush the whole system. Just remove the end caps and let water run through for a few minutes to clear out any dirt or bugs that found their way in. This is also the time to clean the main filter screen and pop fresh batteries in your timer.
Mid-Season Check: About once a month while the system is running, do a quick visual inspection for leaks or clogged emitters. A simple walk-through is usually enough. As your plants get bigger, you might need to reposition emitters or even add a few to cover the expanding root zones.
One of the most common failure points in any drip system is the filter. Make cleaning that little screen mesh filter a monthly habit. A clogged filter is a silent killer—it tanks your water pressure and can slowly starve your plants, defeating the whole purpose of the system.
A garden is always changing, and your irrigation system should, too. When you replant your vegetable beds, it's a great time to think about boosting soil health. For some great ideas on what to add, check out our guide on finding the perfect natural fertilizer for your vegetables.
Winterizing Your System in Cold Climates
If you live anywhere that gets a real winter with freezing temperatures, winterizing your system is non-negotiable. Don't skip this. Water left in the tubing will freeze, expand, and crack your pipes, fittings, and emitters. You’ll be faced with a full rebuild come spring, and nobody wants that.
The process is pretty straightforward. First, shut off the water at the source. Disconnect the entire head assembly—that’s your timer, backflow preventer, filter, and pressure regulator. Bring those components inside for the winter.
Next, open the end caps on all your main lines and let every bit of water drain out. I find it helps to lift the lines and let gravity do the work. To be absolutely sure, use an air compressor on a low-pressure setting to blow out any stubborn, leftover water. It’s the best way to guarantee every drop is gone, protecting all your hard work for another season.
Got Questions About Drip Irrigation? We’ve Got Answers.
Even the most straightforward DIY project can leave you scratching your head. That’s perfectly normal. When you’re putting together your first DIY drip irrigation system, a few common questions always seem to pop up. Let's clear the air on the big ones so you can build with confidence.
"How Much Water Pressure Do I Really Need?"
This one causes a ton of confusion, but the answer is surprisingly simple.
Most DIY drip systems are designed to run on very low pressure—think 15 to 30 PSI. Your home’s outdoor spigot, on the other hand, is likely pushing out somewhere between 40 and 60 PSI.
That’s a huge difference. Without a pressure regulator, that force will pop emitters right off your tubing and cause every connection to leak. This is exactly why a pressure regulator is a non-negotiable part of your head assembly. It’s the gatekeeper that tames your home’s high pressure into a gentle, steady flow your system can handle.
If you’re curious, you can grab an inexpensive water pressure gauge that screws right onto your spigot to see what you’re working with.
"Should I Bury My Drip Tubing?"
It’s tempting to bury your drip lines for a cleaner look, but for standard poly tubing, it’s a bad idea. When the lines are underground, you can’t see what’s happening. Is there a leak? A clog? Did a gopher chew through it? You’ll never know until your plants start dying.
The best approach is to simply cover your tubing with a two- to three-inch layer of organic mulch. It hides the lines, protects them from harsh UV rays, and still keeps everything accessible for troubleshooting.
This one simple step will save you countless headaches down the road. It keeps your garden looking tidy while ensuring you can easily check on your system for years to come.
"Okay, So How Long Should I Run It?"
This is the million-dollar question, and the honest answer is: it depends. There’s no magic number here. The right watering schedule is a unique recipe based on your soil, your plants, and your climate.
But a great starting point is to run the system for 30 to 60 minutes, two or three times a week.
After your first watering cycle, get your hands dirty. Dig down a few inches next to an emitter and check the soil. Is it damp? Saturated? Your goal is to water deeply but infrequently, which encourages your plants to grow strong, deep roots instead of lazy, shallow ones.
Got clay soil? It holds water like a sponge. You’ll want to do longer, slower watering cycles less often to avoid runoff and give it time to soak in.
Working with sandy soil? It drains fast. Shorter, more frequent watering sessions will work much better here.
Keep an eye on your plants and the soil, and don’t be afraid to adjust your timer. Finding that perfect rhythm is what turns a good garden into a great one.
Video Summary of this issue:
As always, the tools and supplies I mention are the same ones I rely on here at The Grounded Homestead. Some are affiliate links, which means I may earn a small commission—at no extra cost to you—but every recommendation is based on real use and trust.
At The Grounded Homestead, we believe that growing your own food should be rewarding, not complicated. We provide the knowledge and inspiration to help you build a more sustainable and healthier lifestyle, one garden project at a time. Learn more about our journey and find resources at thegroundedhomestead.com.


Facebook
Instagram
X
Youtube