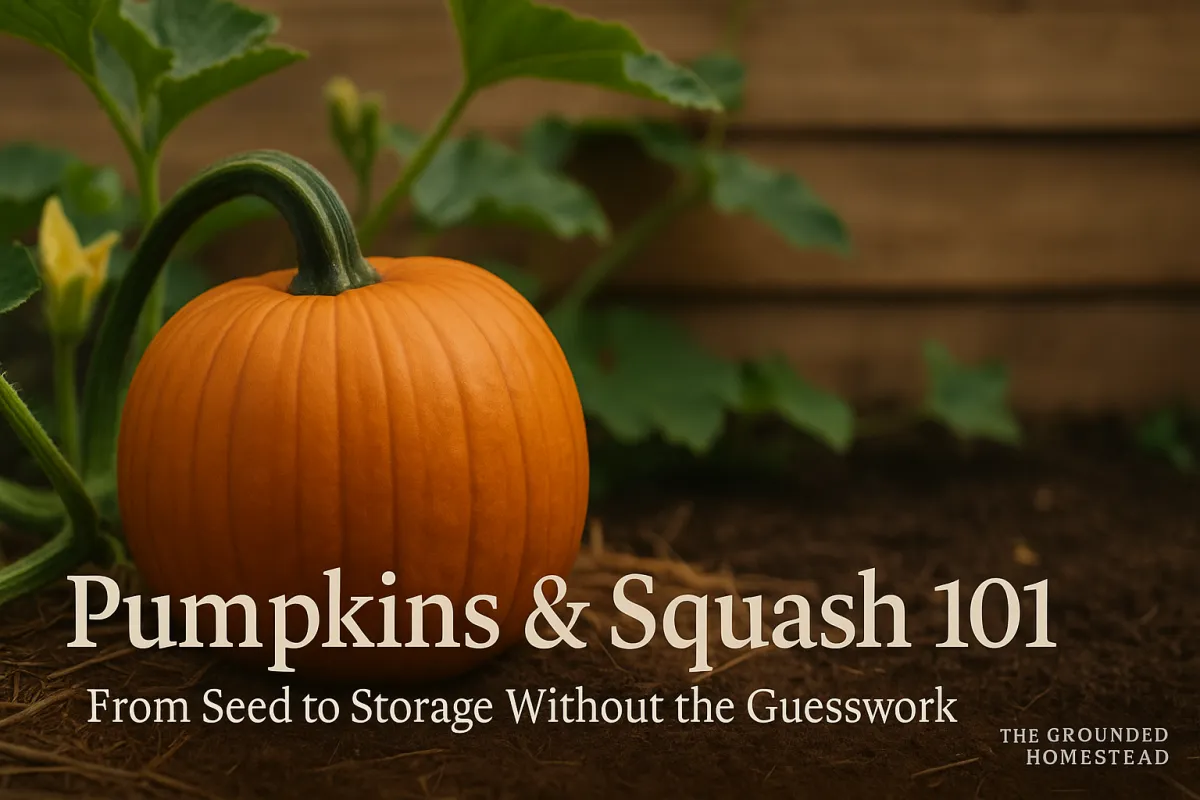
Pumpkins & Squash 101: From Seed to Storage
Pumpkins & Squash 101: From Seed to Storage
Lessons From the Patch
I’ll never forget the year I planted “just a few” pumpkins. By July, my garden looked more like a jungle. The vines sprawled out of the beds, snaking through the grass, climbing over the compost pile, and threatening to swallow the chicken coop. We had more pumpkins than we knew what to do with—and more rotting on the ground than I care to admit.
That was the season I learned two lessons the hard way: choose your varieties with purpose, and give them room to breathe. Since then, I’ve dialed in a system that makes pumpkins and squash a blessing instead of a burden. That’s what I want to hand you here—straightforward, step-by-step guidance from seed to storage.
Choosing the Right Variety
Pumpkins and squash aren’t all the same. Before you order seed packets or wander through the nursery, ask yourself: What’s the goal?
Eating varieties: Go for sugar pumpkins (also called pie pumpkins) if you want sweet flesh for baking. Butternut and acorn squash are household staples—nutty, smooth, and versatile.
Carving varieties: Field pumpkins like Howden are bred for size, not sweetness. They hollow out cleanly and hold up for carving.
Storage champions: Hubbard, kabocha, and delicata keep for months in a cool pantry, feeding your family deep into winter.
Pro Tip: Don’t grow for bragging rights. Grow for what you’ll actually cook, carve, or store. Purpose first saves both space and disappointment.
Planting Windows, Soil Prep & Spacing
When to Plant
In USDA Zones 3–6: sow seeds outdoors in late May to early June.
In USDA Zones 7–9: mid-April through May works well.
In warm climates, you can even sneak in a second planting for a fall harvest.
Soil Prep
Pumpkins are heavy feeders. They thrive in rich, compost-heavy soil that drains well. Work in aged manure or compost before planting.
Spacing
Vining types: 6–8 feet between hills.
Bush types: 3–4 feet apart.
Overcrowding is the fastest way to end up with weak plants and undersized fruit.
Avoid This Mistake: Jamming them too close. A few strong vines yield more than a tangle of spindly, diseased ones.
Watering, Feeding & Mulching Essentials
Watering
Pumpkins like consistency. One inch of water a week, delivered deeply at the soil level, beats shallow sprinkles every day. Avoid soaking the leaves—wet foliage invites disease.
Feeding
Start with balanced nutrition (something close to 10-10-10 if you’re buying organic blends). As flowers set, shift toward more phosphorus and potassium to fuel fruit growth. Compost tea or fish emulsion every couple weeks is a simple, effective feed.
Mulching
A thick layer of straw or shredded leaves keeps weeds down, holds moisture, and cushions young fruit.
Grandma’s Tip: “Don’t let the soil dry to dust—pumpkins like a steady drink, not a flood.”
Pollination Needs (and Hand-Pollination Basics)
Here’s something most first-time growers don’t realize: pumpkins have separate male and female flowers.
Male flowers show up first—slender stems, no swelling at the base.
Female flowers have a tiny bulb (the baby pumpkin) right behind the petals.
Bees usually handle the transfer. But if pollinators are scarce—or if weather keeps them grounded—you can step in.
Hand-Pollination, Step by Step
Find a freshly opened male flower in the morning.
Pick it and peel back the petals to expose the pollen-covered stamen.
Gently brush it onto the center of a female flower.
Repeat with another female flower if needed.
In less than a minute, you’ve given your plant a fighting chance to set fruit.
Region note: In cooler zones (3–5), pollinators can be sluggish in spring—hand-pollination may mean the difference between a handful of pumpkins and a wheelbarrow load.
Harvesting & Curing for Storage
When to Harvest
Rind is hard—resists a fingernail scratch.
Stem is dry and corky.
Color is deep and even.
How to Harvest
Cut the stem with sharp pruners, leaving at least 2–3 inches attached. A bare stem invites rot. Handle carefully—one bruise can spoil the whole fruit.
Curing
Lay pumpkins in a warm, dry spot (75–85°F) for 10–14 days. A covered porch or greenhouse works well. This toughens the skin and heals small nicks.
Storage
Keep in a cool (50–55°F), dry, and well-ventilated space. A basement shelf or spare room works better than a fridge.
Pro Tip: Don’t wash before storage. A little cured dirt is safer than damp skin that molds.
Faith & Stewardship Connection
Pumpkins are a picture of God’s provision. A single seed, planted in spring, sprawls into a plant that can feed a family for months. Their abundance isn’t an accident—it’s a reminder that the earth gives in season, and that we’re called to steward well.
“To everything there is a season, a time for every purpose under heaven.” — Ecclesiastes 3:1
Printable Tool / Lead Magnet
📥 Pumpkin & Squash Planting + Storage Calendar
Last frost to planting guide
Hand-pollination quick steps
Harvest and curing checklist
This one-page printable keeps your season on track from start to finish.
Closing Encouragement
Don’t overthink it. Even one or two vines can yield more food than you expect—and a well-cured squash on the shelf in January is a reward that goes beyond calories.
Your next step: pick one variety for eating and one for storage. Plant with intention this season, and you’ll have food on the table long after the garden has gone quiet.


Facebook
Instagram
X
Youtube