
When and How to Harvest Pumpkins & Squash Without Ruining the Fruit
When and How to Harvest Pumpkins & Squash Without Ruining the Fruit
A Hard Lesson in Timing
I’ll never forget the first year I planted pumpkins. I got impatient. The fruit looked big, the vines were dying back, and I wanted those orange globes lined up on the porch. I cut them too soon, and within a week they were soft and collapsing. That was the lesson: pumpkins and squash aren’t like cucumbers or beans you can pick anytime. If you rush the harvest—or handle them wrong—you shorten their life dramatically.
Harvesting pumpkins and squash is more than cutting them off the vine. It’s about timing, technique, and care, so the fruit you worked for lasts through the season.
Knowing When Pumpkins & Squash Are Truly Ripe
There are a few tried-and-true signals you can trust.
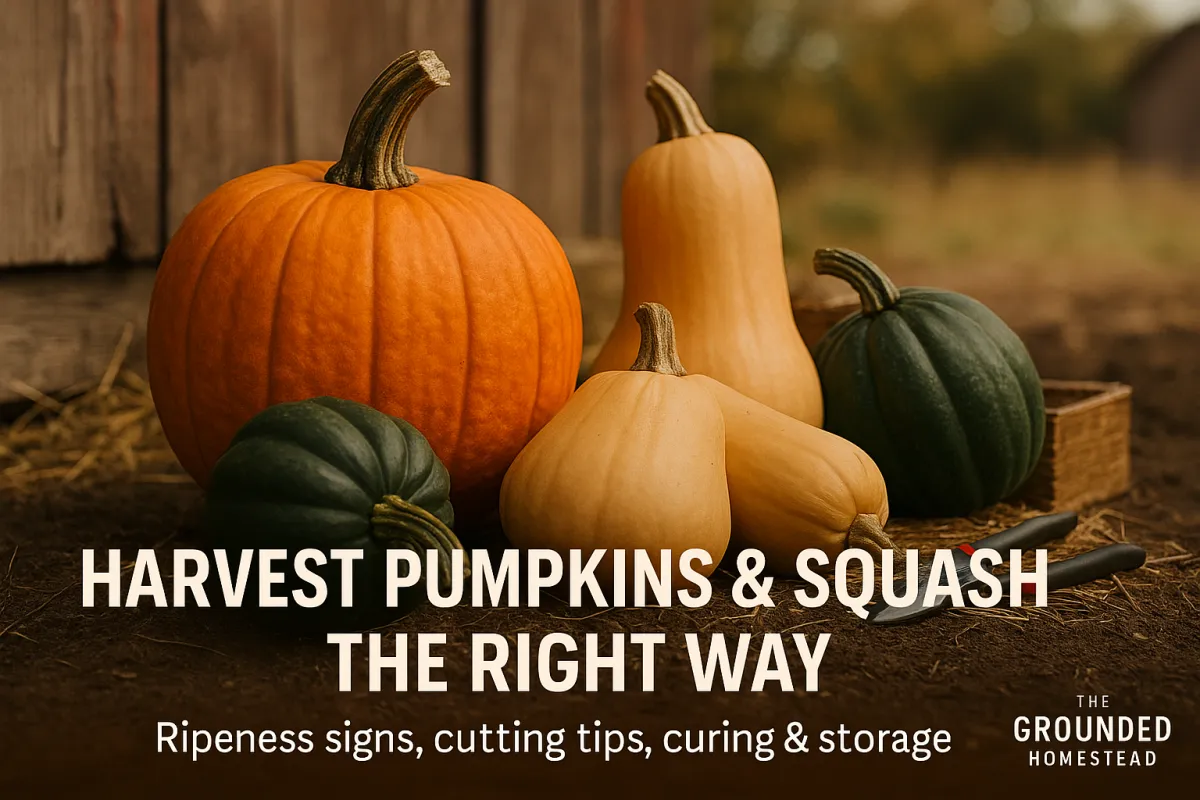
Color check: Each variety has its mature color. For pumpkins, that usually means a deep, even orange. For winter squash, it’s that rich tan, deep green, or striped shade the seed packet promised.
Stem signals: The stem begins to dry and harden, turning corky rather than green and flexible.
Sound test: Give the fruit a gentle thump. A hollow sound usually means maturity.
Skin test: Press a fingernail into the rind. If it resists scratching, it’s ready.
Region note: Here in Zones 5–7, pumpkins and winter squash are usually ready late September through mid-October. In warmer zones, harvest can extend a few weeks longer. Watch the forecast, though—frost will damage fruits left on the vine.
Cutting the Fruit Without Ruining the Handle
The handle, or stem, is more than decoration. It seals the fruit against rot and makes it look like a pumpkin should. Break that stem off, and you open a door for decay.
Step-by-step cutting process:
Use sharp, clean pruners or a knife.
Cut 2–4 inches above the fruit.
Never twist or pull—this almost always breaks the stem.
Grandma’s Tip: “Never yank a pumpkin—cut it clean. A broken stem is an open door for rot.”
Handling Pumpkins & Squash Without Damage
You spent months growing them—don’t ruin them in minutes.
Never carry by the stem. Hold the fruit with both hands.
Set them gently down. Hard ground or gravel can bruise the skin.
Inspect each fruit. Small nicks or scratches can shorten storage life, so separate those for quicker use.
Curing for Long Storage Life
Curing is like toughening the skin. It helps the rind harden and heal over small scratches so the fruit lasts.
How to cure:
Place pumpkins and squash in a warm, dry space (80–85°F) with airflow.
Spread them in a single layer so they’re not touching.
Leave them for 7–14 days.
Pro Tip: If you don’t have barn space, use a greenhouse, a sunny porch, or even a spare room with a fan running.
Storing Pumpkins & Squash the Right Way
Once cured, storage makes all the difference.
Temperature: 50–55°F is ideal. Too cold and they’ll rot; too warm and they’ll shrivel.
Humidity: 50–70% keeps them from drying out but prevents mold.
Setup: Shelves, crates, or straw-lined bins—keep fruits from touching.
Check weekly: Pull out any that are softening so they don’t spread rot.
Faith note: Stewardship doesn’t end when you pick the crop. How we handle and care for what’s given to us determines how long it provides. Nothing should go to waste.
Avoiding Common Mistakes
Cutting too early—immature fruits won’t cure.
Waiting too long—frost can ruin storage quality.
Carrying by the stem—shortens life.
Skipping curing—storage time is cut in half.
Harvest with Care, Reap the Rewards
The difference between pumpkins that rot in two weeks and pumpkins that keep until Christmas comes down to patience and handling. Cut them clean, cure them right, and store them well—you’ll have hard-shelled, sweet-fleshed fruit all winter long.
👉 Download the Printable Pumpkin & Squash Harvest & Storage Checklist to keep these steps handy in your garden shed.


Facebook
Instagram
X
Youtube