
Green Beans 101: Planting, Caring, and Harvesting for Steady Summer Yields
Green Beans 101: Planting, Caring, and Harvesting for Steady Summer Yields
It’s hard to think about green beans without remembering summer afternoons on Grandma’s porch—snapping the ends off fresh-picked pods while she told stories and kept an eye on the canner inside. It was a rhythm. Pick in the morning, prep in the afternoon, preserve before supper.
Green beans are one of the easiest and most rewarding crops to grow. They’re fast, productive, and forgiving—even if you’re still getting your hands dirty for the first time. If you want a summer harvest you can count on, green beans belong in your soil.
Let’s walk through how to grow them from seed to storage.
🫘 1. Choosing the Right Type: Bush vs. Pole Beans
Start here. The kind of bean you grow shapes your whole season.
Bush beans are compact, low-maintenance, and finish fast—great for quick yields or tight spaces. They grow about 12–24" tall and are usually ready in 50–60 days.
Pole beans climb tall, need support, and produce longer into the season. While they take an extra 10–15 days to mature, the yield keeps coming.
What to grow when:
Start with bush beans for an early crop.
Follow with pole beans to carry you through late summer.
Tried-and-true varieties:
Bush: Provider, Contender, Blue Lake 274
Pole: Kentucky Wonder, Fortex, Rattlesnake
And if you ask Grandma? “Pole beans don’t get tired. You just keep picking and they keep coming.”
🌱 2. Soil Prep and Planting: Get It Loose and Warm
Beans are one of the few crops that don’t ask for much—just loose soil, warmth, and a place to stretch.
Soil temp should be 65–85°F at planting time. Don’t rush. Cold soil slows germination.
Beans don’t transplant well. Always direct sow in the garden.
Loosen the soil with a fork or broadfork, mix in finished compost, and skip the heavy nitrogen fertilizer—too much leaf, not enough pod.
Planting details:
Bush beans: 1” deep, 2–4” apart in rows 18” apart
Pole beans: 1” deep, 4–6” apart with trellis, teepee, or fence already in place
Plant every 2–3 weeks for a steady harvest.
🌿 3. Companion Planting: Who Beans Get Along With (and Don’t)
Green beans fix nitrogen in the soil—making them great neighbors for other crops.
Best companions:
Corn (classic Three Sisters style)
Carrots and cucumbers
Nasturtiums and dill (Grandma swore by them for pest control)
Avoid:
Garlic, onions, and leeks. They can stunt bean growth.
And if you're rotating crops, beans do best after heavy feeders like brassicas or corn, and before root crops like carrots or beets.
“Beans and corn are like old friends,” Grandma used to say. “One grows tall, the other grows strong.”
💧 4. Watering, Mulching, and Ongoing Care
Once your beans sprout, the name of the game is even moisture and airflow.
Water deeply 1–2 times per week, letting the top inch dry out between soakings
Apply mulch (straw, shredded leaves, grass clippings) to hold moisture and block weeds
Weed carefully—bean roots are shallow and don’t like disturbance
For pole beans, keep the vines trained and supported as they grow
Spacing matters. Good airflow prevents disease. Crowded beans sulk.
🐛 5. Watch for Trouble: Pests and Common Problems
Beans are hardy, but they do have enemies. Stay ahead of the curve:
Mexican bean beetles: Look for yellow spots and lacy leaves
Aphids: Check undersides of leaves and new growth
Rust and bacterial blight: Watch for brown or rust-colored spots, especially in wet weather
Grandma’s approach: “Don’t wait until it’s bad. Spray early with neem oil and keep the leaves dry.”
Prevention tips:
Water at the base, not overhead
Space for airflow
Rotate crops each year
Use row covers if beetles show up early
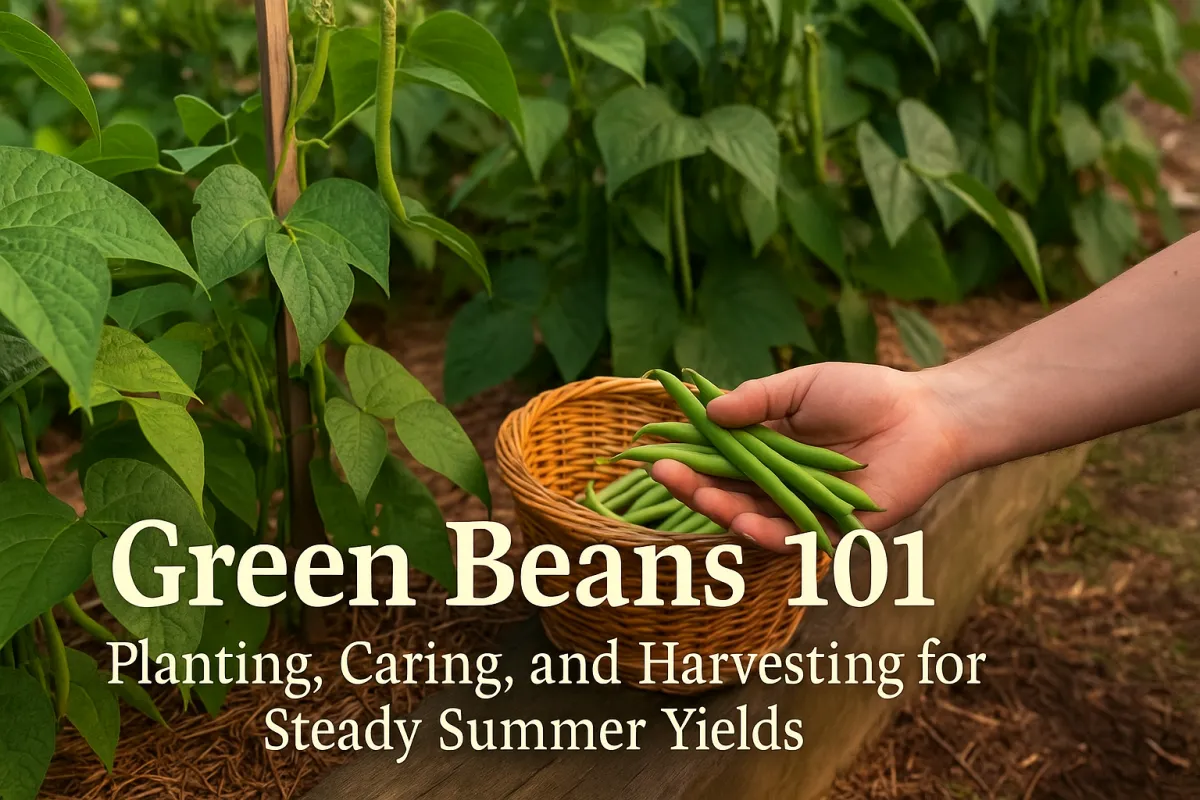
🧺 6. Harvesting: When and How to Pick for More Beans
The more you pick, the more you get. Beans don’t like being ignored.
Bush beans: start harvesting when pods are firm and about 4–6” long. Check every other day.
Pole beans: pick daily to keep vines producing. If pods get too big, plants slow down.
Two hands always—support the plant with one hand while gently snapping pods with the other.
Letting beans get too mature on the plant sends a signal: “We’re done here.” Pick early and often.
📅 7. Days to Maturity and Succession Planting
Green beans grow fast, which means you can plant multiple rounds in one season—especially in Zones 5–8.
General maturity range:
Bush: 50–60 days
Pole: 60–70 days
Succession schedule:
Start your first planting after last frost
Replant every 2–3 weeks until midsummer
In Zones 7–9, squeeze in a fall crop with bush beans in July or early August
Want help planning? Grab the printable [Succession Planting by Zone Chart] (insert lead magnet link).
❄️ 8. Preserving the Harvest
Even if you only grow a few rows, beans come in hot—and fast. Don’t let good food go to waste.
Freezing (the easiest way):
Snap off ends
Blanch for 2–3 minutes
Cool, drain, and pack into freezer bags
Label and freeze
Canning: Requires a pressure canner and low-acid safety know-how. Follow a tested recipe.
Drying: Great for soup beans—only use dry-shelling varieties.
“A jar of beans in January tastes like the Fourth of July,” Grandma would say, scooping them into the stew pot.
🌇 9. Fall Beans? You Bet (in the Right Zones)
If you're in USDA Zones 7 and up, there’s time for one more round.
Choose a bush variety with short maturity (under 55 days)
Plant in late July to early August
Use shade cloth if germinating during hot spells
Watch for early frost warnings — beans can’t handle cold
Late crops won’t be huge, but they’ll fill your dinner plate before the season ends.
👣 Closing Thoughts: A Steady Crop That Teaches Patience
There’s a reason beans were one of the first things I learned to grow—and one of the first I teach.
They’re dependable. Productive. Honest.
They don’t need fussing. Just warm soil, a little space, and someone who remembers to pick.
If you’re just starting your homestead garden, green beans are a crop that gives back every time. And if you’ve got memories of Grandma in the garden, chances are beans were in the ground nearby.


Facebook
Instagram
X
Youtube