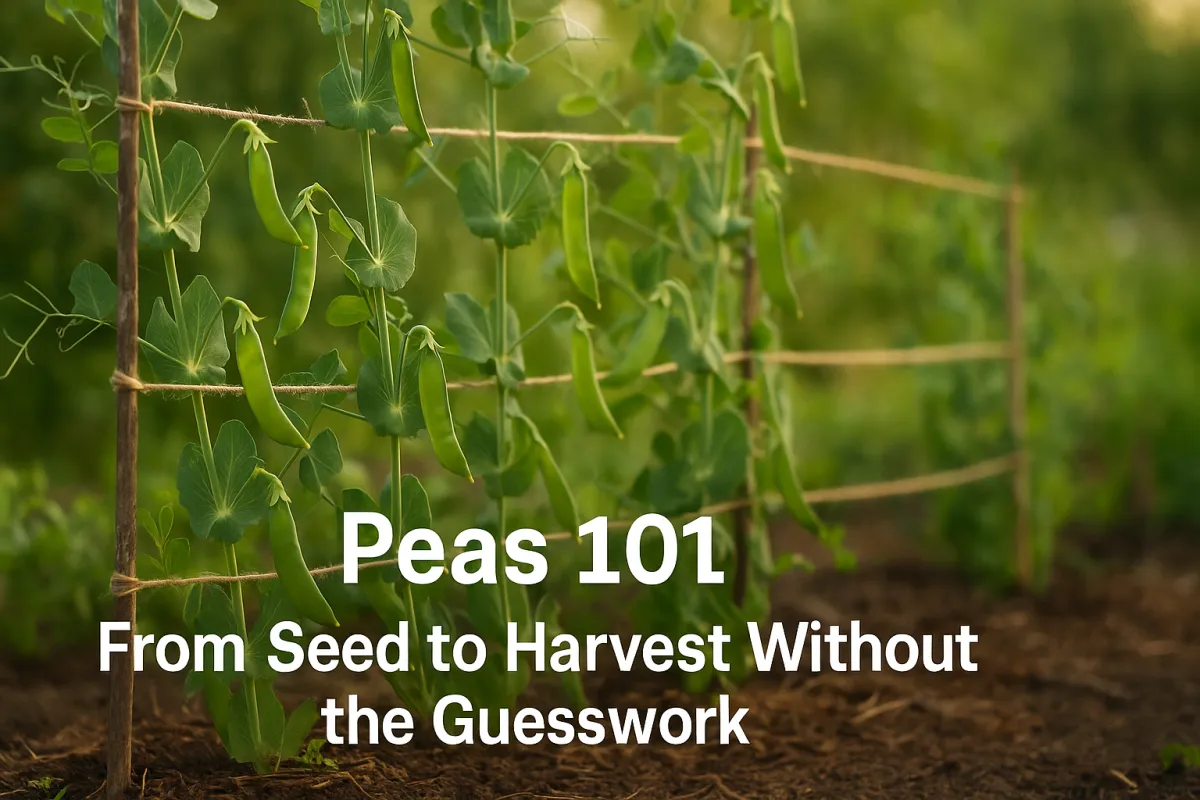
Peas 101: From Seed to Harvest Without the Guesswork
Peas 101: From Seed to Harvest Without the Guesswork
Intro: A Row of Peas and a Lesson Learned
The first year I planted peas, I put them in too late. The sun was already climbing high, the soil warm, and the vines never stood a chance. They sprouted, stretched, and withered before I ever got a pod. That mistake taught me something simple but lasting: peas reward those who get the timing right. If you plant them early and give them a little support, they’ll carry you from spring to early summer with crisp pods and sweet flavor that can’t be matched at the grocery store.
Peas are one of the easiest crops you can grow—if you know a few basics. Let’s break it down step by step.
Understanding Pea Types
There are three main kinds of peas, and knowing the difference helps you decide what fits your garden and kitchen best.
Shelling peas (English peas): You eat the inside peas, not the pod. Classic garden flavor, great for freezing or fresh eating.
Snap peas: You eat the whole pod. They’re sweet, crunchy, and kid-friendly.
Snow peas: Flat pods harvested before peas inside develop. Perfect for stir-fries and fast harvests.
If you’ve got limited space, start with snap peas—they give the most return for the effort. If you’ve got room, plant a row of each type and see which one you reach for in the kitchen.
Soil Prep and Direct Sowing
Peas don’t transplant well. Their roots are shallow and delicate, so the best method is direct sowing right into the garden.
Step 1: Prep the soil. Loosen it to about 6–8 inches deep and mix in compost. Peas like fertile, well-drained soil but don’t demand perfection.
Step 2: Mark your rows. Sow seeds 1 inch deep and about 2 inches apart in the row. Space rows 18–24 inches apart if you’re planting multiple lines.
Step 3: Know your timing. Peas thrive in cool weather. For USDA Zones 3–7, sow as soon as the soil is workable in spring, even if frost is still possible. In warmer Zones 8–10, aim for fall planting so peas mature before heat sets in.
Grandma’s Tip: “You don’t get peas if you don’t plant early. Beat the heat, not the other way around.”
Watering, Spacing, and Mulching Basics
Peas like steady moisture but not wet feet. A simple rhythm works: water deeply once or twice a week if rain doesn’t do the job.
Keep spacing consistent—crowding peas reduces airflow and encourages mildew. Once seedlings emerge, thin to about 3 inches apart.
A layer of mulch around the base will hold in moisture, cool the soil, and save you time fighting weeds.
Pro Tip: Avoid over-fertilizing. Too much nitrogen means you’ll get lush vines but very few pods. Compost is enough.
Trellising Needs by Variety
Peas are natural climbers, but how much support they need depends on the type.
Shelling peas: Modest climbers. A simple net or short fence will keep them upright.
Snap peas: Vigorous growers. Give them a strong trellis—stakes with string or wire fencing works well.
Snow peas: Lighter vines, fine with netting or garden twine strung between stakes.
Step-by-step simple trellis:
Drive in two sturdy stakes at each end of your row.
Stretch garden netting or string between them.
As peas grow, guide vines toward the support.
It doesn’t need to be fancy—peas grab hold fast.
Harvesting and Storage
Peas give you signs when they’re ready.
Shelling peas: Pods should be plump but not overfilled.
Snap peas: Harvest when pods are firm and rounded but before they get tough.
Snow peas: Pick when pods are flat and tender, before peas inside swell.
Pick regularly to encourage more production. Use two hands when harvesting: one to hold the vine, the other to pinch off the pod. That way, you don’t damage the plant.
For storage, peas hold a few days in the refrigerator, but they’re best fresh. For longer storage, blanch and freeze them to lock in flavor.
Faith Alignment
Planting peas is an act of faith. You press a dry seed into cold ground, trusting it will climb and feed you weeks later. Ecclesiastes 11:6 puts it plain: “Sow in the morning, and at evening let your hands not be idle.” Keep working, keep planting, and the harvest comes in due time.
Closing: Encouragement + Next Step
Peas aren’t complicated. Give them cool soil, steady water, and a trellis to climb, and they’ll reward you every time. Start small—a single 4x8 bed of snap peas will give you more than enough for fresh meals and a few bags in the freezer.
If you want to take the guesswork out completely, I put together a Printable Pea Planting Calendar & Trellis Guide you can tack up in the shed or kitchen. Grab it, follow the steps, and you’ll be eating peas straight from the vine this season.


Facebook
Instagram
X
Youtube