
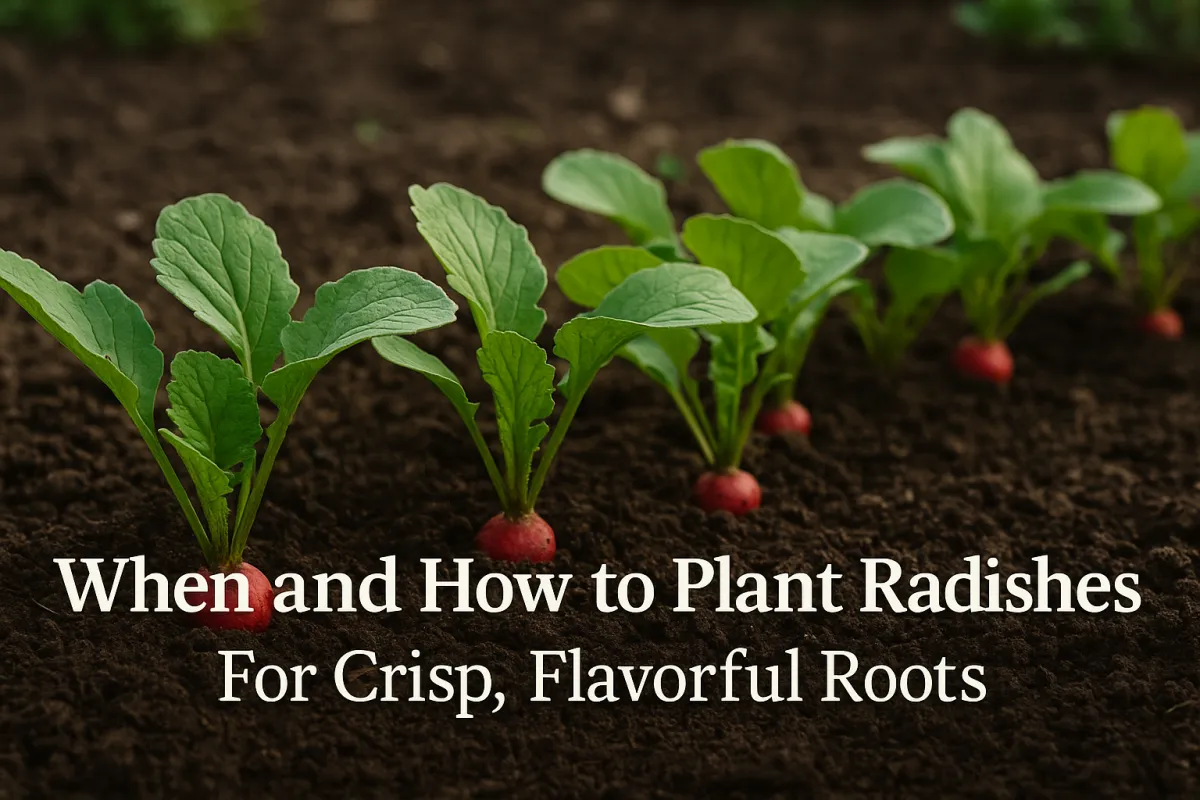
When and How to Plant Radishes for Crisp, Flavorful Roots
When and How to Plant Radishes for Crisp, Flavorful Roots
Intro — A Lesson Learned Over a Patch of Radishes
One spring, I got too ambitious. The garden was waking up, the air was warm, and I figured I could push the radish season a little longer. I sowed them in late May here in Zone 5b. The greens shot up like they were training for the county fair, but the roots? Woody, hot, and hollow. That’s when I learned the hard truth about radishes: they’re picky about timing, and they’ll punish you if you ignore it.
If you want crisp, mild, and juicy radishes, you need to match your planting window, soil temperature, and spacing to their needs. Done right, you’ll go from seed to harvest in just a few weeks — and every root will have that satisfying snap when you slice into it.
Best Planting Windows by USDA Zone
Radishes thrive in cool weather. Too hot, and they’ll bolt (send up a flower stalk) before the root matures.
Zones 2–5: Early spring (as soon as soil can be worked) and again in late summer for fall harvest. Avoid midsummer heat.
Zones 6–8: Best in fall and winter. Spring sowings are possible, but watch for early heat waves.
Zones 9–10: Strictly a cool-season crop here — sow from late fall through early spring.
Succession planting every 7–10 days can keep you in fresh radishes for weeks.
Soil Temperature for Germination and Root Development
Radish seeds germinate best when soil is 50–70°F. At these temps, sprouts appear in 3–5 days, and roots develop with a mild flavor.
Above 80°F, you risk:
Tough, fibrous roots
Overly spicy flavor
Early bolting
Quick check: Use a soil thermometer at planting depth in the morning. If it’s too warm, wait for cooler weather or provide shade.
Direct Sowing vs. Transplanting
Radishes do not transplant well. Their taproot starts forming immediately after germination, and disturbing it leads to:
Forked or misshapen roots
Slower growth
Reduced yield
Direct sowing steps:
Rake soil smooth and remove stones.
Make shallow furrows ½ inch deep.
Drop seeds 1 inch apart.
Cover lightly with soil and firm gently.
Water well.
Row Spacing for Airflow and Weed Control
Proper spacing is key to even growth and fewer problems:
Plants: 1–2 inches apart
Rows: 8–12 inches apart
Thin seedlings once they reach 1 inch tall — overcrowding creates small, misshapen roots and makes it harder to keep weeds down.
Mulching for Moisture Retention
Radishes like consistent moisture. Uneven watering leads to cracks or pithy texture.
Wait until seedlings are 2 inches tall before mulching.
Use a light layer of straw, shredded leaves, or grass clippings.
Keep mulch thin to avoid smothering young plants.
Grandma’s Tip
“Radishes don’t like to be pampered — plant ‘em, water ‘em, and don’t fuss too much.”
Pro Tips / Avoid This Mistake
Don’t overdo nitrogen — you’ll get lush greens and tiny roots.
Harvest promptly; radishes left in the ground too long lose flavor fast.
Keep soil moisture steady — dry spells followed by heavy watering cause splitting.
Step-by-Step Planting Guide
Loosen soil 6 inches deep and work in compost.
Check soil temp — aim for 50–70°F.
Direct sow seeds at correct spacing.
Water gently and keep soil evenly moist.
Thin seedlings to 1–2 inches apart.
Mulch lightly once seedlings are established.
Harvest at peak size — usually 3–5 weeks after sowing.
Region-Specific Notes
Hot climates: Use 30% shade cloth in late spring to extend season.
Short seasons: Choose quick-maturing varieties like Cherry Belle or French Breakfast.
Soft Faith Tie-In
Radishes remind me of Ecclesiastes 3:1 — “To everything there is a season, a time for every purpose under heaven.” Their short season is a good reminder that some harvests aren’t meant to be stretched beyond their time.
Closing — Your Next Step
If you’ve got a bare patch in your garden right now, radishes are your quickest win. Grab a packet of seed, follow the steps above, and you could be slicing into your first harvest in less than a month.


Facebook
Instagram
X
Youtube