
The Summer Garden Reset: What to Do After Your First Harvest
By mid-July, most gardens hit a strange stretch. The early greens are long gone, the peas have dried up, and your once-neat rows are probably looking a little wild around the edges. It’s not quite fall. It’s not peak production anymore. It’s just… in between.
I remember one summer when Grandma walked out, looked at my lettuce bed, and said, “Well, it gave what it could. Now what are you going to give it?” That’s the question we’re answering today.
This is your reset window — the moment between the first harvest and the second act. And what you do now can set up your garden (and your pantry) for more fresh food, stronger soil, and a better fall.
Let’s get to it.
Step 1: Clear Out What’s Spent
Start by walking your garden with fresh eyes. That lettuce that bolted weeks ago? Pull it. The radishes that never fattened? Compost. Pea vines yellowing and curling? Time to cut them at the base.
This isn’t about being ruthless — it’s about making space.
Here’s what I clear:
Bolted greens
Spent spring crops (peas, radishes, early beets)
Yellowing or unproductive beans
Diseased or stunted plants (these don’t get composted — they go in the trash)
While you're at it, do a quick pest and disease check:
Powdery mildew on squash leaves
Aphids clinging to kale stems
Whiteflies on the undersides of tomato leaves
Wilting or browning that doesn’t match heat stress
Grandma’s rule: “Don’t plant new where sickness still lives.” If one bed looks beat up, let it rest or rotate the crop entirely.
Step 2: Rebuild the Soil
Once the bed is cleared, you’ll probably see just how tired the soil looks. Cracked. Dry. Maybe a little compacted. Summer does that.
Start by loosening the top few inches with a fork or hand cultivator. You don’t need to flip the bed — just wake it up. Then water deeply before you amend. Dry soil won’t take nutrients in well.
I like to add:
A full wheelbarrow of finished compost
Or a few handfuls of a gentle, organic fertilizer (low in nitrogen if it’s hot)
Optional: side-dress your tomatoes, squash, or peppers while you’re out there
Product Tip: A wide, deep compost scoop makes this go faster — especially if you’re working in raised beds.
Now the bed is alive again.
Want a visual? Check out the side-by-side diagram below showing a spent bed vs. a reset one.
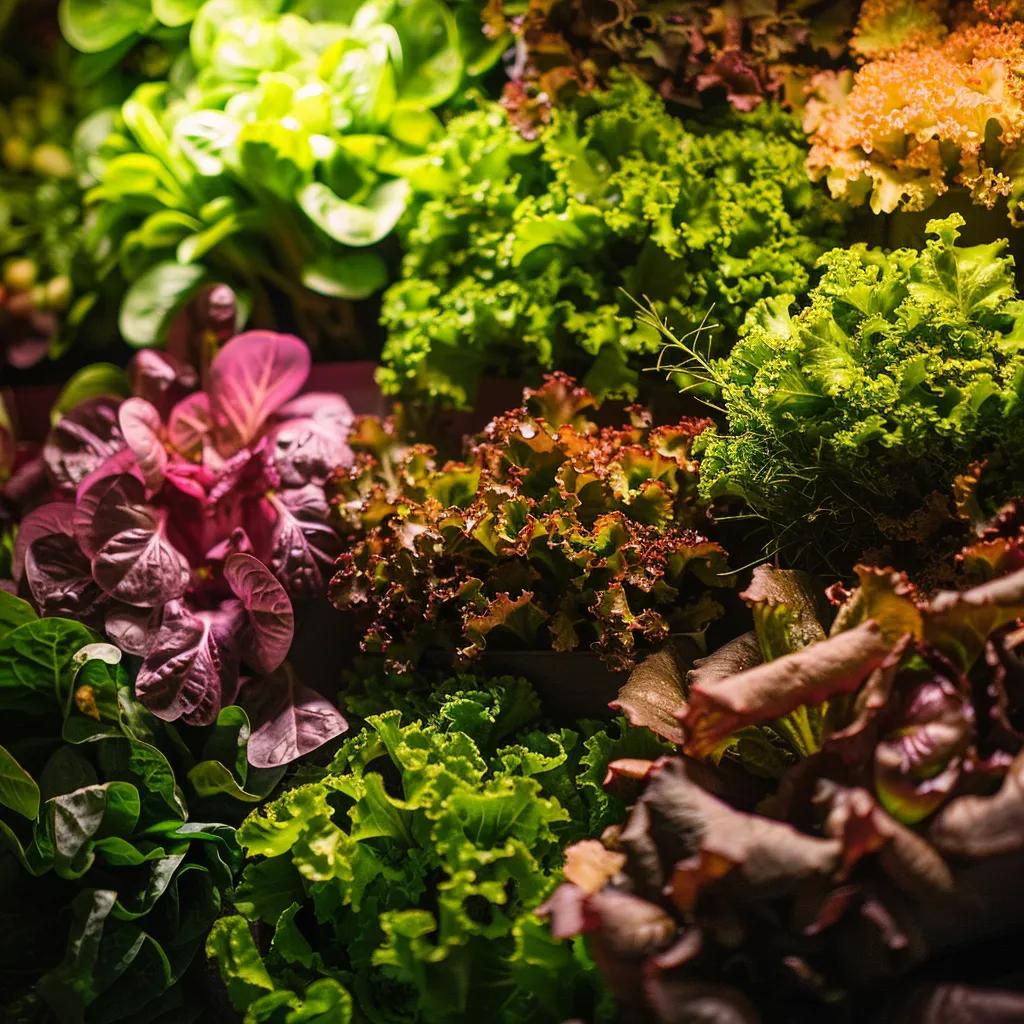
Step 3: Replant with Intention
Here’s the fun part: choosing what goes in next.
Depending on your zone and your goals, you’ve got two solid paths:
✅ Fast Summer Crops:
Bush beans
Zucchini
Cucumbers
Cherry tomatoes (if you’ve got a long enough season left)
🍂 Fall Starters (plant now for cool weather harvest):
Carrots
Beets
Lettuce
Kale
Broccoli
Cabbage
Check your USDA zone and count backward from your first frost date. (Zone 7? You likely have until mid-August for many of these.)
👉 Download the free printable: [“Second-Half Garden Planting Chart by Zone”] — includes best crops, days to maturity, and direct-sow vs. transplant options.
For container gardeners:
Follow the same process — fluff, water, compost — then focus on fast crops like lettuce, radishes, or dwarf bush beans. Even one re-planted container is a win.
Grandma’s tip: “What you seed now, you’ll eat when the leaves fall.”
Step 4: Mulch Again and Lock In Progress
Just like in spring, mulch makes everything work better. It keeps weeds down, moisture in, and soil temperature stable.
What to use:
Straw
Shredded leaves
Dried grass clippings
Pine shavings (if that’s what you’ve got)
Tip: Keep it light over new seedlings — just enough to shade the soil but not smother tender sprouts.
If you’ve got irrigation lines or soaker hoses, now’s the time to lay them down before mulching. This saves time and keeps watering efficient in the August heat.
Step 5 (Bonus): Prep One Bed for Fall or Rest
If you’re not ready to replant every bed, that’s fine. Pick one to prep ahead or let it rest.
Two smart options:
Solarize or tarp the bed for 4–6 weeks to kill off weeds and pests. Come fall, you’ll be ready to plant garlic, spinach, or brassicas without a battle.
Sow a cover crop like buckwheat or crimson clover to nourish the soil and prevent erosion.
Even one rested bed will pay you back in October.
Closing Thoughts: The Garden’s Second Act
Resetting your garden midseason might not feel exciting — but it’s where real growth begins. This is when we stop reacting and start planning again. It’s where the roots run deeper.
Take a walk, pull what’s done, rebuild your soil, and plant something new. Then mulch it well and trust it to grow.
Grandma always said:
“The gardener who plants again is the one who harvests twice.”
And she was right.
This isn’t just about another crop. It’s about tending your ground when it’s easy to let it go. That’s where the habit — and the harvest — take hold.
“Tending your land between harvests is like tending your spirit — the fruit comes later, but the work matters now.”
🛠️ Lead Magnet: Zone-Based Planting Chart for Mid-Summer Resets
Download your copy to see what you can still plant in July–August based on your USDA zone. Includes days to maturity, direct sow or transplant instructions, and a weekly planner.
[👉 Click here to get the printable chart]
👣 Let’s Talk Reset
What’s your midseason reset look like? Drop a comment below or tag your July garden over on Instagram @TheGroundedHomestead. I’d love to see what you’re growing next.


Facebook
Instagram
X
Youtube