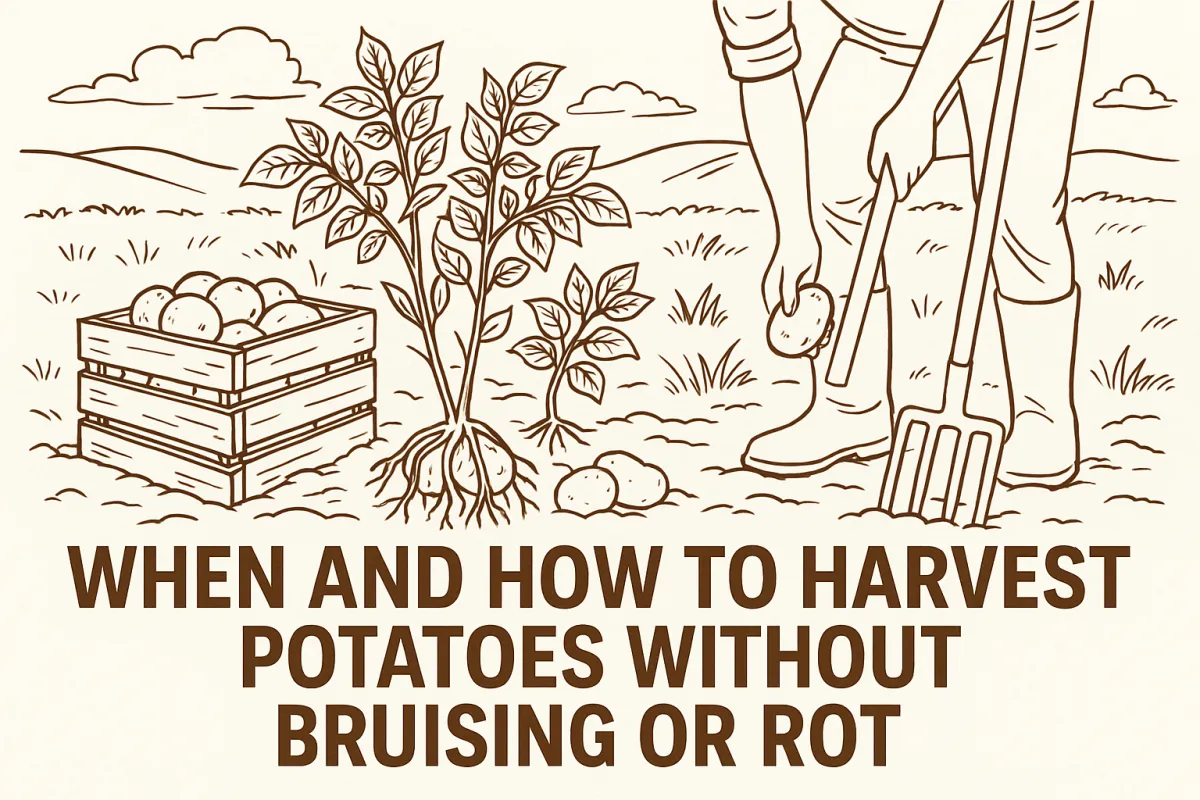
When and How to Harvest Potatoes Without Bruising or Rot
When and How to Harvest Potatoes Without Bruising or Rot
I still remember the first time I helped Grandma dig up potatoes. I was maybe eight. She handed me a too-small spade and pointed toward the withering plants. “Start wide,” she said, “and don’t stab my supper.” Of course, I speared the first three and bruised the rest. We still ate them, but she made sure I knew: how you harvest matters.
These days, I’ve got the rhythm down. Harvesting potatoes right — with minimal bruising, rot, or waste — can mean the difference between a month of fresh eating and a winter’s worth of shelf-stable food. So if you’ve grown a crop this year, here’s your guide to digging them up the right way.
Before You Dig: Pre-Harvest Must-Knows
Before you even touch a digging fork, a few key steps make a big difference:
Stop watering about 7–10 days before harvest. This lets the skins firm up and keeps the soil from turning to mush, which bruises tubers and encourages rot.
Let the soil dry out a bit. You don’t want to harvest in mud. Aim for soil that’s dry enough to crumble, not smear.
Know your frost window. If you’re up north like we are here in Michigan (Zone 5b), time your harvest before a deep frost hits but after the plant has finished its life cycle.
Check your variety. Early, mid-, and late-season potatoes all mature differently. Don’t rely on your calendar alone — check the plant and tuber.
Signs Your Potatoes Are Ready
Timing is everything, and your potatoes will tell you when it’s go time:
Tops have died back. Yellowing, browning, or flopped-over stems are your best signal.
Skin passes the rub test. Gently rub a spud with your thumb. If the skin slips off easily, they’re not quite ready. If it stays firm, they’ve “set.”
Let them sit after dieback. If the weather allows, leave the tubers in the ground for 1–2 weeks post-dieback. It finishes skin setting naturally. Unless rain is on the way — wet soil can undo all your patience.
Grandma always said: “Let the plant finish the job — but don’t let the mud start it again.”
How to Harvest Without Bruising
There’s a right way and a fast way. Aim for both.
Hand Digging
Great for small gardens or early harvests of “new potatoes.” It’s slow, but you’ll do less damage. Use your hands to gently sift around the plant.
Fork Digging
Best for full-sized harvests. Use a broad digging fork and follow this rhythm:
Start 8–10 inches out from the stem.
Sink deep — you want to lift, not pry.
Loosen the soil, then lift the whole root zone gently.
Use your hands from there to pull out the spuds.
Set harvested potatoes in a shaded container, not a hot bucket or sun-baked tarp.
Bonus Tip: Robbing New Potatoes
If you want to sneak a few early before full maturity, use your hands to reach into the soil and pull a couple from the side without disturbing the plant.
Look Out for Damage and Disease
As you dig, keep an eye out:
Holes? Could be wireworms.
Rough patches? Possibly scab — edible, but not storage-worthy.
Soft spots or hollow centers? Eat soon or compost.
Avoid washing unless you plan to eat them within the week. Cure dirty, store dirty. Washing strips protective skin layers.
Curing for Storage-Ready Potatoes
Curing is the homesteader’s secret weapon. It hardens the skin, heals small scrapes, and preps them for long storage.
How to Cure:
Temperature: 55–65°F
Humidity: 85–95%
Light: None. Keep it dark.
Airflow: Good. Think shelves, crates, or burlap layers in a garage or cellar.
Lay them in a single layer, not piled. Give them 1–2 weeks, then sort.
DIY Cure Zone: I use a corner of the garage with a box fan running low and burlap draped over the shelves. Simple and effective.
Sorting: Save the Best, Eat the Rest
After curing, it’s time to divide and conquer.
What to Store:
Firm
Unblemished
Fully cured
No green skin
What to Eat Soon:
Any bruising
Nicks or cuts
Green-tinged
Oddly shaped or too small
Grandma’s trick: “If it squishes back when you squeeze it, it’s supper — not storage.”
Print our [Potato Sorting Cheat Sheet] for a quick reference while you work.
Storage That Keeps Potatoes Fresh for Months
Done right, you’ll be pulling potatoes from storage long after the garden’s put to bed.
Ideal Storage Conditions:
Dark: Prevent greening (which produces solanine)
Cool: 38–45°F is best — below 38, starches turn to sugar
Humid: 90–95% humidity keeps them from shriveling
Where to Store:
Root cellar (if you’ve got one)
Basement corner (away from furnace vents)
Insulated outdoor bins
Unheated garage in fall and early winter
DIY Options:
A cooler with vent holes buried in straw
An old fridge turned off and left cracked open
Heavy-duty paper bags inside breathable totes
Avoid These:
Fridges — too cold
Plastic bags — no air circulation
Storing near onions — both release gases that speed decay
From Soil to Storage: Final Thoughts
There’s something deeply satisfying about harvesting your own potatoes — pulling them from the soil with your hands, brushing off the dirt, and knowing you’ve got food to last. It’s not just about yield — it’s about doing it right, storing it smart, and stretching that effort through the seasons.
This isn’t theory. It’s work you can do with a fork, a fan, and a little patience.
“Build houses and settle in them; plant gardens and eat what they produce.” – Jeremiah 29:5


Facebook
Instagram
X
Youtube