
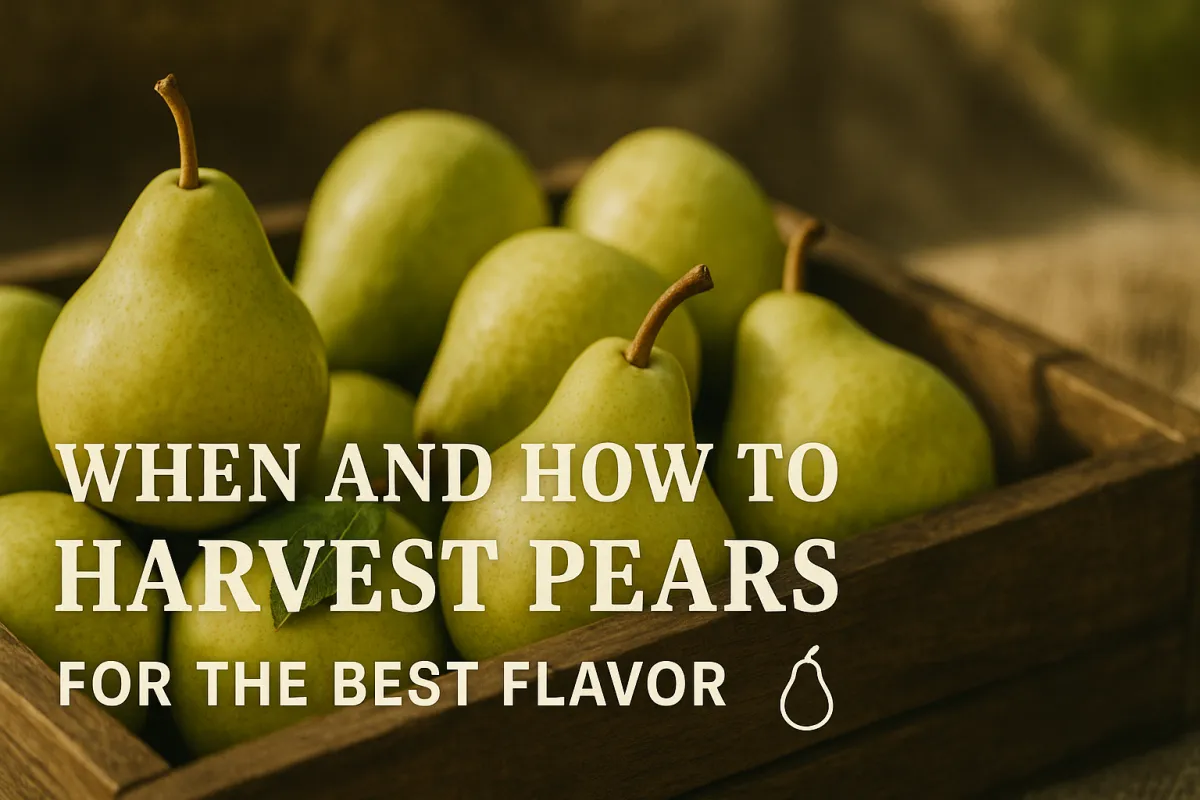
When and How to Harvest Pears for the Best Flavor
I’ll never forget the first year I planted pears. I waited until they looked picture-perfect on the tree—yellow, soft to the touch, smelling sweet. By the time I brought them inside, most were mealy or rotting at the core. That’s when I learned pears don’t play by the same rules as apples. They ripen best after you pick them.
If you’ve ever wondered why your pears never taste quite right, the secret isn’t in how you store them, it’s in when and how you harvest them. Let’s walk through the process step by step so your pears come off the tree firm, full of potential, and ready to ripen into something sweet and worth eating.
Why Pears Are Picked Before Fully Ripe
Pears ripen from the inside out. Leave them hanging until they feel soft, and the inside will already be turning mushy or brown. Picking them while they’re still firm prevents this problem and gives you fruit that ripens evenly on the counter.
There’s a difference by type:
European pears (like Bartlett, Bosc, Anjou) are harvested green and ripen indoors.
Asian pears (round, crisp, apple-like) can ripen fully on the tree.
Knowing which kind you have makes all the difference in how you approach harvest.
Signs Your Pears Are Ready
1. Watch the Color
As pears mature, the background color shifts—Bartletts fade from green to yellow, while other varieties lighten just slightly. Don’t look for a “store-ready” yellow on the tree. Just watch for that first subtle change.
In Zones 4–6 (northern growers like Michigan), most pears are ready late August through September.
In Zones 7–9 (southern growers), expect harvest a bit earlier.
2. Try the Lift Test
Cup a pear in your hand and lift gently toward the branch. If it snaps free with little effort, it’s ready. If you have to tug, give it a few more days.
3. Check Firmness
The fruit should feel firm but not rock-hard. Press lightly near the stem—if it gives just a touch, it’s at the right stage.
Grandma’s Tip: “Don’t wait for pears to tell you they’re sweet on the branch. They lie. Bring them in green, and they’ll tell the truth on your counter.”
How to Harvest Pears Without Bruising
Pears bruise easier than apples, and once bruised, they spoil fast.
Use two hands: one to steady the branch, the other to lift the fruit.
Lay them gently in baskets—never drop into a pile.
Line your basket or bin with a towel to cushion the load.
Pro Tip — Avoid This Mistake: Harvest in the cool of morning. Warm pears bruise faster in the afternoon heat.
Ripening Pears Off the Tree
Here’s where patience pays off.
Room Temperature: Leave pears on the counter away from direct sunlight.
Paper Bag Method: To speed ripening, place pears in a paper bag. Add an apple or banana to boost ethylene gas and move things along.
Daily Check: Squeeze gently near the stem each day. Once it softens, that pear is ready to eat.
Storage Tips to Extend Shelf Life
Refrigerate for Longevity: Store pears in the fridge to stretch shelf life 1–3 months, depending on variety.
Separate from Ethylene Producers: Keep them away from bananas and apples unless you want them to ripen quickly.
Stagger Your Supply: Keep a batch refrigerated while a few ripen on the counter so you’ve always got fruit coming into season at the right pace.
A Quiet Lesson in Patience
Pears teach you something subtle about life—you have to bring them in before they look ready, trusting they’ll reach their sweetness in time. Homesteading is full of lessons like that.
“But let patience have its perfect work, that you may be perfect and complete, lacking nothing.” (James 1:4)
Closing: Next Steps
Harvesting pears takes practice. The first year or two, you’ll second-guess yourself. But once you’ve nailed the timing for your tree, you’ll know exactly when to pull them.
To make it easier, I’ve put together a Pear Harvest Checklist you can print and carry into the orchard—color cues, lift test reminder, and storage tips all in one page.
Bring in your pears firm, let them ripen on the counter, and you’ll have sweet, crisp fruit that lasts long past the season.


Facebook
Instagram
X
Youtube