
How to Harvest Radishes at the Perfect Time (and Avoid Woody Roots)
How to Harvest Radishes at the Perfect Time (and Avoid Woody Roots)
I still remember the first time I grew radishes as a kid. I planted them in a crooked row behind Grandma’s chicken coop, watered them religiously, and then — like most new gardeners — forgot all about them until one hot afternoon when I decided to “see how they were doing.” I pulled up a few, brushed off the dirt… and was met with roots that looked fine but crunched like cork. The flavor? About as woody as an old barn beam.
That day stuck with me. Radishes are one of the quickest crops you can grow, but they’re also one of the easiest to ruin if you don’t get the timing right. Pull them too soon, and you’ve got baby roots with no flavor. Wait too long, and the texture turns from crisp to pithy in the blink of an eye.
Here’s how to know exactly when to harvest — and how to keep that peppery crunch right where it belongs.
Know Your Days-to-Maturity by Variety
Every variety has its own schedule, and knowing it ahead of time is the first step to perfect timing. Most seed packets list “days-to-maturity” from the date of germination, not planting.
Average Days-to-Maturity:
Spring radishes (Cherry Belle, French Breakfast): 22–30 days
Winter radishes (Daikon, Watermelon): 50–70 days
Specialty radishes (Black Spanish, Green Luobo): 55–65 days
USDA Zone tip: In cooler Zones 3–6, growth may take a few days longer than the packet says. In warmer Zones 7–10, radishes can mature faster — sometimes by a full week.
Signs Your Radishes Are Ready
Visual and tactile clues are just as important as the calendar:
Root shoulders showing: You’ll often see the top of the radish peeking above the soil when it’s nearly ready.
Size matches the description: If your seed packet says “1-inch diameter,” use that as your gauge.
Firm, not hard: Squeeze gently — it should give just a little under pressure without feeling rock-solid.
Avoiding over-maturity: A pithy texture feels light and spongy inside, and you might notice cracks in the skin.
Grandma’s Tip:
“When you see the shoulders smiling at you, don’t make ’em wait. They’re at their sweetest when they’re young and proud.”
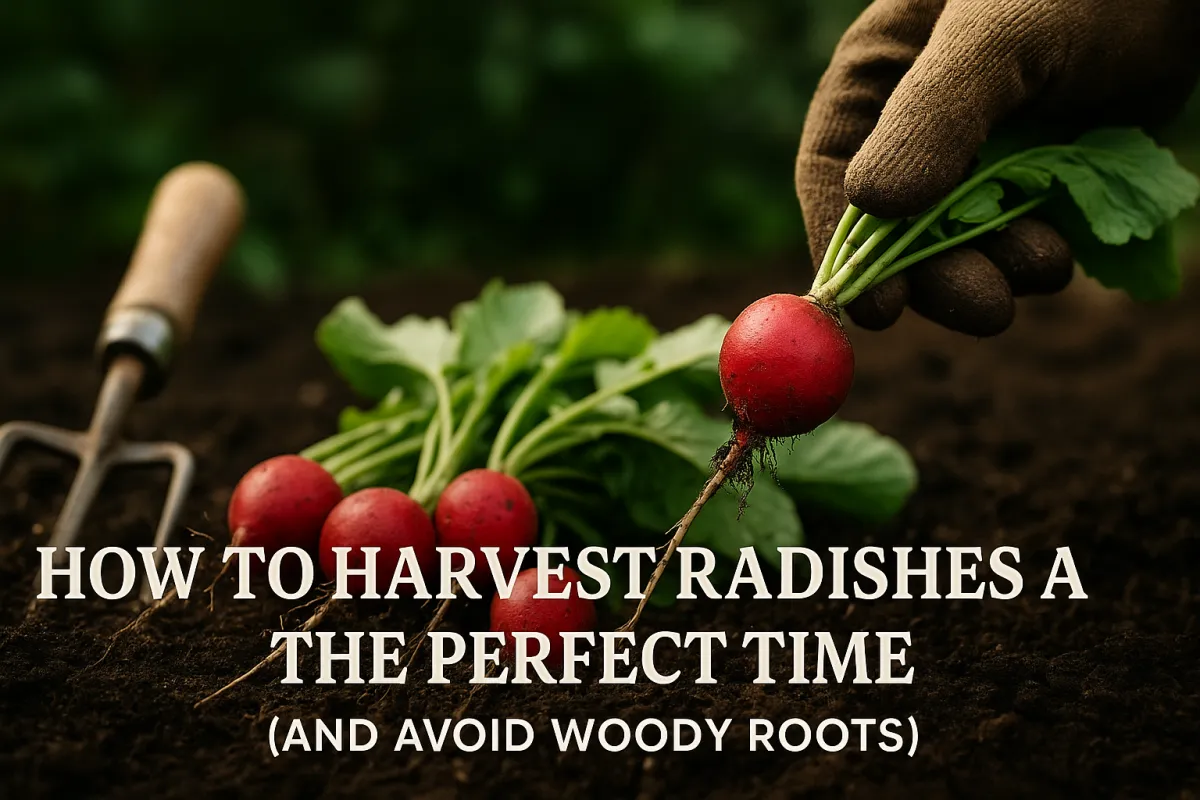
Tools & Technique for Gentle Pulling
Radishes don’t require much muscle, but the right technique matters — especially if your soil is compacted.
Here’s how I do it:
Water lightly the night before if your soil is dry — this loosens the grip.
Grip just above the root, at the base of the greens.
Twist gently while lifting to ease it out without snapping the top.
For tight soils: Use a hand fork or trowel to loosen the soil around the root before pulling.
Pro Tips:
Harvest in the morning when roots are crisp and cool.
Loosen the soil first if you’ve had a dry spell.
Never yank straight up without loosening — that’s a fast track to broken tops.
Immediate Post-Harvest Handling
Radishes keep their crunch by holding onto moisture — but the greens are thieves in that equation.
Trim greens right away to stop them from drawing water out of the root.
Give them a quick rinse if you’ll eat them within a day or two.
If storing longer, brush off excess soil but skip the wash until you’re ready to use them.
Storing for Short-Term Use
Radishes don’t like it warm, and they don’t like it bone-dry.
Store roots in a perforated bag or container with a slightly damp cloth.
Keep them in the fridge’s crisper drawer at 32–40°F.
Spring radishes will stay crisp for up to 2 weeks; winter radishes can last a month or more.
Printable Tool — Radish Harvest Cheat Sheet
Spring Radishes – 22–30 days, harvest when 1 inch in diameter, remove greens immediately.
Winter Radishes – 50–70 days, harvest before first hard frost, store unwashed.
Specialty Radishes – 55–65 days, check for full color and size before pulling.
A Note on Timing — and God’s Timing
Ecclesiastes 3:1 says, “To everything there is a season, a time for every purpose under heaven.” Radishes may be a simple crop, but they teach the same truth — there’s a right time for every harvest, and waiting too long can cost you the best of what’s been growing.
Next Step
Try a side-by-side test this season: pull half your radishes on the earliest “ready” date, and the rest a few days later. You’ll taste for yourself just how quickly they can change.
When you nail the timing once, you’ll never forget it — and your salads, sandwiches, and snacks will thank you.


Facebook
Instagram
X
Youtube