Top Fermentation Recipes for Vegetables to Try in 2025
Top Fermentation Recipes for Vegetables to Try in 2025
Welcome to the transformative world of vegetable fermentation. More than just a food preservation technique, fermenting is an ancient practice that unlocks complex flavors, boosts nutritional value, and populates your gut with beneficial probiotics. For homesteaders, gardeners, and anyone seeking a deeper connection with their food, learning these skills is a game-changer. It is a practical way to turn simple, homegrown produce into something extraordinary and nourishing.

This guide moves beyond theory and dives directly into actionable fermentation recipes for vegetables. You will learn to master everything from classic sauerkraut and tangy Korean kimchi to zesty fermented salsa and crisp dill pickles. We’ve structured this list to provide a clear path for building your skills, starting with foundational recipes before introducing more complex, layered flavors like Salvadoran Curtido and Japanese Tsukemono.
Each recipe provides a stepping stone on your journey to mastering this timeless craft. By following these step-by-step instructions, you will learn how to:
Confidently prepare and salt your vegetables for optimal fermentation.
Manage the fermentation process to ensure safe and delicious results.
Effectively store your ferments to preserve their flavor and probiotic benefits.
According to the USDA, fermented vegetables are not only safe when properly prepared, but may enhance gut health by producing organic acids that support the intestinal lining.
Prepare to reduce food waste, enhance your meals, and take control of your gut health, one bubbling jar at a time. Let's get started.
1. Classic Sauerkraut: The Gateway to Fermentation
Classic sauerkraut is a simple lacto-fermentation of shredded cabbage with salt. This method ranks among the most accessible fermentation recipes for vegetables, converting natural sugars into lactic acid that preserves the cabbage and provides a distinctive tang. It serves as the cornerstone of fermented vegetables, demonstrating essential principles for any beginner.
What Is Classic Sauerkraut?
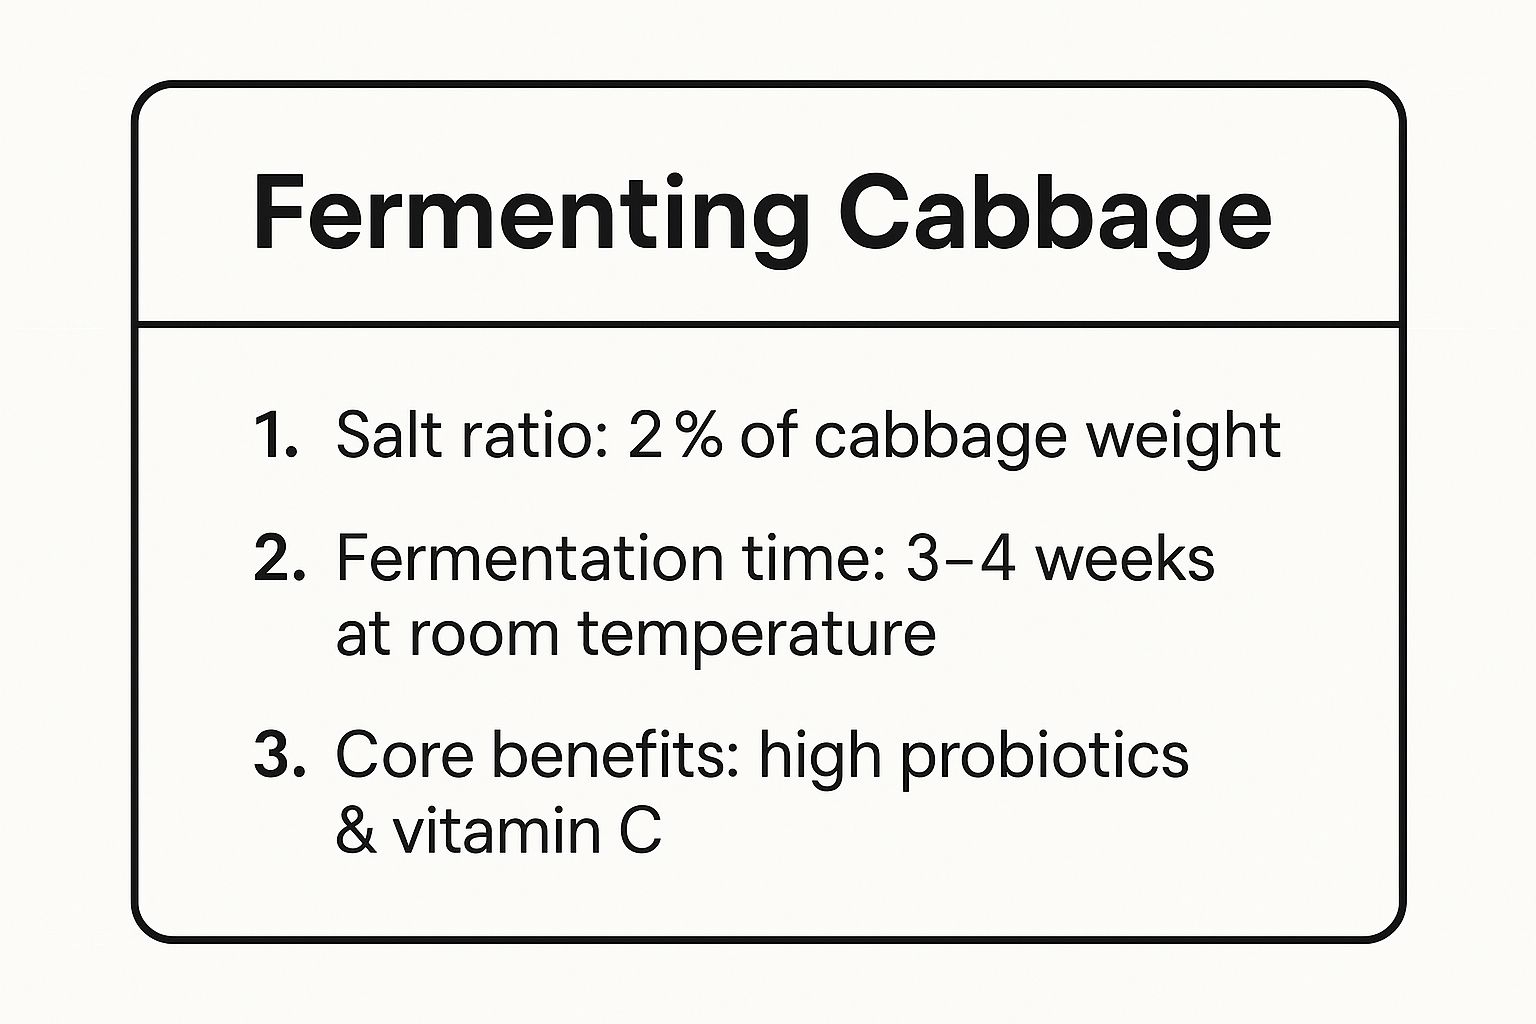
Classic sauerkraut uses only cabbage and 2% salt by weight. The salt draws out moisture to create a brine that encourages beneficial lactic acid bacteria. Over 3–4 weeks at 65-75°F, the kraut develops its signature flavor and tender texture.
Why and When to Use This Approach
This method is perfect for first-time fermenters who want a reliable recipe. It extends cabbage’s shelf life and unlocks probiotics and vitamin C. Use sauerkraut as a side dish, condiment or base for more adventurous fermented vegetables.
Actionable Tips
Measure precisely: Use 2% salt by weight to balance flavor and preservation
Accurate salt ratios are non-negotiable in fermentation, which is why a reliable kitchen scale like this digital model quickly becomes one of your most valuable tools.
Pack tightly: Eliminate air pockets to prevent harmful molds
Keep submerged: Always cover cabbage under brine with a weight
To make sure your vegetables stay safely below the brine, I recommend using simple fermentation weights like these glass ones. They’re reusable, beginner-friendly, and make the whole process more foolproof.

Maintain temperature: Aim for 65-75°F for steady fermentation
Taste weekly: Monitor tanginess and texture until desired profile emerges

Examples in Practice
Bubbies brand commercial sauerkraut for sandwiches
Traditional German sauerkraut paired with bratwurst
Reuben sandwich filling in deli classics
Eastern European New Year’s luck tradition
For optimizing cabbage growth and pairing flavors, learn more about vegetable companion planting on The Grounded Homestead.
Quick Reference: Key Takeaways

This quick reference highlights the ideal salt ratio, fermentation timeframe and core health benefits. It bridges traditional technique with actionable data for confident first-time fermenters.
For detailed guidance on safe fermentation practices at home, including sanitation, salt ratios, and temperature control, see the University of Missouri's food safety guide
2. Korean Kimchi: A Spicy, Probiotic Powerhouse
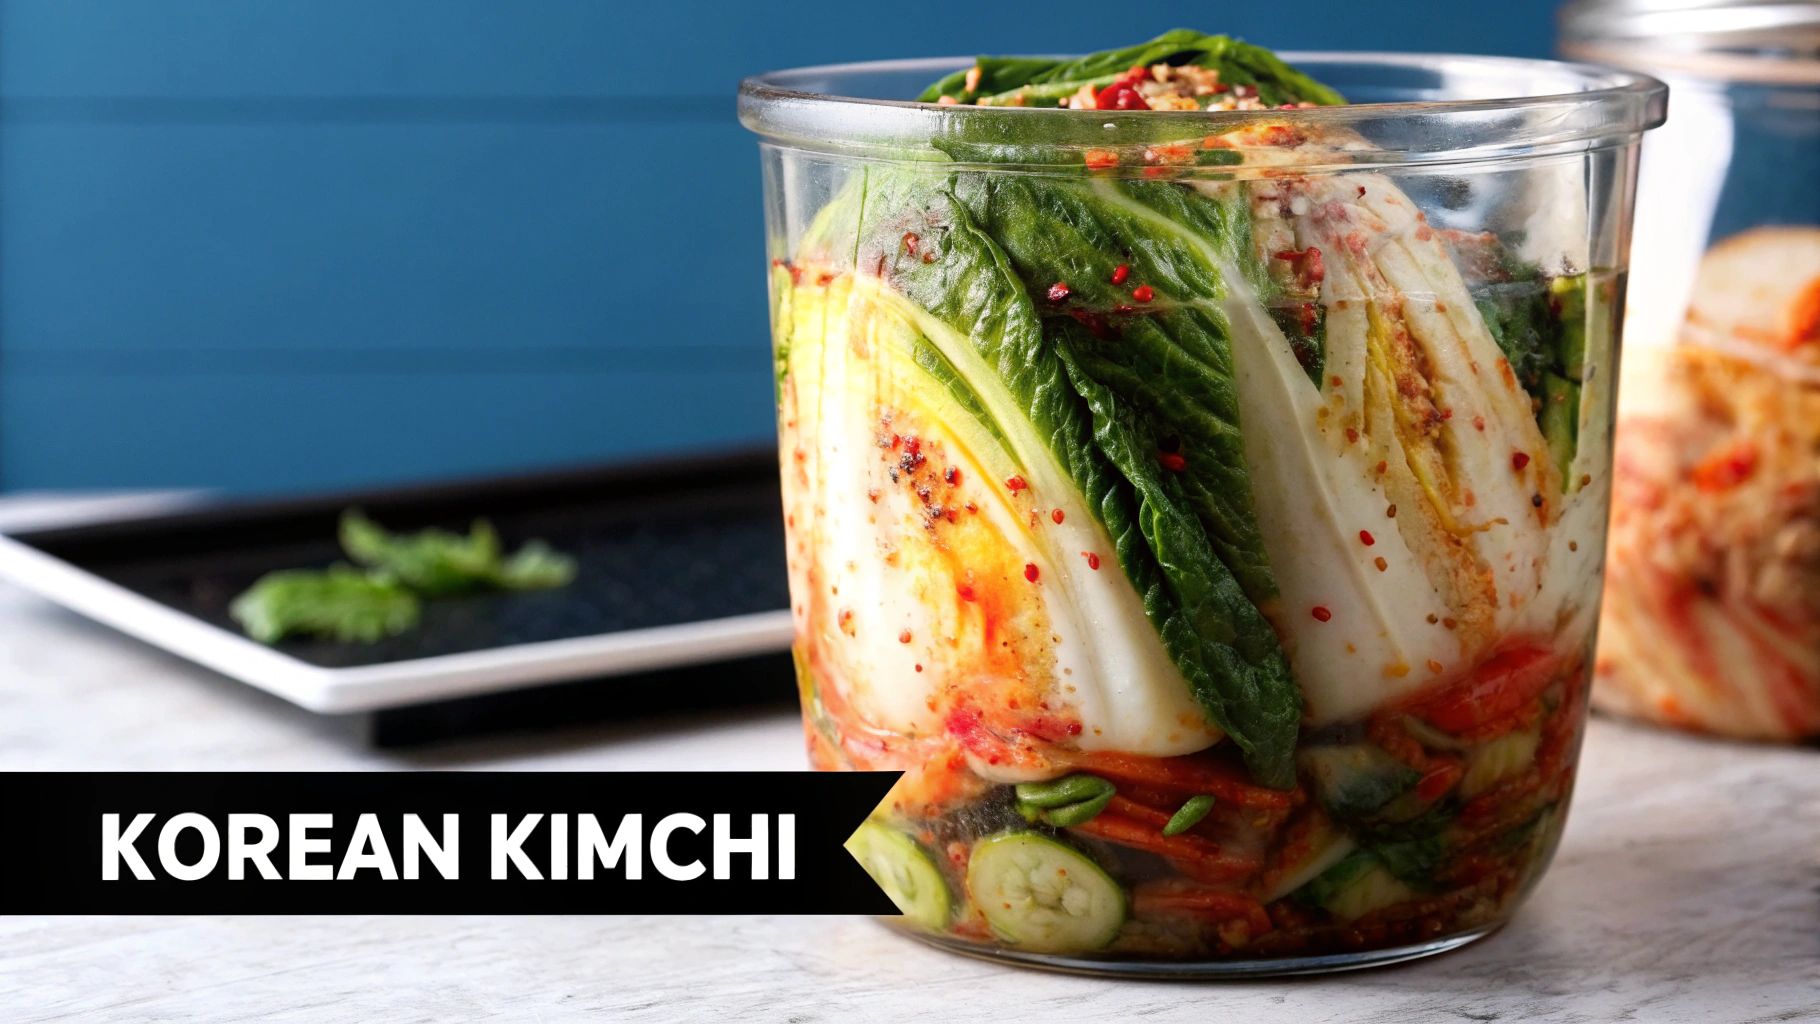
Korean kimchi is a celebrated staple of Korean cuisine and one of the world's most dynamic fermentation recipes for vegetables. It typically involves lacto-fermenting napa cabbage with a spicy, umami-rich paste made from Korean red pepper flakes (gochugaru), garlic, ginger, and fish sauce or other savory elements. The result is a complex, flavorful condiment that is simultaneously sour, spicy, and deeply savory.

What Is Korean Kimchi?
Kimchi is a traditional fermented side dish made from salted vegetables seasoned with a variety of ingredients. While napa cabbage kimchi (baechu-kimchi) is most common, hundreds of variations exist using different vegetables like radishes or cucumbers. The fermentation process, which takes several days to weeks, creates a rich population of probiotics and a signature tangy flavor.
Why and When to Use This Approach
This method is ideal for those who enjoy bold, spicy flavors and want to explore a more complex ferment than basic sauerkraut. Kimchi is not only a delicious side dish but also a versatile ingredient that can be incorporated into countless recipes, from stews to tacos. It's a fantastic way to preserve a cabbage harvest while creating a food packed with vitamins A, B, and C, as well as beneficial bacteria.
Actionable Tips
Use authentic gochugaru: Source Korean red pepper flakes for authentic color and a balanced, fruity heat.
Salt cabbage thoroughly: Brine the cabbage for 2-4 hours to draw out water and ensure a crisp texture.
Wear gloves: Protect your hands from the potent spice and garlic when mixing the paste into the cabbage.
Ferment at room temp first: Leave the sealed jar at room temperature for 3-5 days to kickstart fermentation before refrigerating.
Keep it submerged: Press the kimchi down to ensure the vegetables stay under the brine, preventing unwanted surface mold.
Examples in Practice
Traditional baechu-kimchi (napa cabbage kimchi) served with every Korean meal.
Kkakdugi (cubed radish kimchi) as a crunchy, spicy side.
A key component in dishes like kimchi-jjigae (stew) or kimchi fried rice.
Modern fusion creations like kimchi tacos or kimchi grilled cheese sandwiches.
For a deep dive into authentic Korean recipes, including various kimchi styles, explore the resources from celebrated cooking expert Maangchi on her website.
Quick Reference: Key Takeaways
The key to great kimchi lies in balancing the salty, spicy, and savory elements while allowing natural fermentation to develop its signature tang. Following a two-stage fermentation process, first at room temperature and then in the refrigerator, is crucial for controlling the flavor and texture. This approach creates a complex and healthy addition to any meal.

A scientific review in PubMed Central explains how lactic acid bacteria dominate the fermentation process in kimchi and other vegetables, enhancing both flavor and probiotic benefits
3. Lacto-Fermented Dill Pickles
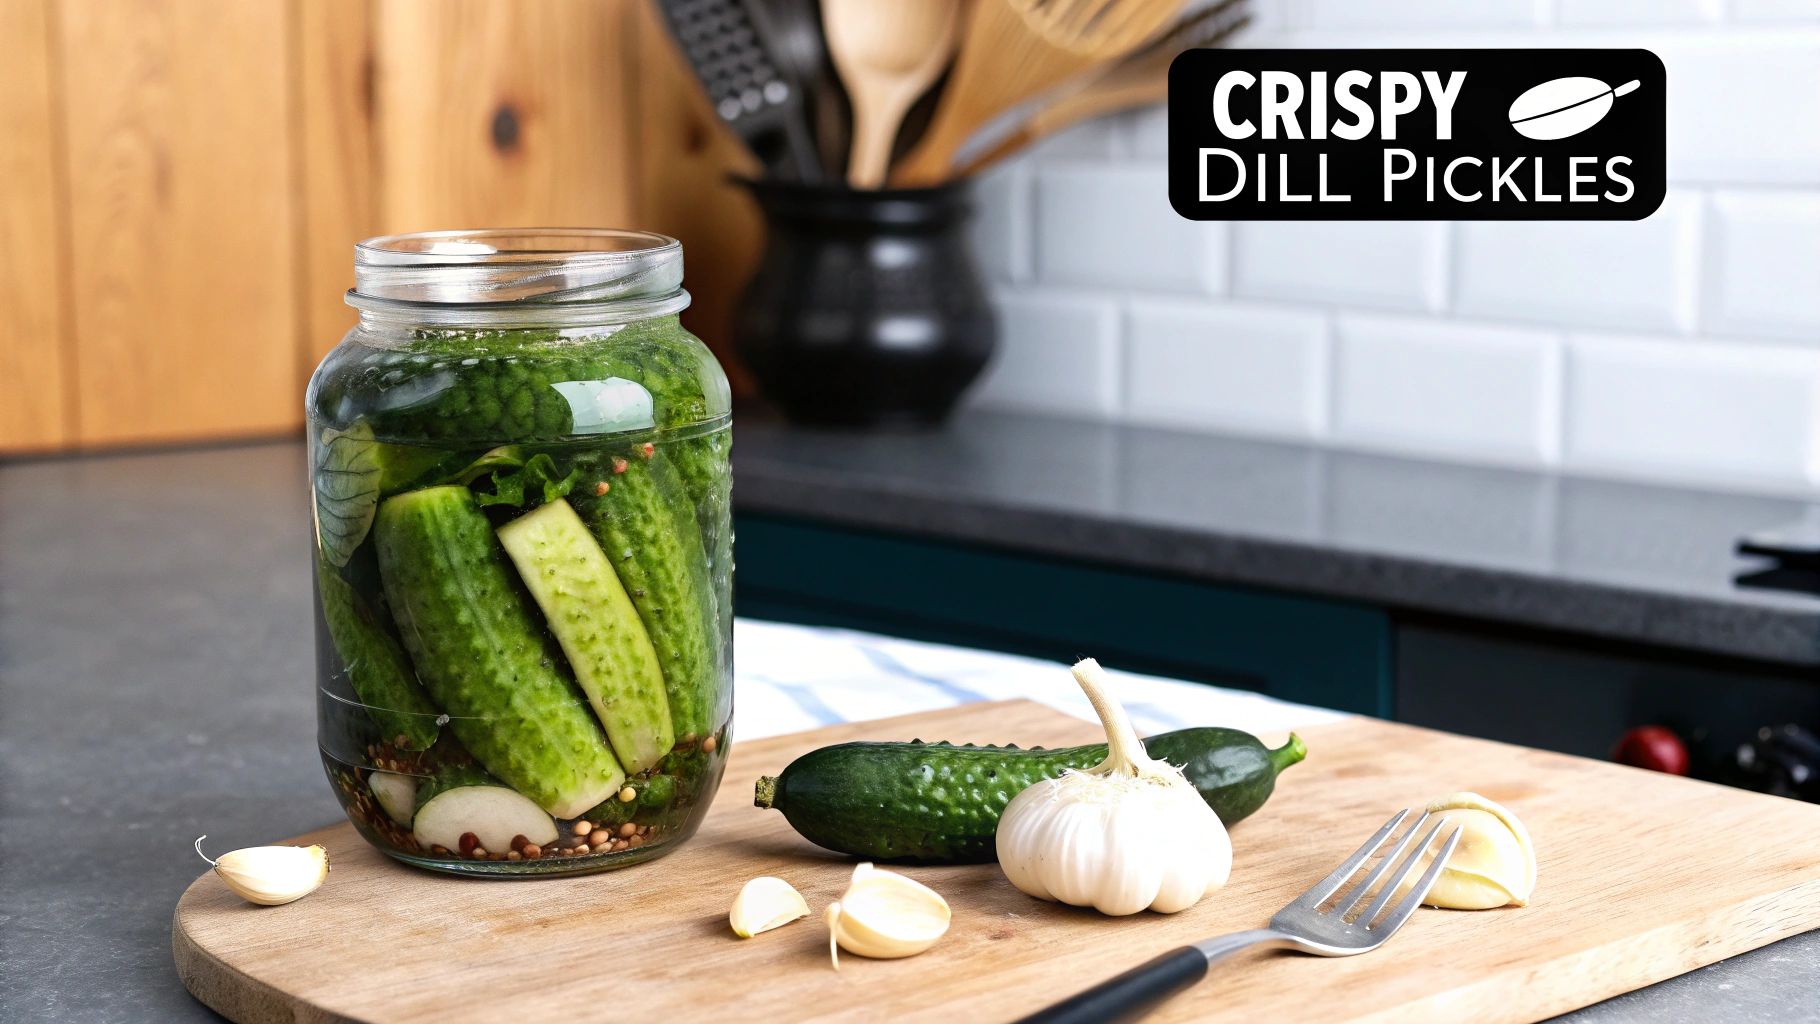
Traditional dill pickles represent the classic American approach to cucumber fermentation, using a salt brine solution rather than dry-salting methods. This process creates crispy, tangy pickles with complex flavors from dill, garlic, and various spices. Unlike commercial vinegar pickles, lacto-fermented dill pickles develop their acidity naturally through beneficial bacteria, creating both superior flavor and probiotic benefits.

What Are Lacto-Fermented Dill Pickles?
Lacto-fermented dill pickles are made by submerging whole or sliced cucumbers in a salt brine with spices like dill and garlic. The salt concentration, typically 3-5%, creates an environment where Lactobacillus bacteria thrive, converting sugars in the cucumbers into lactic acid. The fermentation takes 3-7 days at room temperature, developing a signature sour taste before being moved to cold storage.
Why and When to Use This Approach
This brine-based method is perfect for preserving the peak-season cucumber harvest while creating a gut-healthy snack. Lacto-fermentation produces authentic, deli-style full-sour pickles that are far more flavorful than their vinegar-based counterparts. Use this approach when you want to make a classic, probiotic-rich food that stands alone or complements sandwiches and charcuterie boards.
Actionable Tips
Use a 3-5% salt brine: Mix 2-3 tablespoons of non-iodized salt per quart of chlorine-free water.
Choose firm cucumbers: Select small, unwaxed pickling cucumbers without soft spots for the best texture.
Add tannins for crispiness: Place a grape, oak, or black tea leaf in the jar to keep pickles firm.
Ferment at room temp: Keep the jar at 65-75°F for 3-7 days, then refrigerate to slow fermentation.
Skim the surface: Remove any white film (kahm yeast) that may form on the brine's surface.
Examples in Practice
Jewish deli-style full sour pickles served alongside pastrami sandwiches.
Bubbies brand kosher dill pickles, a popular commercial example.
Traditional barrel-aged pickles found at farmers' markets.
Homestead and home-canned varieties shared among gardeners.
For those interested in growing their own pickling cucumbers, learning about effective organic pest control on The Grounded Homestead can help ensure a healthy, blemish-free harvest perfect for fermentation.
4. Fermented Hot Sauce: From Fiery to Funky
Fermented hot sauce represents an artisanal approach to creating complex, flavorful condiments using chili peppers and salt. This method is a staple among fermentation recipes for vegetables, transforming the raw, sharp heat of peppers into a condiment with layered, funky notes. The fermentation process mellows the harsh bite while developing deep, nuanced flavors through bacterial action, resulting in a sauce with superior depth and natural preservation.
What Is Fermented Hot Sauce?
This process involves mashing or chopping chili peppers and combining them with 2-3% salt by weight to create a pepper mash. This mash ferments for one to four weeks or even longer, allowing lactic acid bacteria to break down sugars and develop complex flavors. The result is a vibrant, probiotic-rich sauce that far surpasses the one-dimensional taste of typical vinegar-based hot sauces.
Why and When to Use This Approach
Use this method to create a signature hot sauce with a unique flavor profile that cannot be bought in a store. It’s perfect for preserving an abundant pepper harvest and for condiment enthusiasts looking to explore advanced fermentation. The resulting sauce can be used on everything from eggs and tacos to marinades and soups, adding both heat and a distinctive umami-like depth.
Actionable Tips
Use 2-3% salt: A salt concentration of 2-3% of the peppers' weight is ideal for safety and flavor.
Ferment for flavor: Taste your ferment weekly; a shorter ferment (1-2 weeks) is fruitier, while a longer one (4+ weeks) is funkier.
Manage the mash: Keep the pepper mash submerged under its brine, using a fermentation weight to prevent mold.
Blend to finish: After fermentation, blend the mash with a small amount of brine or vinegar to reach your desired consistency.
Ensure safety: For long-term shelf stability, consider adding vinegar after fermentation to lower the pH.

Examples in Practice
Tabasco brand sauce, which is famously aged for up to three years in oak barrels
Louisiana-style hot sauces that feature a simple mash of peppers, salt, and vinegar
Sriracha, which traditionally begins with a fermented chili paste
Artisanal craft hot sauces that often highlight unique pepper varieties and long fermentation times
5. Japanese Tsukemono (Quick Pickles)
Tsukemono encompasses a broad category of Japanese pickled vegetables, ranging from quick salt-pressed pickles to longer-fermented varieties. Unlike many Western fermentation recipes for vegetables that rely on long cures, tsukemono often emphasizes a light, quick fermentation that preserves the vegetable's crisp texture and natural flavor. These pickles are a fundamental part of Japanese cuisine, served with nearly every meal to cleanse the palate and aid digestion.
What Is Japanese Tsukemono?
Tsukemono translates to "pickled things" and uses various mediums for preservation, including salt, rice bran (nuka), sake lees (kasu), or miso. The most common forms for fermentation are shiozuke (salt pickles) and nuka-zuke (rice bran pickles). Nuka-zuke involves burying vegetables in a fermented rice bran mash called a nukadoko, where they ferment in as little as a few hours to a few days.
Why and When to Use This Approach
This approach is ideal for those who appreciate subtle, complex flavors and want to explore quick fermentation cycles. Tsukemono is perfect for preserving seasonal vegetables like cucumbers, daikon radish, and eggplant. Use it to add a tangy, savory, and texturally interesting component to rice bowls, bento boxes, or as an accompaniment to grilled fish or tempura.
Actionable Tips
Press Vegetables: For shiozuke, press vegetables with a weight to expel water and speed up pickling.
Use Japanese Salt: Opt for high-quality Japanese sea salt for a cleaner, more authentic flavor.
Maintain the Nuka Bed: If making nuka-zuke, stir the rice bran bed daily to aerate it and prevent spoilage.
Experiment Seasonally: Use different vegetables as they come into season for the best flavor and texture.
Serve Fresh: Tsukemono is best served immediately after being removed from its pickling medium to enjoy its crispness.
Examples in Practice
Nuka-zuke cucumbers served alongside a traditional Japanese breakfast.
Shiozuke (salt-pressed cabbage) as a refreshing side dish.
Pickled ginger (gari) served with sushi to cleanse the palate.
Colorful tsukemono assortments brightening up a bento box.
6. Fermented Salsa Verde: Tangy Preservation
Fermented salsa verde elevates the bright, acidic flavors of traditional tomatillo salsa through controlled lacto-fermentation. This entry in our list of fermentation recipes for vegetables develops complex, tangy notes while naturally preserving the salsa without heat. The process mellows harsh raw flavors from onions and garlic, creating a more sophisticated, probiotic-rich condiment with improved digestibility.
What Is Fermented Salsa Verde?
This recipe combines classic salsa verde ingredients like tomatillos, onions, cilantro, and jalapeños with salt. A 2% salt-to-vegetable weight ratio creates a brine that nurtures lactic acid bacteria. Fermented for 3–7 days at room temperature, the salsa’s natural sugars are converted into lactic acid, which adds a signature tang and acts as a natural preservative.
Why and When to Use This Approach
This method is ideal for preserving a large harvest of tomatillos or for anyone wanting to add a probiotic boost to their condiments. It creates a dynamic, fizzy salsa that is more flavorful and nutritionally dense than its fresh or cooked counterparts. Use it to top tacos, enchiladas, or grilled meats for an unforgettable tangy kick.
Actionable Tips
Calculate salt precisely: Use 2% salt by total weight of all vegetables for safe fermentation.
Keep it submerged: Ensure all solids stay below the brine to prevent mold. A fermentation weight works well.
Ferment at room temp: Aim for 65-75°F for a steady 3–7 day fermentation period.
Taste daily: Begin tasting after day two to monitor flavor development and find your ideal level of tang.
Refrigerate to stop: Once the desired flavor is reached, move the salsa to the refrigerator to halt fermentation.
Examples in Practice
Authentic salsas served at traditional Mexican restaurants
Artisanal fermented salsas found at farmers markets
Traditional household preparations in Mexico for long-term storage
Small-batch products from craft food companies emphasizing gut health
7. Fermented Garlic Scapes: Capturing Seasonal Flavor
Fermented garlic scapes utilize the tender, curly flower stalks of garlic plants in a simple salt brine fermentation. This process transforms the sharp, pungent flavor of raw scapes into a mellow, tangy, and complex condiment. This is one of the most rewarding fermentation recipes for vegetables, preserving a fleeting seasonal harvest for year-round enjoyment.
What Are Fermented Garlic Scapes?
Fermented garlic scapes involve submerging whole or chopped scapes in a 3% salt brine. The lactic acid bacteria present on the scapes ferment the natural sugars, softening the initially harsh bite into a sophisticated garlicky tang. The fermentation typically takes 1–2 weeks at room temperature, resulting in a crisp, pickle-like texture.
Why and When to Use This Approach
This method is ideal for preserving the brief early-summer harvest of garlic scapes. Because their availability is limited, fermenting them is a perfect way to capture their unique flavor. Use fermented scapes as a zesty topping for salads, blended into pestos, or minced into dressings for an umami-rich garlic note without the sharpness of raw cloves.
Actionable Tips
Harvest at peak: Cut scapes when they form a full curl but before the flower bud opens for the best texture.
Trim properly: Remove the tough, woody ends near the base and the thin tip near the flower bud before fermenting.
Use a 3% brine: This salt concentration ensures proper preservation while allowing the delicate flavor to shine.
Ferment until crisp-tender: Taste after one week; the scapes should be tangy but retain a satisfying crunch.
Refrigerate for storage: Once fermented to your liking, move the jar to the refrigerator to halt the process and store for up to 6 months.
Examples in Practice
Seasonal offerings at farmers markets
Unique additions in Community Supported Agriculture (CSA) boxes
Featured ingredients on farm-to-table restaurant menus
A prized preserved good in homesteading pantries
For more tips on timing your harvest for optimal flavor, explore how to harvest herbs on The Grounded Homestead.
8. Multi-Vegetable Curtido
Curtido is a vibrant Salvadoran fermented cabbage relish, often described as a spicy, tangy coleslaw. This classic Central American recipe combines finely shredded cabbage with carrots, onions, oregano, and hot peppers like jalapeños. It's one of the most flavorful fermentation recipes for vegetables, offering a quick, crisp, and piquant condiment that enhances a wide variety of dishes.
What Is Multi-Vegetable Curtido?
Multi-vegetable curtido is a lacto-fermented slaw that uses a mix of vegetables and a salt brine to create its signature taste. Unlike sauerkraut's longer fermentation, curtido is typically fermented for just 3-5 days at room temperature. This shorter duration preserves the vegetables' crispness while developing a complex, zesty flavor profile.
Why and When to Use This Approach
This method is ideal for those seeking a fast and flavorful ferment that goes beyond basic cabbage. It’s an excellent way to introduce a spicy kick and probiotic goodness to meals. Use curtido to add a refreshing, acidic crunch to rich or savory foods, cutting through fats and balancing flavors. It's a staple for anyone exploring Latin American cuisine.
Actionable Tips
Julienne evenly: Slice all vegetables to a similar size for consistent texture and fermentation.
Use 2-3% salt: Calculate salt based on the total weight of all vegetables to ensure proper preservation.
Pack tightly: Press the mixture firmly into your jar to release moisture and eliminate air pockets.
Ferment briefly: Aim for 3-5 days at room temperature before transferring to the refrigerator to halt the process.
Serve chilled: Chilling curtido enhances its crispness and refreshing qualities, making it a perfect condiment.
Examples in Practice
Traditional accompaniment for Salvadoran pupusas
Condiment at Central American restaurants and food trucks
Topping for tacos, tostadas, and grilled meats in Tex-Mex fusion
Side dish in Latin American household cooking for added zest
Comparison of 8 Vegetable Fermentation Recipes

Start Your Fermentation Journey Today
You now have a robust toolkit of eight distinct and delicious fermentation recipes for vegetables to explore in your own kitchen. We’ve journeyed from the classic crunch of Traditional Sauerkraut and Lacto-Fermented Dill Pickles to the fiery complexity of Korean Kimchi and Fermented Hot Sauce. Each recipe showcases the incredible power of microbes to transform simple garden produce into nutrient-dense, flavor-packed staples.

The beauty of this ancient preservation method lies not in rigid rules, but in its profound adaptability. Think of these recipes as reliable maps, not strict itineraries. The true magic happens when you start improvising. You are the conductor of your own microbial orchestra, guiding the process to create something uniquely yours.
Key Takeaways for Successful Fermentation
To ensure your success, let's revisit the core principles we've covered. These are the foundational pillars that apply whether you're making a batch of Fermented Salsa Verde or experimenting with tangy Fermented Garlic Scapes.
Sanitation is Paramount: Always start with impeccably clean jars, weights, and utensils. You want to create an environment where beneficial bacteria thrive, not unwanted molds or yeasts.
Salt is Your Ally: The correct salt-to-water ratio is non-negotiable. It inhibits spoilage microbes while allowing beneficial Lactobacillus bacteria to flourish, creating that signature tangy flavor and preserving your vegetables safely.
Submersion is Key: Remember the golden rule: everything must stay below the brine. Any vegetable matter exposed to oxygen is a potential site for mold growth. Use fermentation weights or other creative solutions to keep your produce submerged.
For hands-off peace of mind, fermentation lids with built-in airlocks like this set help manage gas release while keeping oxygen — and unwanted microbes — out.

Patience is a Virtue: Fermentation is a living process that unfolds on its own schedule, influenced by temperature and ingredients. Check your ferments regularly, taste them at different stages, and trust your senses to know when they are ready.
Your Actionable Next Steps
Feeling inspired? Don't let the momentum fade. The best way to learn is by doing. Here’s how you can get started right now:
Choose One Recipe: Don't overwhelm yourself. Pick the one recipe from our list that genuinely excites you the most. Is it the vibrant, multi-vegetable Curtido or the elegant simplicity of Japanese Tsukemono?
Gather Your Supplies: Make a list of everything you need. This includes the fresh vegetables, high-quality salt (without iodine or anti-caking agents), and your fermentation vessel, whether it's a simple Mason jar or a specialized crock.
Embrace the Process: Set aside a small window of time, follow the steps, and enjoy the hands-on experience of creating food that is alive. Your first batch is a powerful step toward a more self-sufficient and connected way of living.
Mastering these fermentation recipes for vegetables does more than just fill your pantry; it connects you to your food on a deeper level. It’s a sustainable practice that reduces waste, boosts flavor, and enhances the nutritional value of your harvest. Your journey into fermentation is a direct path to a healthier gut, a more resilient household, and a profound appreciation for the natural processes that sustain us.
Ready to dive deeper into sustainable living, from seed to pantry? At The Grounded Homestead, we provide practical guides, in-depth tutorials, and the tools you need to build a more self-reliant lifestyle. Visit The Grounded Homestead to explore our resources and join a community dedicated to modern homesteading.


Facebook
Instagram
X
Youtube