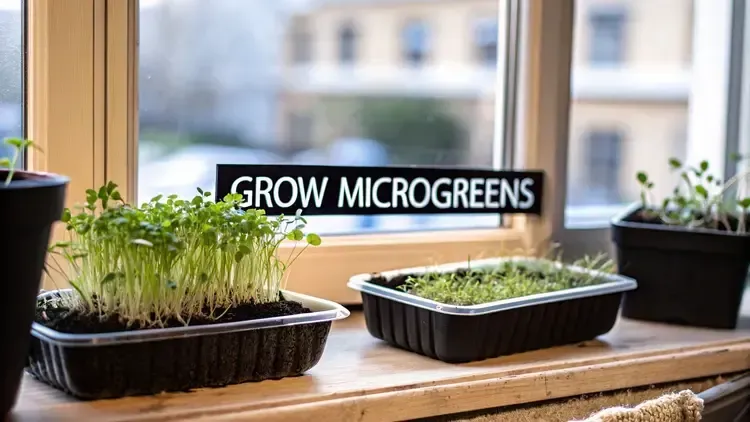
How to Grow Microgreens Indoors a Simple Guide
How to Grow Microgreens Indoors a Simple Guide
Growing microgreens on your countertop is one of the simplest, fastest ways to get fresh, homegrown food on your plate. It's gardening at its most rewarding. You just fill a shallow tray with a bit of soil, scatter some seeds like radish or broccoli, give them a little water and light, and in about a week or two, you have a harvest.
Why Grow Microgreens Indoors
The dream of growing your own food is a big one, but not everyone has a sprawling backyard or the patience for a three-month growing season. This is where learning how to grow microgreens indoors changes everything. It’s a hobby that slots perfectly into a busy life, giving you a steady supply of fresh, flavorful greens with an incredibly small footprint.
Interest in growing microgreens has taken off, and for good reason. You don’t need much space, the crop cycle is lightning-fast, and they’re low-maintenance. This makes them perfect for apartment dwellers, city folks, or even seasoned gardeners who want an off-season project. For example, popular varieties like broccoli, radish, and sunflower are often ready to snip in just 7 to 14 days.
The Quick Path from Seed to Salad
Unlike waiting months for a full-sized vegetable to mature, microgreens offer almost instant gratification. Think of it as a super-fast, simplified version of gardening that fits on a windowsill or a small kitchen shelf. You really don’t need complicated gear or a deep knowledge of horticulture to get it right.
The whole idea is beautifully simple: you're harvesting a plant at its youngest and most nutrient-dense stage, right after the first "true leaves" appear. This means you get all the concentrated flavor—the spicy kick of radish, the earthy notes of beet, the nutty crunch of sunflower—without the long, drawn-out wait.
Essential Microgreens Starter Kit Checklist
To get started, you only need a handful of basic items. This isn't about buying a pricey, high-tech setup; it's about gathering the essentials that will guarantee you a successful first harvest.
Here's a quick checklist of what you'll need to have on hand before you sow your first seeds.

With these few things, you're more than ready to begin. The process is straightforward, and the reward is a fresh, flavorful harvest you grew yourself.
Choosing Your Supplies and Seeds for Success
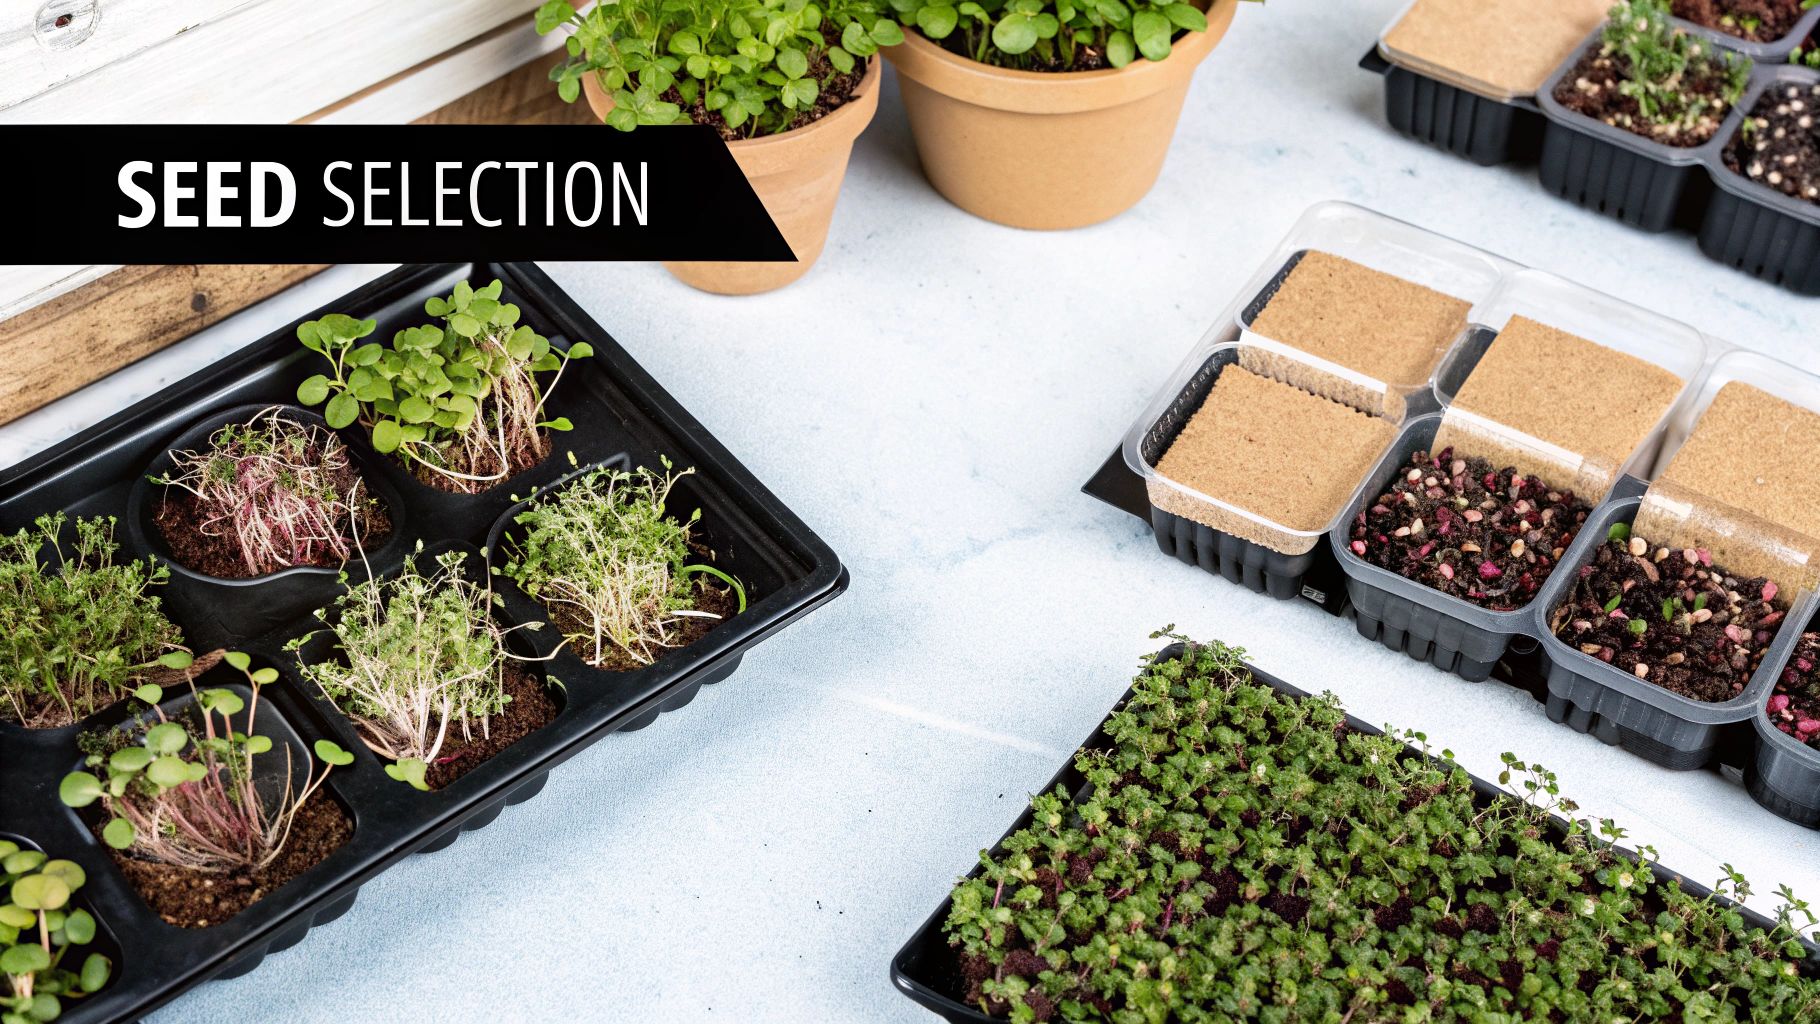
A fantastic harvest starts long before you ever sprinkle a single seed. The truth is, the quality of your supplies directly shapes your success, and making a few smart choices now prevents the most common frustrations later. You don't need a lot of fancy gear, but understanding the why behind each piece is what really separates a thriving crop from a moldy mess.
Take your growing trays, for instance. You'll usually find shallow trays, about 1-2 inches deep, sold in a set of two: one with drainage holes and one without. This isn't just a packaging gimmick; using them together is the secret to easy watering and healthy roots.
The tray with holes holds your growing medium and seeds. The solid one underneath acts as a water reservoir, letting you "bottom water" your greens. This simple technique keeps you from pouring water directly onto delicate seedlings, which can easily crush them or create a damp surface where mold loves to grow. Instead, the roots just pull water up from the bottom as they need it—a far more natural and effective approach.
Selecting Your Growing Medium
Next up is what you'll actually grow your microgreens in. It’s crucial to use a sterile, lightweight medium that allows those tiny, delicate roots to push through without a fight. One of the most common mistakes I see is people using heavy, compacted garden soil, which almost guarantees poor germination.
You have a few great options to choose from:
Coconut Coir: This is a popular and sustainable choice made from coconut husks. It holds moisture incredibly well, has a neutral pH, and gives roots plenty of air. It's my personal go-to for its consistency and ease of use.
Organic Potting Soil: A fine-particle, sterile seed-starting mix works like a charm. Just be sure to find one without big chunks of wood or any slow-release fertilizer pellets. Microgreens get all the energy they need from the seed itself.
Hemp Mats: If you want to go completely soil-free, hemp mats are a fantastic, clean alternative. They're biodegradable and incredibly simple—just lay the mat in the tray, wet it, and sprinkle your seeds on top.
Remember, the goal here is a clean, supportive, and moisture-retentive environment. After you harvest, the leftover roots will form a dense mat. It's best to compost the whole thing and start fresh with each new crop to keep any potential diseases at bay.
Picking the Perfect Seeds for Beginners
This is the fun part—choosing your seeds! While you can technically grow almost any vegetable or herb as a microgreen, some are far more forgiving for beginners. Starting with a reliable variety helps build your confidence and gives you a feel for the rhythm of growing.
Planning your first crop is a lot like mapping out a bigger garden. If you're interested in that process on a larger scale, you can check out our complete guide on garden planning for beginners.
To get you started, here are a few can't-miss options that I recommend for their great flavor and easy-going nature.
Flavorful and Fast-Growing Choices

Starting with one of these practically guarantees your first experience will be a rewarding one. You'll get a quick, delicious harvest and a solid understanding of the process.
Creating the Perfect Indoor Growing Environment
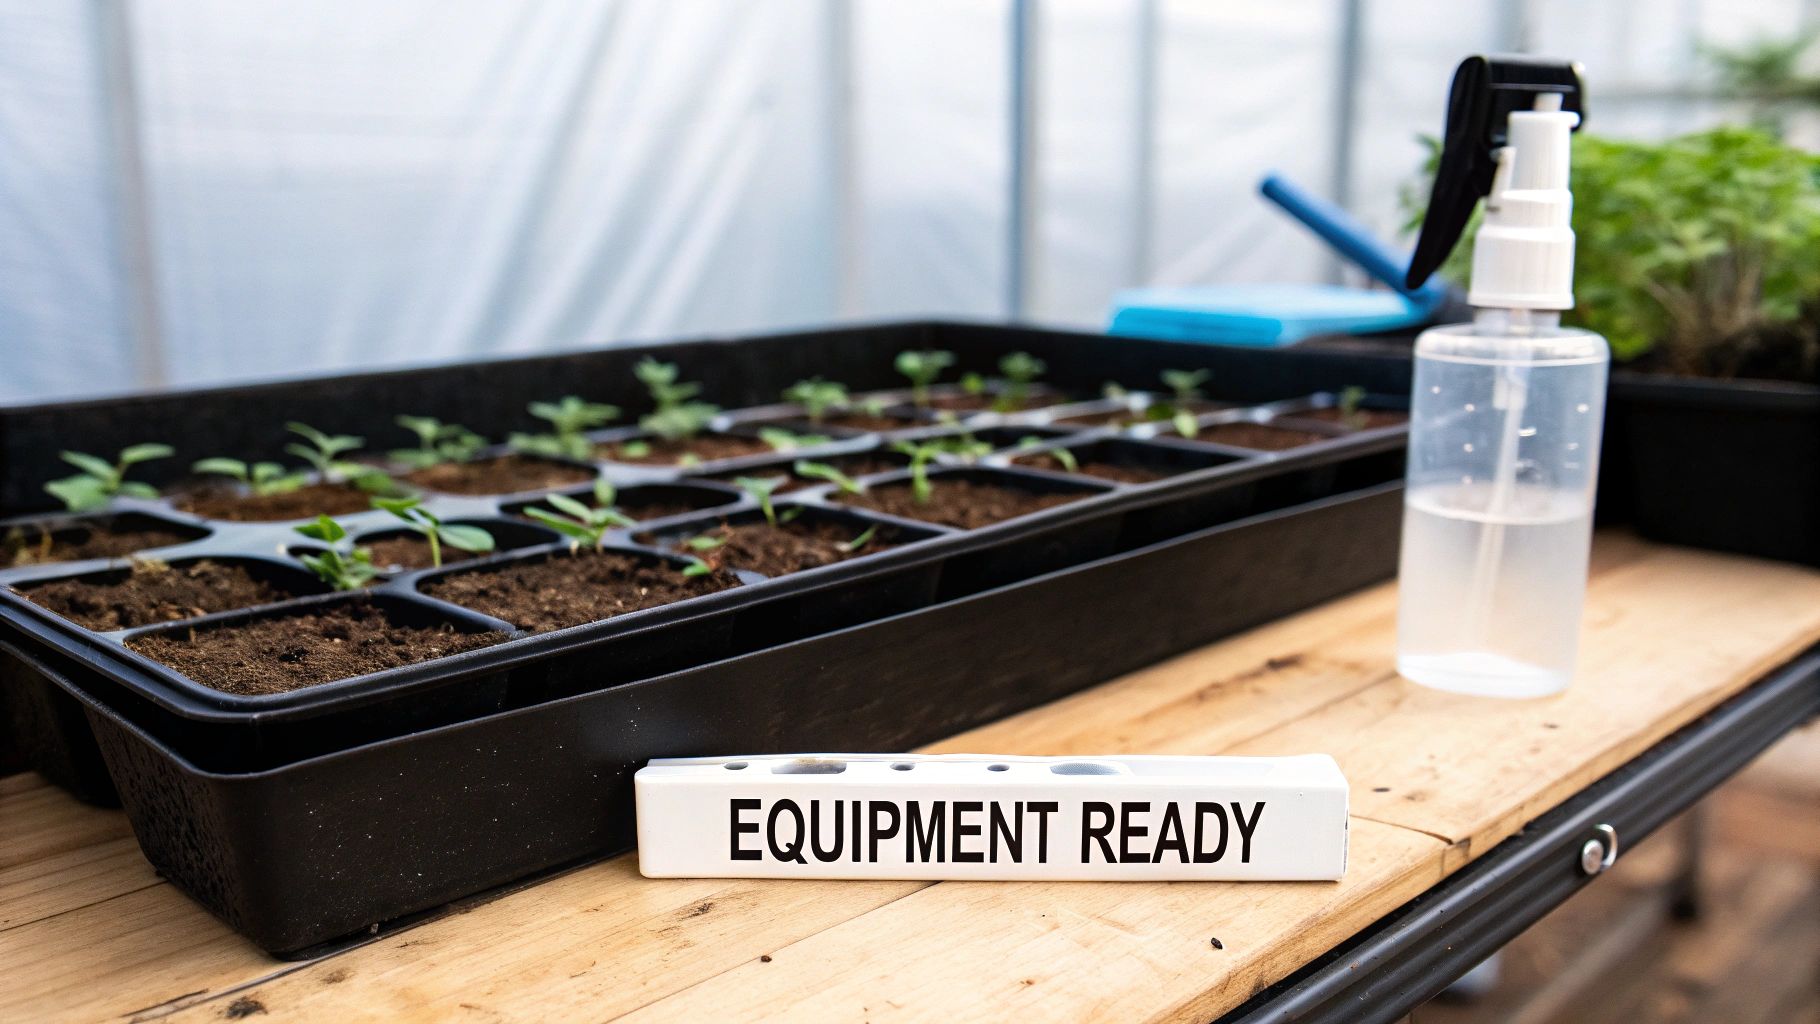
Once you’ve gathered your supplies, the next piece of the puzzle is setting up a dedicated spot where your microgreens can really thrive. This doesn't mean you need a high-tech, climate-controlled room. It’s more about understanding and providing a few key elements that encourage strong, healthy growth right from the start.
Your home already has potential spots. A bright, south-facing windowsill is a great place to begin since it offers natural light for free. Just be mindful that sunlight can be inconsistent, especially during shorter winter days. This can lead to "leggy" seedlings that stretch and become weak.
This is where a simple, affordable LED grow light becomes a game-changer for anyone serious about learning how to grow microgreens indoors. A dedicated light source gives you complete control, ensuring your greens get the consistent, full-spectrum light they crave.
Preparing Your Growing Medium
Before you even think about sowing seeds, your growing medium needs to be just right. Whether you chose coconut coir or a fine potting mix, the goal is to make it a welcoming environment for germination. Start by placing your chosen medium in a separate container and gradually adding water.
You’re aiming for damp, like a well-wrung-out sponge, but definitely not waterlogged. Squeeze a handful—if water streams out, it’s too wet. If it’s crumbly and dry, add a bit more water. This pre-moistening step is crucial for giving seeds the initial hydration they need to sprout.
Once it feels right, fill your growing tray with about 1-2 inches of the medium. Gently press it down to create a flat, even surface. This ensures your seeds have good contact with the soil and prevents water from pooling in low spots, which is a classic invitation for mold.
A stable environment is the foundation of a successful crop. By controlling the core elements of light, temperature, and moisture, you create a predictable space where your microgreens can flourish without stress.
Mastering Your Light Setup
After germination, lighting is probably the most critical factor for success. Microgreens need plenty of light to photosynthesize—that’s what gives them their vibrant green color and sturdy structure. Skimp on light, and you'll end up with pale, stringy seedlings that lack both flavor and nutrients.
For the best results, you'll want to provide a consistent light cycle of 12-16 hours per day. The easiest way to manage this is with an inexpensive outlet timer. This "set it and forget it" approach provides the consistency plants love, mimicking the long, sunny days of summer.
When you set up your LED lights, position them just a few inches above the tray. Keeping the light source close encourages the seedlings to grow stout and strong rather than stretching desperately upwards. As they get taller, you can raise the light to maintain that small gap. This simple adjustment makes a massive difference in the quality of your final harvest.
Nail the Temperature and Humidity
While light is king, temperature and humidity play vital supporting roles. Your microgreens will be happiest with a room temperature between 18°C and 24°C (that’s about 65°F to 75°F) and relative humidity in the 40% to 60% range. Luckily, these are pretty standard conditions for most homes.
Controlling these environmental factors gives you a huge advantage, leading to better germination and higher-quality greens. You can find more great insights on creating the ideal growing conditions from the folks at Simply Living Well.
Choosing Your First Crop
With your setup ready, it’s time for the fun part: picking your seeds. If you're just starting out, I recommend beginning with varieties that are known for being forgiving and fast-growing. This builds your confidence and gets you to your first harvest quicker.
Below is a table comparing a few of my favorite beginner-friendly microgreens. It breaks down their taste, grow time, and whether they need to be soaked before planting—a small step that can make a big difference for certain seeds.
Beginner-Friendly Microgreens Comparison

Starting with something like broccoli or radish is a great way to learn the ropes without much fuss. Once you've got a successful harvest or two under your belt, you can branch out to slightly trickier (but equally delicious) varieties like sunflower or pea shoots.
Mastering the Sowing and Germination Phase
This is where the magic really starts to happen. Getting your sowing and germination right sets the stage for a lush, healthy canopy of microgreens. It’s the difference between a full, even tray and a patchy, disappointing one. Frankly, nailing this step is your best defense against common headaches like mold.
Dialing in Your Seed Density
A key to a great harvest is achieving the right seed density. If you sow too sparsely, you're just wasting space and will end up with a thin, scraggly harvest. But on the other hand, overcrowding is one of the fastest ways to get mold, since it kills airflow and traps moisture.
Every seed variety has its own sweet spot. I highly recommend using a small kitchen scale to weigh your seeds—it takes the guesswork out and gives you much more consistent results. For a standard 10x20 tray, you might use 100 grams of sunflower seeds but only 20 grams of broccoli seeds.
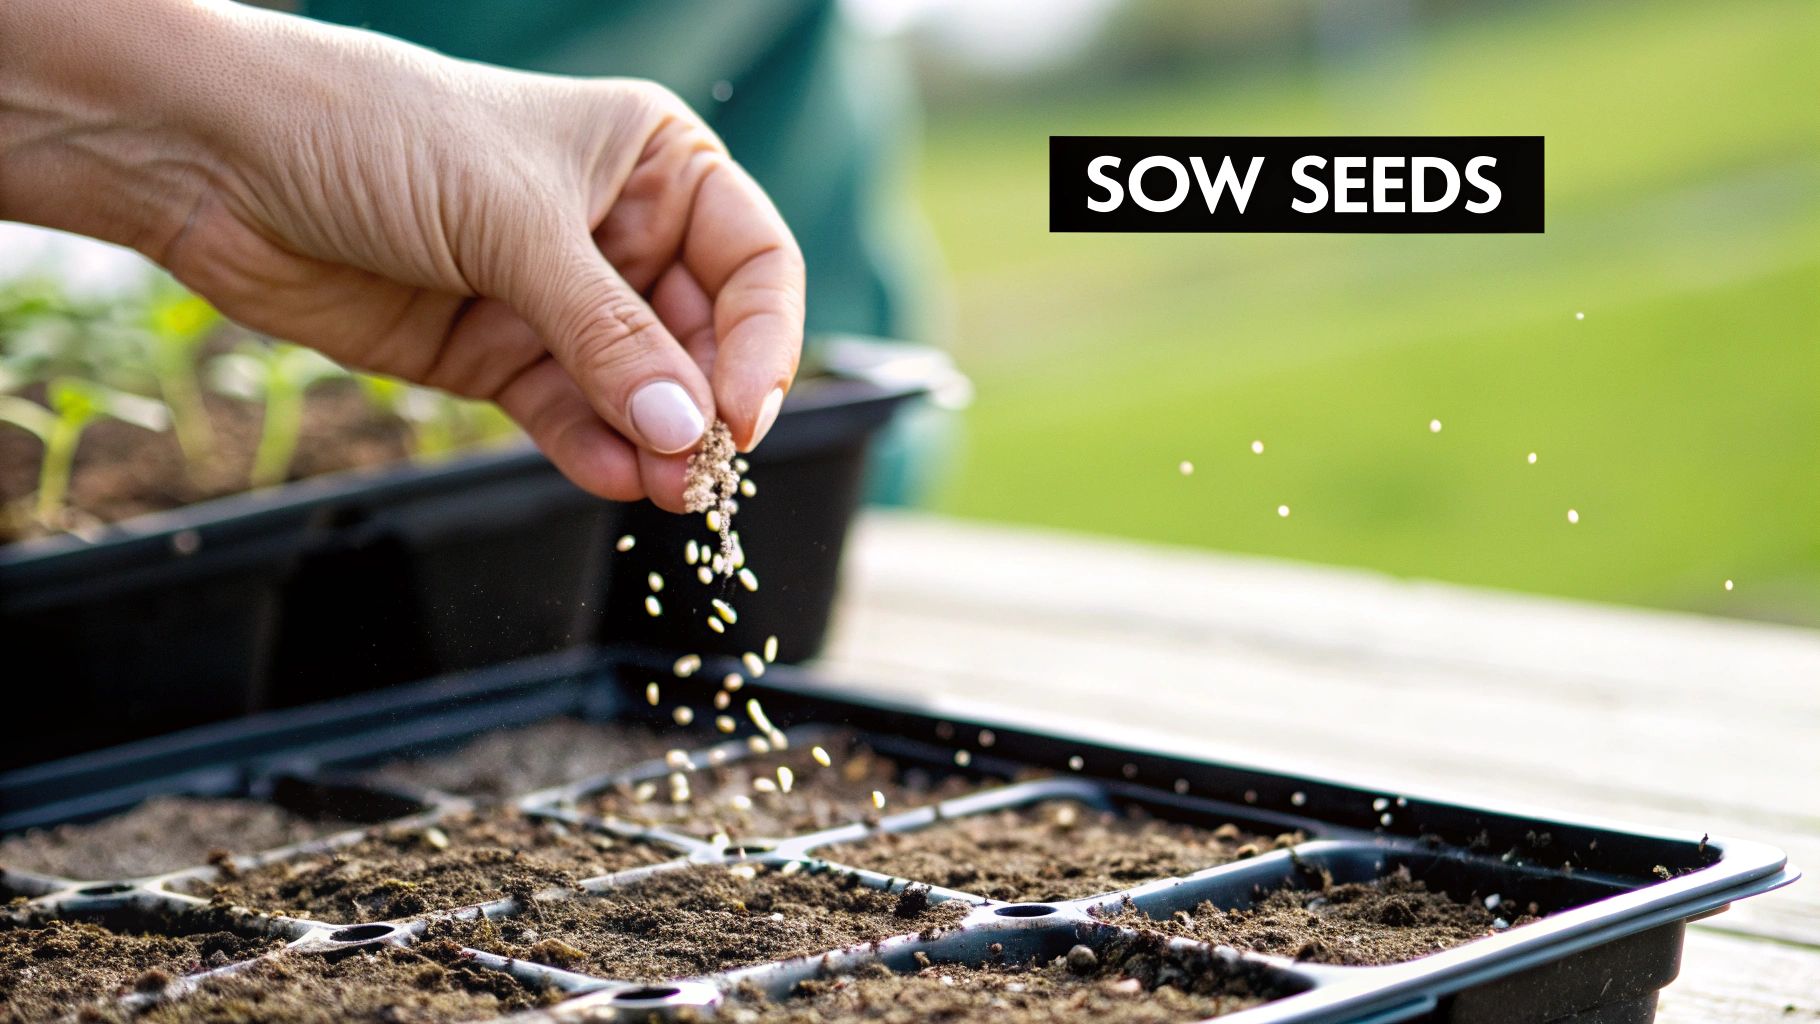
Once your growing medium is prepped and moistened, it’s time to spread the seeds. You’re aiming for a dense, even layer that covers the whole surface. A shaker bottle works wonders for smaller seeds, helping you distribute them without clumping. After they're spread out, give them a gentle press to make sure they have good contact with the soil.
The All-Important Blackout Period
With your seeds all sown, you need to trick them into thinking they’re buried deep underground. We do this with a "blackout period"—a few days spent in complete darkness. For most microgreens, this phase is non-negotiable. It encourages the seeds to send down strong, healthy roots before they even think about reaching for the light.
The easiest way to do this is to place an empty, solid tray right on top of your seeds. This gives you both the darkness and the gentle pressure that mimics being covered by a layer of soil. For a lot of seeds, you can even add a small weight on top, like a brick or a heavy book, to really drive the point home.
Pro Tip: Don't freak out when you see fuzzy white stuff on your roots after a couple of days in the dark. Those are healthy root hairs, not mold. They're incredibly fine and will disappear the moment you mist them with water. Mold, in contrast, looks more like a spiderweb and won't vanish when you spray it.
This infographic breaks down the simple tray prep you'll do right before sowing.
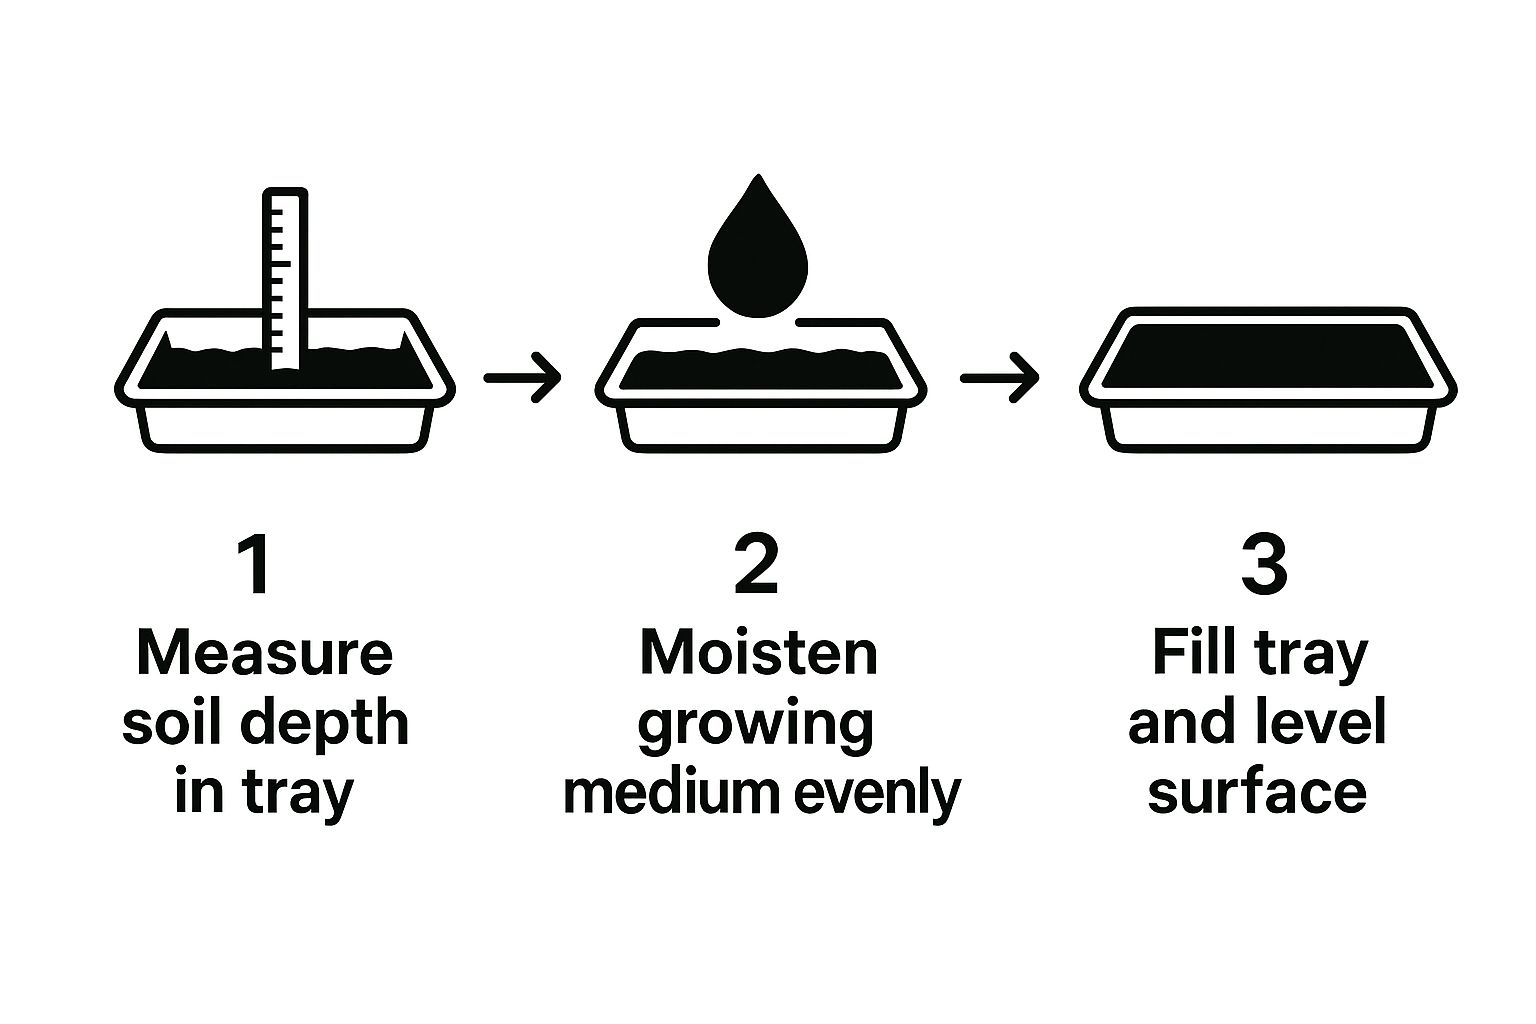
This basic, three-part process—measuring, moistening, and leveling your medium—creates the perfect foundation for your seeds to germinate evenly and anchor themselves with strong roots.
The blackout period usually lasts for 2-4 days, though it varies a bit depending on the seed type. I like to lift the cover once a day to give them a light misting of water. You'll know the blackout is over when you see the majority of your seeds have sprouted and are starting to physically push the top tray up. That’s your signal—they’re ready for light.
Daily Care and Harvesting for Peak Freshness
Once your seedlings emerge from the blackout period and start soaking up the light, your job shifts from setup to simple maintenance. This part is less about heavy lifting and more about consistent, gentle care. A quick daily check-in, usually just a minute or two, is all it takes to steer your microgreens toward a perfect harvest.
The most important daily task is keeping an eye on moisture. Young microgreens are thirsty, and because they’re planted so densely, the growing medium can dry out faster than you'd think. Don't panic if you find them looking a bit droopy and dramatic—they're surprisingly resilient and usually bounce back quickly after a good drink.
The Art of Smart Watering
To keep your crop healthy and thriving, bottom-watering is the best approach. Drenching your delicate greens from above is a recipe for disaster. It can flatten their tender stems, create uneven moisture, and worst of all, invite mold and fungal growth on the leaves and soil surface.
Bottom-watering dodges all of these problems.
Simply lift your growing tray (the one with the drainage holes) and pour about a half-inch of water into the solid base tray underneath. Set the growing tray back inside and let the soil and roots wick up the moisture from the bottom. After 10-15 minutes, if there’s still a lot of standing water in the base tray, it’s a good idea to pour it out. This keeps the soil from getting waterlogged.
For more general guidance, our article offers some great tips on how often you should water plants.
Knowing When to Harvest Your Microgreens
The beauty of learning how to grow microgreens indoors is the incredibly short turnaround from seed to plate. You don’t need to guess when they’re ready; the plants give you clear visual cues. The perfect time to harvest is typically just as the first set of leaves, known as cotyledons, have fully opened and greened up.
The harvest window for most microgreens is when they're at their peak flavor and nutritional density. This is generally between 7 and 14 days after sowing. Waiting too long can cause them to become bitter as their true leaves develop.
Commercial growers rely on this quick cycle, often using high-tech systems to control every variable for optimal results. You can find out more about these professional techniques and market trends from Straits Research. For us home growers, the key is simply watching for those open cotyledons.
Harvesting Checklist
Use clean, sharp scissors or a very sharp knife. A clean cut prevents damage and reduces the risk of introducing bacteria.
Cut just above the soil line. Gently grab a small bunch of microgreens with one hand and snip them about a half-inch above the growing medium.
Harvest as you need them. For the absolute best taste, only cut what you plan to use for that meal. The tray will happily keep growing for a few more days.
Storing Your Harvest for Lasting Freshness
To store your freshly cut microgreens, make sure they are completely dry. It’s best to rinse them right before you eat them, but if you must wash them before storing, use a salad spinner or gently pat them dry with paper towels. Any excess moisture will cause them to spoil fast.
Place the dry microgreens in a sealed container or a zip-top bag with a piece of paper towel tucked inside. The paper towel works wonders, absorbing any extra condensation and keeping the greens crisp. Stored this way in the refrigerator, your harvest can stay fresh and delicious for up to a week.
Troubleshooting Common Microgreen Problems
Even with the best care and intentions, every grower eventually runs into a little snag with their indoor microgreens. The good news? Most common problems are easy to spot and even easier to fix once you know what you’re looking at. A few simple tweaks are usually all it takes to get things back on track.
One of the first things that trips up new growers is the sight of fuzzy white stuff around the base of their seedlings. More often than not, this is not mold but perfectly normal root hairs—a great sign of healthy development. Mold, on the other hand, looks more like a spiderweb and often comes with a distinct, musty smell.
Your best defense against actual mold is good airflow and smart watering. A small, inexpensive fan set on low can work wonders, keeping the air moving and preventing the damp, stagnant conditions that fungi love to call home.
Solving Growth Issues
If you notice your microgreens are growing slowly or in patchy, uneven spots, the culprit is usually either seed density or light. Spreading your seeds too thin leads to a weak canopy, while overcrowding can choke out seedlings before they have a chance, sometimes leading to rot.
Another common sight is tall, pale, and "leggy" greens. This is a classic sign they are stretching desperately for more light—a frequent issue when you're relying on an inconsistent windowsill.
For Leggy Stems: Your light source is probably too far away. Lower your LED grow light so it’s just a few inches above the canopy. This encourages stout, strong growth instead of flimsy stretching.
For Yellow Leaves: Pale or yellow leaves, a condition called chlorosis, also points directly to a lack of sufficient light. Make sure your greens are getting a solid 12-16 hours of quality light each day.
Remember, these troubleshooting steps are part of the learning process. Every grower goes through this. By making small adjustments, you're not just fixing a problem—you're fine-tuning your technique for even better harvests down the road.
This hands-on approach is what makes growing so rewarding. And it seems a lot of people agree. The global demand for fresh microgreens is booming—the market was valued at USD 1.77 billion in 2024 and is expected to expand significantly. You can read more about the growth of the microgreens market on IMARC Group. For dealing with pests beyond mold, check out our guide on effective natural pest control methods.
Common Questions About Growing Microgreens
Even with the best instructions, you're bound to have questions as you start your microgreens journey. That’s a good thing—it means you’re paying attention. Here are a few of the most common ones I hear from folks just getting started with how to grow microgreens indoors.
Can I Grow Microgreens Without Any Soil?
Yes, absolutely. Growing microgreens hydroponically is a popular—and very clean—alternative to using soil. Instead of dirt, you'll use an inert grow mat made from natural fibers like hemp, jute, or coconut coir.
Just place the mat in your tray, give it a good soak with clean water, and spread your seeds right on top. It’s a fantastic, mess-free method that completely sidesteps any potential for soil-borne pests.
Do My Microgreens Need Fertilizer?
For the vast majority of fast-growing microgreens, the answer is no. You don't need any fertilizer.
The seed itself is a tiny powerhouse, packed with all the nutrients the plant needs to sprout and grow to the harvestable cotyledon stage. Your job is to provide good seeds, clean water, and plenty of light. The seed has everything else it needs to get the job done.
One of the biggest points of confusion for new growers is telling the difference between healthy root hairs and dreaded mold. Root hairs are the fine, white fuzz growing directly from the root; they vanish the moment you mist them with water. Mold, on the other hand, is web-like, often grayish, and carries a distinct musty smell.
Should I Reuse My Soil After a Harvest?
I really don’t recommend it. While it might seem resourceful, reusing your growing medium is asking for trouble.
The leftover roots from the last crop will start to decay, creating the perfect breeding ground for mold and fungus in your next tray. For the healthiest, most reliable results, it's always best to compost the spent soil mat and start each new batch with a fresh, sterile medium.
Ready to dig in and start your own indoor garden? The Grounded Homestead is here to give you the knowledge and inspiration you need to grow your own food and embrace a more grounded lifestyle. Find more of our guides and tips at https://thegroundedhomestead.com.


Facebook
Instagram
X
Youtube