How to Grow Tomatoes A Gardener's Complete Guide
How to Grow Tomatoes A Gardener's Complete Guide
There's nothing quite like the taste of a tomato picked warm from the sun, still dusty from the garden. It's a flavor you just can't buy. If you think growing your own is out of reach, I'm here to tell you it's simpler than you might imagine.
The whole process really boils down to a few key things: picking the right plant for your patch, giving it plenty of sun, and keeping it consistently fed and watered. Get those fundamentals down, and you’re already halfway to a basket of perfect, homegrown tomatoes.
Your Journey to Perfect Homegrown Tomatoes
Welcome! Whether you're a first-timer hoping to harvest your very first tomato or a seasoned gardener aiming for the best season yet, this guide is for you. I've packed it with the kind of real-world advice that only comes from years of dirt under the fingernails. The journey from a tiny seed or a small starter plant to a kitchen counter full of vibrant, juicy fruit is one of the most rewarding things a gardener can do.
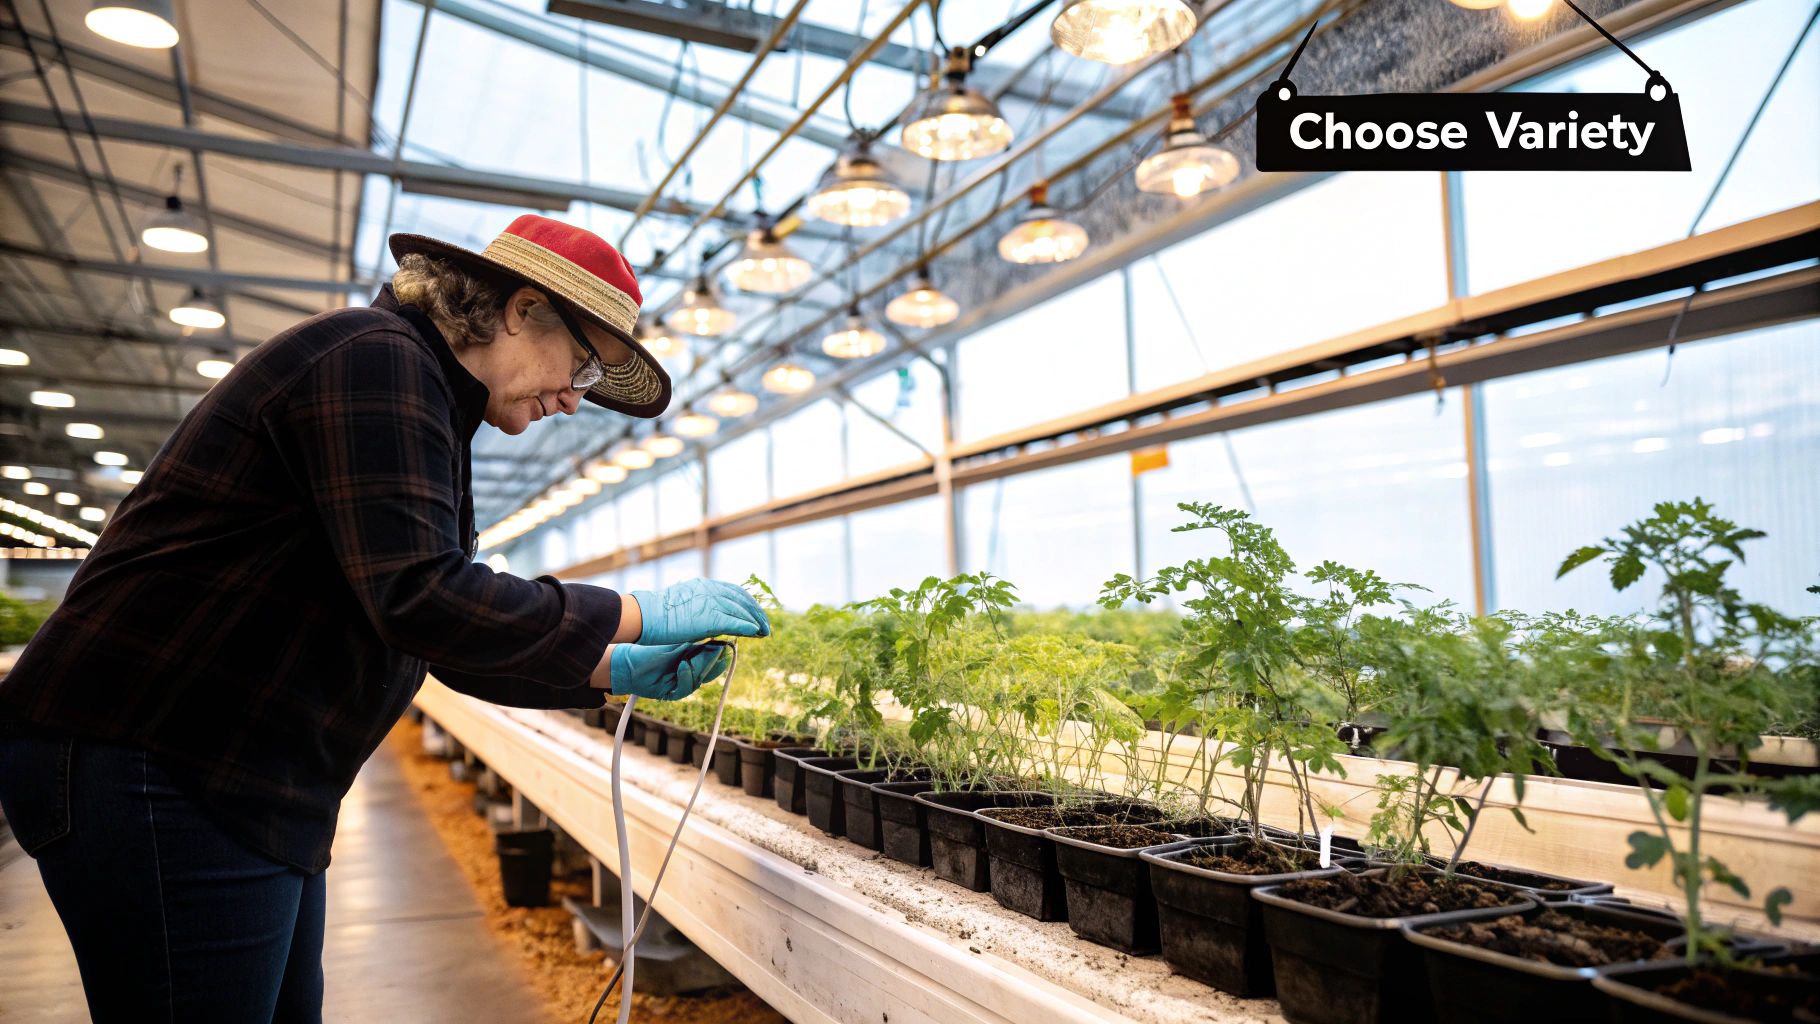
We’ll start with the essentials, helping you choose a variety that actually fits your climate and your space. Understanding what a tomato plant truly needs—sun, water, and food—is the bedrock of a successful harvest. A happy tomato plant asks for a solid 6-8 hours of direct sunlight every day and soil that stays consistently moist, but never soggy.
Selecting the Right Tomato Type
Before a single seed goes in the ground, you need to know what kind of tomato you're dealing with. This one choice influences everything from your garden layout and support system to when and how you'll harvest. Most tomatoes fall into two main growth habits, but you'll also find a wonderful variety of fruit types and histories.
Determinate (Bush) Tomatoes: Think of these as the sprinters. They grow to a fixed, compact size, set all their fruit at once over a few weeks, and then they're pretty much done. This makes them perfect for container gardening, small spaces, or for anyone who wants a big harvest for canning.
Indeterminate (Vining) Tomatoes: These are the marathon runners. They'll just keep growing and producing fruit all season long, right up until the first frost nips them. They need tall, sturdy support—like a robust trellis or a serious cage—to keep them from sprawling all over the ground.
Heirloom vs. Hybrid: Heirlooms are old-fashioned, open-pollinated varieties passed down through generations, often prized for their incredible flavor and unique looks. Hybrids, on the other hand, are intentionally cross-bred to highlight specific traits like high yields or resistance to common diseases.
If you're just starting out, I often recommend a dependable determinate variety like 'Celebrity' or a ridiculously productive cherry tomato like 'Sungold'. They're both relatively low-fuss and give you a fantastic, rewarding harvest that will get you hooked.
Choosing the right type from the start prevents a lot of headaches later. A sprawling indeterminate vine will quickly swallow a small balcony pot, while a compact bush variety might leave you with an empty-looking garden bed halfway through the season.
To make it a bit easier, I've put together this quick guide to help you match a tomato to your garden and your kitchen.
Tomato Type Quick Selection Guide
This simple table compares some of the most common tomato types, helping you decide which one best suits your space and what you plan to do with your harvest.

No matter which you choose, the goal is the same: to grow something delicious that you can be proud of. Let's dig in.
Choosing Tomato Varieties and Preparing the Soil
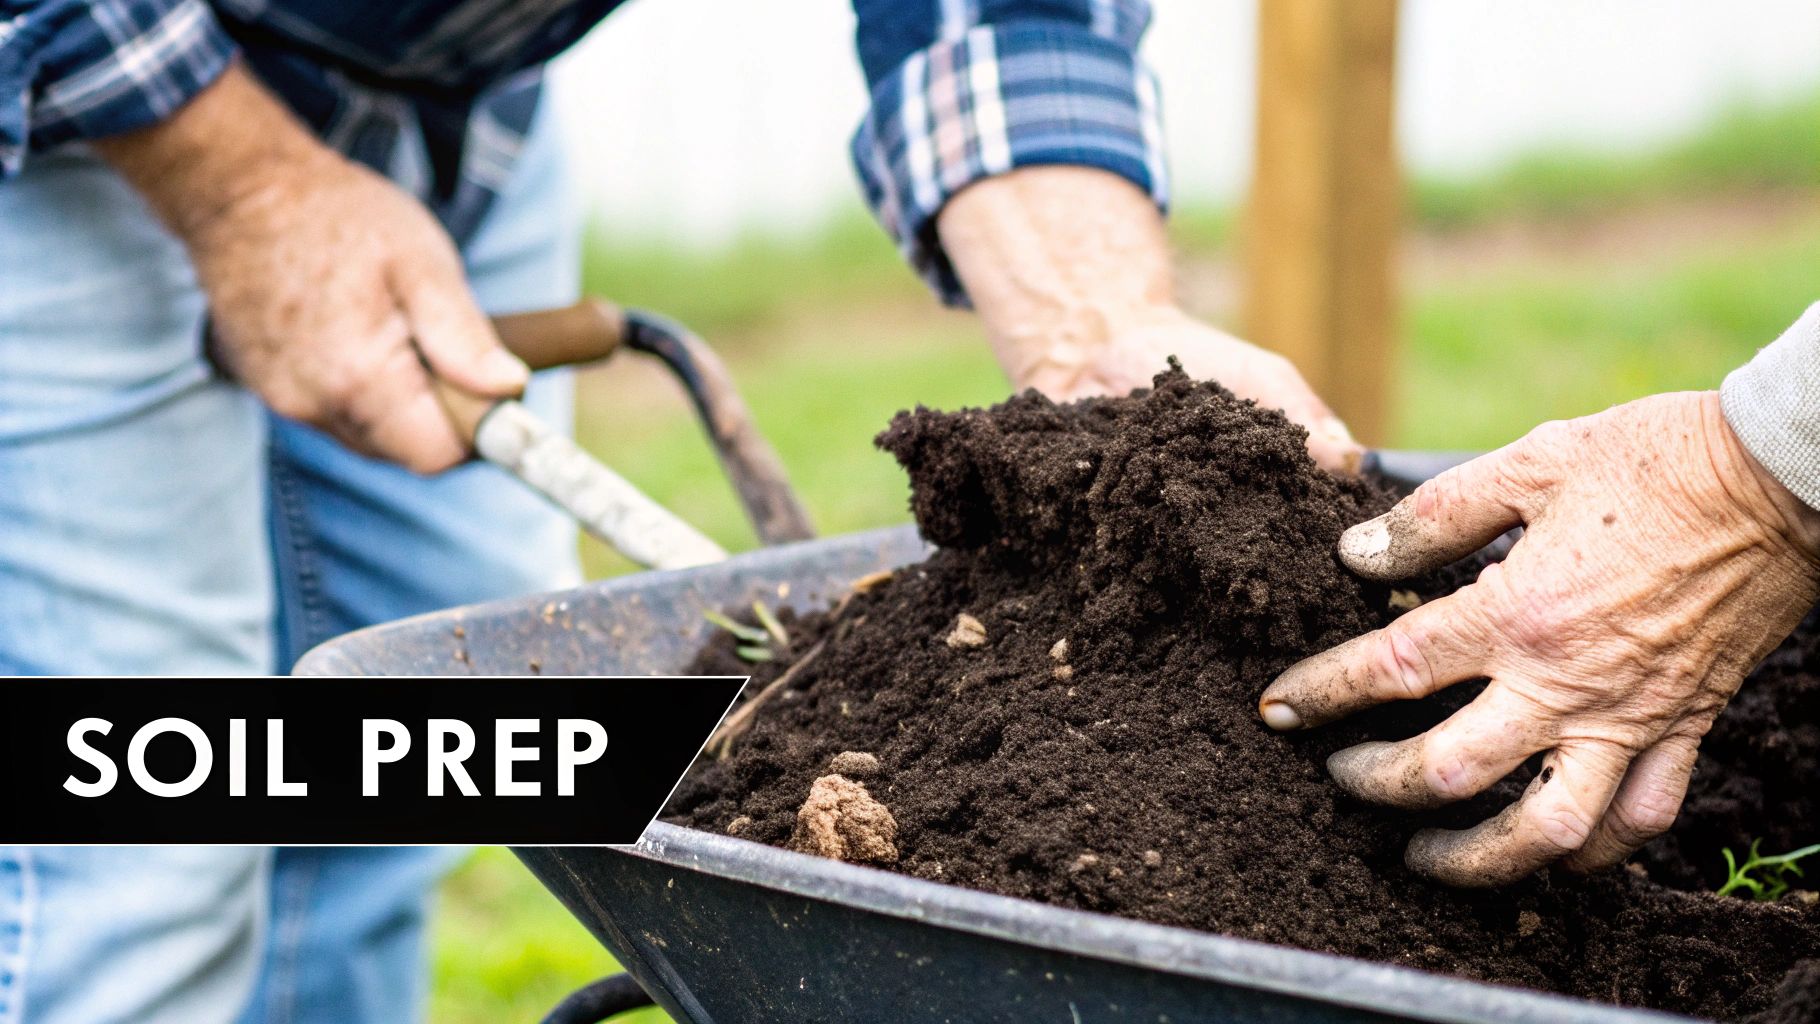
Before you even think about putting a plant in the ground, a couple of key decisions will shape your entire tomato season. Picking the right variety for your garden and getting the soil just right are the two things that separate a struggling plant from one that thrives all summer long.
It really boils down to matching the right plant to your space and giving it the perfect home from day one.
Determinate vs. Indeterminate: The First Big Choice
Your first decision point is understanding the two basic ways tomatoes grow. This one factor will determine how much room you need and the kind of support you’ll have to provide.
Determinate Varieties are the sprinters of the tomato world. Think of them as bush-style plants. They grow to a specific, compact size, produce all their fruit in a concentrated burst over a few weeks, and then they're pretty much done. This makes them perfect for small gardens, containers, or anyone planning a big canning weekend.
Indeterminate Varieties are the marathon runners. These are vining plants that will keep growing and setting fruit all season long, right up until the first frost nips them. They absolutely need significant support—think tall, sturdy stakes or a serious trellis—to keep them from sprawling into a tangled mess.
Picking Your Perfect Tomato
Once you've settled on a growth habit, the fun begins. What do you want to do with your tomatoes? Do you dream of thick, juicy slices for a summer BLT, a rich, hearty sauce, or sweet little gems to pop in your mouth right off the vine?
For Slicing: You can't go wrong with classic beefsteak types. Heirlooms like 'Brandywine' are legendary for their flavor, while hybrids like 'Better Boy' are known for their reliability and disease resistance.
For Sauce: Look for paste tomatoes. Varieties like ‘Roma’ or the famed ‘San Marzano’ have dense, meaty flesh with very few seeds, which means less work and a richer sauce.
For Snacking: Cherry and grape tomatoes are your best friends. A single ‘Sungold’ (a sweet, golden-orange cherry) or ‘Juliet’ (a crack-resistant grape) plant can keep you in salads and snacks for months.
The incredible diversity available is a testament to how much we love this fruit. It's a massive global industry, with the market projected to hit around $25 billion USD by 2025. That demand is fueled by all of us, from big commercial farms to backyard gardeners.
Creating the Ideal Soil Foundation
Tomatoes aren't terribly fussy, but they are heavy feeders. They perform best in rich, well-draining soil, and giving them what they need from the start prevents a whole host of problems later on. They prefer a slightly acidic soil with a pH between 6.0 and 6.8.
You can grab a simple pH test kit from any garden center. It’s a small, inexpensive step that gives you invaluable information about what your soil is missing.
The secret to fantastic soil isn’t a secret at all—it’s compost. It's the single most effective thing you can do for your tomatoes.
Working 2-3 inches of well-rotted compost into your garden bed or container mix is a game-changer. It provides essential nutrients, improves the soil's structure, and helps it hold onto moisture.
Whether you're digging up a traditional garden plot, filling a raised bed, or prepping a large pot, the process is the same. Dig down about 8-12 inches and thoroughly mix in your compost along with any other amendments your soil test suggested. This creates a rich, crumbly home where the roots can stretch out and get established quickly.
For more guidance on getting started, our complete tomato growing guide for beginners has you covered.
Planting and Supporting Your Young Tomato Plants
With your garden bed prepped and ready, it’s time for the best part—getting those young tomato plants into their new home. This is a big moment for them. Handle it with a little care, and they’ll take to the soil without missing a beat, setting them up for a long, productive life.
The sweet spot for transplanting is when your seedlings are about 6 to 8 weeks old and have been "hardened off"—a fancy term for getting them gradually used to the sun, wind, and temperature swings outdoors. You’re looking for a stocky, sturdy plant, not a leggy, stretched-out one. If you can, pick a calm, overcast day for planting. This gives the transplants a gentle start without the stress of intense sun and heat.
The Secret to Stronger Roots
Here’s a trick that seasoned gardeners swear by, and it makes all the difference: plant them deep. Tomatoes have this amazing ability to grow roots, called adventitious roots, all along any part of the stem that’s buried. More roots mean the plant can pull in more water and nutrients, which ultimately leads to a much healthier plant and, you guessed it, more tomatoes.
When you’re ready to plant, gently pinch off the lowest few sets of leaves, leaving just the top cluster. Then, dig a hole deep enough to bury the stem right up to those remaining leaves. It feels wrong the first time you do it, I know. But you’re not hurting the plant; you're giving it the foundation for a massive root system it could never grow otherwise.
I remember the first time I tried this; it felt completely backward to bury two-thirds of a perfectly good seedling. But the difference was astounding. The deeply planted tomatoes were noticeably sturdier and healthier all season long compared to the ones I planted at soil level.
This visual guide is a great breakdown of the key steps for getting your transplants in the ground successfully.
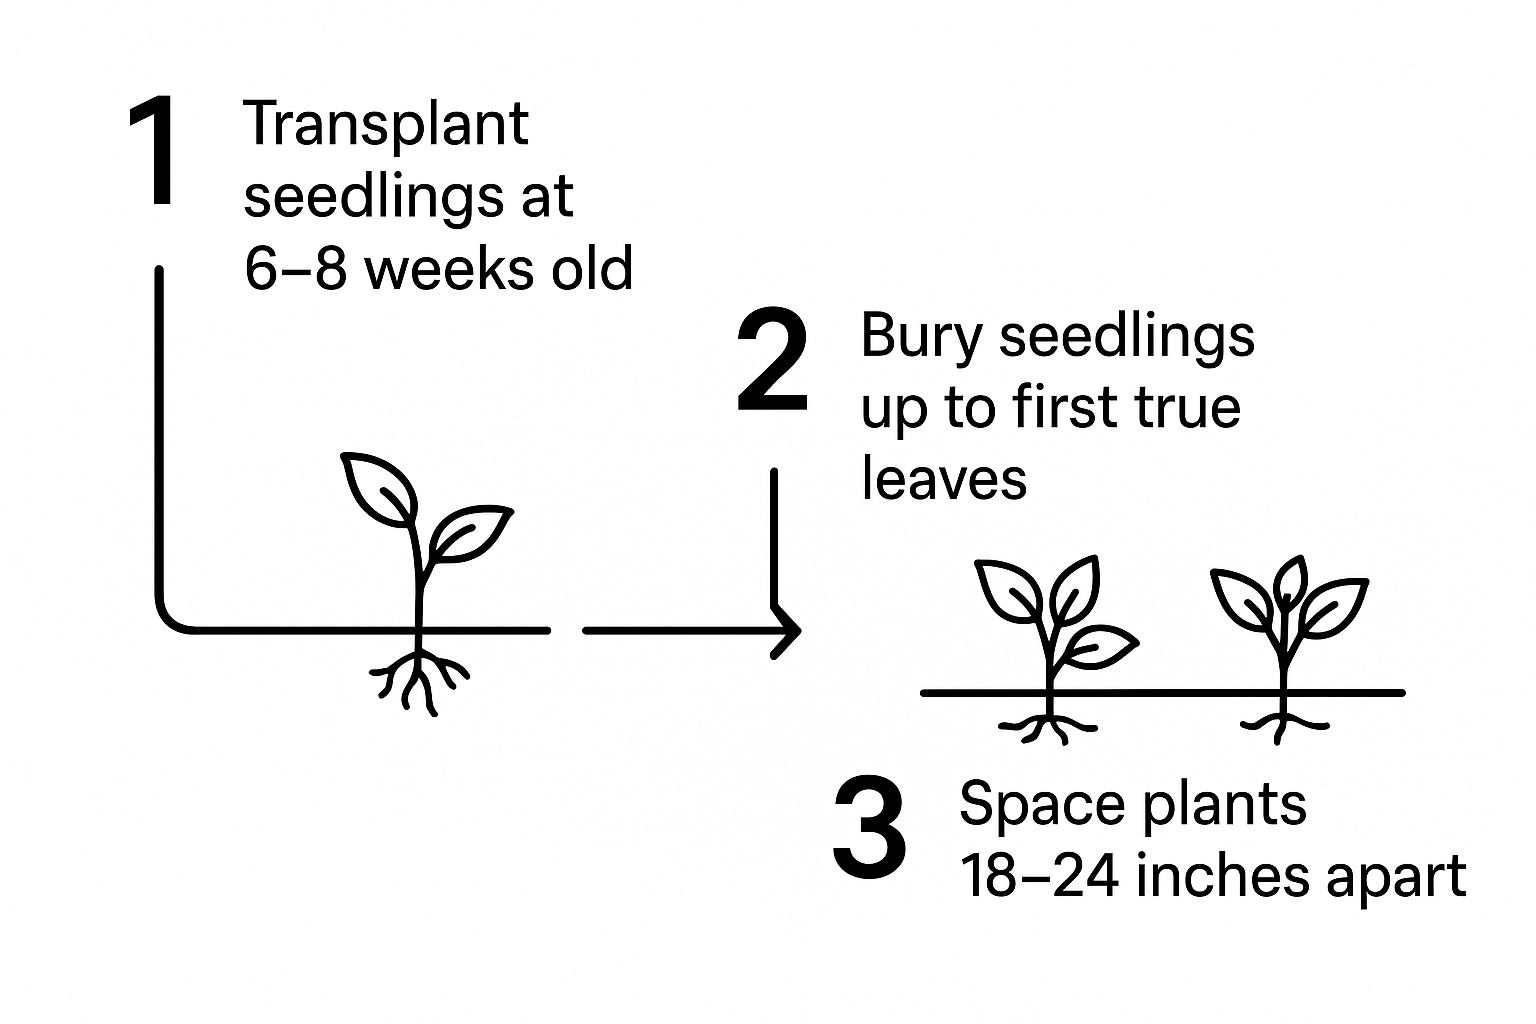
As the infographic shows, it really comes down to transplanting at the right age, burying that stem deep, and giving each plant plenty of elbow room.
Once the plant is in the hole, backfill with soil, pressing down gently but firmly around the stem. Give it a good, deep watering right away. This settles the soil, gets rid of any air pockets around the new roots, and helps prevent transplant shock.
Spacing, Mulching, and Support
Don’t skimp on spacing. Crowded plants trap humidity and block airflow, which is an open invitation for common fungal diseases like blight. A good rule of thumb is to give most tomato plants 18 to 24 inches of space on all sides. If you’re growing the big, vining indeterminate types, they’ll thank you for even more room.
After planting, lay down a 2-3 inch layer of organic mulch, like straw or shredded leaves, around the base of each plant. Mulch is a gardener's best friend. It holds precious moisture in the soil, keeps pesky weeds from taking over, and even helps regulate the soil temperature on hot days.
Finally, think about support from day one. It is so much easier to set up your stakes or cages now than it is to try and wrestle a huge, sprawling plant into one later in the season. Trust me on this.
Stakes: A simple, sturdy stake is often enough for determinate (bush-type) varieties. Just tie the main stem loosely to the stake as it grows.
Cages: These are fantastic for both bush and vining types, giving the plant support from all sides without much effort on your part.
Trellises: If you’re growing indeterminate tomatoes, a trellis is the way to go. It lets you train the vines upward, which saves a ton of space and really improves air circulation.
Providing support does more than just prevent branches from snapping under the weight of the fruit. It keeps your beautiful tomatoes up off the ground, away from rot and pests.
Seasonal Care: Keeping Your Tomato Plants Thriving
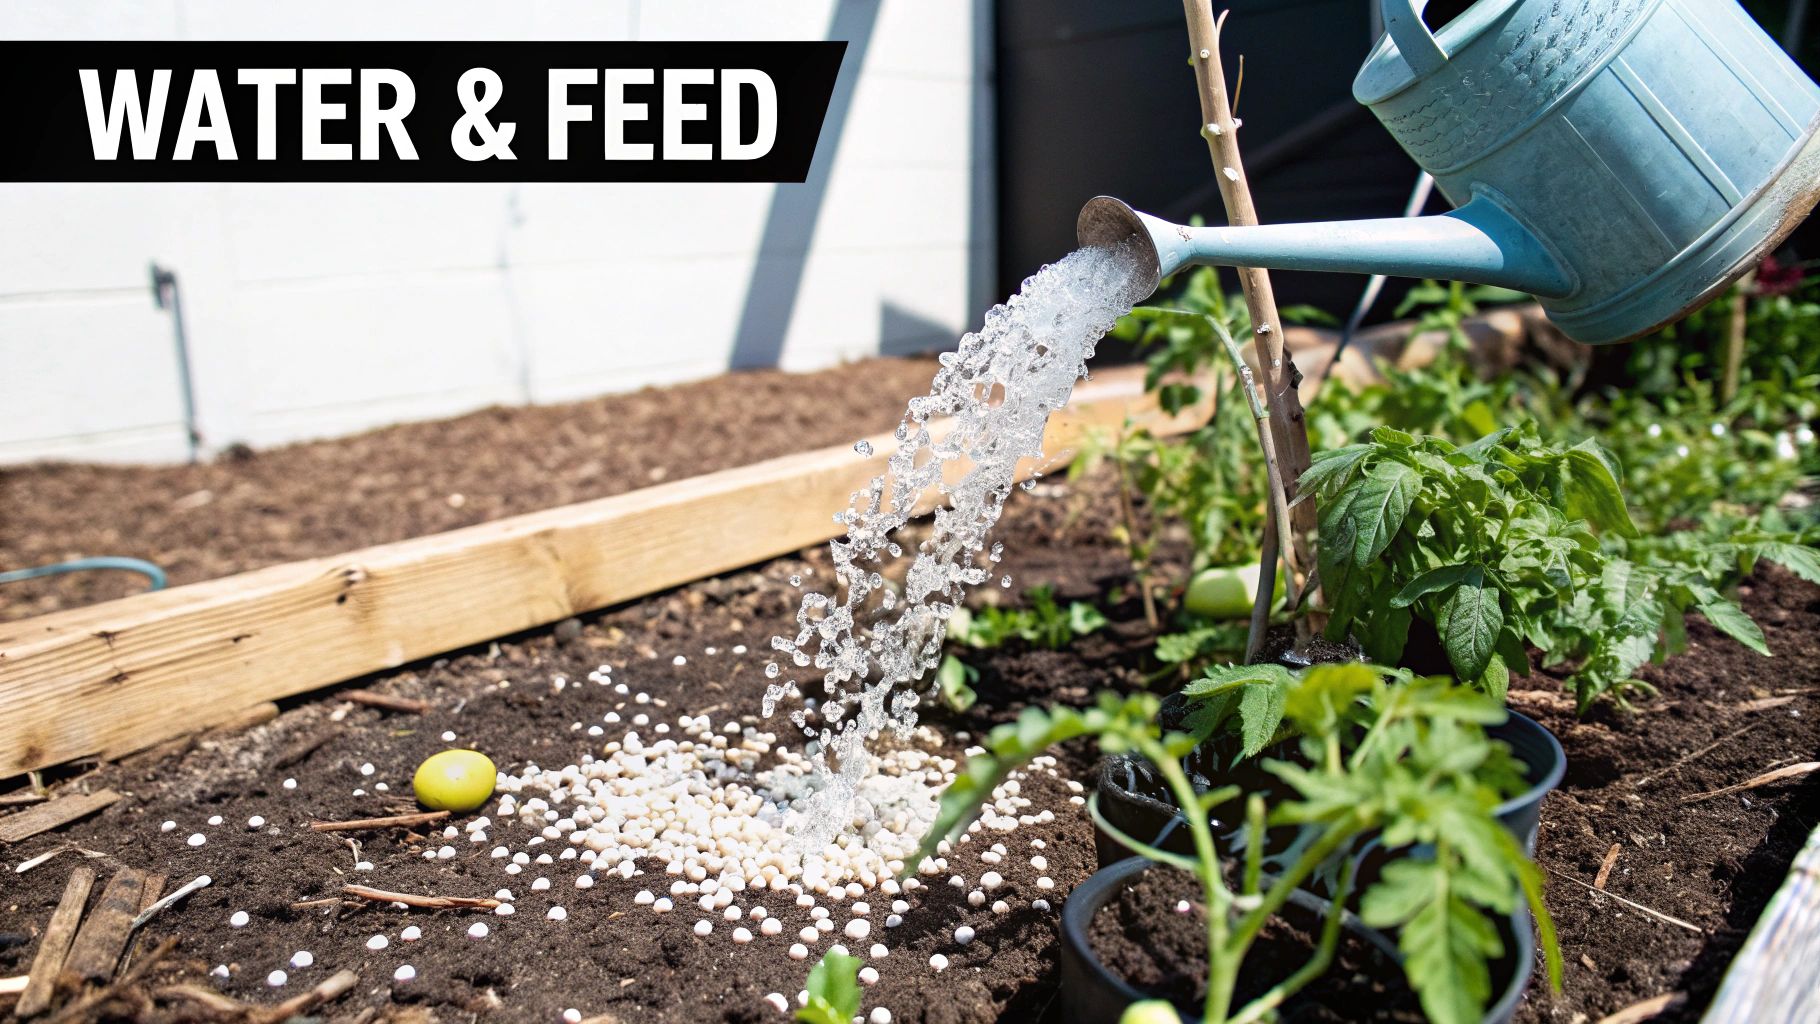
Once your tomatoes are in the ground, the real work—and the real fun—begins. It’s the consistent, thoughtful care from here on out that turns a few good plants into a summer-long supply of incredible fruit.
This next phase is all about getting into a rhythm of watering, feeding, and pruning. These three tasks don't work in isolation; they support each other. Good watering helps the plant take up fertilizer, and smart pruning sends all that good energy into making bigger, better tomatoes instead of a jungle of leaves. Nailing this balance is the key.
Watering: Deep, Consistent, and Smart
If there's one mistake I see over and over, it's inconsistent watering. It's the root cause of so many common headaches, like cracked fruit and blossom-end rot. Tomatoes don’t want a light sprinkle every day. They crave deep, steady moisture that encourages their roots to dig down deep, away from the hot, dry surface.
A good rule of thumb is to give your plants 1-2 inches of water per week, but don't just set a timer and walk away. The best tool is your own finger. Stick it an inch into the soil near the base of the plant. If it feels dry, it's time to water.
Always water the soil, not the leaves. A soaker hose or drip irrigation is your best friend here. Keeping the foliage dry is a massive step toward preventing the fungal diseases that thrive in damp conditions.
Think of watering as making a deposit into your plant’s moisture bank. A long, deep soak every few days is way better than a shallow sip every morning. It teaches the roots to search for water deep in the soil, building a resilient system that won’t panic during a sudden heatwave.
This isn’t just a backyard garden principle. Consistency is so critical that on a commercial scale, a region's water availability and cost directly impact production forecasts and what ends up on grocery store shelves. It’s a huge factor in the global tomato supply chain.
Fertilizing: Fueling for Fruit Production
Tomatoes are hungry, hungry plants. The initial compost and nutrients you put in the soil give them a great start, but they’ll burn through that fuel fast—especially once they start the hard work of setting and ripening fruit. This is where you come in with some well-timed meals.
The type of fertilizer you use really matters. Early on, a balanced fertilizer is fine to encourage healthy green growth. But the moment you see those first little yellow flowers, it's time to switch things up. You'll want a fertilizer that's higher in phosphorus and potassium (the "P" and "K" in the N-P-K ratio on the bag). This is the plant's signal to stop focusing on making leaves and start pouring its energy into making fruit.
Here’s a simple schedule to follow:
At Planting: If you started with rich, amended soil, you can probably skip this.
First Flowers Appear: Start feeding every 2-3 weeks with a fertilizer formulated for blooms and fruit.
Heavy Fruiting: Keep up the regular feedings. The plant is working overtime now and needs the support to carry a big crop to the finish line.
For a really detailed plan on what to use and when, our guide to creating an organic tomato feeding schedule breaks it all down.
Pruning: Why and How to Pinch Your Plants
Pruning can feel a little scary at first—like you’re hurting the plant. But for indeterminate (vining) tomatoes, it's one of the best things you can do to get bigger, better-tasting fruit. It's all about directing the plant's finite energy where you want it most: the tomatoes.
The main things you're looking to prune are the "suckers." These are the little shoots that pop up in the 45-degree junction between the main stem and a side branch. If you let them go, they’ll grow into a whole new main stem, complete with their own leaves, flowers, and fruit. It sounds great, but it diverts energy and resources from the tomatoes already developing.
Removing them couldn't be easier. When they’re small (less than 3 inches), you can just pinch them off with your fingers. That's it. This simple act channels the plant's energy back into the main stems, resulting in larger, more flavorful tomatoes. As a huge bonus, it also opens up the plant and dramatically improves airflow, which is your number one defense against disease.
Protecting Your Plants From Pests and Diseases
Even with the best soil and a perfect watering schedule, every gardener eventually has to deal with unwelcome guests. I’ve learned over the years that protecting your tomatoes isn’t about reacting to a full-blown invasion. It’s about creating a garden where pests and diseases just don’t feel at home.
Prevention is always your most powerful tool. The best defense is a proactive one—a strategy growers call Integrated Pest Management (IPM). This just means you reach for the healthiest, least-toxic methods first. You’re picking off a caterpillar by hand long before you ever think about a chemical spray. A healthy, resilient plant is simply far less likely to have problems in the first place.
Common Tomato Pests
Spotting pests early makes them so much easier to handle. Make a habit of checking the undersides of leaves and new growth. That's where most trouble starts.
Aphids: These tiny, soft-bodied insects love to cluster on tender new growth, sucking sap and weakening the plant. A strong blast of water from the hose is often enough to knock them right off. If they keep coming back, a simple insecticidal soap spray is a safe and effective next step.
Tomato Hornworms: These huge green caterpillars are infamous for good reason—they can strip a plant clean almost overnight. They’re masters of camouflage, but you can usually find them by looking for their droppings, which look like little black specks on the leaves below. Honestly, the best control is just to pick them off by hand and drop them in soapy water.
Spider Mites: If you notice fine, delicate webbing on your plants, especially during hot, dry weather, you’ve probably got spider mites. They are incredibly tiny and hard to see, but their damage is obvious. Increasing humidity by spraying your plants with water can deter them, and beneficial insects like ladybugs are happy to clean them up for you.
Preventing Common Diseases
Most common tomato diseases are fungal, and they thrive in warm, damp conditions. This is exactly why proper spacing and watering techniques are so critical. Good airflow and dry leaves are your best lines of defense, hands down.
The most effective "fungicide" you can use is free: air. When you prune those lower leaves and make sure your plants aren't crammed together, you create an environment where fungal spores just can't get a foothold. It’s a simple, preventative step that works wonders.
Another common frustration is blossom-end rot, that ugly dark, sunken spot on the bottom of the fruit. This isn't a disease but a calcium uptake problem, almost always caused by inconsistent watering. The best prevention—and cure—is to maintain steady, even soil moisture.
For a deeper look at diagnosing and fixing these and other issues, our guide on common tomato problems and solutions provides clear, actionable steps. Early identification can save your harvest, turning a potential disaster into nothing more than a minor setback. Keep a watchful eye, and your plants will thank you for it.
All that work in the garden—the digging, the watering, the careful pruning—it all comes down to this. This is the moment you finally get to taste a real, sun-ripened tomato, the kind of flavor you just can’t find in a grocery store.
Harvesting isn't just about pulling fruit off the vine. It’s about catching it at that perfect moment of peak sweetness. Wait too long, and your tomatoes might get soft or split right on the vine. Pick them too early, and you'll miss out on the deep, complex flavor that makes homegrown tomatoes so special. The window for perfection is often shorter than you think.
Recognizing a Ripe Tomato
The best clues for ripeness are color and feel, and they change a lot depending on the variety you're growing. A 'Brandywine' is ready when it has a deep, even color and a slight give when you gently squeeze it. On the other hand, a 'Green Zebra' is ripe while it’s still mostly green, but it will develop a soft, yellow-orange blush and won't feel rock-hard.
Don't just wait for a uniform, fire-engine red. Many heirlooms, in my experience, hit their flavor peak just before they look completely, darkly colored.
Check the Color: The fruit should be nearly its final, mature color. For most classic red tomatoes, that means a rich, deep red from the bottom (blossom end) all the way up to the stem.
Give It a Gentle Squeeze: A perfectly ripe tomato will feel full and have a slight softness to it. It shouldn’t be hard as a rock, but it definitely shouldn't feel mushy.
Trust Your Nose: Get in close. A ripe tomato often has a wonderfully fragrant, sweet, and earthy smell right at the stem.
To pick it, hold the stem with one hand and gently twist the tomato with your other until it pops off. This little trick keeps you from yanking on the main vine, which helps the plant keep its energy focused on ripening the rest of its fruit.
Once you see a tiny green fruit form from a flower, it generally takes another 20 to 30 days for that tomato to fully ripen in good conditions. That final stretch is where the magic happens, so a little patience here pays off big time in flavor.
End-of-Season Strategies
As the season winds down and the first frost is in the forecast, you’ll almost certainly have a bunch of green tomatoes still hanging on. Don't let them go to waste! Any tomato that's showing even a hint of color breaking through the green can be picked and brought inside to finish ripening.
Just lay them in a single layer on a sunny windowsill or, to speed things up, put them in a paper bag with a banana. The ethylene gas from the banana will encourage them to ripen faster. While these end-of-season tomatoes are a delicious bonus, they also offer a glimpse into the bigger picture of food production. For instance, global tomato trends on CropGPT.ai show how factors like climate are expected to cause global production to dip below 40 million tonnes in 2025.
Bringing that last bit of your harvest indoors is the final, satisfying step that connects your garden directly to your kitchen, closing out a successful growing season.
Your Top Tomato-Growing Questions, Answered
Even when you think you’ve got it all figured out, the garden always has a way of throwing you a curveball. Here are a few of the most common questions I hear from fellow gardeners trying to master their tomato crop. Let’s get you some answers so you can troubleshoot with confidence.
Why Are My Tomato Plant Leaves Turning Yellow?
Seeing yellow leaves is a classic tomato-grower's headache, but don't panic. It's usually a straightforward fix. More often than not, it’s a sign that your watering is off—either too much or too little. Before you do anything else, stick your finger about two inches down into the soil and see how it feels.
If the soil moisture seems fine, the next likely culprit is a nitrogen deficiency. The plant is essentially "stealing" nitrogen from its older, lower leaves to fuel new growth at the top. A quick dose of a balanced, all-purpose fertilizer will usually set things right. If that doesn't work, make sure you have good airflow around the plant to rule out common fungal issues like early blight, which can also cause leaves to yellow.
Can I Grow Tomatoes In A Pot?
Absolutely! Tomatoes are fantastic container plants, which means anyone can grow them, even if all you have is a sunny patio or balcony. The real keys to success are picking the right pot and the right type of tomato plant.
A common mistake I see is using a pot that's just too small. To get a healthy, productive plant, you need a container that holds at least 5 gallons of soil—though I’d argue 10 gallons is even better. And it absolutely must have drainage holes at the bottom.
When you're at the nursery, look for determinate (or "bush") varieties, or those specifically labeled as 'patio' types. These plants stay much more compact and are far better suited for container life than their sprawling, indeterminate cousins. Just remember that potted tomatoes dry out faster and will need more frequent watering and feeding than plants in a garden bed.
How Often Should I Water My Plants?
This is a big one. Instead of watering on a rigid schedule, let the soil be your guide. Tomatoes love consistent moisture, but they absolutely hate sitting in waterlogged soil. The best approach is to water deeply whenever the top 1-2 inches of soil feel dry to the touch.
For most gardens, this works out to about 1-2 inches of water per week. But that can change dramatically depending on your climate, soil type, and whether your plants are in the ground or in pots. During a real hot, dry spell, you might find yourself watering every other day. Just remember, one deep, thorough watering is always better than a light, daily sprinkle—it encourages the roots to grow down deep and strong.
At The Grounded Homestead, we believe everyone can experience the joy of growing their own food. For more tips, guides, and inspiration on your gardening journey, explore our resources at https://thegroundedhomestead.com.


Facebook
Instagram
X
Youtube