How to Save Tomato Seeds for Your Future Garden
How to Save Tomato Seeds for Your Future Garden
If you’ve ever bitten into a garden-fresh tomato so good you wished you could grow it forever, I have great news. You can.
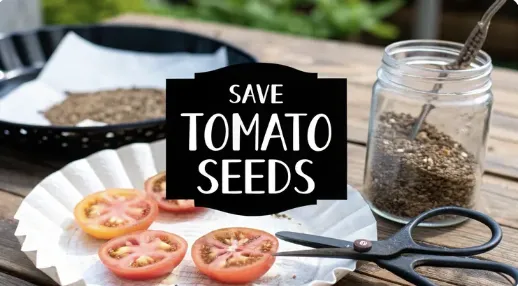
Saving tomato seeds is one of the most rewarding skills you can learn in the garden. It's a simple, time-honored practice that connects you to generations of growers before you. This guide skips the fluff and gets straight to what works, helping you preserve the incredible flavors of your favorite heirloom varieties, year after year.
It’s more than just a frugal gardening hack; it’s about becoming a curator of your own food story.

Carry Forward the Best Traits
When you save your own tomato seeds, you’re not just saving seeds—you’re selecting for success. You get to pick the fruit from your strongest, most productive, and healthiest plants, ensuring those champion genetics get passed down.
This isn't a new idea. It's the same principle farmers have used for centuries: save from the best to grow the best. By choosing tomatoes from plants that thrived in your garden, you are actively adapting a variety to your specific soil, climate, and challenges. It’s a slow, steady, and incredibly effective way to breed a better tomato.
Of course, this all starts with growing great tomatoes in the first place. If you're still dialing in your process, our guide on how to grow tomatoes will help you cultivate plants worthy of saving.
Why It’s Worth the Effort
Beyond creating a super-adapted plant for your backyard, saving seeds has some powerful, practical benefits.
It’s Frugal: You’ll never have to buy seeds for your favorite heirlooms again. That’s money back in your pocket.
It Preserves Flavor: You can keep the rich, complex tastes of unique heirlooms alive—flavors that are often lost in mass-market seeds.
It Builds Resilience: Each year, the seeds you save will produce plants just a little more prepared for your local garden conditions.
To help you get started, here’s a quick overview of the journey from fruit to future seed.
Tomato Seed Saving Stages at a Glance
This table breaks down the entire process into four core stages. It’s a great quick-reference to keep handy as you work through your first batch of seeds.

Each step is straightforward, but doing it right is what guarantees you'll have healthy, vigorous seedlings next spring.
The core idea is simple: you become the curator of your own tomato legacy. Each saved seed is a promise of future flavor and a step towards a more sustainable and personal gardening journey. It’s your roadmap to guaranteeing that the best traits—from robust health to unmatched taste—are carried forward.
Choosing the Perfect Tomatoes for Seed Saving

The success of next year’s garden really begins now, with the tomatoes you choose to save today. This is probably the single most important decision you'll make in the whole process, so it pays to be picky. The first rule, and it's a big one, is to only save seeds from heirloom or open-pollinated varieties.
These are the tomatoes that produce seeds "true to type," meaning the plant you grow next year will have the same great flavor, color, and resilience as its parent. Hybrid tomatoes, on the other hand, are a genetic roll of the dice. While they're often productive in their first year, their seeds will likely give you something completely unpredictable—and often disappointing.
Selecting the Best Fruit
Once you've confirmed you’re working with heirlooms, it's time to scout your garden for the absolute best candidates. I always look for my most vigorous, productive, and disease-free plants—the ones that truly shined all season long. A healthy plant is the foundation of healthy seeds, and our organic tomato feeding guide can help you grow plants that are truly worth saving from.
When you're out there harvesting, keep these pointers in mind:
Choose the Best of the Best: Don’t just grab any old tomato. Select fruit that represents the ideal qualities you want to see again, whether that's exceptional flavor, a perfect shape, or impressive size.
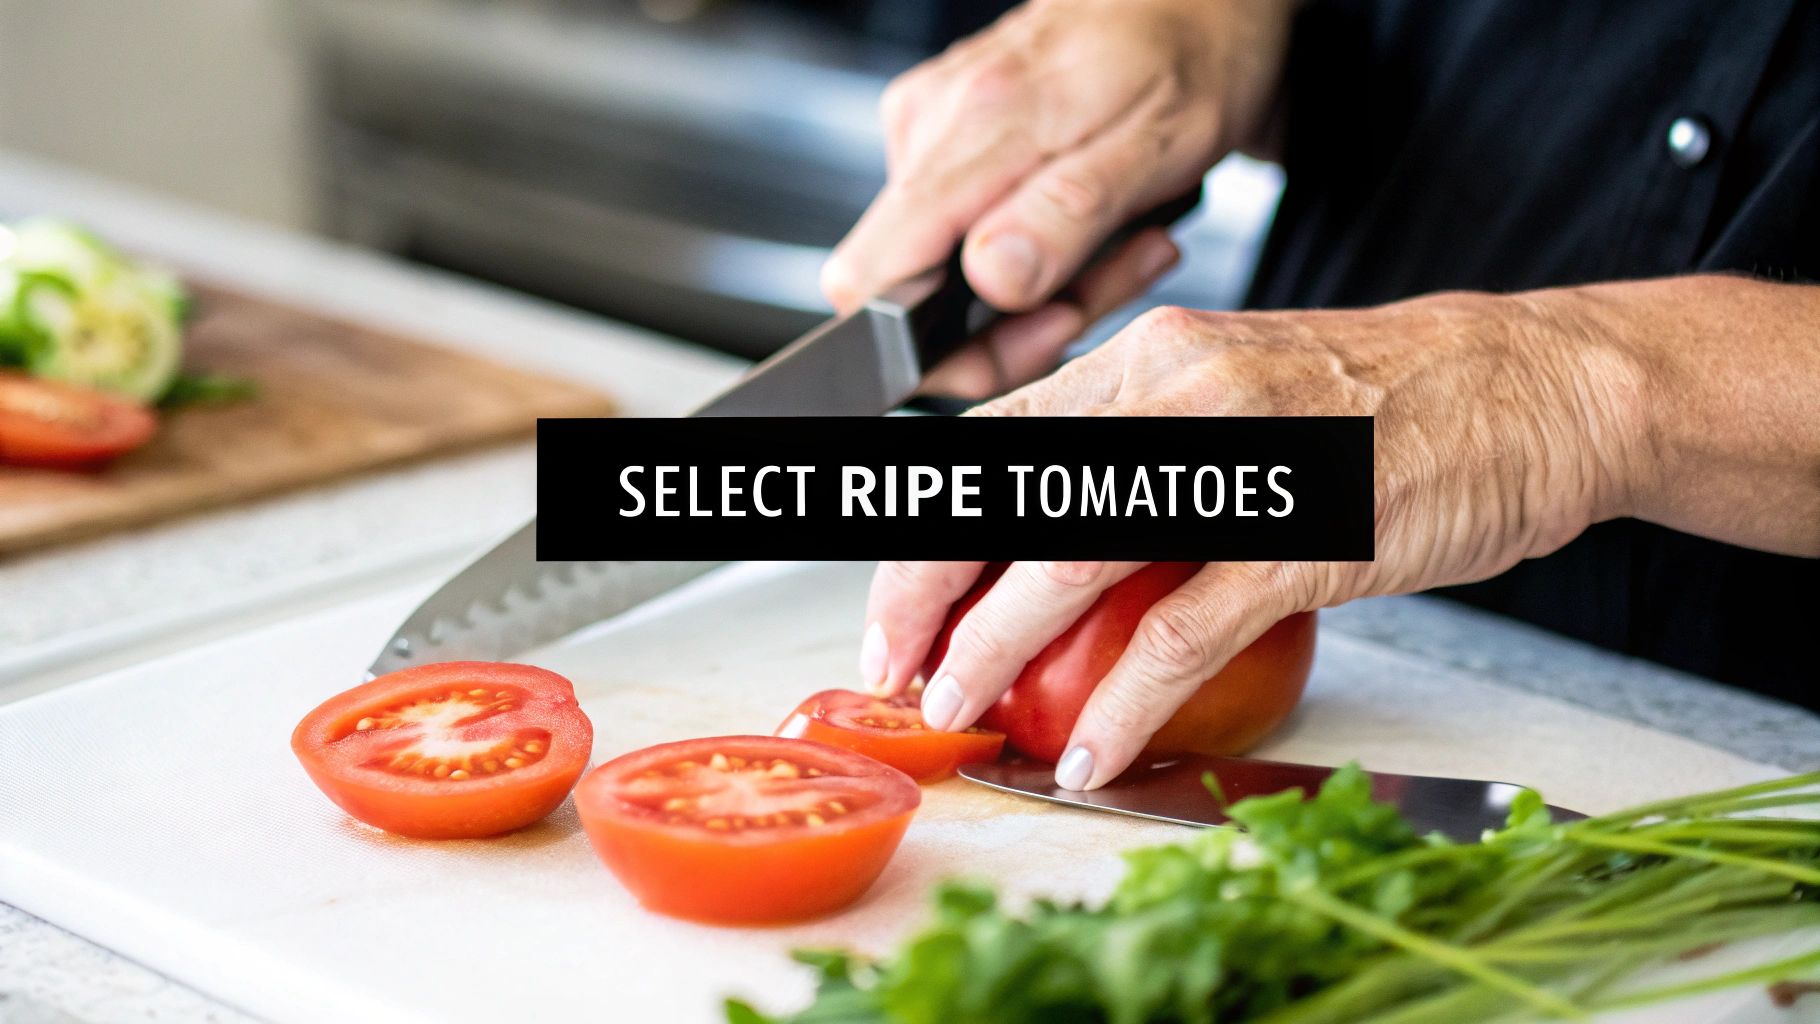
Wait for Peak Ripeness: Let the fruit get fully mature, even slightly overripe. This is when the seeds inside have reached their maximum viability and are ready for saving.
Harvest from Multiple Plants: To keep your seed line strong and genetically diverse, gather tomatoes from several different plants of the same variety. This simple step prevents the line from weakening over generations.
By focusing on the healthiest plants and most perfect fruits, you're doing more than just saving seeds—you're actively curating the future of your garden. You're selecting for flavor, resilience, and productivity with every single tomato you pick.
Mastering the Fermentation Process
Fermentation might sound like something you’d do with cabbage or grapes, but when it comes to saving tomato seeds, it’s the non-negotiable step that separates casual seed savers from those who get reliable results year after year.
This natural process does two critical things: it dissolves the gelatinous sack around each seed that prevents germination, and it kills off common seed-borne pathogens. It’s nature’s way of cleaning and preparing the seeds for the next generation.
Getting started is simple. Scoop the pulp and seeds from your chosen tomatoes into a clean glass jar. I learned this lesson the hard way one spring: label the jar with the tomato variety immediately! Add just a splash of water, enough to create a soupy slurry.
Cover the jar with something breathable—a coffee filter or a piece of cloth secured with a rubber band works perfectly. This keeps fruit flies out but allows air to circulate.
What to Expect During Fermentation
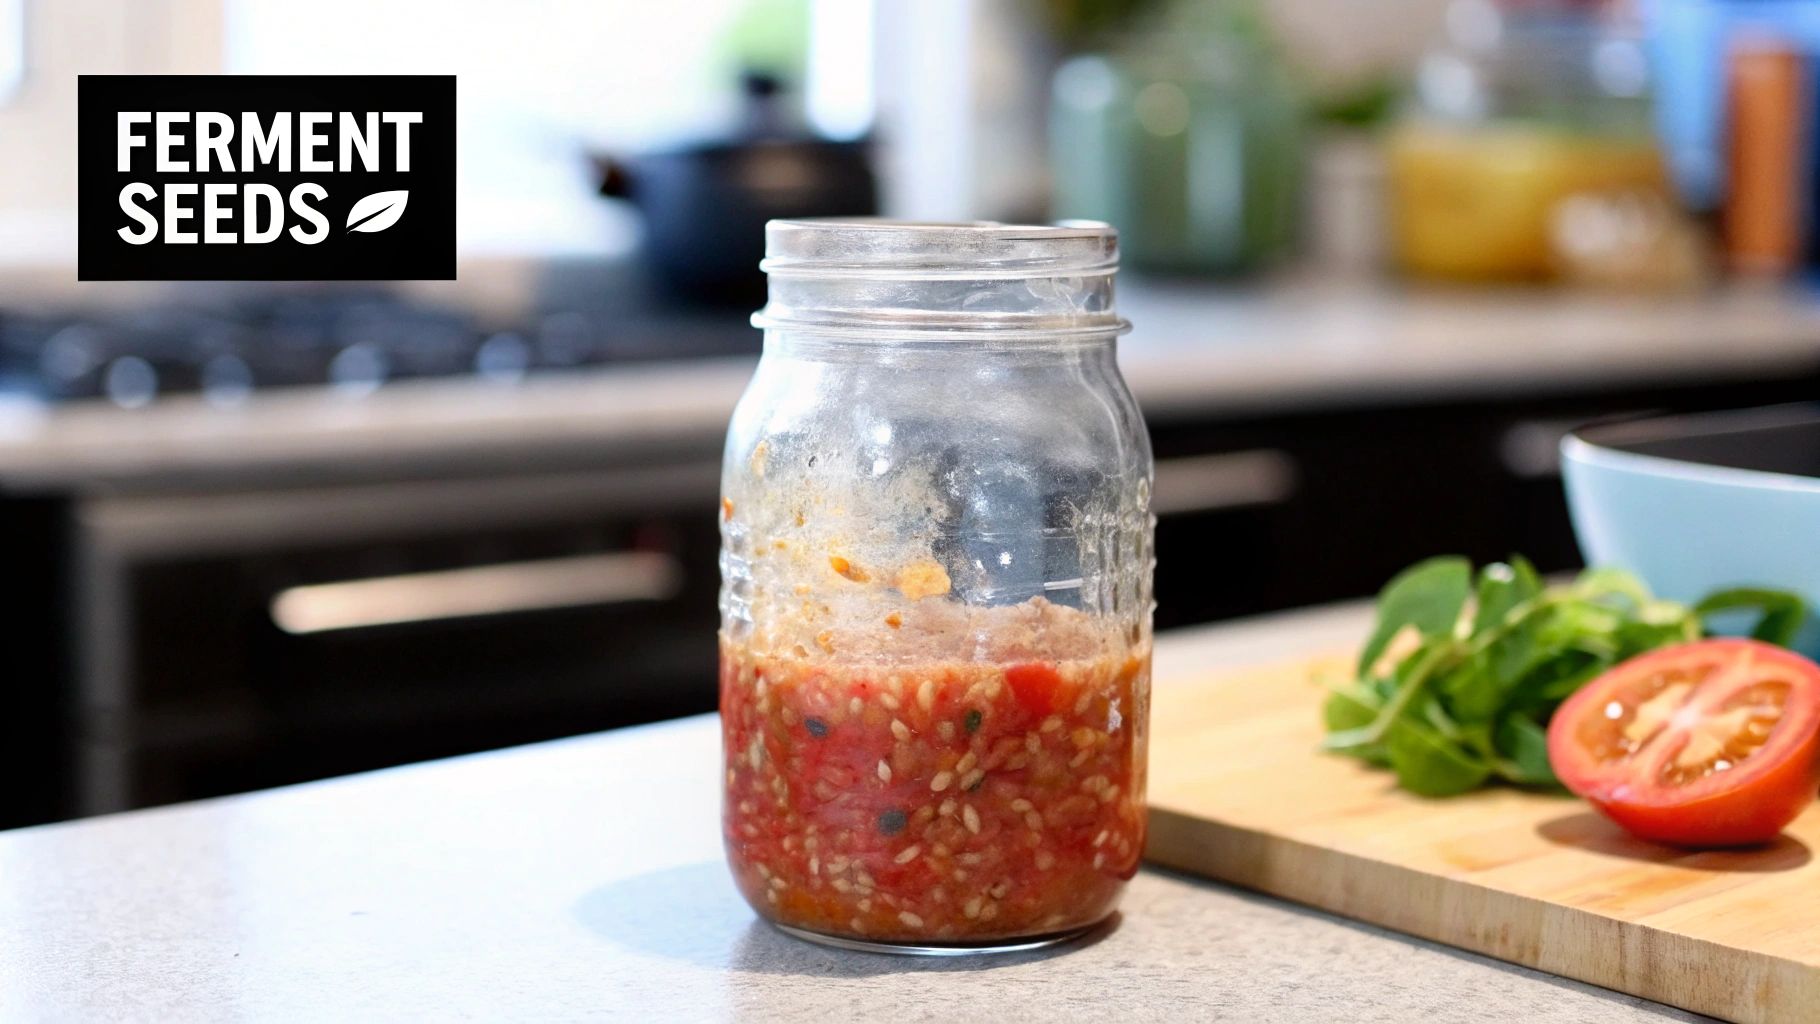
Now, just set the jar aside in a warm spot, out of direct sunlight, for 2 to 4 days.
You’ll start to notice bubbles forming, and it will definitely smell a bit funky. That’s a good sign! A layer of mold might even form on the surface. Don’t be alarmed; this is all part of the healthy microbial activity breaking down that pulp and gel sac.
The real key is to watch the seeds. After a few days, you'll see clean, viable seeds settling at the bottom of the jar, while the pulp and any unviable seeds float. This separation is your cue that fermentation is complete. Check it daily, because over-fermenting can damage the seeds.
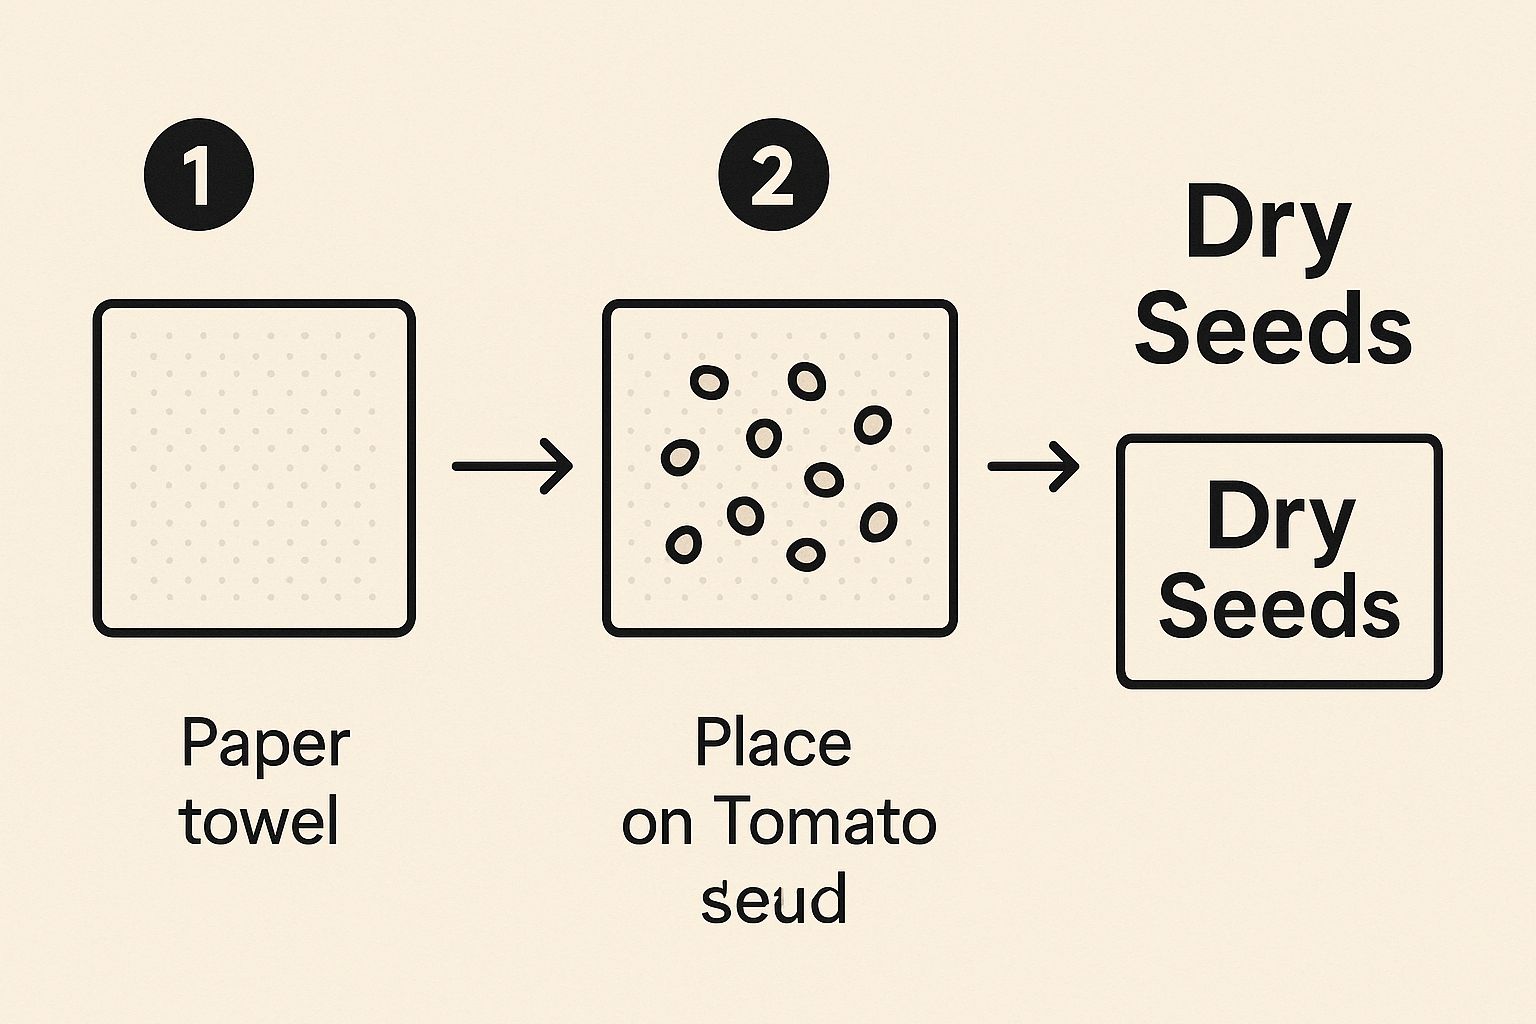
Once you see that separation, it’s time to move on to cleaning and drying your seeds. The visual guide below shows you exactly what that next phase looks like.

The image highlights a crucial part of the process: spreading the cleaned seeds in a single, even layer. This ensures they dry quickly and thoroughly, which is essential for preventing mold and preparing them for long-term storage.
Alright, once the fermentation process has worked its magic, it's time to get those seeds sparkling clean. This step is just as important as the last, since it gets rid of any leftover pulp and sets your seeds up for a successful drying stage—the final hurdle to a healthy, mold-free batch for next season.
The good news is that fermentation has already done most of the heavy lifting. All the good, viable seeds have sunk to the bottom of your jar, while the gunk—pulp, mold, and any duds—is floating conveniently on top. This makes separating them out incredibly simple.
Start by carefully pouring off that scummy top layer and the murky water. Now, add some fresh, cool water to the jar, give it a gentle swish, and let everything settle for a minute. You'll see the good seeds quickly sink right back to the bottom.
Gently pour off the water and debris, and repeat this rinsing process two or three more times. You'll know you're done when the water runs mostly clear and all you have left is a clean little pile of seeds.
The Critical Drying Stage
Now for the step where a lot of well-intentioned gardeners go wrong: drying. You have to get the seeds completely dry to prevent mold and ensure they stay dormant until you're ready to plant them. This is where your choice of drying surface matters more than you might think.
Pro Tip: Avoid paper towels at all costs. It seems like a perfectly logical idea, but as tomato seeds dry, they'll stick to paper towels like they're glued on, making them almost impossible to remove later without causing damage.
I’ve found that a non-stick surface is your best friend here. These are my go-to options:
Coffee Filters: They’re just absorbent enough to wick away moisture but have a texture that lets the seeds pop right off once they're dry.
A Ceramic Plate or Glass Dish: These work beautifully. There's simply nothing for the seeds to cling to.
Spread your clean seeds in a single, even layer on whatever surface you choose. Don't skip this—it's critical for good air circulation. If the seeds are clumped together, they'll trap moisture and can quickly start to mold, which would ruin all your hard work.
Find a warm, dry, and well-ventilated spot for them that's out of direct sunlight. A countertop or a shelf usually works great.
You’ll know they’re ready when they are bone dry and brittle. A perfectly dried seed will snap cleanly in half if you bend it, rather than just flexing. This careful drying process is your best insurance policy for great germination and long-term storage.
Storing Saved Seeds for Maximum Viability
You’ve done the hard work of harvesting, fermenting, and drying your tomato seeds. Now for the final, crucial step: storing them properly. This is what protects all that effort and ensures you have a stash of viable seeds ready for next spring’s garden.
Your mission is simple: keep your seeds cool, dark, and dry. Heat, light, and moisture are the enemies here—they’ll wake your seeds up too early or ruin them completely.
I’ve found that the simplest methods work best. While some people use small paper envelopes because they’re breathable, I prefer small, airtight glass jars. They give you an extra layer of protection against humidity swings and the occasional pantry pest.
Once they're packed up, find them a home in a cool, dark, and dry spot. A bedroom closet, a drawer in a cool room, or even the back of your refrigerator are all great choices.
Long-Term Storage Tips
If you're like me and want to keep seeds going for several years, a few extra precautions make all the difference. When you store seeds correctly in cool (below 10°C) and dry (below 50% humidity) conditions, you can keep them viable for up to 4-7 years. This is absolutely essential for preserving those special heirloom varieties from year to year. You can get a sense of how important proper storage is for the global tomato seed market on DataHorizzon Research.
To get that extra-long life, I always toss a small silica gel packet—the kind you find in new shoe boxes—into my airtight jars. It’s a simple trick that acts as a desiccant, soaking up any sneaky ambient moisture that could compromise your seeds over time.
The most important part of storing seeds? Meticulous labeling. Trust me, you won't remember which tiny seeds are which a year from now. Label every single container with the tomato variety and the date of harvest. This simple habit will save you from a very confusing planting day.
Proper storage is the final piece of the seed-saving puzzle. With your seeds safely tucked away, you're all set for the next planting season. When that time comes, be sure to check out our beginner's tomato growing guide for the next steps.
As you get your hands dirty saving seeds, it’s natural for a few questions to pop up. Let's tackle some of the most common ones I hear from fellow gardeners, clearing up any confusion and giving you practical answers for the real world.
Can I Save Seeds from Store-Bought Tomatoes?
You certainly can, but it’s a bit of a gardening gamble. Most tomatoes you find at the grocery store are hybrid varieties, bred for things like a long shelf life and the ability to survive a bumpy truck ride, not necessarily for great flavor or seed saving.
This means their seeds won't grow "true to type." You might end up with something completely different—and often less tasty—than the tomato you started with. For reliable, delicious results you can count on every single year, your best bet is to start with seeds from heirloom or open-pollinated varieties you've grown yourself or sourced from a trusted grower.
What Happens If I Skip Fermentation?
Skipping the fermentation step is a common shortcut, but I strongly advise against it. That slick, gelatinous coating around each seed is full of natural germination inhibitors. If you don't break it down, you'll see a much lower germination rate next spring.
More importantly, fermentation is nature’s disinfectant. It kills off the nasty seed-borne pathogens that can otherwise hitch a ride on your seeds and infect next year’s crop. Taking an extra two or three days for this crucial step gives you healthier plants and far more viable seeds. It's well worth the wait.
How Do I Know If My Saved Seeds Are Still Good?
A simple germination test is the easiest way to check the viability of your stored seeds. A few weeks before you plan on sowing, you can run a quick check to see what percentage of your seeds are likely to sprout. It's a great way to avoid disappointment later.
Here's how to do it:
Place 10 seeds on a damp paper towel.
Fold the towel over the seeds and slide it into a plastic bag, leaving it partially unsealed for a little airflow.
Keep the bag in a consistently warm spot, like on top of your refrigerator.
Check for sprouts after about a week.
If 7 out of 10 seeds have sprouted, you have a solid 70% germination rate. If your rate is below 50%, don't toss the seeds—just sow them more thickly to make up for the lower viability.
At The Grounded Homestead, we believe that growing your own food is one of the most powerful steps toward a healthier, more self-sufficient life. Explore more guides and tips to help you on your journey at https://thegroundedhomestead.com.


Facebook
Instagram
X
Youtube