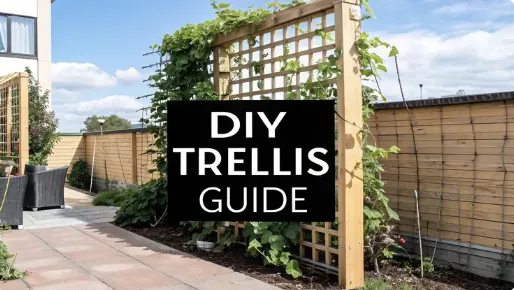
DIY Vertical Gardening Trellis Guide
DIY Vertical Gardening Trellis Guide
A trellis is what makes vertical gardening possible. It’s the backbone, the ladder that lets your plants climb toward the sun, turning a flat, boring wall or a cramped patio into a green, productive space. Forget thinking of it as just a simple frame; it's the key to unlocking a whole new way of growing.
Why a Trellis is a Game-Changer for Your Garden
Before you grab your tools, it’s worth taking a moment to appreciate what a trellis really does. This isn't just about cramming more plants into a tiny yard. It’s a strategic move that creates a healthier, more fruitful, and honestly, a much more beautiful garden. By giving your vining plants a path upward, you completely transform their world for the better.
Giving Your Plants Room to Breathe
One of the biggest wins you get from a trellis is better access to sunlight and airflow. When plants like cucumbers or pole beans are left to sprawl on the ground, their own leaves end up shading out the lower parts of the plant. That means less photosynthesis and fewer vegetables for you.
When you lift them up, every leaf gets its moment in the sun. This boost in light exposure fuels stronger growth and can seriously increase your harvest from the exact same number of plants. Plus, all that air moving around the leaves helps them dry off quickly after a rain, which is a massive defense against fungal diseases like powdery mildew.
Key Insight: A plant with good airflow is a healthy plant. A trellis keeps leaves from sitting in damp, stagnant air, acting as a natural shield against the common diseases that plague ground-level crops.
The Rise of Upward Gardening
Growing your own food, especially when you don't have much space, has never been more popular. You can see this trend reflected in the numbers. The global market for garden trellises was valued at around USD 5.2 billion in 2024 and is expected to shoot up to USD 9.8 billion by 2033. That tells you a lot of people are discovering how effective these simple structures are.
This boom shows just how much a simple vertical gardening trellis can do for someone with a small balcony or a tiny backyard. If you're ready to get started, our guide on planning a vertical vegetable garden is the perfect next step. A trellis isn't just a piece of equipment; it's how you turn a forgotten corner into something that's alive and productive.
Designing Your Ideal Vertical Garden Trellis
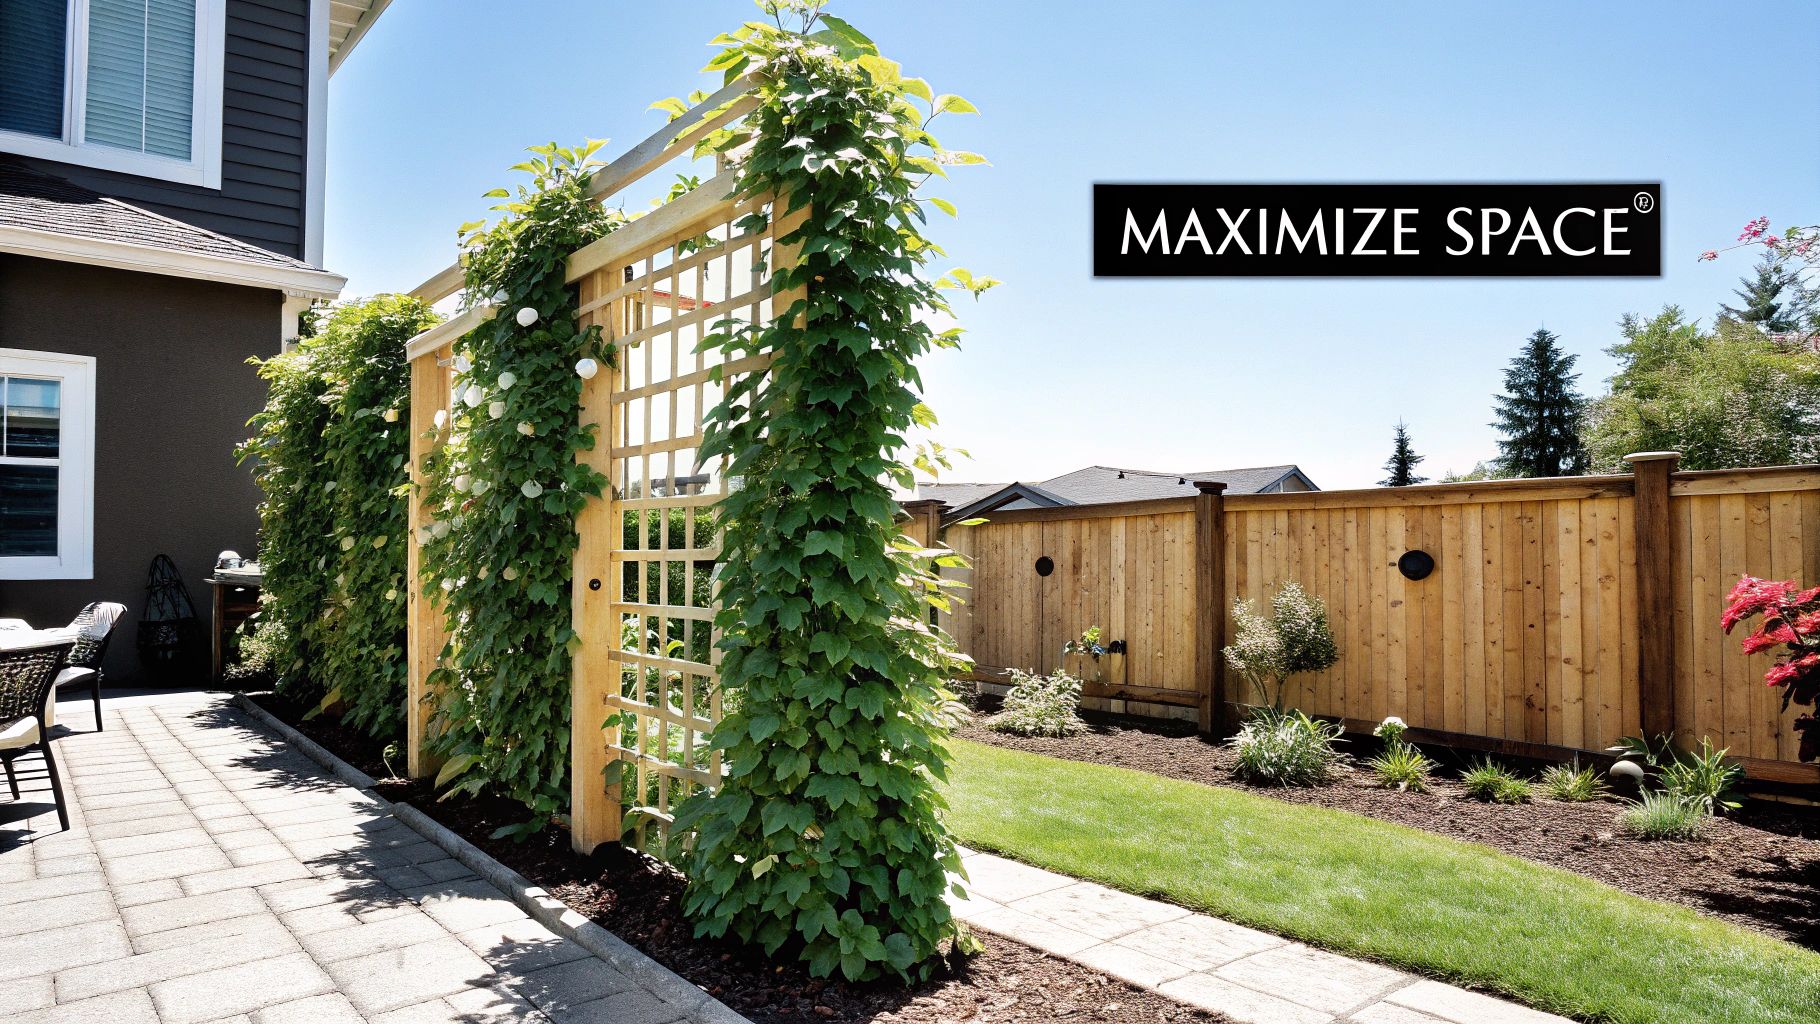
A sturdy, productive trellis doesn’t just happen. It starts as a simple idea, but good planning is what separates a structure that thrives for years from one that collapses under the weight of your first good squash harvest. This is where you get to customize the whole project to fit your space and your garden's ambitions.
First things first: scout your location. Take a day to watch how the sun moves across your yard or balcony. Most of the vining veggies and flowers you’ll want to grow need at least 6-8 hours of direct sunlight to really produce. Pay attention to the wind, too. A sheltered spot against a house or a sturdy fence is usually a much better bet than an open, exposed area where a strong gust could tear your plants to pieces.
And don't forget about your own access. Can you get a hose or watering can there without a struggle? More importantly, can you get in there to harvest without turning into a contortionist? Thinking about convenience now will save you a world of frustration later.
Matching Trellis Design to Your Plants
The single most important decision you'll make is what you plan to grow. That choice dictates everything else. A trellis built for delicate sweet peas will buckle and fail if you later decide to grow a few butternut squash on it. You have to match the strength of your materials and the size of your grid to what the plant actually needs.
Let’s break it down:
Lightweight Climbers: Think peas, pole beans, or flowering vines like clematis. These guys aren’t too demanding. They’ll happily scale a lighter grid made of twine, thin wire, or a simple wooden lattice. A 4x4 inch grid is usually perfect.
Heavy Fruiting Plants: Now, for cucumbers, small melons, gourds, or squash, you need to bring in the heavy hitters. We're talking thick wood posts, metal conduit, or even reinforced cattle panels. The grid openings need to be bigger, too—think 6x6 inches or more, so the fruit can grow without getting stuck.
A classic rookie mistake is underestimating the final weight of a mature, fruit-laden plant. A single cucumber vine can easily produce over 10 pounds of fruit. All that weight, plus the vine itself, puts some serious stress on your structure.
From Sketch to Blueprint
Once you have a plant and a structural style in mind, grab a pencil and paper. Seriously. Even a rough sketch is a game-changer for visualizing the final product and figuring out what you need to buy. Measure the height and width of your spot and get those dimensions down on paper.
This is also the moment to get real about your budget. A simple wood and twine trellis might cost you next to nothing. On the other hand, a permanent structure made from cedar or copper pipe is more of an investment.
Having a clear plan and a shopping list before you ever set foot in the hardware store is the key. It prevents overspending and those annoying mid-project trips for one forgotten screw. A little prep work here makes the actual building process go a whole lot smoother.
Choosing the Right Trellis Materials and Tools
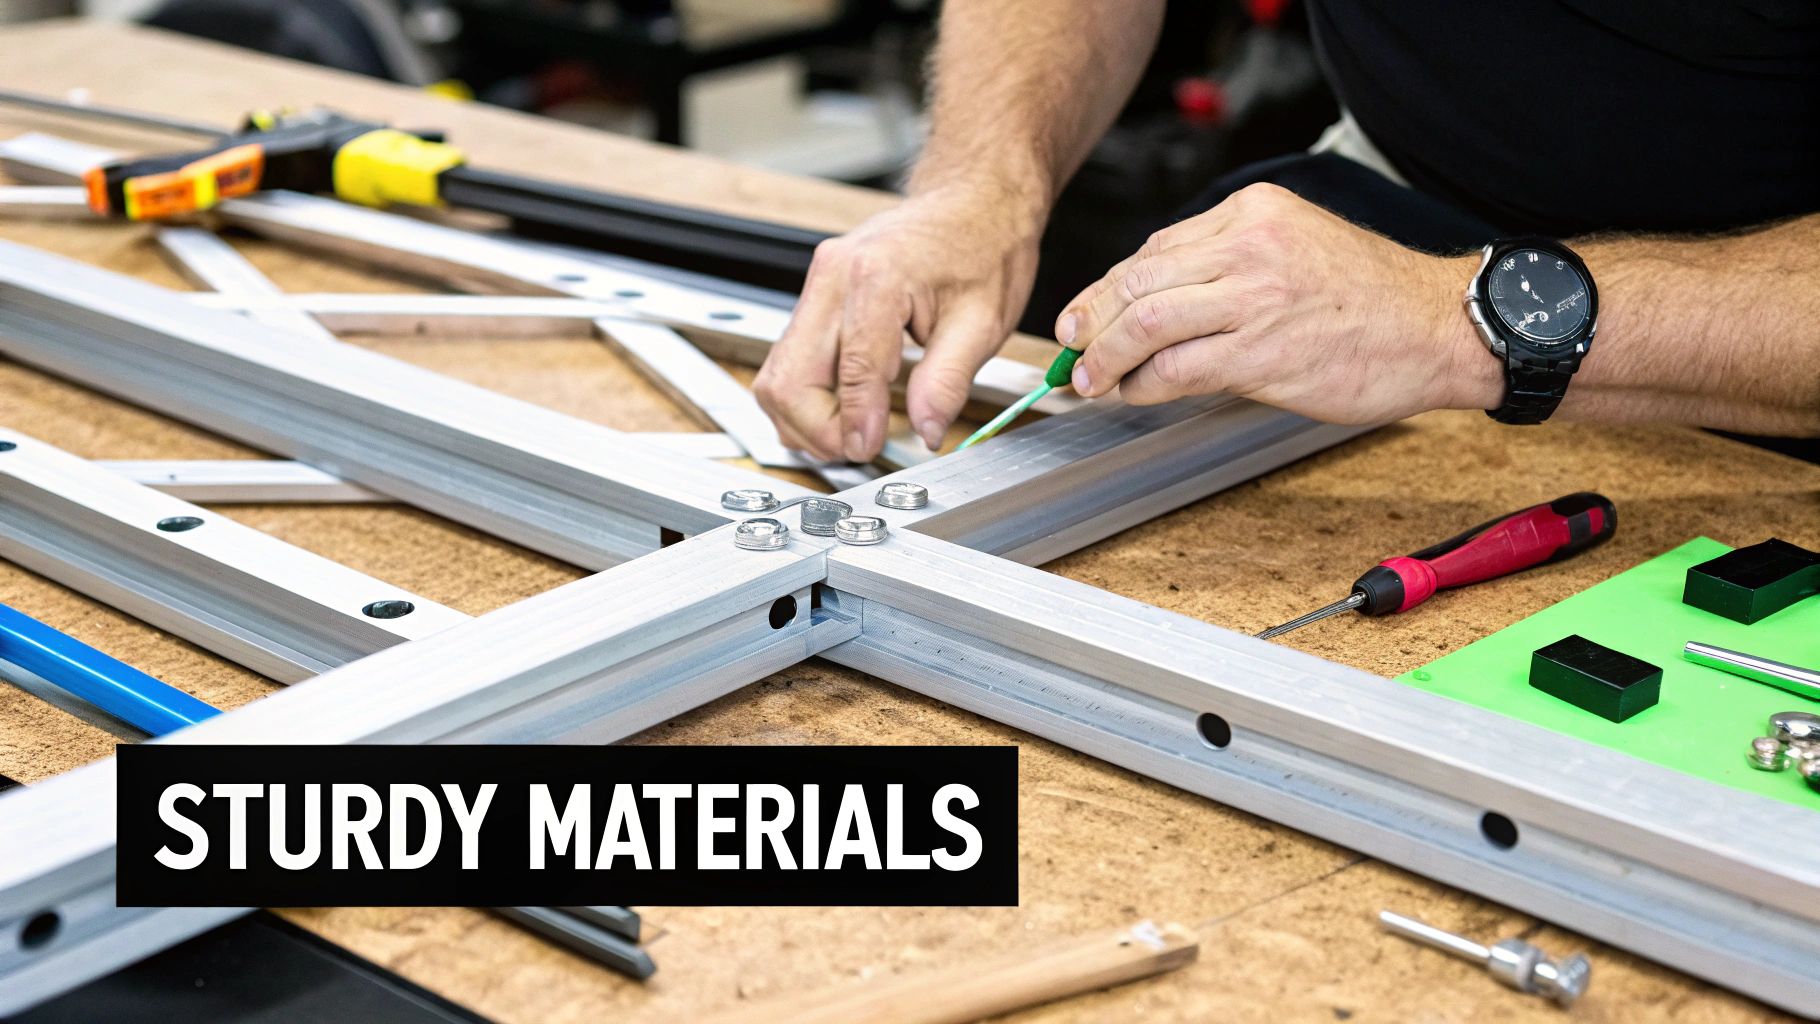
The materials you pick for your trellis are more than just a shopping list—they're the bones of your project. They dictate how long it will last, how much weight it can hold, and whether it becomes a rustic backdrop or a sleek, modern statement piece.
Let's dig into the practical pros and cons of the most common options.
Wood is a classic for good reason. Natural rot-resistant woods like cedar and redwood are fantastic because they contain oils that shrug off insects and decay. They’ll stand up to years of sun and rain without much fuss. If you’re watching your budget, pine is a solid choice, but it absolutely needs a good coat of a plant-safe sealant. Skip that step, and it might not make it through a single season.
If you’re aiming for serious strength and longevity, metal is the way to go. Electrical conduit is surprisingly cheap, easy to work with, and strong enough to support heavy hitters like winter squash. For a more elegant touch, copper pipes will develop a beautiful blue-green patina over time, adding a bit of class to the garden.
Trellis Material Comparison
Choosing the right material is a balancing act between durability, cost, and the look you're going for. Here’s a quick breakdown of the most common options I've used over the years.

Ultimately, the best material depends on your specific needs—don't overlook creative and sustainable options. Fast-growing bamboo is strong and inexpensive, perfect for lighter climbers. I’ve also seen people repurpose old cattle panels or even sturdy bed frames into instant, robust trellises. Get creative!
The interest in growing upward isn't just a backyard trend. The green wall market, which often uses trellis systems, was valued at USD 9.19 billion in 2024 and is expected to more than double by 2030. You can see more on this growth trend at GreenRoofs.com. It just goes to show how effective these structures are.
Gathering Your Essential Toolkit
With your materials picked out, it’s time to grab your tools. You don’t need a professional workshop, but having the right gear makes the job much safer and a whole lot easier. I like to split my tool list into two camps: the must-haves and the nice-to-haves.
The Non-Negotiables
Tape Measure: For getting your cuts and layout right the first time.
Saw: A simple handsaw will get the job done, but a circular or miter saw guarantees straight, fast cuts.
Drill with Bits: Absolutely essential for creating pilot holes and driving screws.
Screws or Nails: Make sure you grab exterior-grade fasteners that won’t rust and fall apart after a year.
Helpful Extras
Speed Square: This is how you guarantee your corners are perfectly square, not just "close enough."
Clamps: Invaluable. They act as a second pair of hands, holding pieces together while you fasten them.
Level: To make sure your trellis is straight when you install it—not leaning like a tired scarecrow.
A quick tip from experience: Always drill pilot holes before driving screws into wood, especially near the ends of a board. This simple step prevents the wood from splitting and gives you a much stronger, cleaner joint. It’s a small detail that makes a huge difference in the final quality of your vertical gardening trellis.
Constructing and Installing Your Garden Trellis
Alright, you’ve got your design finalized and your materials stacked. This is the best part—where the planning stops and the building begins. All that careful measuring is about to pay off as we bring your vertical gardening trellis to life. We'll focus on a classic wooden trellis design, walking through the essential steps to make sure it's strong, square, and ready for years of service.
First things first, let's make the cuts. Accuracy here is everything. It’s the oldest rule in the book for a reason: measure twice, cut once. Grab your tape measure and speed square to mark precise lines on your lumber for the outer frame and all the inner grid pieces. A miter saw or circular saw will give you those clean, straight edges, but a simple handsaw will get the job done just fine with a steady hand.
Once your pieces are cut, lay out the outer frame on a flat, level surface. Use your speed square to check that the corners form perfect 90-degree angles. This one simple check is the difference between a professional-looking trellis and a wobbly, crooked mess.
Assembling the Frame and Grid
Now, let's put this thing together. Start by assembling the outer frame. I always recommend drilling pilot holes before driving in your exterior-grade screws. It’s a small extra step, but it prevents the wood from splitting, especially near the ends of the boards, and creates a much more durable joint in the long run.
After the main frame is secure, you can start laying out the interior grid pieces. Use your tape measure to space them evenly, creating the pattern you designed. Secure each slat with a screw wherever it meets the frame and where it crosses another slat. It might feel like a lot of screws, but this reinforcement is what gives the structure its incredible strength against wind and the weight of your future harvest.
Pro Tip: Don't crank down all the screws super tight right away. Get everything loosely fastened, then do one last check to make sure it’s all square. Once you're happy, go back and tighten everything down. This gives you a little wiggle room to fix any minor misalignments before they’re permanent.
This visual guide breaks down the core installation workflow into three manageable stages.
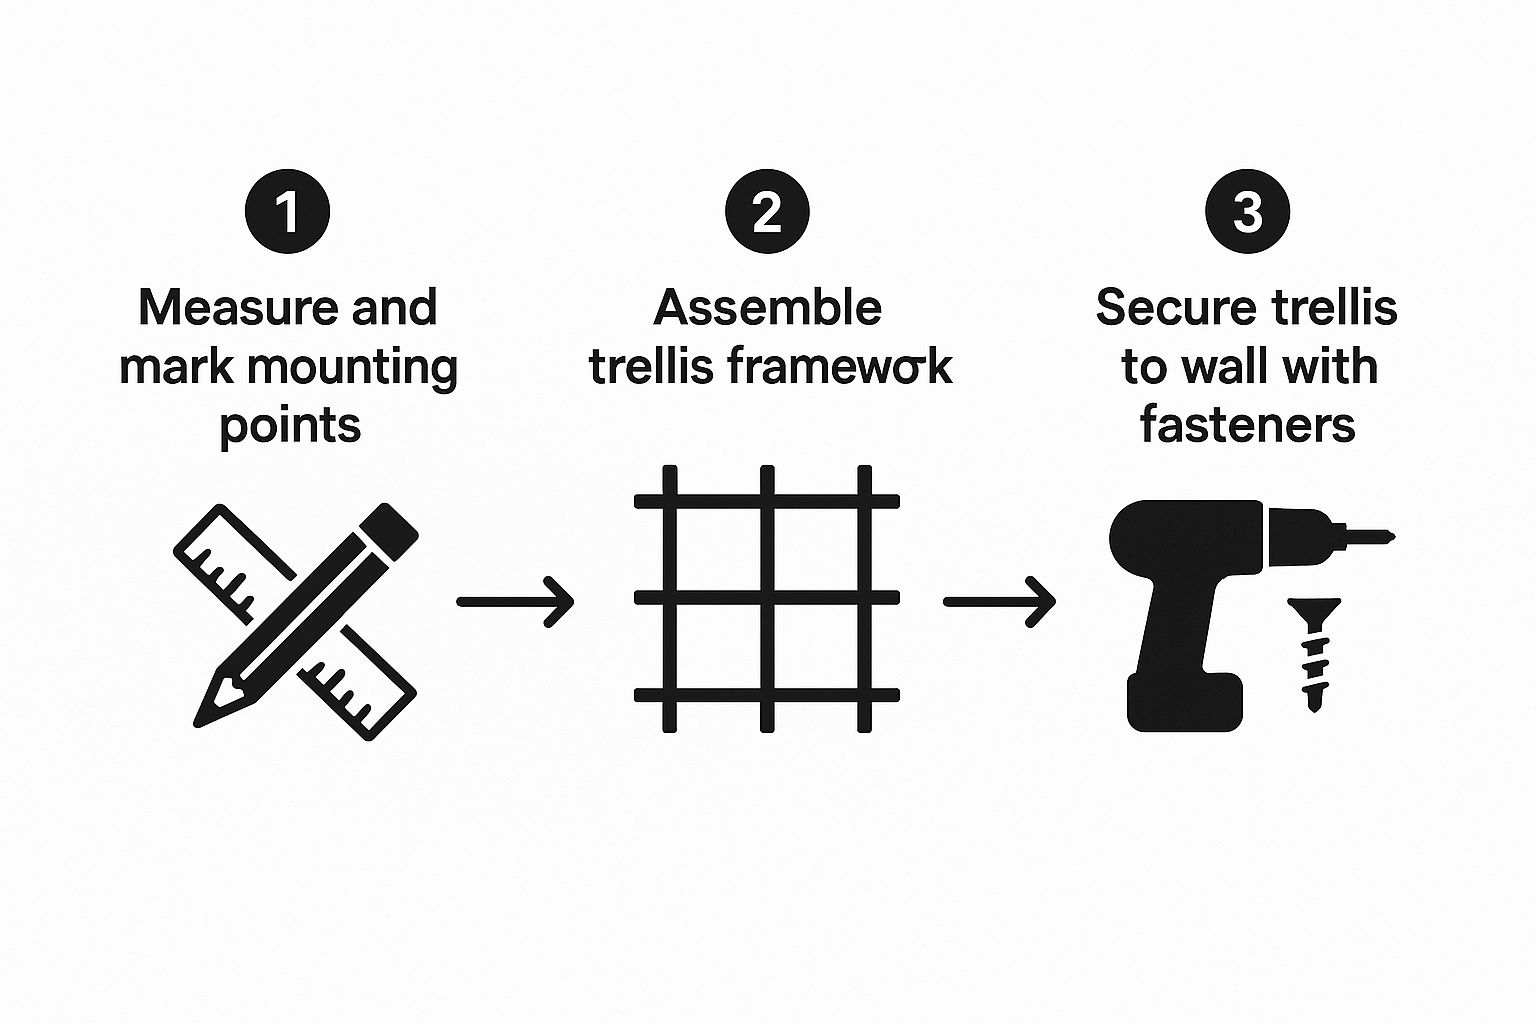
Visualizing the process from marking your points to final assembly helps simplify the installation and ensures no steps are missed.
Mounting Your Trellis for Success
With your trellis built, the final step is getting it installed. How you mount it depends entirely on where it's going—against a wall, a fence, or freestanding in the middle of the garden. For those of you growing heavy vining crops like cucumbers, mastering this step is absolutely crucial for a healthy harvest. We've got a detailed walkthrough with great tips in our guide on how to trellis cucumbers.
For any wall-mounted trellis, the most critical rule is to leave a gap.
Create Airflow: Mount spacer blocks (just simple scraps of wood work great) between the trellis and the wall at each spot you plan to anchor it.
Maintain a Gap: You’re aiming for a space of at least 3-6 inches. This gap is non-negotiable for plant health.
Prevent Disease: This space allows air to circulate freely behind the plants, which drastically reduces the risk of powdery mildew and other fungal diseases that absolutely thrive in damp, stagnant conditions.
If you’re building a freestanding vertical gardening trellis, stability is the name of the game. You need to bury the posts deep enough to act as a solid anchor against strong winds and the eventual weight of your plants. A good rule of thumb is to bury at least one-third of the post's total length. So for an 8-foot post, that means sinking it at least 2.5 feet into the ground.
Whether you're mounting it to a wall or setting it in the ground, use a level to make sure your trellis is perfectly vertical and horizontal. Taking a few extra minutes here to get it right guarantees your finished project looks intentional and professional, ready to support a whole season of vigorous growth.
Picking and Training Plants for Your Trellis
With your trellis built and standing proud, it’s time for the fun part: choosing the plants that will climb it. Not every plant is cut out for life in the vertical lane, so picking the right varieties is your first step to a lush, sprawling display.
You're looking for plants with a natural instinct to vine or climb. For an edible garden, think of pole beans that eagerly twine their way up, or vining cucumbers that use their tiny tendrils to grab onto the grid. You can even grow smaller melon and squash varieties vertically, though they’ll need a bit of extra support as the fruit gets heavy.
Best Plant Choices for Your Trellis
If you’re aiming for ornamental beauty, the options are just as rich. Classics like clematis bring stunning, colorful blooms, while fragrant jasmine and honeysuckle can turn a simple wall into a sensory experience. Climbing roses also create a breathtaking display, but they need a bit more guidance and tying than vines that cling on their own.
The key is to match your plant's mature size and weight to the strength of your trellis. A heavy-duty structure can handle almost anything you throw at it, but a lighter one is better suited for less aggressive growers.
This initial plant selection is a huge piece of your overall garden strategy. If you want more ideas on how to map out your entire growing space, our detailed guide on garden planning for beginners is a great place to start.
Important Takeaway: Always check the plant tag for its mature height. A vine that grows 20 feet long is fantastic for covering an arbor but might quickly overwhelm a smaller wall-mounted trellis.
Before you plant, it's worth considering what will thrive in your specific spot. Here’s a quick rundown of some reliable climbers that work beautifully on a trellis.
Top Climbing Plants for a Vertical Trellis

This is just a starting point, of course. Half the fun is experimenting to see what works best in your garden and on your structure.
The Gentle Art of Training Your Plants
Once your seedlings are in the ground and start sending out their first runners, your job as a guide begins. The idea is to gently encourage the plant to grow up onto the trellis instead of sprawling across the ground. This isn't about forcing it; it’s about showing it the way.
For young, flexible vines, you can simply weave them through the first few openings of the trellis grid. As they grow, they’ll usually get the hint and continue their climb on their own. For plants that need a little more help, like tomatoes or climbing roses, soft garden ties are your best friend.
Here’s how to get them started:
Wait for Flexibility: The best time to guide a stem is when it’s young and pliable. Don't try to bend a woody, stiff stem.
Use Soft Ties: Strips of an old t-shirt, garden twine, or specialized plant ties work great. Avoid thin wire, which can cut into the stem as it thickens.
Create a Loose Loop: Secure the stem to the trellis with a loose figure-eight loop. This gives the stem room to grow without being choked off.
Guide, Don't Force: Gently direct new growth where you want it to go. If a stem resists, leave it. A snapped stem is worse than a slightly off-course one.
This upward training is what makes vertical gardening so effective and appealing. It's a technique that's driving serious interest across the globe. The market for vertical garden construction, which leans heavily on structures like trellises, was valued at USD 1.3 billion in 2024 and is projected to hit USD 3.04 billion by 2034. You can see the full breakdown of this trend over at Precedence Research. By guiding your plants skyward, you're taking part in a smart, space-saving gardening movement.
Common Vertical Trellis Questions
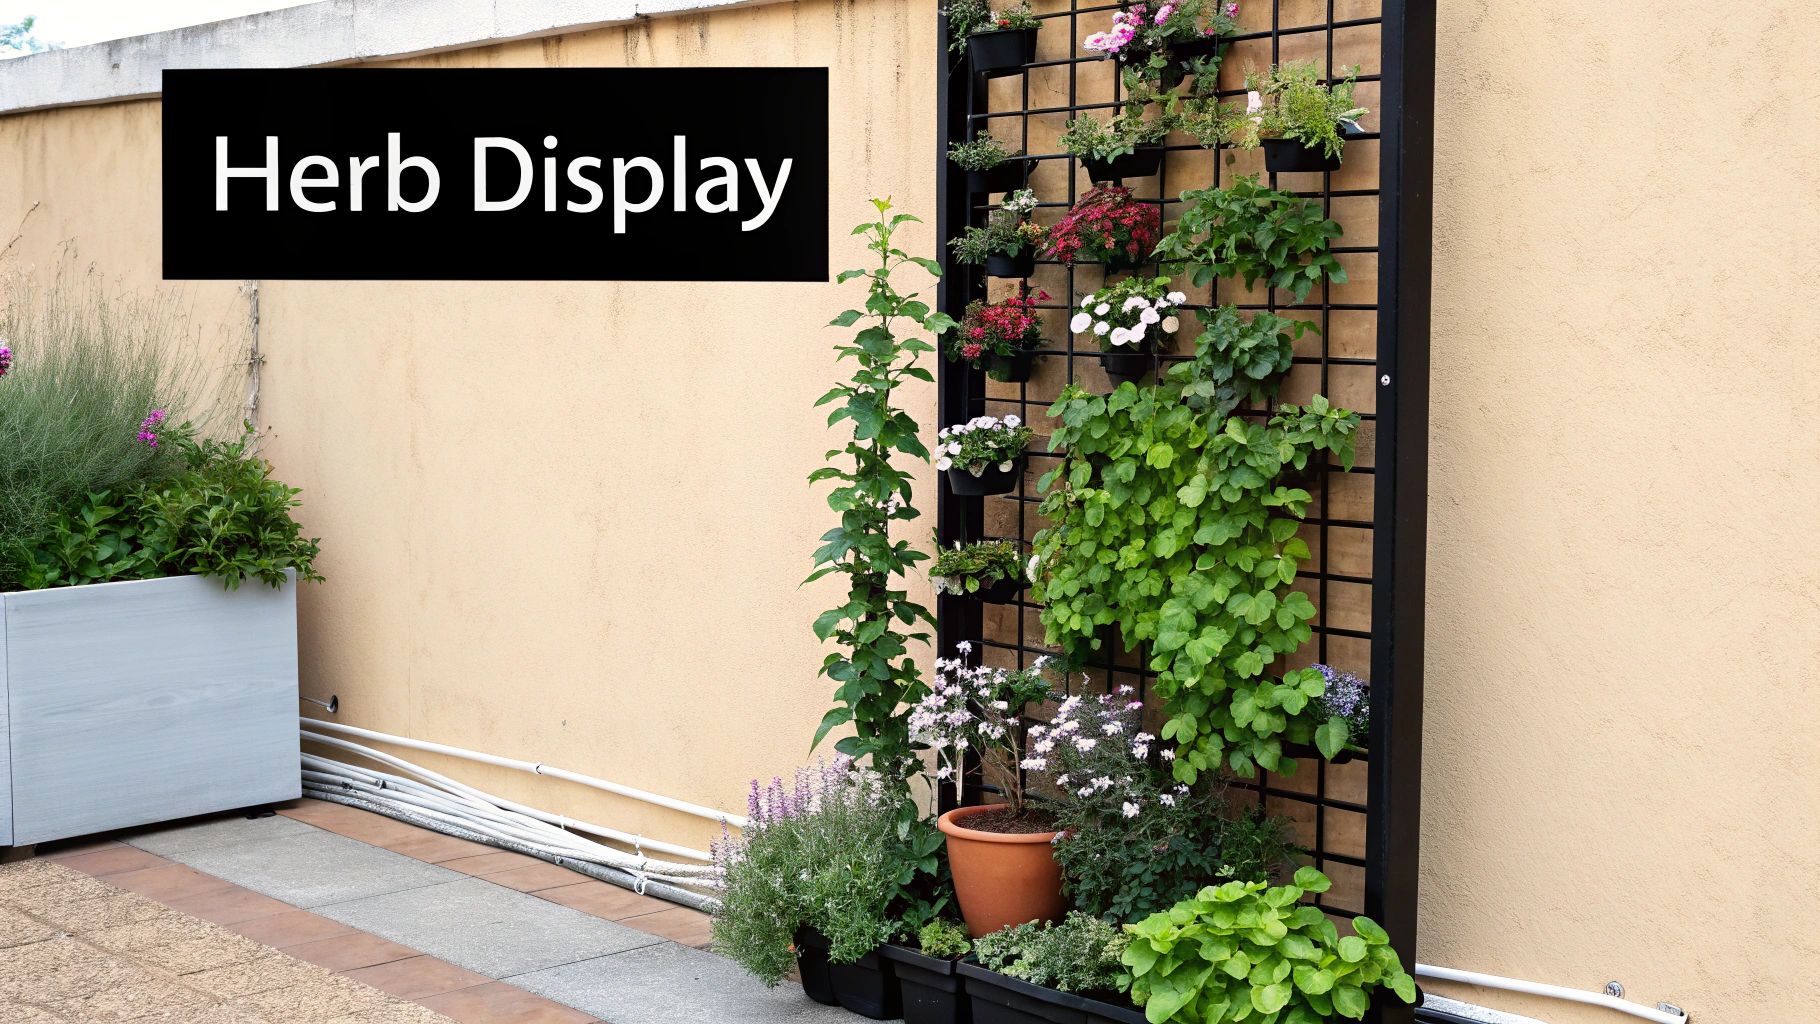
Even with the best plans in hand, a few questions always pop up once the work begins. Building a vertical gardening trellis is pretty straightforward, but there are a handful of common hurdles I see gardeners run into all the time.
Let’s clear those up. Think of this as your go-to troubleshooting guide for the little details that make a big difference—from placement and stability to which plants will play nice.
How Far From a Wall Should I Install My Trellis?
This is one of the most critical—and most forgotten—details of a wall-mounted trellis. You absolutely must leave a gap of at least 3-6 inches between the trellis and the wall.
Why? Air circulation. That space is vital for letting air move freely around your plants, which is your number one defense against fungal diseases like powdery mildew. Without it, moisture gets trapped, and you're just asking for trouble. It also gives your vines the room they need to climb and weave without getting smashed against the siding.
Key Insight: That air gap isn't just for the plants; it's for your house, too. Constant moisture held against brick or siding can lead to its own mildew and rot issues over time. Give it room to breathe.
What Is the Best Way to Anchor a Freestanding Trellis?
With a freestanding trellis, stability is everything. If you're in a windy spot or planning to grow heavy hitters like gourds or small melons, a flimsy setup won't last the season. The rule of thumb is to bury your support posts at least 18-24 inches deep.
For a tall or extra-wide trellis, setting the posts in concrete is the gold standard for security. You won't have to worry about it leaning or tipping once it's loaded with mature, heavy vines.
If your trellis is going into a large container, just make sure the pot is deep and heavy enough to act as a solid counterbalance. Once those plants get big, the whole thing can get top-heavy fast.
Can I Grow Indeterminate Tomatoes on a Trellis?
Yes, you can—and you absolutely should! Indeterminate tomatoes are the vining type that just keep growing and producing all season long, making them perfect for a strong trellis. They can easily climb 6-10 feet, sometimes even more.
The trick is to gently tie the main stem to the trellis every 8-12 inches as it grows. Use soft garden ties or strips of cloth so you don't damage the stem.
To get the best results, you'll also want to prune the little "suckers" that sprout in the crook between the main stem and the branches. This channels all the plant's energy into growing upward and making fruit instead of turning into a bushy mess.
Ready to dive deeper into growing your own food? The Grounded Homestead is your go-to resource for practical gardening tips and homesteading knowledge. Explore more guides and join our community at https://thegroundedhomestead.com.


Facebook
Instagram
X
Youtube