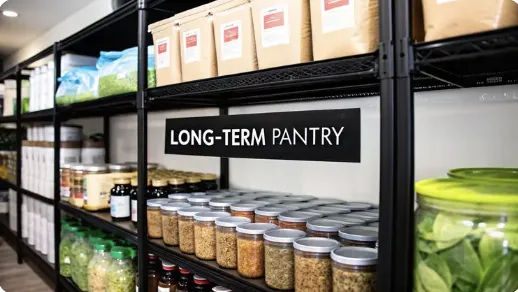
Food Storage Long Term a Practical Guide
Food Storage Long Term a Practical Guide
Building a long-term food supply is one of the most practical things you can do for your family’s security. It’s not about doomsday prepping; it’s about smart, grounded home management that gives you peace of mind, no matter what’s happening in the world.
Why Long Term Food Storage Is a Smart Move
When people hear "food storage," they sometimes picture dusty bunkers and weird survival rations. But that's not what this is about.
In reality, a well-stocked pantry is just a logical form of insurance against everyday uncertainties. It creates a buffer during a personal emergency, like an unexpected job loss or a sudden illness that keeps you from the store. It also shields your family from bigger issues, like rapid inflation driving up grocery bills or temporary shortages on the shelves.
The goal isn't to hoard food you'll never use. It's to build a living, rotating pantry filled with foods your family actually eats and enjoys. This approach is sensible, sustainable, and something any household can achieve one step at a time.
From Niche Hobby to Practical Necessity
Think of preparedness as an extension of responsible home management. You have a first-aid kit for scrapes and cuts. You have savings for financial hiccups. A food reserve simply addresses a potential disruption to your family’s most basic need.
It’s about making sure you have stability and comfort during times of stress.
This shift in mindset is key. It reframes food storage from a niche hobby into a core part of being self-reliant. And this goes way beyond just stacking cans on a shelf, as you can see in this modern guide to preserving food at home.
A Global Perspective on Food Security
The wisdom of having a personal safety net is reinforced when you look at global trends. Food insecurity is a real and growing challenge, with complex events impacting supply chains all over the world.
According to the Global Report on Food Crises, more than 295 million people faced acute hunger, a crisis driven by economic shocks, conflict, and extreme weather. Reading the full report on global food crises really puts into perspective how fragile things can be.
By focusing on what you can control—your own pantry—you build a powerful sense of security. It’s the quiet confidence that comes from knowing you have the resources to keep your family fed and cared for if a disruption occurs.
Ultimately, building a long-term food supply is about empowerment. It’s a simple, grounded process:
Start small. Just add a few extra non-perishable items to your cart each time you go to the store.
Focus on what you use. The golden rule is "store what you eat, and eat what you store."
Create peace of mind. Knowing you’re prepared for the unexpected is one of the best ways to reduce anxiety.
Choosing Foods for Your Long Term Pantry
Crafting a reliable long-term food supply starts with a simple rule I learned years ago: store what you eat, and eat what you store.
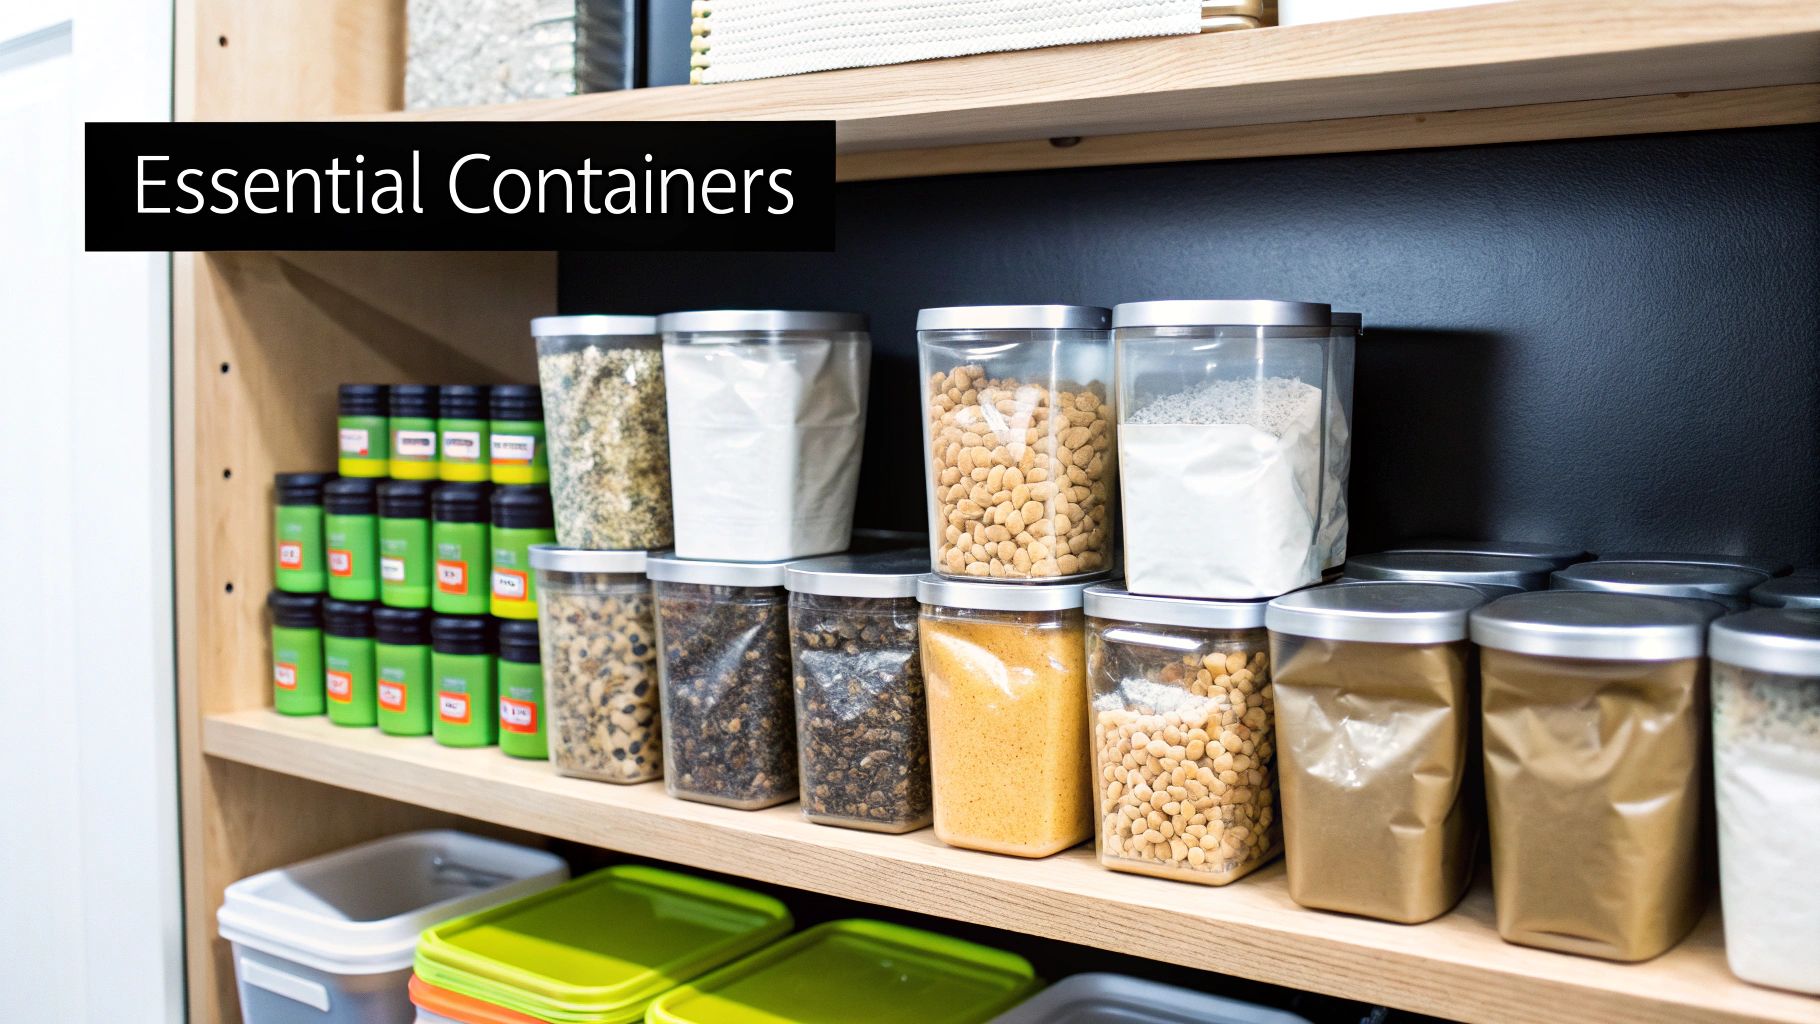
Forget those strange, unfamiliar survival rations. The smartest move is to build a deep pantry with shelf-stable versions of the foods your family already knows and loves. This way, nothing goes to waste, and meals during a stressful time are comforting and familiar.
Think of it less like a single, massive shopping trip and more like curating a personal grocery store right in your own home. This approach makes the whole process feel less overwhelming and far more sustainable.
Building Your Foundational Staples
Every good pantry needs a solid foundation of calorie-dense bulk foods. These are the workhorses that provide the energy to keep your family going. They’re generally inexpensive, store for ages, and form the base of countless meals.
Start by stocking up on these core categories:
Grains: White rice is the undisputed king here, with a shelf life of up to 30 years when stored correctly. Other fantastic choices include rolled oats, pasta, and if you have a grain mill, hard red or white wheat berries.
Legumes: Dried beans like pinto, black, and kidney beans are packed with protein and fiber. Lentils are another great addition because they cook much faster than most beans, which is a big deal when you're trying to conserve fuel.
Fats and Oils: You need fats for calories and flavor. Choose oils with a decent shelf life, like coconut oil or classic vegetable shortening. These can last for several years if kept in a cool, dark place.
Remember, variety is just as important for morale as it is for nutrition. Surviving on rice and beans alone gets old fast. Mix and match different grains and legumes to keep meals from getting boring.
The growing interest in self-reliance has made these staples more accessible than ever. The global long-term food storage market, valued at around USD 507 million, is projected to climb to nearly USD 660 million by 2032. This isn't just a niche hobby anymore; it reflects a broader awareness of food security. You can discover more insights about this growing market and what's driving it.
Comparing Foundational Long Term Storage Foods
When you're deciding which bulk staples to focus on, it helps to compare them side-by-side. This table breaks down some of the best foundational foods based on their shelf life, calorie density, and what you need to do to store them right.

This isn't an exhaustive list, but it gives you a solid starting point for building a pantry that’s both long-lasting and practical.
Canned vs. Freeze-Dried vs. Dehydrated Goods
Beyond your basic staples, you'll want to add fruits, vegetables, and proteins. This is where you’ll decide between canned, freeze-dried, or dehydrated options, and each has its place in a well-rounded pantry.
Canned Goods are the easiest entry point. They’re affordable, convenient, and you can find them anywhere. They're perfect for beginners because they don’t require any special equipment. The main downside? They’re heavy and bulky, making them a poor choice if you ever need to be mobile.
Dehydrated Foods are much lighter because most of the water has been removed with low heat. This is great for making things like jerky, fruit leather, or dried apple slices. The trade-off is that the heating process can sometimes change the food's texture and reduce certain heat-sensitive vitamins.
Freeze-Dried Foods are the gold standard for long-term quality. The process of flash-freezing food and then removing the moisture in a vacuum preserves 98-99% of the original nutrients, flavor, and texture. Freeze-dried meals, meats, and veggies rehydrate quickly and taste surprisingly fresh. The catch, of course, is that they’re the most expensive option by a long shot.
Don't Forget the Comfort Items
A successful food supply isn’t just about calories; it’s about supporting your mental well-being, too. Including comfort items can make a tough situation feel a whole lot more normal. These are the little things that turn a pile of ingredients into a real meal.
Make sure to add these to your storage plan:
Sweeteners: Honey lasts forever. Sugar (both white and brown) is another must-have.
Beverages: Instant coffee, tea bags, and powdered drink mixes can be huge morale boosters.
Spices and Flavorings: Salt is non-negotiable. Stock up on pepper, garlic powder, onion powder, bouillon cubes, and whatever other herbs your family uses regularly.
Leavening Agents: Baking soda and baking powder are essential if you want to make bread, biscuits, or pancakes from your stored grains.
Think about what your family actually enjoys. If hot chocolate is a big deal on a cold day, then cocoa powder and sugar should be on your list. These aren't luxuries—they're a critical part of a practical and humane preparedness strategy.
Mastering Packaging for Maximum Shelf Life
Picking the right foods is only half the battle. If you want a pantry with serious staying power, you have to master the art of packaging. This is your frontline defense against the enemies of long-term food storage: oxygen, moisture, light, and pests.
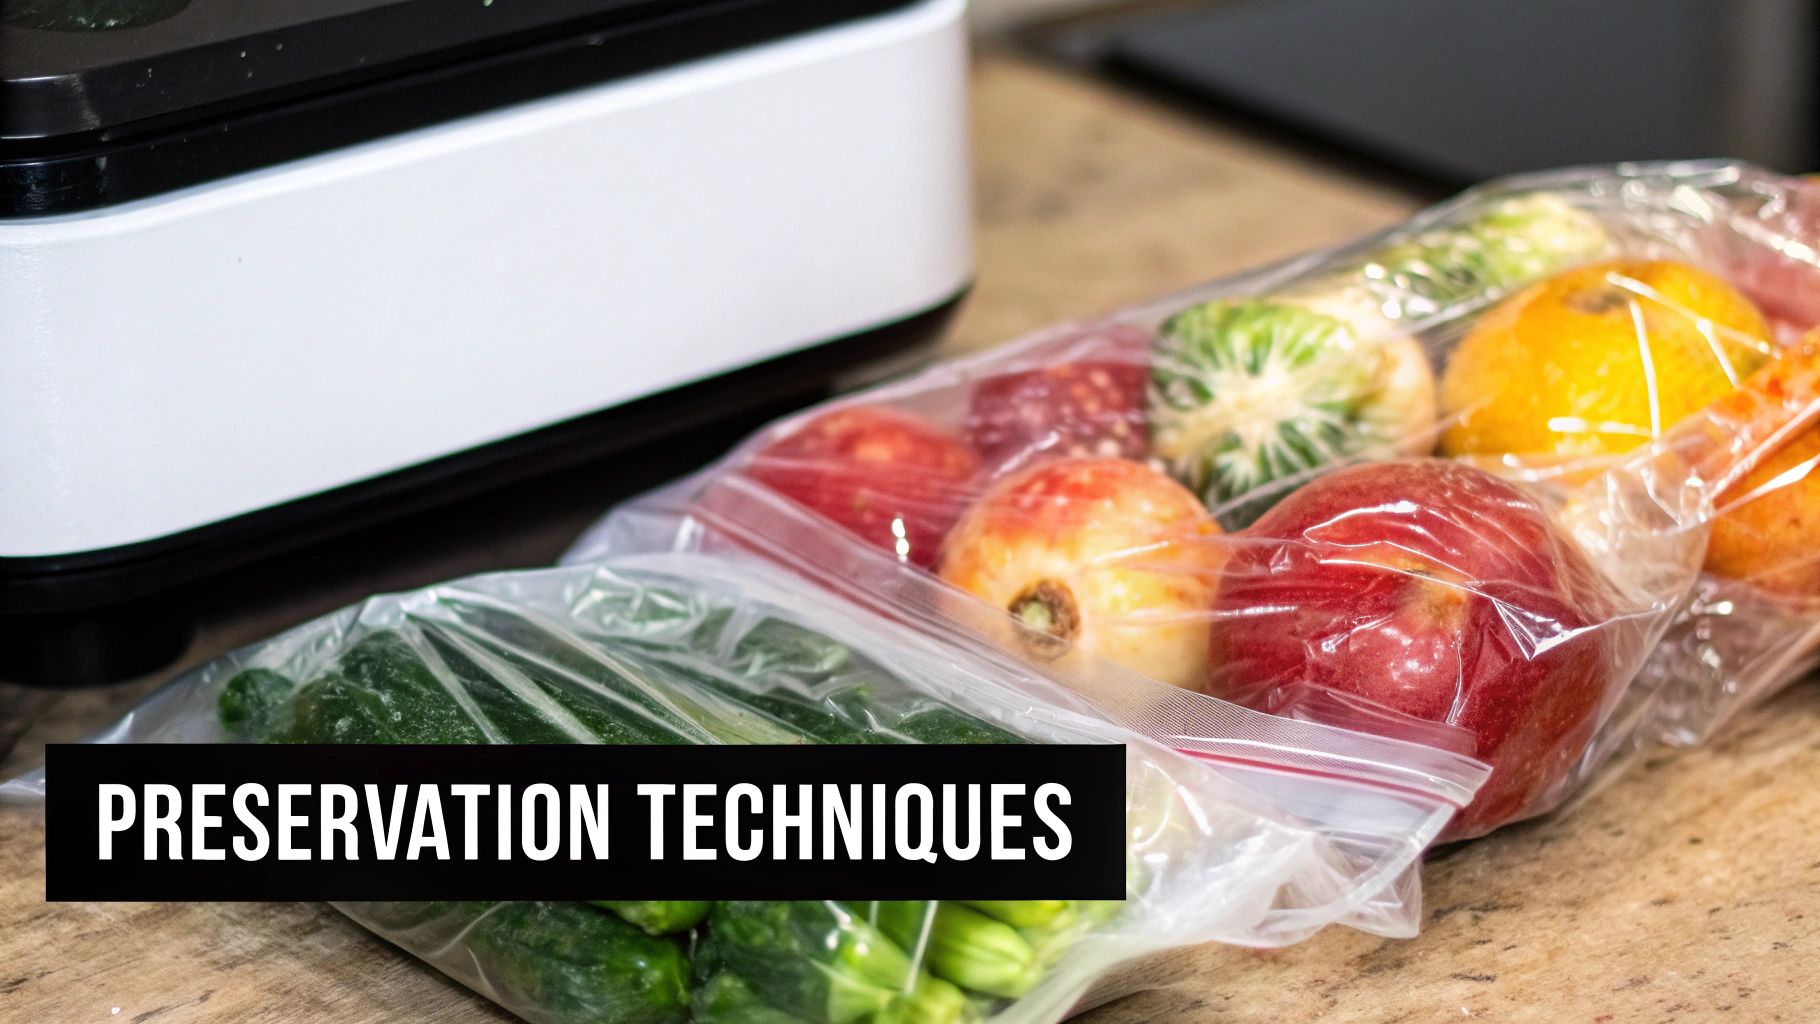
Think of it like this: leaving rice in its original paper sack is like leaving your front door unlocked. Sure, it's easy, but you're inviting trouble down the road. By using the right materials and techniques, you're building a fortress around your food, making sure it stays safe, nutritious, and edible for decades.
The Power Duo: Mylar Bags and Oxygen Absorbers
When it comes to preserving dry goods, the combination of Mylar bags and oxygen absorbers is the gold standard. Mylar is a remarkable material that acts as an impermeable barrier, blocking out light, moisture, and air. When you pair it with an oxygen absorber, you create a near-perfect environment for preservation.
An oxygen absorber is a small packet filled with iron powder. It works through a simple chemical reaction: the iron essentially "rusts," consuming any oxygen left inside the sealed bag. Getting rid of the oxygen does two critical things:
It stops oxidation, which is what makes food lose its nutritional value and taste over time.
It eliminates any insect eggs that might be lurking in your dry goods, since they can't hatch without oxygen.
This is the secret to getting a 25 to 30-year shelf life from staples like white rice, wheat, and rolled oats. It’s a simple, incredibly effective technique that turns basic foods into a lasting asset.
Sealing the Deal: A Practical Walkthrough
Getting a perfect seal on a Mylar bag is everything. A weak seal makes all your other work pointless. While you can get by with a standard clothing iron, I highly recommend investing in an impulse sealer for a much more consistent and reliable result.
Here’s the process I follow every time:
Label First. Always label your bag before you fill it. Use a permanent marker to write down the contents, the quantity, and the date you packed it. Trust me on this one—a year from now, you won't remember what's inside.
Fill the Bag. Carefully pour your dry goods into the bag, but leave a few inches of headspace at the top. You'll need that room to get a clean, wide seal.
Add the Oxygen Absorber. Drop the correct size oxygen absorber right on top of the food. You'll want to work quickly here, as they start activating the moment they're exposed to air.
Seal It Tight. Squeeze out as much excess air as you can by hand. Then, use your impulse sealer or iron to create a strong, wide seal across the top. I always do a double seal, just to be safe.
After sealing, the bag should start to look vacuum-packed within 24 to 48 hours as the absorber does its job. If the bag is still puffy after two days, you likely have a bad seal or a spent absorber. Better to find out now than a decade later!
The Outer Shell: Food-Grade Buckets
Mylar bags are fantastic against air and moisture, but they offer very little protection from pests or physical damage. That's where food-grade buckets come in. Stashing your sealed Mylar bags inside a sturdy, lidded bucket gives you the ultimate layer of protection.
This two-layer system ensures that rodents can't chew through to your precious food stores. It also makes stacking and organizing your entire supply much easier and safer. Always look for buckets specifically designated as "food grade," as these are made from plastics that won't leach harmful chemicals into your food.
The demand for high-quality containers shows just how seriously people are taking food preservation. The food storage container market was valued at around USD 170.9 billion and is projected to hit USD 265.3 billion, all driven by a desire to reduce waste and ensure food safety. Innovations in this space are making it easier than ever to store food right. To see the full scope of this trend, you can read the full market analysis on Future Market Insights.
What Not to Package with Oxygen Absorbers
Oxygen absorbers are incredible tools, but they aren't right for everything. Using them on the wrong foods can completely ruin your supply.
Avoid using oxygen absorbers with these items:
Sugar and Salt: They will turn into solid bricks.
Brown Rice and Whole Grains: These have high oil content that will go rancid over time, and removing oxygen won't prevent it.
Dehydrated Herbs: Proper drying is the most important factor for their longevity. You can check out our guide on how to preserve fresh herbs for year-round use.
For these foods, simple airtight containers are your best bet. The real goal is to match the packaging method to the specific food, ensuring everything in your pantry has the best possible chance at a long, stable shelf life.
Creating the Ideal Food Storage Environment
After all the work of choosing and packing your food, the next big decision is where it’s going to live. The environment you store your food in is just as important as the Mylar bag it’s sealed in. A sweltering attic or a damp basement can undo all your hard work, slashing the shelf life of your investment.
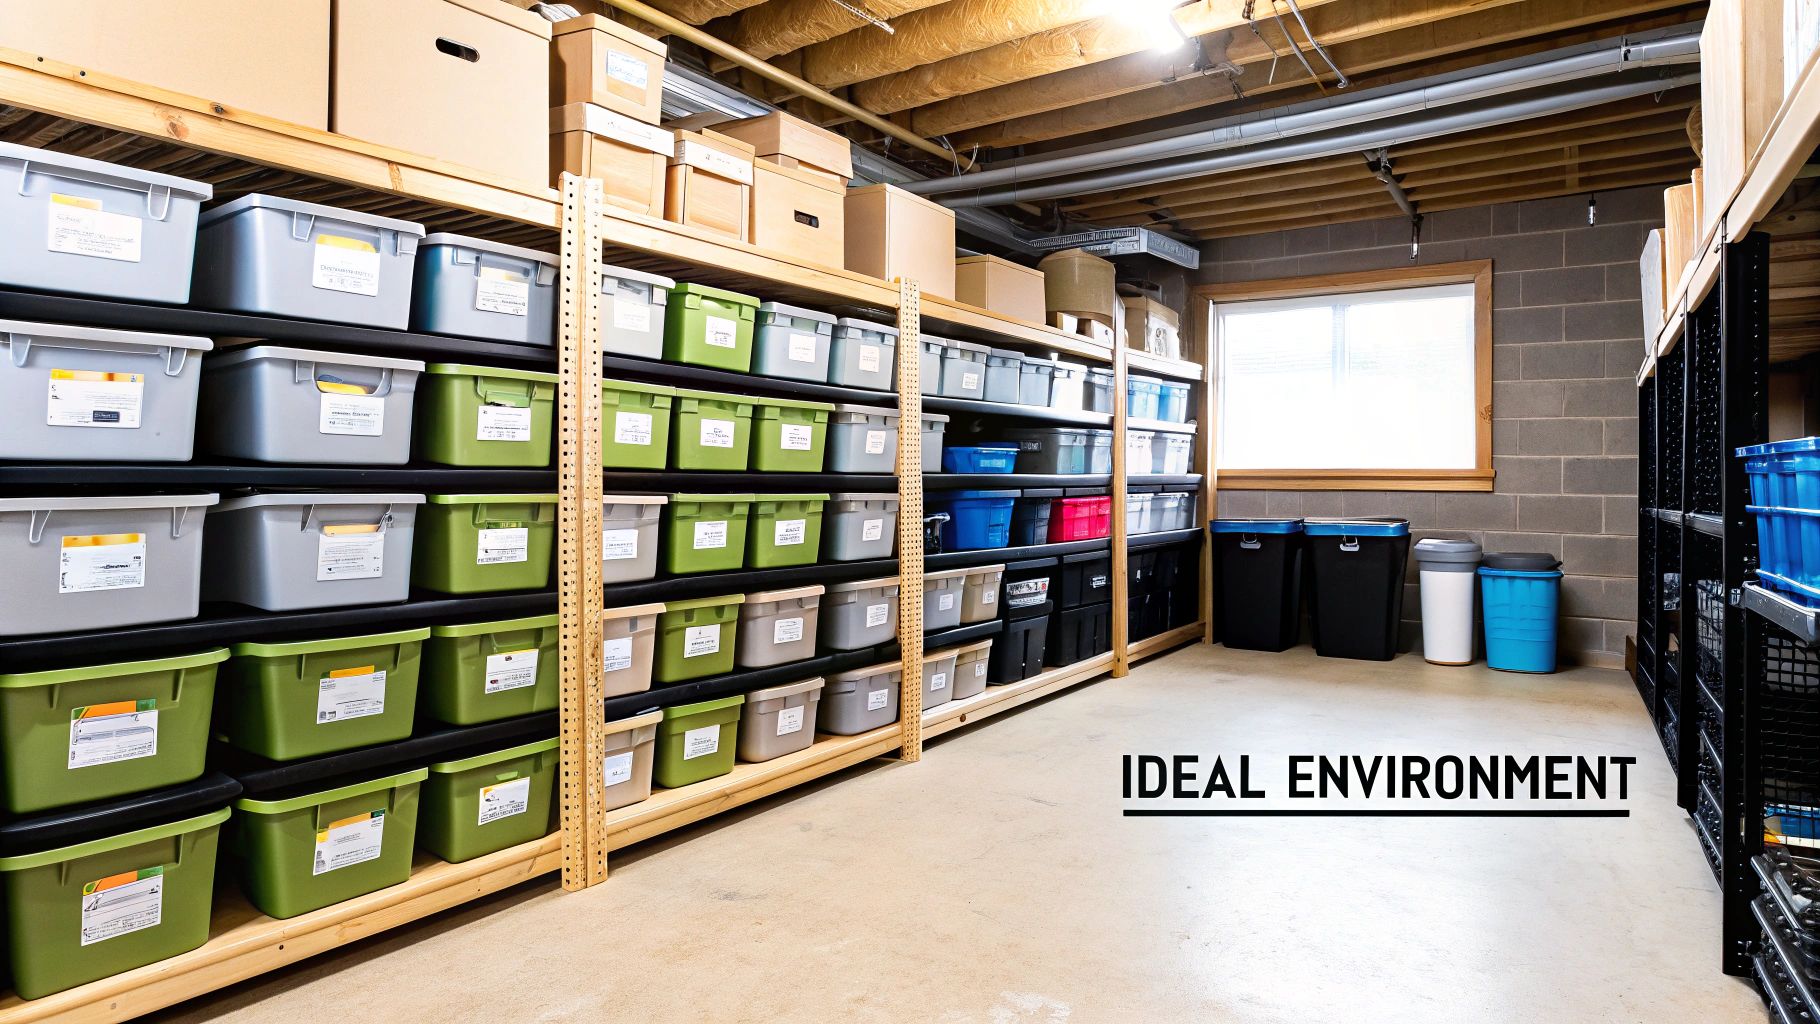
The three golden rules for long-term food storage are simple but non-negotiable: keep it cool, dark, and dry. These are the biggest external threats to your food supply, and controlling them is the key to getting the maximum shelf life. Think of your storage space as a vault, built to protect your food from the slow, silent decay caused by heat, light, and moisture.
Finding or Creating Your Cool, Dark Place
The ideal storage temperature is consistently cool, hovering somewhere between 50°F and 70°F (10°C and 21°C). This isn't just a suggestion—it's a hard rule of food science. For every 18°F (10°C) the temperature rises, the shelf life of most foods gets cut in half. That’s why garages and attics are usually terrible choices; their wild temperature swings will rapidly degrade your food's taste and nutritional value.
Instead, look for stable spots within your home's core structure.
Basements and Cellars: These are often the best choice, as they're naturally cool and dark year-round. The main thing to watch for is dampness or any risk of flooding.
Interior Closets: A closet on an inside wall, buffered from the summer heat and winter cold, can be a fantastic spot. Think of a coat closet in a central hallway or the back of a linen closet.
Under Beds or Stairs: These often-overlooked spaces are surprisingly stable in temperature and shielded from light. They're perfect for tucking away smaller, well-protected containers.
If you don't have a perfect spot, get creative. You might dedicate the bottom shelf of a pantry to your long-term items since the floor level is usually the coolest. The goal is to find a location that avoids direct sunlight and stays as temperature-stable as possible.
A simple indoor/outdoor thermometer with a remote sensor is a cheap and effective tool. Place the sensor in your potential storage spot and monitor it for a week. The data will tell you just how stable that environment really is.
Battling Humidity and Pests
Moisture is the sworn enemy of dry goods. It can compromise seals, invite mold, and ruin entire buckets of food before you even know there's a problem. Your mission is to keep the relative humidity in your storage area as low as possible. If you live in a humid climate or your chosen spot (like a basement) is naturally damp, you’ll need to take action.
A dehumidifier is an excellent investment for larger spaces. For smaller, enclosed areas like closets or cabinets, silica gel desiccants are incredibly effective. These are the same little packets you find in new electronics, and they are masters at absorbing ambient moisture. You can buy them in larger, rechargeable canisters that can be dried out in an oven and reused for years.
Good organization is also a huge part of controlling moisture and keeping pests out.
Get Everything Off the Floor: Never, ever store your food buckets or boxes directly on a concrete floor. Concrete can "sweat" moisture, which will wick straight up into your containers. Use sturdy wooden pallets or, even better, heavy-duty shelving.
Invest in Strong Shelving: Your food supply is heavy. Flimsy shelves are a disaster waiting to happen. Metal utility shelving is a reliable and affordable choice that can easily handle the weight.
Leave Room for Airflow: Don't cram everything together so tightly that air can't move. Leaving a small gap between containers and walls allows for circulation, which helps prevent moisture buildup and makes it easier to inspect for any signs of trouble.
By creating a stable and secure environment, you're making sure the food you so carefully prepared will be safe, nutritious, and ready when you need it most.
Your Food Rotation and Inventory System
Building a long-term food supply is a huge accomplishment, but the work doesn’t stop once the buckets are sealed. Your food storage is a living pantry, not a museum exhibit. To keep it from going to waste, you need a smart way to manage it. This is where rotation and inventory tracking become your most important skills.
With a good system, your supply transforms from a static pile of cans into a dynamic, active resource for your family. The core principle is simple but powerful: First-In, First-Out (FIFO). This just means you always use the oldest items first, making sure everything gets eaten long before it loses quality. It’s the same method grocery stores use to keep their shelves fresh, and it’s just as vital for your home.
Using FIFO stops you from finding a 20-year-old can of beans hiding behind one you bought last year. It guarantees you're always using food at its peak, protecting both your investment and your family's nutrition.
Designing a Simple Inventory Tracker
You can't rotate what you can't track. An inventory system is your map to everything you own, taking the guesswork out of what to use next. It also stops you from accidentally buying duplicates while other items are nearing their use-by date. You don’t need fancy software; a simple notebook or a basic spreadsheet gets the job done perfectly.
Your tracker just needs a few key details for each item:
Item Name: Be specific (e.g., "Pinto Beans," not just "Beans").
Quantity: Note the container size (e.g., #10 can, 5-gallon bucket).
Packing Date: The date you sealed the item.
Best By Date: The manufacturer's date or your own calculated rotation date.
Location: Where it’s physically stored (e.g., "Basement Shelf 2," "Under Bed").
A simple log like this turns a chaotic pile of supplies into an organized, manageable system. At a glance, you can see what you have, where it is, and what needs to move into your daily kitchen pantry next.
To get you started, here is a basic template you can copy into a spreadsheet or a notebook. It’s a straightforward way to keep everything organized.
Sample Food Inventory Tracking Sheet

Keeping this tracker updated only takes a few minutes whenever you add or use an item, but it saves you hours of searching and prevents costly waste down the road.
Integrating Stored Food into Daily Life
The best way to master rotation is to treat your long-term food supply as an extension of your regular kitchen pantry. Instead of letting it sit untouched, actively pull from it.
When you run out of rice in your kitchen canister, don't just add it to the shopping list. Go to your storage, grab the oldest bucket of rice, and refill your canister from there.
The next time you buy rice, that new package goes to the back of your long-term supply, becoming the newest item in the rotation. This creates a constant, seamless flow.
This chart breaks down how shelf life affects your rotation schedule.
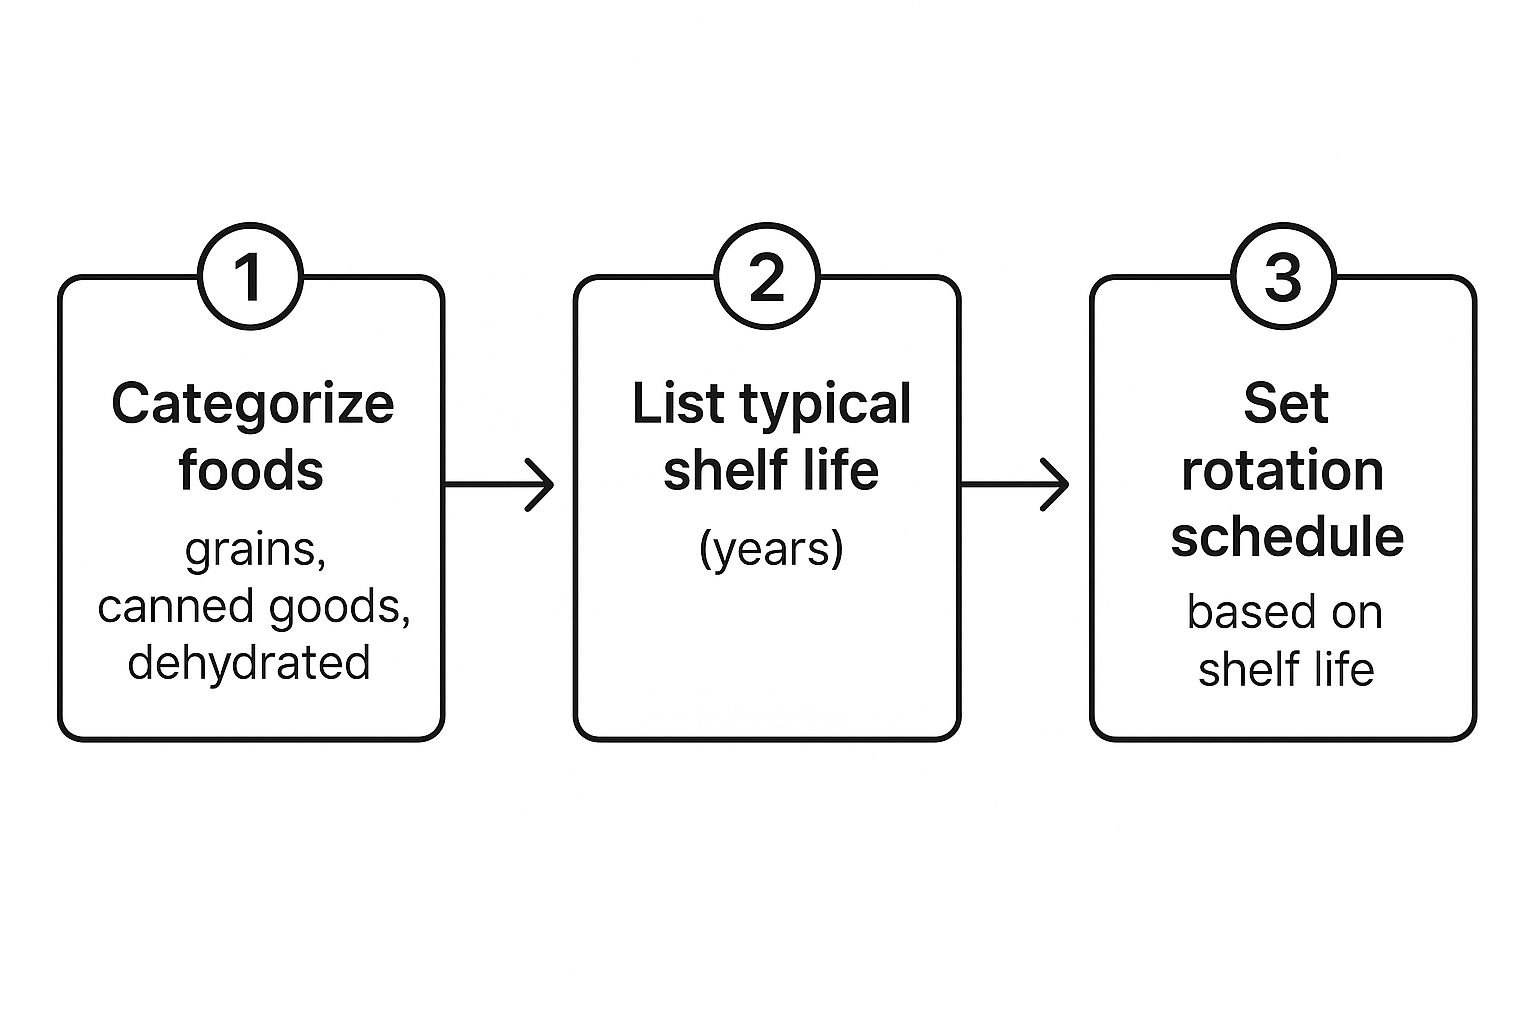
As you can see, things with shorter shelf lives, like canned goods, need more frequent rotation. Staples like grains and beans can be managed on a much longer timeline.
This practice pays off in a few big ways:
Ensures Freshness: You’re constantly cycling through your stock, so nothing ever gets truly "old."
Familiarizes Your Family: Everyone gets used to eating the foods you have stored, so there are no surprises during an emergency.
Builds Skills: You get good at cooking with your stored ingredients, like making bread from wheat berries or incorporating dried beans into weeknight meals.
Your food storage should never feel like a separate, off-limits stash. It's your deep pantry—a resource to be used and replenished continuously. This active management is the key to a truly resilient food supply.
By combining the FIFO principle with a simple inventory tracker and the habit of integrating stored items into your daily meals, you create a robust and reliable system. It’s a small amount of organizational effort that pays huge dividends in peace of mind, ensuring your long-term food storage is always ready and reliable.
Got Questions About Food Storage? We’ve Got Answers.
When you start digging into long-term food storage, a few questions always seem to pop up. How much is enough? Can I just stick it all in the garage? What’s the real deal with freeze-dried versus dehydrated? It's easy to get bogged down in the details.
Let’s clear up some of that confusion. Think of this as a quick-start guide to the most common hurdles people face. Getting these fundamentals right is what turns a messy pile of cans into a system you can actually count on.
How Much Food Should I Actually Store?
This is the big one, and honestly, the answer is different for every family. A great, manageable place to start is with a three-month supply of foods you already eat every week. This gives you a serious buffer without feeling like an impossible project.
For those wanting to be more prepared, the goal is often six months to a year's worth of food. Instead of getting lost in complicated online calculators, try this: track what your family eats for one solid month, then multiply from there. As a baseline, aim for roughly 2,000-2,500 calories per person, per day. And don't forget the water—one gallon per person, per day, is the universal rule of thumb.
Can I Safely Store Food in My Garage or Attic?
In almost every case, that’s a hard no. Garages and attics are notorious for wild temperature swings—roasting in the summer and freezing in the winter. Heat is the number one enemy of shelf life; it kills nutritional value, flavor, and texture faster than anything else.
Unless your garage is climate-controlled and stays consistently cool (ideally below 70°F or 21°C), it's a terrible place for your investment. A cool basement, a closet in the center of your house, or a dedicated pantry are far better bets.
The rule of thumb is simple: if you wouldn't be comfortable sitting in a space for hours, your food won't be either. Stability is the name of the game.
What Is the Real Difference Between Freeze-Dried and Dehydrated?
Both are fantastic preservation methods, but they work very differently and give you very different results.
Dehydration uses low heat to pull out about 70-90% of the food's moisture. It's an affordable method that’s perfect for things like fruit leather and jerky, but the heat changes the texture and can degrade some nutrients.
Freeze-drying is a two-step process. First, the food is frozen solid, then it's placed in a vacuum that turns the ice directly into vapor, removing 98-99% of the moisture. This process does a much better job of preserving the original shape, flavor, and nutrition. Freeze-dried foods also rehydrate almost instantly, but the equipment is significantly more expensive.
For very long-term needs, especially with fruits, vegetables, and meats, freeze-drying offers a superior product. For other preservation skills, like canning, it's a completely different world. If you're exploring more traditional methods, you can learn how to can without a pressure canner right here on the blog.
Do I Really Need Oxygen Absorbers for Every Dry Good?
For truly long-term storage (10+ years) of dry goods like wheat, white rice, beans, and pasta, oxygen absorbers are a must. They remove the oxygen that insects need to hatch and that causes food to go rancid through oxidation. These are the two biggest threats to your dry goods.
However, you should NEVER use them with sugar or salt. The process will turn them into a solid, unusable brick. For items you plan to use within a few years—like whole grains or brown rice—a simple vacuum seal in a quality Mylar bag is often good enough.
At The Grounded Homestead, we believe that building a secure food supply is one of the most empowering steps you can take toward self-reliance. Explore our resources to continue your journey. Find out more at https://thegroundedhomestead.com.


Facebook
Instagram
X
Youtube