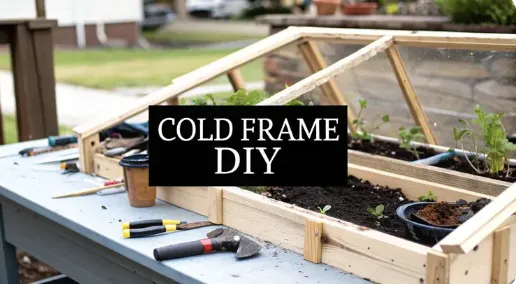
How to Build Cold Frame: Easy DIY Guide for Your Garden
How to Build Cold Frame: Easy DIY Guide for Your Garden
Building a cold frame is a simpler project than you might think. At its core, you’re just making a bottomless box with a transparent, sloped lid. All you really need is some rot-resistant lumber, a clear top like an old window or a sheet of polycarbonate, and a few basic tools to put it all together.
This simple structure is your own personal mini-greenhouse, designed to capture the sun’s warmth and kickstart your gardening season.
Why a Cold Frame Is a Gardener's Secret Weapon
Before you start measuring boards and making cuts, it’s worth taking a moment to appreciate just how much of a game-changer this simple addition can be. A cold frame is way more than a wooden box with a lid; it’s a strategic tool that fundamentally changes your relationship with the growing seasons.
Think of it as your garden's own microclimate generator. It’s a small investment that pays off in a big way with fresh produce and healthier, hardier plants.
By trapping the sun's warmth, a cold frame creates a sheltered pocket where the soil stays several degrees warmer than the surrounding ground, even on frigid days. That small difference is what makes year-round gardening a real possibility in so many climates.
Extend Your Growing Seasons
The most immediate payoff is a dramatically longer harvest period. With a cold frame, you can start planting weeks, or even months, before your area’s last frost date. Imagine sowing spinach and lettuce seeds in late winter and cutting fresh salads while your neighbors are still waiting for the ground to thaw.
This season extension works on both ends of the calendar, too.
Early Spring Planting: It’s the perfect spot to harden off tender seedlings like tomatoes and peppers, giving them a strong, gentle start before they face the open garden.
Late Fall and Winter Harvests: You can shield cold-hardy crops like kale, carrots, and mâche from the first hard frosts, letting you pick fresh greens deep into the winter.
A well-managed cold frame can easily add two to three months to your active gardening year. It transforms gardening from a seasonal hobby into a more continuous, year-round practice of providing for your table.
A Perfect Tool for Backyard Homesteading
For anyone interested in self-sufficiency, a cold frame is a cornerstone of productivity. It fits perfectly with the idea of making the most of your space, no matter how small it is.
Learning how to build a cold frame is a foundational skill that supports so many other backyard homesteading ideas, from growing your own salad greens year-round to propagating herbs for your kitchen. It's an efficient, low-cost way to boost your food production without needing a full-scale greenhouse, connecting you more deeply to the food you eat.
Choosing the Right Materials for Your Build
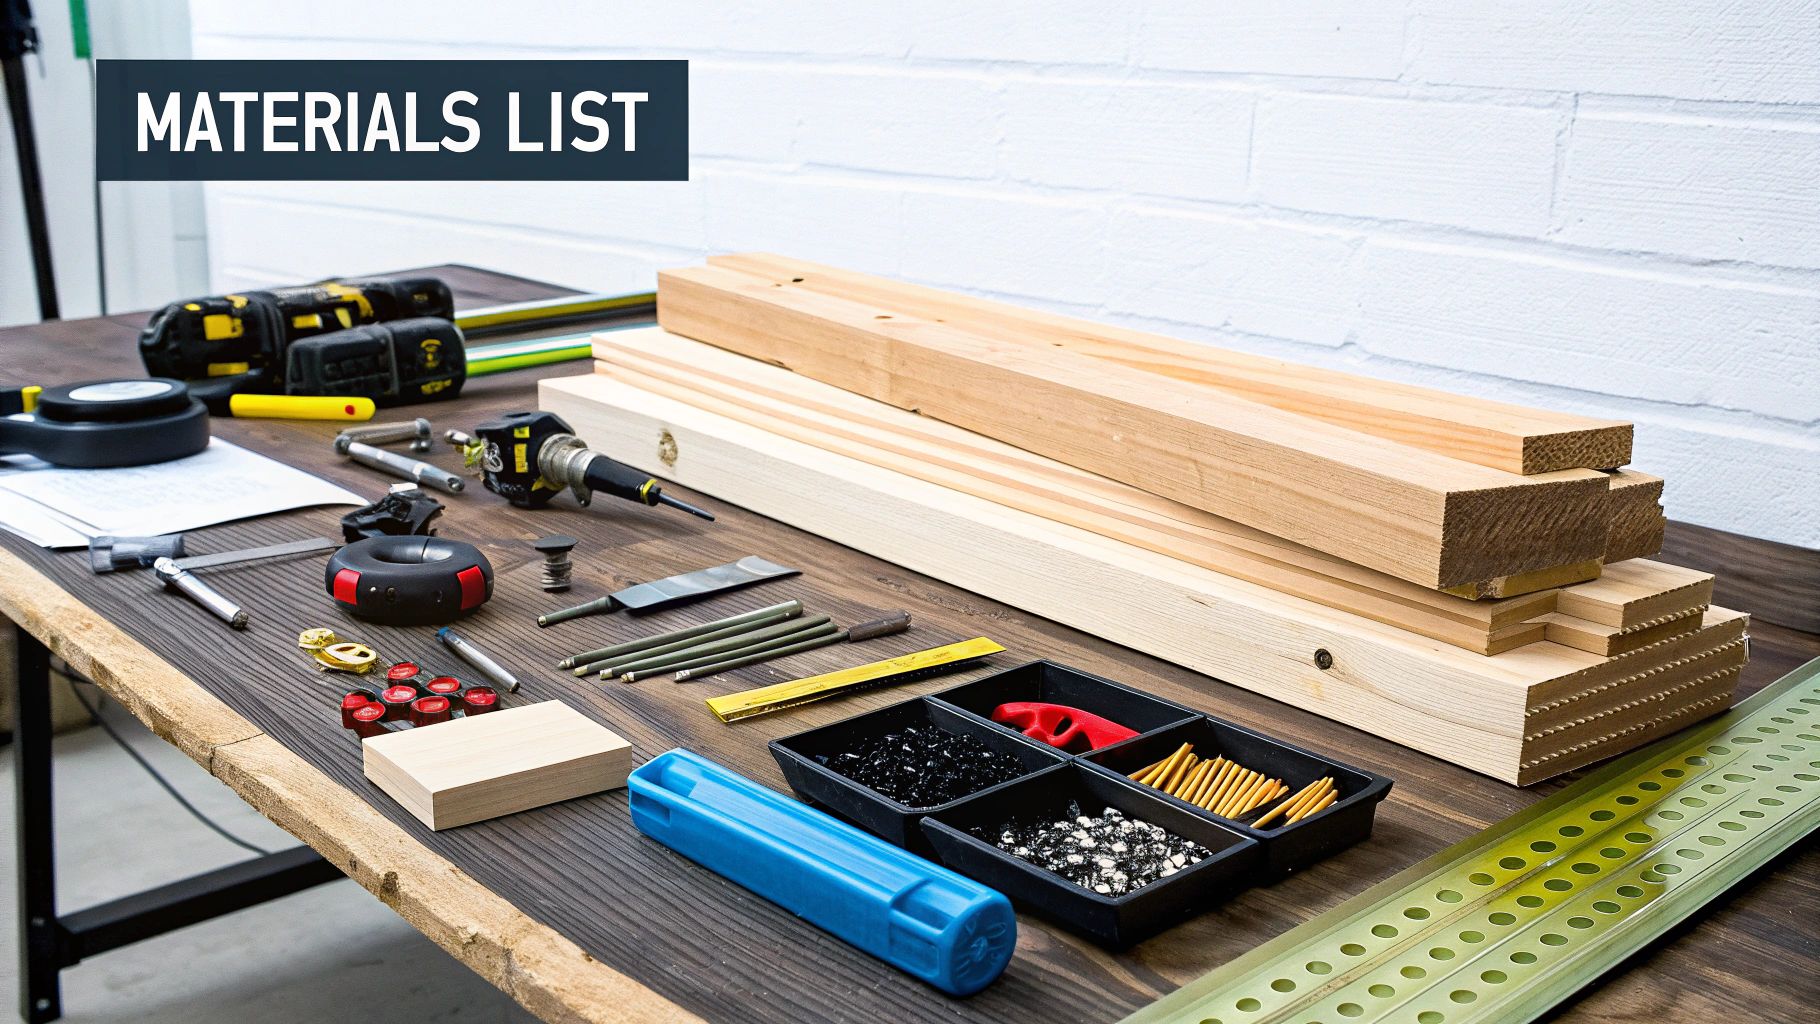
The success of any garden project—especially one meant to protect your plants—starts with the materials you choose. When you build a cold frame, you’ve got a great chance to get resourceful, whether that means using brand-new lumber or upcycling what you already have lying around.
Your choices here will directly impact your budget, how long the frame lasts, and how well it holds heat. There’s no single “best” option; it’s all about finding the right fit for your needs and skills. A simple frame built from reclaimed wood and an old window can be just as effective as one made from new cedar and polycarbonate.
Sourcing Materials for the Frame
The frame is the backbone of your cold frame, so you'll want to choose a wood that can stand up to moisture and temperature swings without rotting away after just one season.
Here are a few popular choices:
Cedar or Redwood: These woods are naturally rot-resistant and keep insects away, making them a fantastic long-term investment. They cost a bit more upfront but will last for years with very little maintenance.
Pressure-Treated Lumber: This is a more budget-friendly option, as the wood is chemically treated to resist decay. Some gardeners worry about chemicals leaching into the soil, so it's often best used for frames where it won't be in direct contact with the soil your edible plants are growing in.
Reclaimed or Second-Cut Lumber: This is my personal favorite for both sustainability and savings. Many lumberyards sell boards with cosmetic flaws at a steep discount. Using 2x12 boards with knots or holes can bring the cost of a 4x4-foot cold frame down to around $50—a huge difference from commercial kits that can run close to $300. For a great walkthrough, check out this helpful video guide on building a cold frame on a budget.
Selecting the Right Glazing or Lid
The lid, or glazing, is what traps the sun's heat. The material you pick determines how much light gets in and how well that warmth is retained.
Pro Tip: Think about your local weather. If you live somewhere with frequent hailstorms, a shatter-resistant polycarbonate is a much safer bet than recycled glass, which could leave you picking shards out of your garden bed.
Old Windows or Glass Doors: This is the classic upcycling approach. Salvage yards, flea markets, and online marketplaces are goldmines for old sashes. They offer excellent light transmission and add a charming, rustic look to the garden.
Polycarbonate Panels: These are lightweight, incredibly durable, and great insulators. For even better heat retention, look for twin-wall polycarbonate, which has an air gap between its layers. This is a top-notch choice if you're building from scratch and want something that will last.
Plexiglass (Acrylic): It’s cheaper than polycarbonate and offers good clarity, but it can get brittle and turn yellow over time with UV exposure.
Choosing the right materials can feel like a balancing act between cost, durability, and performance. Here’s a quick breakdown to help you decide.
Cold Frame Materials Comparison

Ultimately, the best cold frame is the one you actually build and use. Whether you go for top-of-the-line materials or salvage what you can, the goal is the same: to give your plants a head start.
While a cold frame is a simple structure, it shares many of the same principles as a larger setup. If you're dreaming bigger, our guide on greenhouse gardening for beginners can offer more insights into creating controlled growing spaces. Building a cold frame is the perfect first step on that journey.
Finding the Perfect Spot for Your Cold Frame
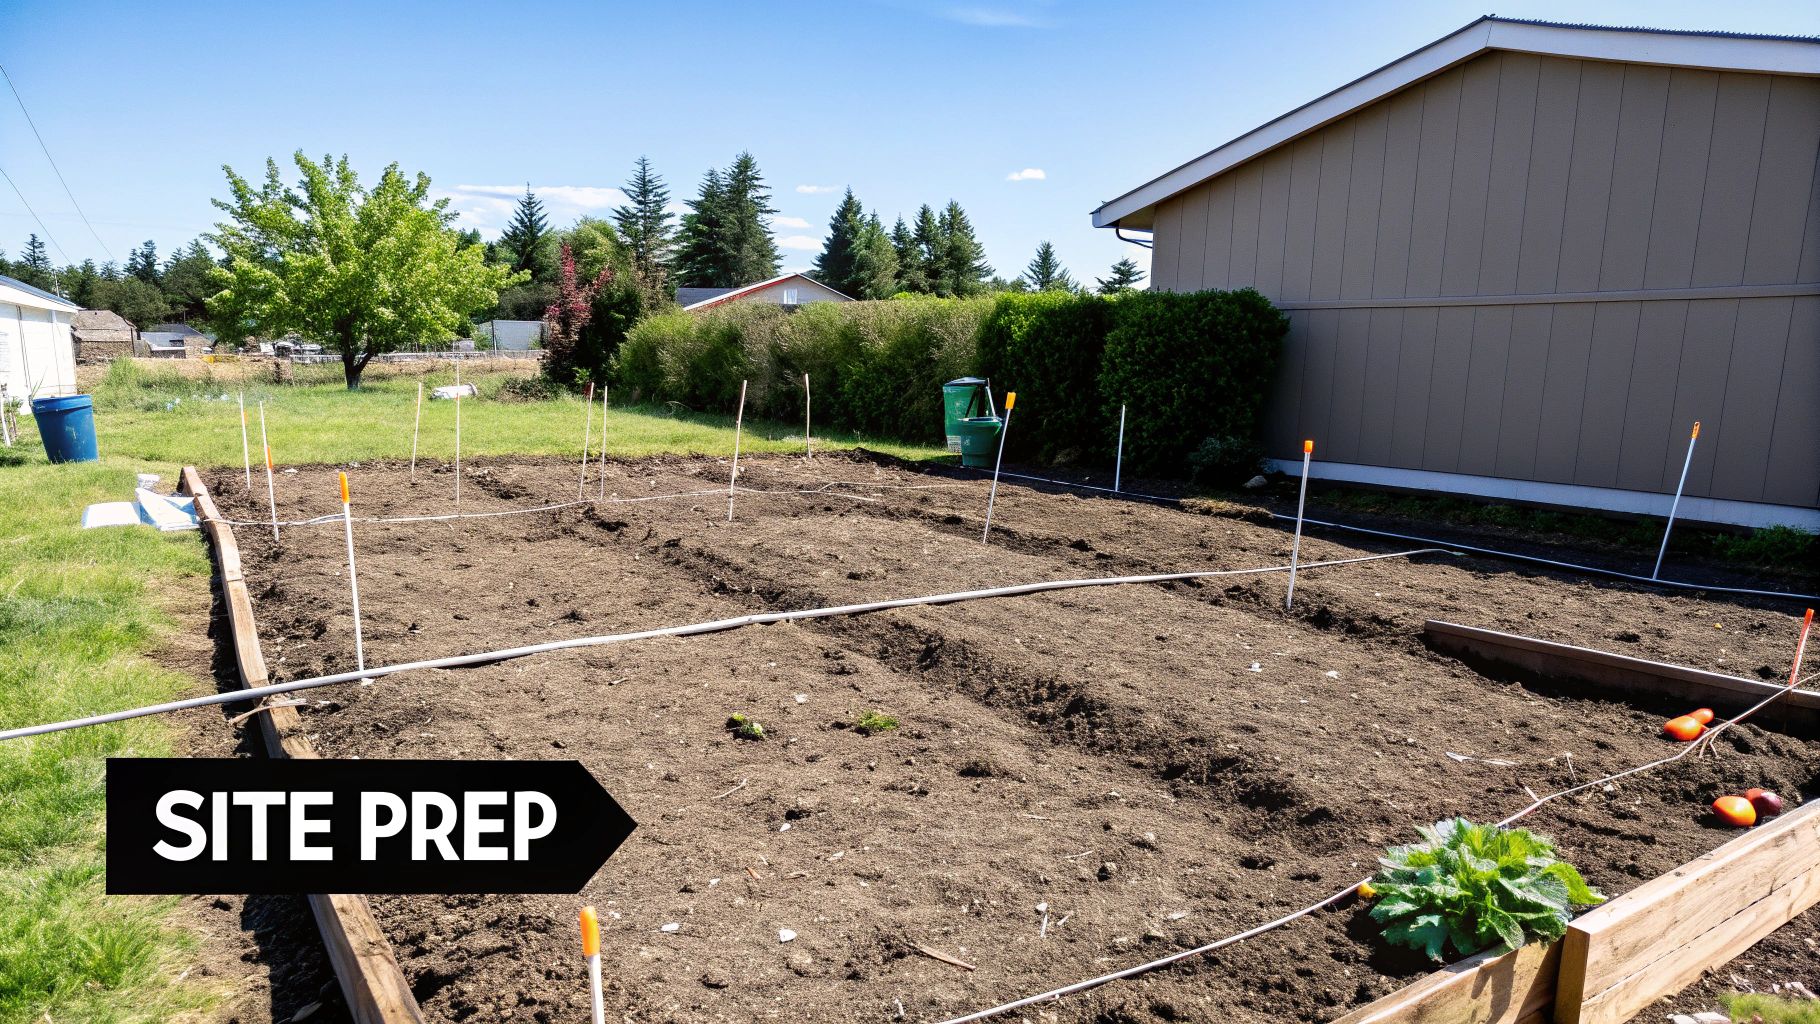
Where you decide to put your cold frame is just as important as how you build it. A well-made frame in a poor location will struggle, while even a simple setup in the perfect spot can work wonders for your plants. Think of it like real estate for your garden. It’s all about location, location, location.
The whole point is to capture as much solar energy as possible, especially during those short, cold days of winter and early spring. That means finding a spot that gets blasted with direct sun.
Capitalize on Southern Exposure
Your ideal spot will be south-facing. No question.
This orientation allows the slanted lid of the cold frame to catch the low-angle winter sun all day long. This is absolutely critical for warming the soil and keeping your plants from freezing solid.
An east-facing spot is a decent second choice, as it will catch the morning sun and warm up quickly. I’d avoid west-facing locations if you can, though. They miss out on that crucial morning light and can overheat in the late afternoon, which causes stressful temperature swings for your plants.
Key Takeaway: A south-facing slope, even a slight one, is the gold standard for cold frame placement. This angle naturally tilts the frame toward the winter sun, seriously boosting its heat-trapping efficiency without any extra effort on your part.
Old-school gardeners have known this trick for generations. Placing a frame, often around 3 by 6 feet, on a slight southern incline can dramatically improve how much it warms up during the day. Many also sink the frame about 6 inches into the ground to use the earth's natural insulation for better temperature stability. For more great insights on placement, check out these expert cold frame tips.
Essential Site Preparation Steps
Once you’ve scouted the sunniest, most protected spot you can find, it’s time to get the ground ready. A little prep work here ensures your frame sits securely and actually does its job.
Ensure Good Drainage: Your cold frame has to be in a well-drained area. Stay away from low spots where water puddles after it rains. Soggy, cold soil is a recipe for root rot and unhappy plants.
Create a Level Foundation: The frame needs to sit flat on the ground to prevent gaps that let cold air sneak in. Use a shovel to clear away any grass and weeds, then get out a rake and a level to create a perfectly flat surface for it to rest on.
Consider Proximity to Your Home: Placing the frame close to your house gives you two big advantages. First, the house acts as a windbreak, shielding it from harsh winds. Second, it's just plain convenient for you to vent it on sunny days or harvest some greens for dinner without a long, cold trek across the yard.
Assembling Your Cold Frame From Scratch
Alright, this is where the sawdust flies and your vision starts looking like a real, plant-protecting structure. With your materials stacked and the site prepped, it's time to build. The whole process is pretty straightforward—we're essentially making a solid, sloped box with a snug lid to trap every bit of that precious winter sun.
We're going with a classic design here: a simple rectangular base with a taller back wall and a shorter front. That slope is the secret sauce. It’s what maximizes sun exposure when the sun hangs low in the sky. Remember the old carpenter’s rule: measure twice, cut once.
Building the Sloped Box Frame
Clean, precise cuts at the start will save you a ton of headaches during assembly. For a standard 4x4 foot frame, you'll need two side pieces cut at an angle to create that slope. The back piece will be the tallest (say, 18 inches) and the front piece the shortest (around 12 inches), giving your lid the perfect tilt toward the sun.
Start by laying out your four wall pieces. Stand the front and back boards on their edges and fit the angled side pieces between them. The goal is to form a sturdy, bottomless box.
Before you drive a single screw, grab your tape measure. To make sure the frame is perfectly square, measure diagonally from corner to corner. Both measurements should be exactly the same. If they’re off, just give the corners a gentle nudge until they match. This little step prevents a wonky frame that the lid will never quite fit.
The visual below breaks down the basic construction flow, from your first cuts to the final assembly.
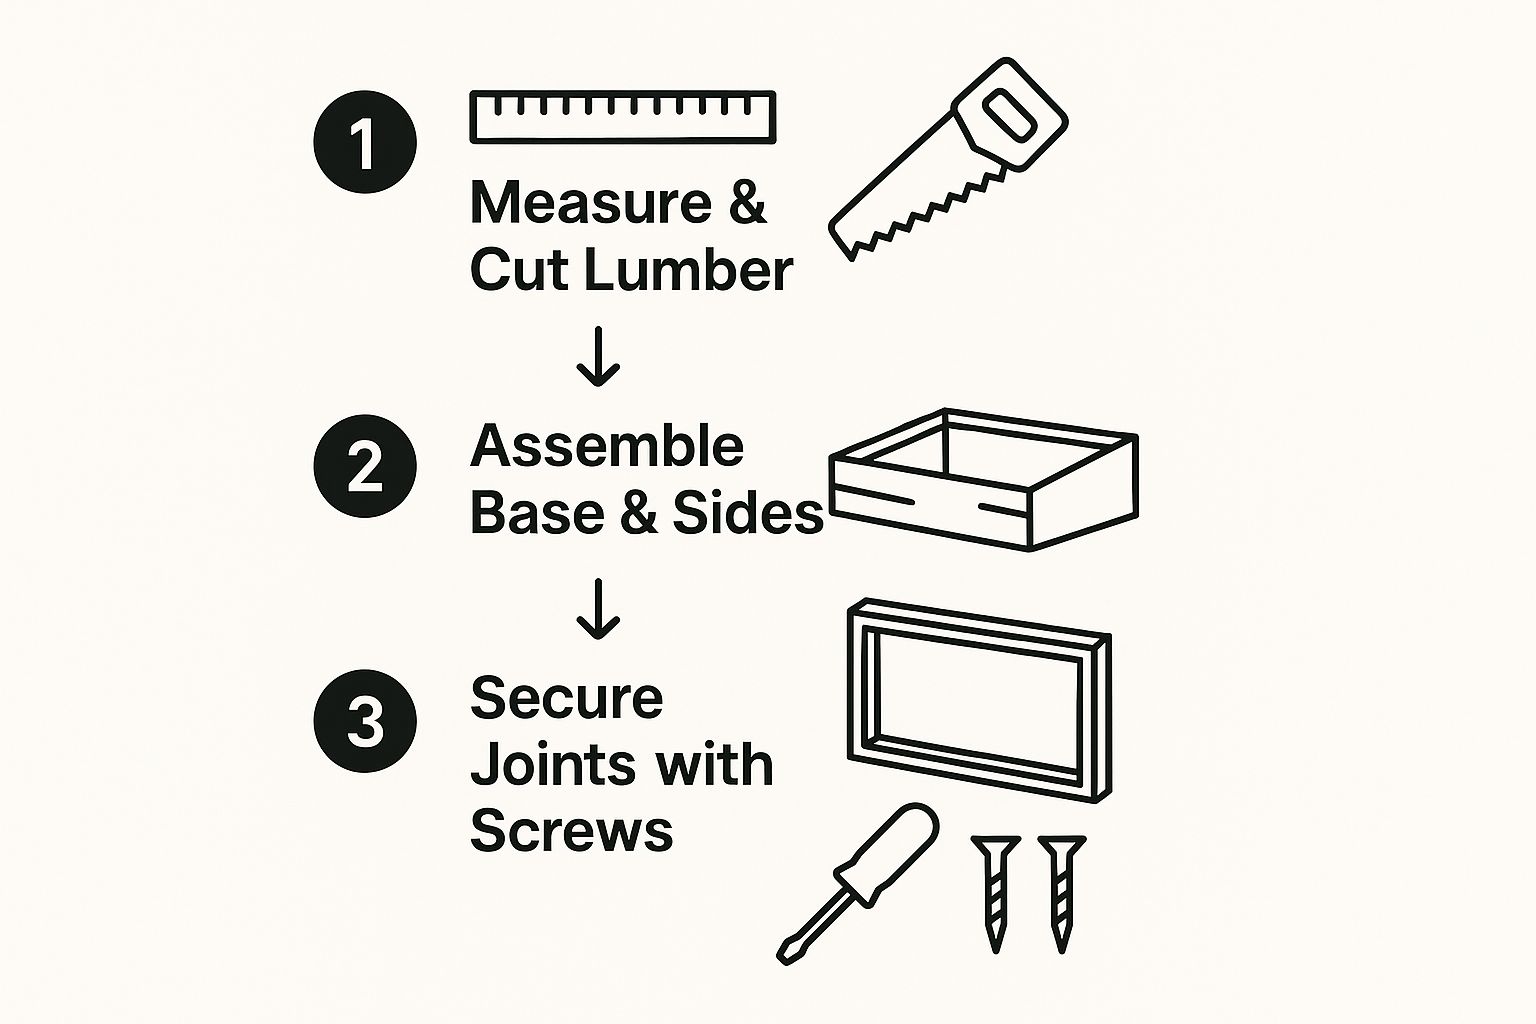
This image really simplifies the build into three core steps. It’s a great reminder to keep the process logical and focused on building a sturdy frame from the ground up.
Now, grab your 3-inch weather-resistant deck screws to join the corners. I always recommend drilling pilot holes first, especially near the ends of the boards—it’s the best way to keep the wood from splitting. A couple of screws per corner joint should create a robust frame that can handle whatever the weather throws at it.
Once it's all together, give the frame a little shake. Any wobble? Add another screw to the loose joints. A solid base is non-negotiable for a structure that has to live outdoors year-round.
Constructing and Attaching the Lid
The lid is, without a doubt, the most critical part of your cold frame. It's the engine of the whole operation. Whether you're using a cool repurposed window or building one from scratch with polycarbonate, the goal is a snug fit that seals in warmth and locks out cold drafts.
If you lucked out and found an old window, you’re halfway there—the frame is already built for you. Just build your box to match its dimensions.
For a custom lid using polycarbonate or plexiglass, here's the game plan:
Build a simple rectangular frame from 1x3 or 2x2 lumber. Make it just a tad larger than the top of your cold frame box so it overlaps nicely.
Cut your polycarbonate sheet to fit inside this new wooden frame. You can score and snap thinner sheets with a utility knife, but for thicker panels, a circular saw with a fine-toothed blade is your best bet.
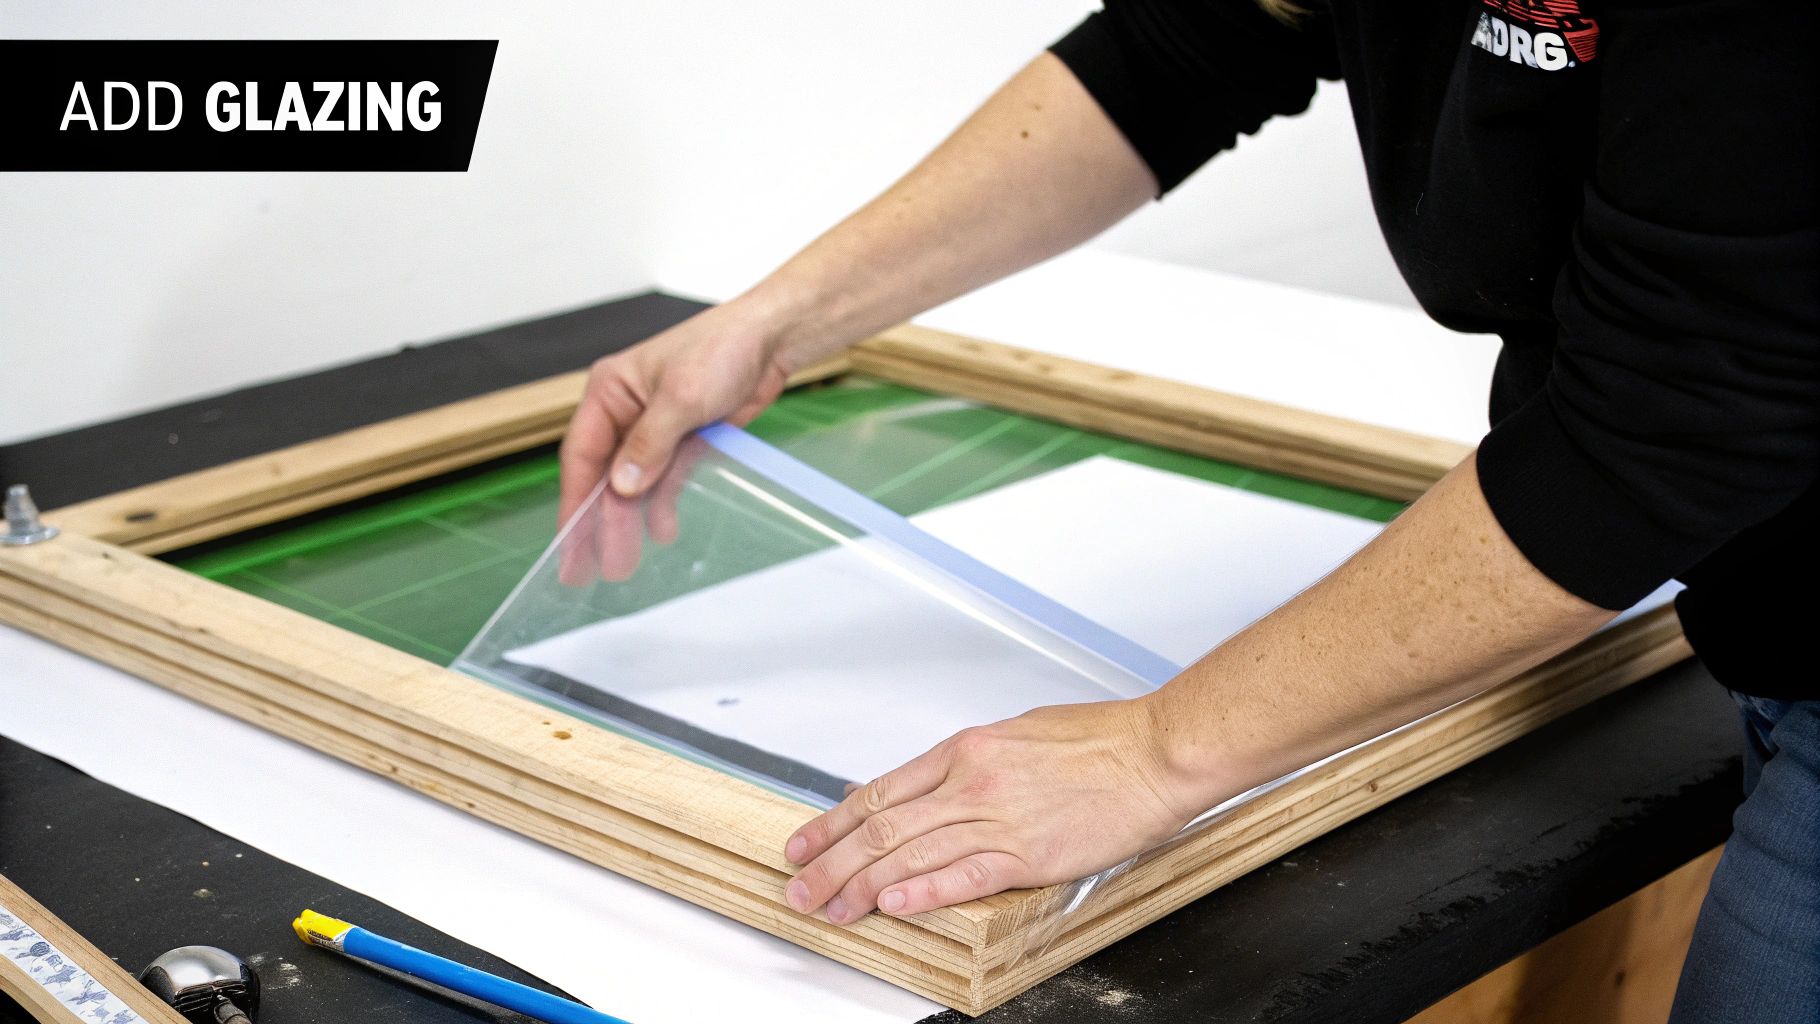
Secure the glazing. You can use screws with washers or, for a cleaner look, add thin strips of wood trim around the edges to hold the panel snugly in place.
With the lid built, it’s time to marry it to the box. Place the lid on top of the frame and make sure it overlaps the edges evenly. Install two or three sturdy hinges along the taller back wall. This lets the lid open smoothly for venting and, more importantly, keeps it from flying away in a winter gale.
Last but not least, add a prop stick. A simple length of scrap wood attached to the side of the frame with a single screw works perfectly. You can pivot it up to hold the lid open at different heights, giving you dead-simple control over airflow and temperature. Knowing how to build a cold frame is one thing, but making it practical and easy to use is what really counts.
Using Your Cold Frame for Year-Round Success
Now that you've finished the build, the real fun begins. A well-managed cold frame is more than just a box; it's an active tool that needs daily attention to unlock its full potential. Knowing how to manage the internal environment is what separates a thriving mini-greenhouse from a box of wilted plants.
The single most critical task is ventilation. Seriously. Even on a cool but sunny winter day, the inside of a sealed cold frame can easily hit over 100°F, which will quickly scorch your tender greens.
Your daily routine should be simple: prop the lid open in the morning to let heat escape, and close it back down in the late afternoon to trap warmth for the cold night ahead.
Mastering Temperature and Watering
A simple outdoor thermometer placed inside is your best friend here. For cool-season crops like spinach and lettuce, you'll want to keep the internal temperature below 75°F. If you see it climbing, just open the lid wider to get more airflow. This daily check-in is crucial for success.
Watering inside a cold frame is a whole different ballgame than watering the open garden. Since the structure blocks rain, you’re in complete control of the moisture. The soil will also dry out much slower than an open bed, so check it every few days by sticking your finger an inch deep.
Water only when the soil feels dry. Overwatering in a cool, enclosed space is a fast track to rot and fungal diseases.
Use a watering can with a gentle rose. This avoids blasting young seedlings out of the soil or compacting everything.
Water in the morning. This gives the leaves plenty of time to dry before you close the lid for the night, cutting down the risk of disease.
Managing a cold frame is a hands-on process, but it’s remarkably effective. Commercial growers use these same principles on a massive scale, with walk-in cold frames up to 24 feet wide covered in polyethylene film to overwinter plants. They mechanically open and close roof covers to regulate temperature, proving just how vital that simple act of ventilation really is. You can find out more about these large-scale cold frame operations from university extension research.
Seasonal Planting and Hardening Off
Your cold frame serves different purposes throughout the year. In late winter, it’s the perfect nursery for starting seeds weeks before you could ever plant them in the garden. Come fall, it becomes a sanctuary for extending the harvest of your favorite greens deep into the colder months.
One of its most valuable roles, though, is hardening off seedlings. This is the process of gradually getting plants started indoors used to the tougher outdoor conditions. Start by placing your seedlings in the closed frame for a few days. Then, begin propping the lid open for a few hours each day, slowly increasing the time until they can handle a full day of exposure before getting transplanted into the main garden.
By mastering these simple management techniques, you turn your DIY project into a powerful tool for productivity. It becomes a central part of your garden strategy, especially if you're interested in getting the most out of every season. For more tips on this topic, check out our complete guide to growing vegetables in winter.
Got Questions About Your Cold Frame?
Even after you've got the basics down for building a cold frame, a few practical questions always pop up. Getting these details right is what separates a thriving winter garden from a season of frustration. Let's tackle the most common things gardeners ask.
What's the Best Size for a DIY Cold Frame?
For most home gardens, a sweet spot is around 4x4 feet or 3x6 feet. This gives you plenty of growing space for a family but is still small enough that you can comfortably reach the center for planting and weeding without having to climb inside.
The real key here is depth. Don't build it so deep from front to back that you can't easily get to the plants in the back row. If you realize you need more room, it’s almost always better to build two smaller frames than one massive one you can't manage.
How Do I Keep My Plants From Overheating?
Ventilation. This is your most important daily job. Even on a cool but sunny winter day, the temperature inside a sealed cold frame can skyrocket, quickly cooking your tender greens. It happens faster than you'd think.
You’ve got to get in the habit of propping the lid open in the morning and then closing it back down in the late afternoon. If that sounds like too much fuss, an automatic vent opener is a fantastic investment. It uses a wax-filled cylinder that expands with heat to automatically lift the lid for you—no guesswork, no cooked plants.
An automatic opener is a total game-changer for busy gardeners. It completely removes the risk of forgetting to vent the frame on a sunny day, a simple mistake that can wipe out your entire crop in just a few hours.
Can I Use Plastic Sheeting for the Lid?
Absolutely. A heavy-duty, UV-stabilized greenhouse plastic stretched tightly over a simple wooden frame is a lightweight and very affordable alternative to heavy glass or polycarbonate panels.
While it might not give you the same level of insulation or last as many seasons, it's a great, budget-friendly way to get started. For a little extra protection, you can even double-layer the plastic with an air gap in between to significantly boost its insulating power.
What Are the Best Vegetables to Grow in Winter?
Stick with the tough stuff—cold-hardy greens that actually thrive in cooler temperatures. My top choices are always spinach, kale, mâche (also called corn salad), claytonia, and rugged lettuce varieties like ‘Winter Density’.
You can also have great success with root crops like carrots, radishes, and scallions under the protection of a cold frame. These crops don't just survive the cold; many of them, like carrots and kale, actually get sweeter after a light frost.
At The Grounded Homestead, our goal is to give you the practical knowledge to grow your own food and live a healthier, more self-sufficient life. Explore more guides and tips at https://thegroundedhomestead.com.


Facebook
Instagram
X
Youtube