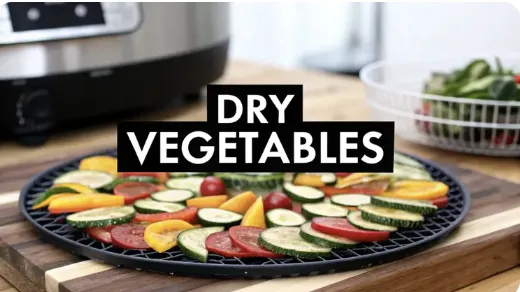
How to Dehydrate Vegetables A Practical Guide
How to Dehydrate Vegetables A Practical Guide
Dehydrating vegetables is one of my favorite ways to preserve a big harvest. It transforms fresh, heavy produce into something incredibly lightweight, shelf-stable, and packed with concentrated flavor. The whole idea is simple: remove the water to stop spoilage. It’s a skill that cuts down on food waste and helps you build a pantry you can rely on.
Why You Should Dehydrate Vegetables
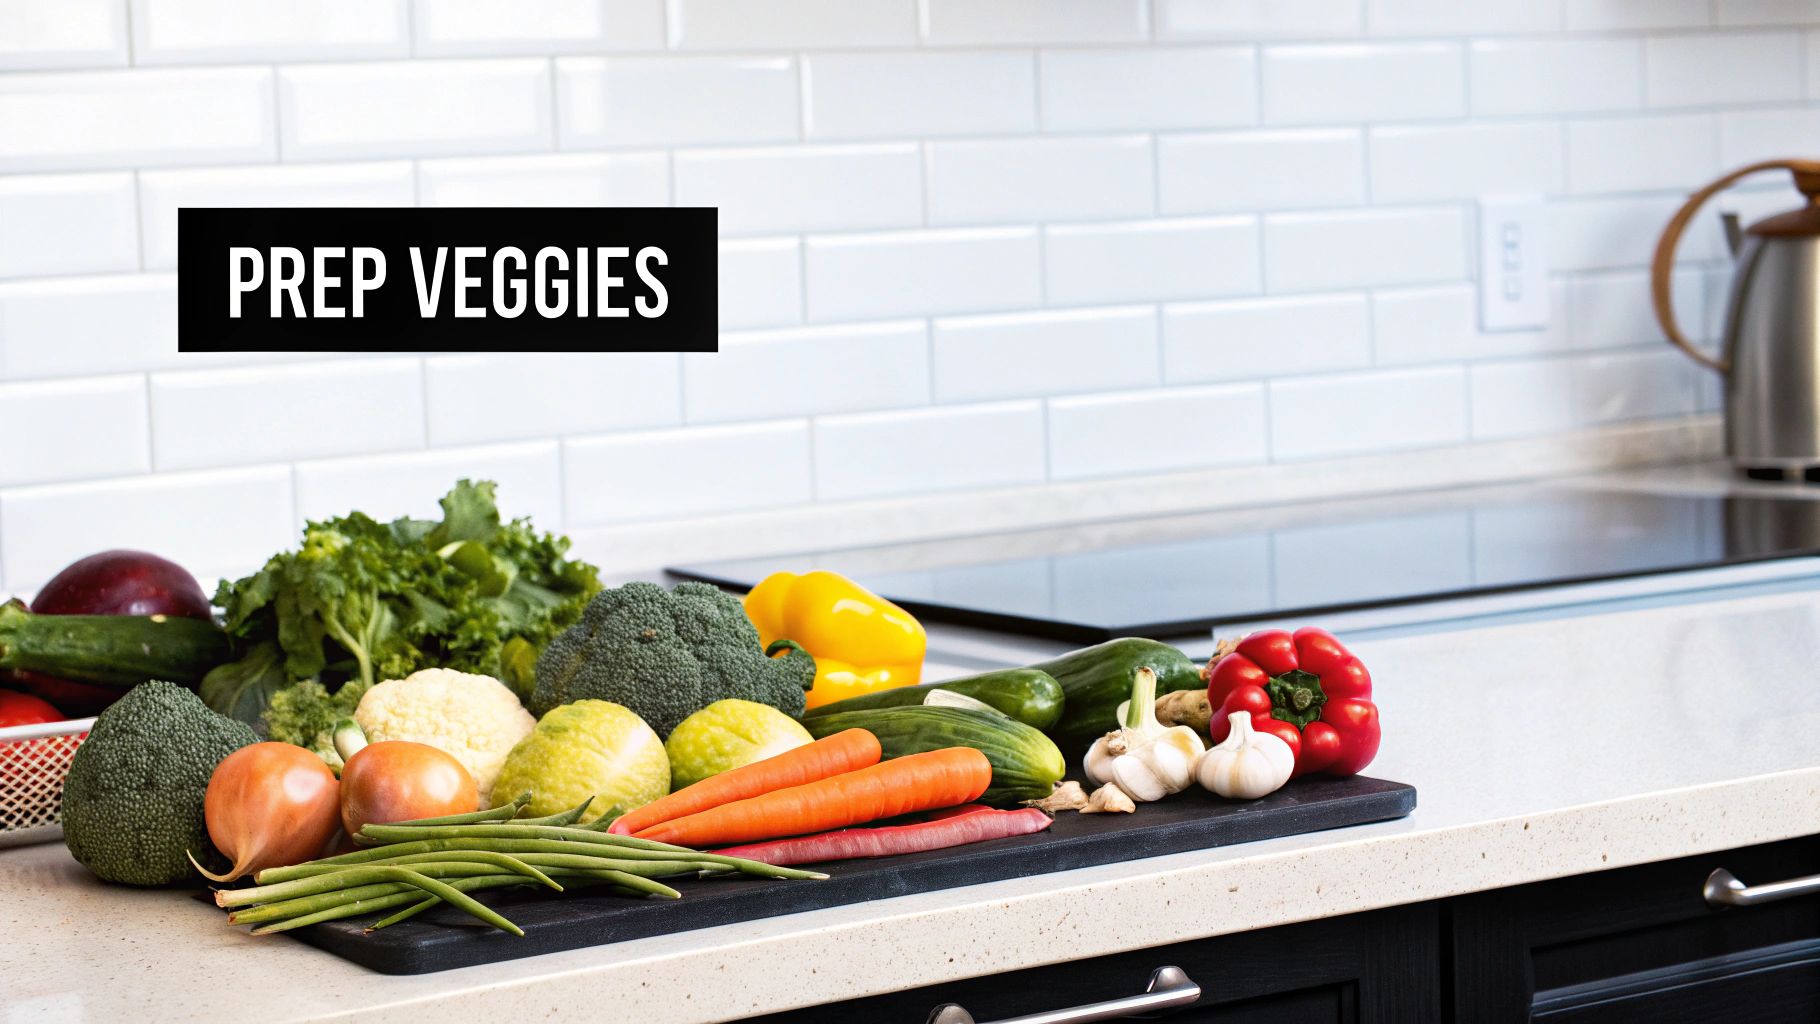
Learning how to dehydrate vegetables isn't just a neat trick; it opens up a whole new world in the kitchen while making your homestead more sustainable. This is an age-old preservation method that’s making a serious comeback, mostly because it’s so effective and doesn't require a ton of specialized gear.
Unlike other preservation methods, dehydrated foods take up a fraction of the space. Think about it: a five-pound bag of carrots can shrink down to fit into a single quart jar.
This isn't just a niche homesteading skill, either. The global market for dehydrated vegetables hit about USD 78.8 billion in 2024. That growth is fueled by people just like us who want convenient, long-lasting, and nutritious food without a bunch of additives.
Key Benefits Of Dehydrating
Bringing this skill into your own kitchen has some serious advantages. It's a forgiving process that's incredibly easy to get the hang of, whether you're a seasoned gardener or just trying to be more self-sufficient.
Here’s why I think it’s worth a try:
Reduces Food Waste: You can save every bit of that garden surplus or farmers' market haul before it goes bad. That saves you money and respects the food you grew or bought.
Maximizes Pantry Space: Dried vegetables shrink down to almost nothing. You can store a massive harvest in just a few glass jars on a shelf.
Locks in Nutrients: The low-and-slow drying process is gentle, which means it hangs onto more vitamins and minerals than high-heat methods like canning.
Creates Healthy Snacks: It’s so easy to make your own preservative-free veggie chips, soup mixes, and backpacking meals. You control exactly what goes into them.
Dehydrating is a cornerstone skill for anyone serious about food preservation. It’s the perfect partner to freezing and canning, giving you a full toolkit to manage your harvest all year long.
While dehydrating works wonders for most vegetables, some things are just better suited for other methods. For a great look at another popular technique, check out our guide on canning vegetables for beginners, which offers a completely different approach to building a well-stocked pantry.
Choosing the Right Dehydrating Equipment
The equipment you choose is the single biggest factor in the quality and consistency of your dried vegetables. While a top-of-the-line machine makes the process practically foolproof, you can absolutely get great results with tools you already have in your kitchen. Your decision really comes down to budget, how much you plan to dehydrate at once, and how often you'll be doing it.
If you’re serious about preserving your harvest, a dedicated electric dehydrator is the best investment you can make. These appliances are specifically designed to circulate air at a low, consistent temperature—and that’s the secret to perfect results. Learning how to dehydrate vegetables successfully is a whole lot simpler when your equipment does most of the heavy lifting.
Dedicated Electric Dehydrators
Once you start looking, you'll find two main styles of dehydrators out there. Each has its pros and cons.
Stackable Dehydrators These models have a heat source and fan at the bottom (or sometimes the top), and you stack trays on top of each other. They’re often more affordable and have a smaller footprint, making them a great fit for smaller kitchens. The main drawback is that the airflow isn't always even, so you'll need to remember to rotate the trays every so often to make sure everything dries at the same rate.
Box-and-Shelf Dehydrators These look like little ovens, with a fan mounted on the back wall. This design gives you a much more even, horizontal airflow across all the trays at once, which means no more rotating. They generally offer more capacity and more precise temperature control, but they do come with a higher price tag and take up more counter space.
For anyone planning to preserve large garden harvests, a box-and-shelf model is a worthwhile upgrade. The consistent airflow saves you a ton of time and effort, leading to a higher quality product with far less hands-on management.
Using Your Conventional Oven
Don't have a dehydrator? No problem. Your oven can work in a pinch, but it requires some careful attention. The biggest challenge is that most ovens just don't have settings low enough for gentle drying.
To make it work, you have to:
Set your oven to its lowest possible temperature, ideally somewhere between 130-150°F (54-65°C).
Prop the oven door open just a crack with a wooden spoon. This lets moisture escape and prevents the vegetables from roasting instead of drying.
Place your vegetables on cooling racks set on top of baking sheets. This allows air to circulate underneath them, which is critical.
This method definitely uses more energy and requires you to keep a close eye on things, but it’s a completely viable way to experiment with dehydrating before you commit to buying new equipment.
Other Dehydrating Methods
Beyond the two main options, a couple of other methods are worth mentioning for specific situations.
An air fryer with a dehydrate function is perfect for whipping up very small batches, like a handful of kale chips or drying some fresh herbs from the garden. Its compact size and powerful fan work quickly, but it simply doesn't have the capacity for preserving any significant amount of produce.
Finally, there's sun drying. This is the most traditional method, but it's also the least reliable. It requires several consecutive days of hot, dry, and breezy weather with low humidity—a rare combination in many climates. It's a fascinating process, but it’s just not practical for most of us who need dependable results.
Preparing Vegetables for Perfect Dehydration
The real secret to incredible dehydrated vegetables—the kind that pop with flavor and rehydrate perfectly—isn't in the dehydrator itself. It's all in the prep work. This is where a little extra care makes a massive difference, ensuring everything dries evenly, safely, and tastes amazing later on.
It all begins with what you bring home from the market or pull from the garden.
You'll always get the best results from vegetables at their peak freshness. Look for produce that's ripe, firm, and free of any mushy spots, mold, or big blemishes. A bruised tomato or a slightly soft zucchini won't magically get better in the dehydrator; in fact, the process just concentrates those flaws.
Cleanliness and Consistency: The Foundation of a Good Batch
Before you even grab a knife, a thorough wash is non-negotiable. You’ve got to get any dirt, lingering pesticides, or bacteria off the surface. Just as important is drying them completely afterward. Any extra moisture left on the skin will only slow down the whole process.
Next up is the single most critical step for even drying: uniformity.
If your slices are a mix of thick and thin, the skinny pieces will turn brittle and over-dried while the thicker ones stay stubbornly moist in the center. That kind of inconsistency can easily ruin an entire batch. For things like carrots or beets, aim for slices around 1/8 to 1/4 inch thick.
A mandoline slicer is a game-changer here, giving you perfectly consistent slices with almost no effort. Just please, please use the safety guard.
To Blanch or Not to Blanch?
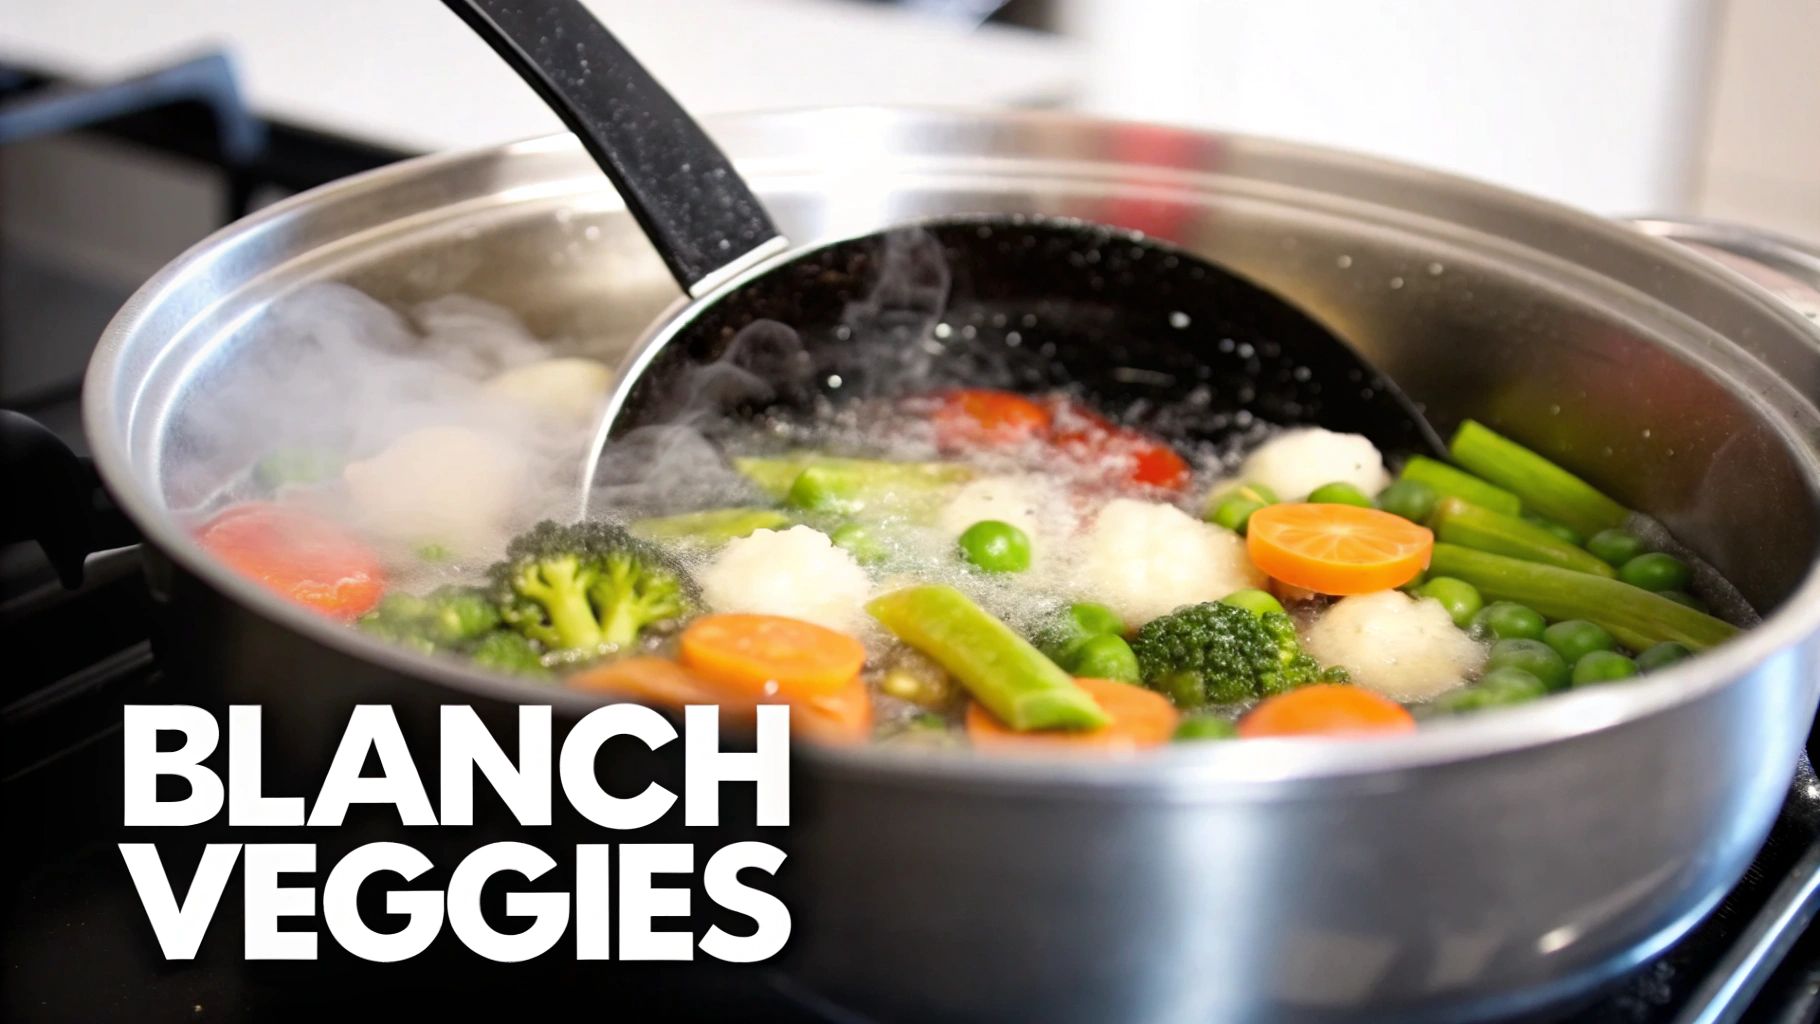
Blanching sounds fussy, but it's just a quick dunk in boiling water followed by an immediate ice bath. This simple step stops the enzymes that cause vegetables to lose their color, flavor, and nutrients over time. While not every vegetable needs it, for some, it's absolutely crucial.
Consider blanching for these common veggies:
Green Beans: A quick 2-3 minute blanch is the key to keeping them vibrant green and tender when you rehydrate them.
Carrots: This helps them hold onto that bright orange color and stops them from getting tough and woody.
Broccoli and Cauliflower: Blanching is essential to preserve their texture and prevent them from developing off-flavors during storage.
Asparagus: A brief dip keeps it from turning that dull, olive-drab color after it's dried.
Don't skip blanching on vegetables that need it. It’s a small step that makes a massive difference in the long-term quality of your dehydrated produce, preserving both its appearance and nutritional value.
After blanching, remember to pat the vegetables completely dry before you lay them out on your dehydrator trays. This prevents them from steaming instead of drying.
Preventing Unwanted Browning
Some vegetables, especially starchy ones, have a tendency to oxidize and turn a sad shade of brown when exposed to air. Think about how fast a cut potato or apple changes color. A simple acidic pretreatment can stop this in its tracks.
The go-to method is a quick soak in a lemon juice solution. Just mix one part lemon juice with four parts water and let your freshly sliced vegetables sit for about 5-10 minutes. This trick works wonders for:
Potatoes
Parsnips
Sweet Potatoes
Apples (if you're branching out into fruit)
This little bit of effort keeps your finished product looking fresh and appealing. It’s this attention to quality that explains why North America holds around 35% of the global dehydrated vegetables market. Consumers want products that look and taste natural, and proper prep is how you deliver that. You can discover more insights about the dehydrated vegetable market and its trends.
Vegetable Preparation and Drying Cheat Sheet
To help you get started, here’s a quick-reference table for some of the most common vegetables you'll be dehydrating. It covers the essential prep steps and ideal temperatures to set you up for success.

This chart is a great starting point, but always remember that drying times can vary based on humidity, your specific dehydrator, and the exact water content of your produce.
The chart below gives you a visual on how different vegetable densities and water content can really impact those drying times.
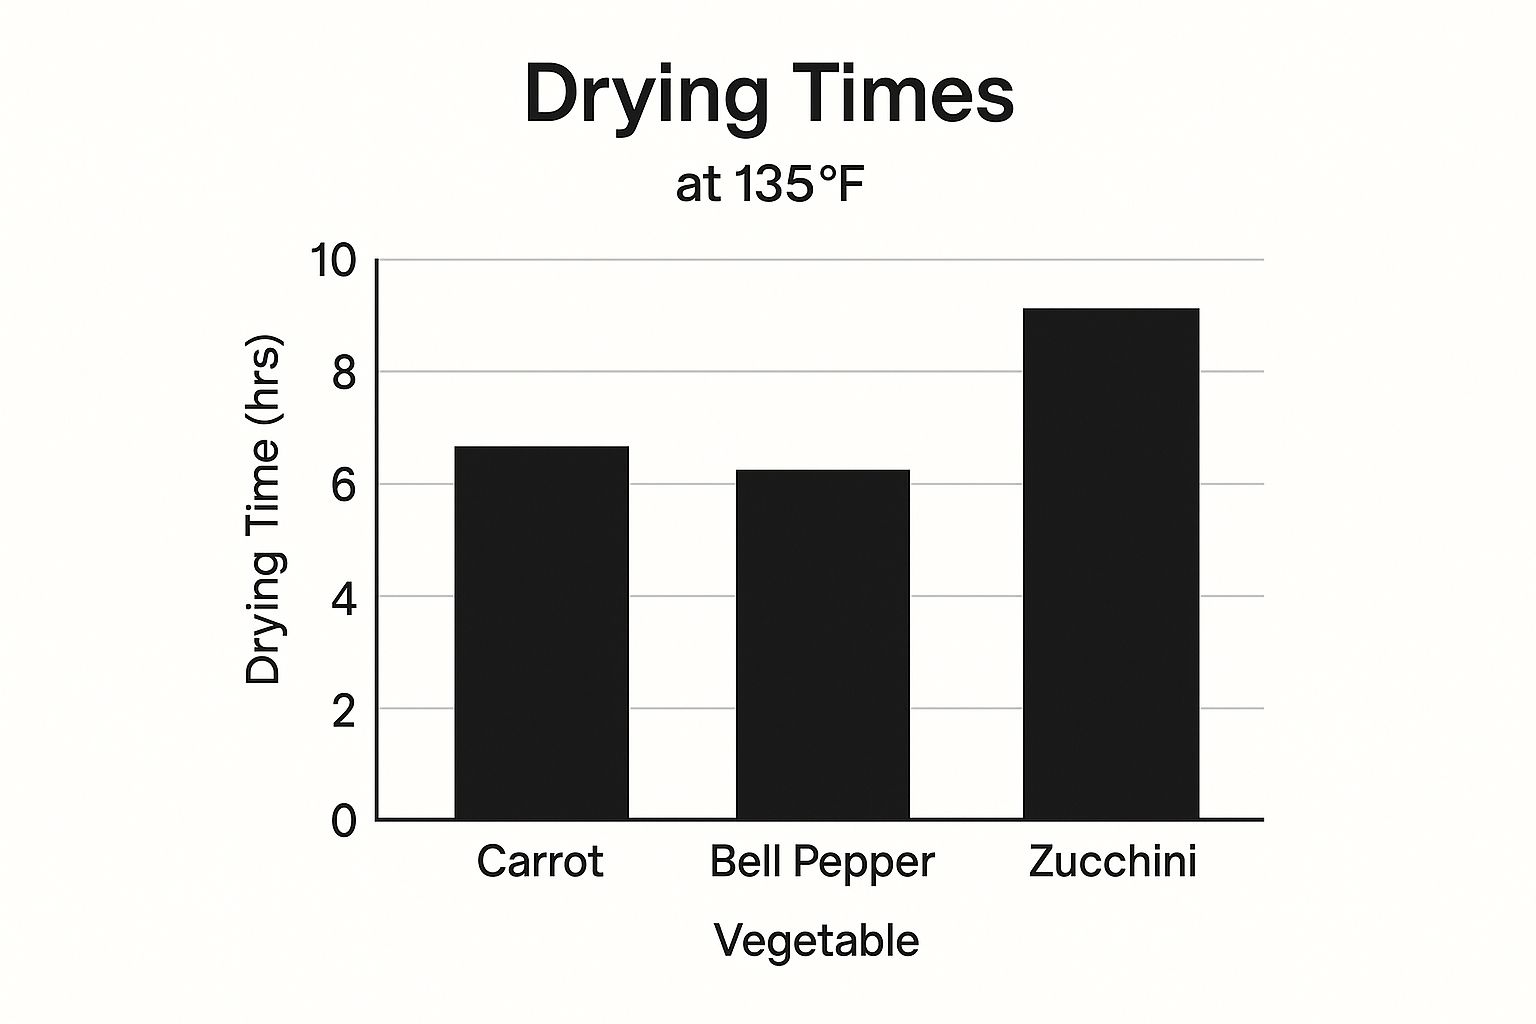
As you can see, even at the same temperature, denser veggies like carrots will take longer than watery ones like peppers. And then there's zucchini, which often takes the longest of all thanks to its incredibly high water content.
Alright, with your veggies all prepped and ready to go, it’s time for the main event. Dehydrating is really just a patient game of low heat and steady airflow. How you load up your trays and the temperature you choose are the two things that will make or break the final texture and quality of your preserved harvest.
First things first: don't overcrowd the trays. I know it’s tempting to pile everything on to get it all done at once, but good air circulation is your best friend here. Every single slice needs its own personal space to breathe.
Make sure you arrange everything in a single layer, with no pieces touching or overlapping. This one simple step is crucial for preventing moisture from getting trapped, which is what leads to those dreaded soggy spots and unevenly dried batches.
Setting the Right Temperature
Think of dehydrating as the ultimate "low and slow" cooking method. The whole point is to gently coax the water out, not to actually cook the vegetables. Jacking up the heat is a common rookie mistake that leads to something called case hardening. This is where the outside of the vegetable dries into a hard shell, trapping moisture inside—a perfect recipe for spoilage down the road.
As a general rule, most vegetables do best somewhere between 125°F and 135°F (52°C to 57°C). But this isn't a one-size-fits-all situation.
Delicate Herbs and Greens: Things like parsley, spinach, or kale have very little water to begin with and can scorch in a heartbeat. For these, you’ll want to drop the temperature way down to around 95°F to 115°F (35°C to 46°C).
Hearty Root Vegetables: Denser veggies like carrots, beets, and sweet potatoes can handle a bit more warmth. They do great at the higher end of the range, right around 135°F (57°C).
One of my biggest takeaways from years of dehydrating is the importance of consistency. I make a point to rotate my trays every few hours. This ensures every piece gets equal exposure to the heat and airflow, which is especially critical if you're using a stackable dehydrator where the bottom trays get more heat.
Checking for Doneness
Drying times are more of a guideline than a hard-and-fast rule. Things like the humidity in your house, how much water your vegetables started with, and your specific dehydrator model will all play a part. The only real way to know if they’re done is by look and feel.
You’re aiming for a very specific texture depending on what you’re drying:
Brittle or Crispy: Vegetables like carrots, corn, and green beans should snap cleanly when you try to bend them.
Leathery and Pliable: Items with more sugar, like tomatoes or bell peppers, will feel more like fruit leather. They should be dry to the touch but still flexible.
When you think a batch is finished, pull a few pieces out and just let them sit on the counter for a few minutes to cool down. You'll be surprised how much crispier they feel once they’re at room temperature. If they still feel soft or moist in the center after cooling, they need to go back in.
Getting this skill down is more relevant than ever. The growing demand for convenience foods means dehydrated veggies, with their super long shelf life, are perfect for modern meal kits and a health-conscious lifestyle. You can learn more about these dehydrated vegetable market trends to see just how this homesteading skill fits into the bigger picture.
Storing and Using Your Dehydrated Vegetables
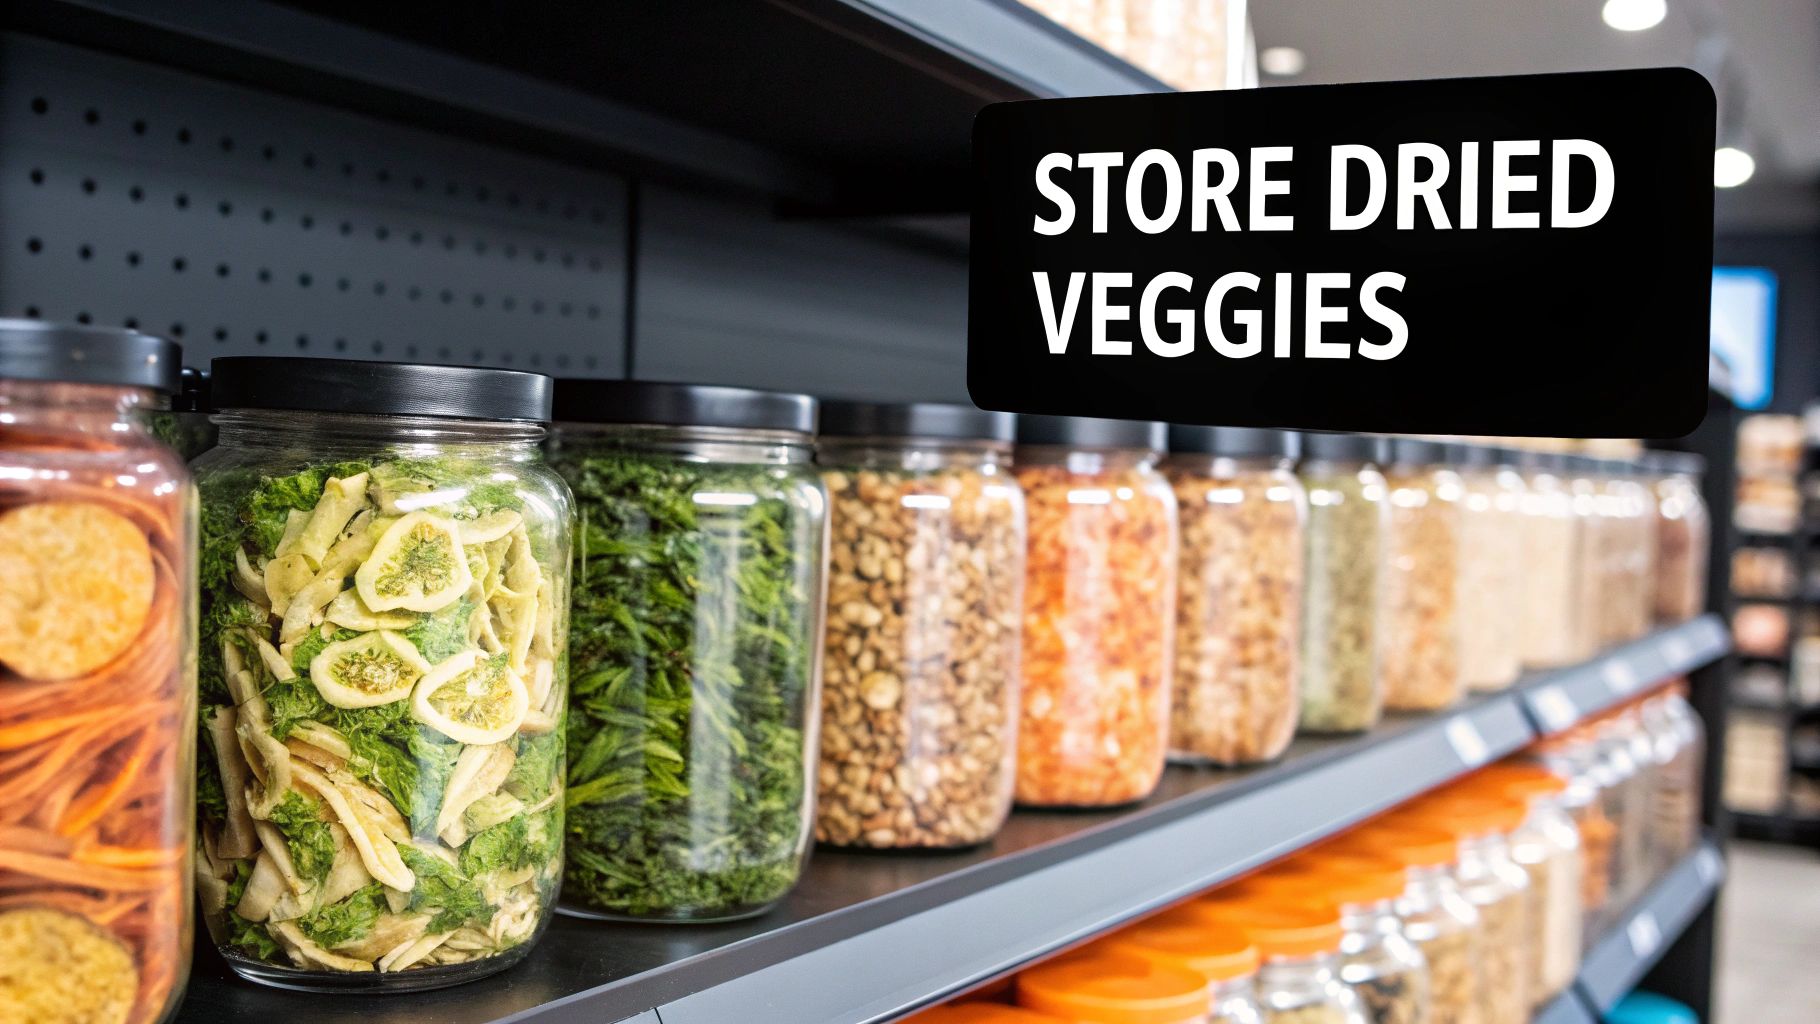
You’ve spent hours patiently drying your vegetables, and now they’re finally done. But learning how to dehydrate vegetables doesn't stop when the timer goes off. Proper storage is what stands between your hard work and the three enemies of preserved foods: moisture, light, and air.
Before you stash anything away, there's a crucial final step most people skip: conditioning. This simple process ensures any lingering moisture gets evenly distributed, preventing sneaky mold spots from ruining a whole batch. Think of it as your final quality-control check.
To condition your veggies, just pack the cooled, dried pieces loosely into a large glass jar and seal it up. Let it sit on your counter for about a week, giving it a good shake once a day. If you spot any condensation forming inside, your vegetables aren't quite dry enough. Back into the dehydrator they go.
Choosing the Best Storage Containers
Once your vegetables are fully conditioned and bone-dry, it's time to pack them up for the long haul. The container you choose directly impacts how long your veggies will last. The main goal here is to create an airtight, dark environment.
Glass Jars: Good old canning jars with tight-fitting lids are my go-to for everyday pantry storage. They're airtight, reusable, and you can see your beautiful stash at a glance. Just be sure to keep them in a dark cabinet or pantry, since light will degrade their color and nutrients over time.
Vacuum-Sealed Bags: If you're aiming for the absolute longest shelf life, nothing beats vacuum sealing. This method removes nearly all the air, which dramatically slows down oxidation. I use this for high-value items or anything I plan to keep for several years.
Mylar Bags with Oxygen Absorbers: This is the ultimate combo for long-term food security. The Mylar blocks out all light, and the oxygen absorber packet zaps any remaining oxygen. It creates the perfect preservation bubble for your food.
Proper storage isn't just about stopping spoilage. It's about preserving the vibrant flavor and nutrients you worked so hard to lock in. An airtight container kept in a cool, dark place can keep your vegetables delicious for a year or even longer.
Putting Your Dried Vegetables to Use
Now for the best part—enjoying the fruits of your labor! Rehydrating and cooking with your dried vegetables is incredibly easy and adds a fantastic depth of flavor to so many dishes.
The most common way to bring them back to life is to simply soak them. Cover the dried veggies with boiling water or warm broth and let them sit for anywhere from 15 minutes to an hour, depending on the vegetable and the size of the pieces. They’ll plump right back up, ready to be used just like fresh vegetables.
For a lot of recipes, you don't even need to rehydrate them first. I love tossing a handful of dried onions, carrots, and celery directly into a simmering soup or stew. They rehydrate as the dish cooks, releasing all that concentrated flavor straight into the broth.
It's a fantastic way to build a rich, savory base for your meals, drawing on the nutrients you grew right in your own garden. This is a huge part of sustainable living, and if you want to maximize your garden's output, learning how to feed your plants well makes all the difference. You can learn more in our detailed guide on using a natural fertilizer for vegetables.
Answers to Your Top Dehydrating Questions
Even with a process as straightforward as dehydrating, questions always pop up when you're getting started. Diving into any new skill brings up those little "what if" scenarios, and having the answers ready can make all the difference. Let's tackle some of the most common ones I hear.
Why Are My Dehydrated Vegetables Chewy Instead of Crispy?
This is a classic, and it almost always comes down to one of two things: moisture or thickness.
If your vegetables are coming out leathery when you wanted them brittle, they probably just weren't dried long enough. Sometimes, even just an extra hour in the dehydrator is the difference between perfectly crisp and disappointingly tough.
The other culprit is uneven slicing. If you have a mix of thick and thin pieces, the thicker ones will hold onto moisture far longer, giving you a mixed bag of textures. A little more time in the machine or more consistent slicing on the cutting board usually solves the problem.
My biggest piece of advice here: always test a piece after it has completely cooled to room temperature. A vegetable that's still warm will feel softer than it actually is, tricking you into thinking it needs more time when it might be perfect.
Does Dehydrating Destroy Nutrients?
This is a fantastic question, and the answer isn't a simple yes or no. The low-and-slow heat of dehydration is remarkably gentle on nutrients, especially when you compare it to high-heat methods like canning.
While some of the more delicate, heat-sensitive vitamins (like Vitamin C) might see a slight reduction, the overall nutritional value stays incredibly high.
In fact, because you're removing all that water, the nutrients actually become more concentrated by weight. This makes dehydrated vegetables a really potent source of fiber, minerals, and most vitamins.
Can I Dehydrate Frozen Vegetables?
Absolutely! This is one of my favorite shortcuts. You can dehydrate vegetables straight from the freezer without even thawing them first.
Better yet, since most frozen vegetables are already blanched before they're packaged, you get to skip that prep step entirely.
Just keep in mind that frozen veggies release a lot of water as they thaw and dry, so your drying times might be a bit longer than with fresh produce. It’s a super convenient way to build up your pantry when your garden isn't in season. Knowing how to preserve what you have is a core homesteading skill, just like learning to grow your own food in the first place.
At The Grounded Homestead, we believe in empowering you with the knowledge to create a sustainable and healthy lifestyle, one preserved vegetable at a time. https://thegroundedhomestead.com


Facebook
Instagram
X
Youtube