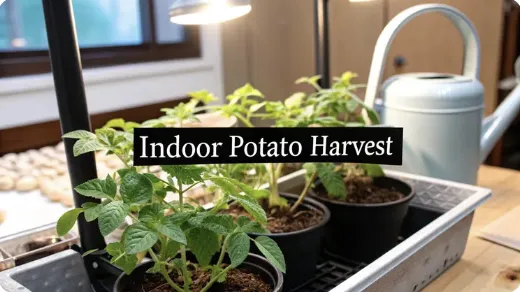
How to Grow Potatoes Indoors for a Perfect Harvest
How to Grow Potatoes Indoors for a Perfect Harvest
Growing potatoes indoors is a lot simpler than you might think. All you really need is a spot with good sun—or a decent grow light—a deep pot, and some quality seed potatoes. With a little attention to water and soil, you can pull fresh, homegrown potatoes out of a bag in your kitchen in just a few months.
It’s the ultimate farm-to-table experience, even if you live in a tiny apartment.
Why Bother Growing Potatoes Indoors?
Imagine walking over to a container in your kitchen and digging up fresh, earthy potatoes for dinner. No garden required. Growing potatoes inside is one of those deeply rewarding projects that makes homegrown food possible for just about anyone, no matter how little space you have. It’s perfect for city dwellers, apartment renters, or anyone who wants fresh produce on hand all year long.
The real beauty here is the control. You manage the entire environment, which means you can sidestep all the classic outdoor headaches like unpredictable weather and garden pests. That controlled setting often leads to a healthier, more reliable harvest.
The Quiet Rise of Urban Potato Farming
While potatoes are a global staple—production topped 374 million metric tons in 2022—they're no longer just for sprawling fields. A quiet but significant trend is taking root in cities where a backyard is a luxury. Growing potatoes in containers or grow bags is becoming more and more popular, proving you can produce high-value, local food right inside your own home. Researchers are even exploring the potential of urban-grown potatoes as a serious food source.
This guide will walk you through everything you need to know for a successful indoor harvest. We’ll get into the details, covering the essentials like:
Picking the right potato varieties that actually thrive in containers.
Choosing the perfect grow bag or pot to give the roots room to work.
Setting up your lighting to ensure strong, healthy plants.
Understanding the growth cycle from planting to that first exciting harvest.
You really don't need a huge yard or some kind of natural green thumb to pull this off. With the right guidance, anyone can learn how to grow potatoes indoors and feel the satisfaction of harvesting their own food. Think of this guide as your starting point for a successful—and delicious—journey. Forget the idea that gardening is only for people with big backyards; your kitchen counter or a sunny balcony is the new frontier.
Choosing Your Potatoes and Containers
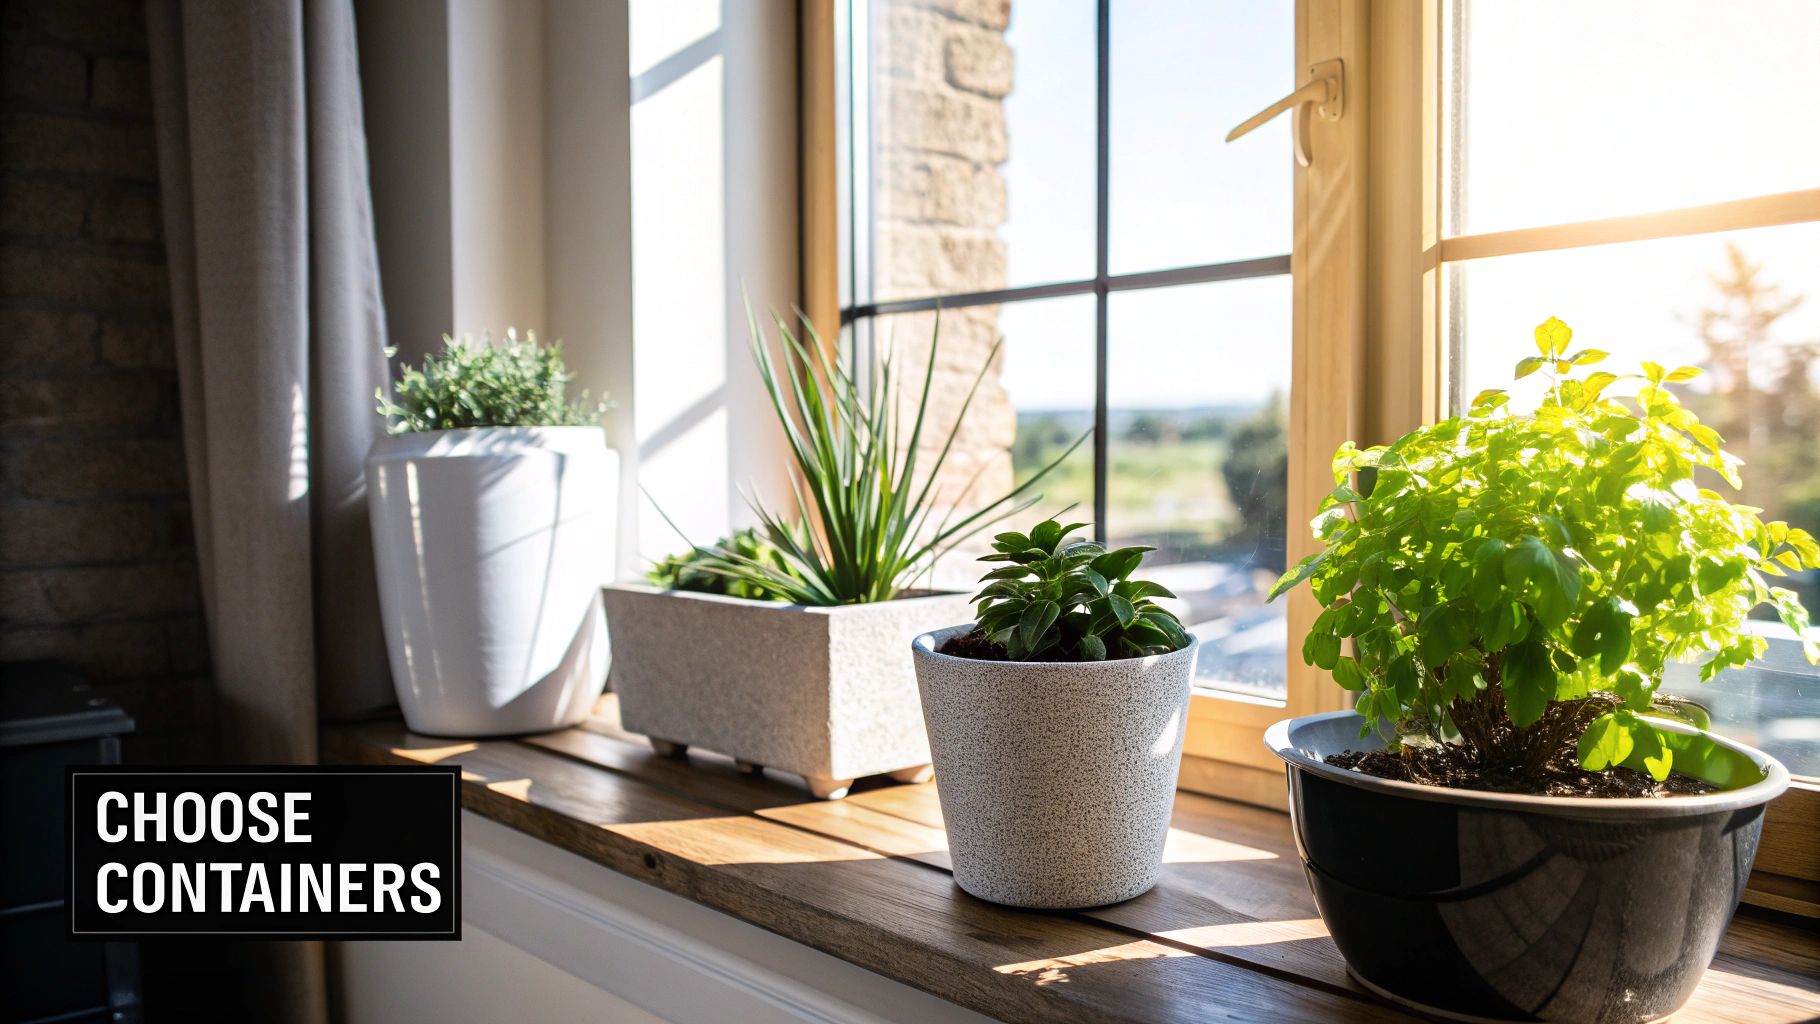
Starting your indoor potato project on the right foot comes down to two key decisions: which potatoes to grow and what you'll grow them in. It’s a common mistake to think any old potato will do, but not all varieties are cut out for life in a container.
Your best bet is to go with determinate varieties. These types mature faster and conveniently produce their tubers in a single layer, making them perfect for the limited space of a pot. Think of reliable choices like 'Yukon Gold' or 'Red Pontiac'. They don't need the constant, extensive hilling (piling soil up the stem) that indeterminate potatoes demand, which makes managing them indoors a whole lot simpler.
Selecting and Preparing Your Seed Potatoes
Always, always start with certified seed potatoes. You can find them at any garden center or from an online supplier. While it’s tempting to grab a sprouting potato from your pantry, those grocery store spuds are often treated with sprout inhibitors and can carry diseases you definitely don't want setting up shop in your home.
Look for seed potatoes that are firm, with no mold or mushy spots. Once you have them, you can give them a head start with a process called chitting. This is just a simple way of encouraging them to sprout before you plant.
Lay them out in a single layer—an open egg carton or a shallow tray works perfectly.
Find a spot that's cool and bright but out of direct sunlight. A windowsill in a cool room is ideal.
Let them sit for a few weeks. You’ll soon see short, sturdy, purplish-green sprouts popping out from the "eyes."
This little pre-sprouting step can shave weeks off the total growing time and gives you a much more vigorous plant right from the get-go. For a deeper dive into the planting process, our complete potato planting guide for beginners has you covered.
Find the Right Container for Your Indoor Garden
The container you choose is your potato plant's entire world, so getting the size and drainage right is non-negotiable. Potatoes need plenty of room for their roots and tubers to stretch out. A container that’s too small will seriously limit your harvest.
A common mistake is underestimating how much space potatoes really need. You'll want a pot that’s at least 10 gallons in volume and 12 inches deep as a good starting point for a couple of seed potatoes. Anything smaller will likely lead to a disappointing yield.
Let's break down some of the most popular options:

Thanks to efforts from organizations like the International Potato Center (CIP), we have robust varieties well-suited for contained environments, which has made indoor growing more accessible than ever. For example, the Canchan variety in Peru, known for its early maturation, thrives in controlled settings and now covers over 40% of commercially sown potato land there. You can learn more about how genetic improvements are supporting small-scale farming and see more potato facts and figures.
Creating the Perfect Indoor Growing Setup
Alright, you’ve picked your potato varieties and found the right containers. Now for the fun part: creating an environment where they’ll actually thrive. Replicating the best parts of the outdoors—light, soil, and temperature—is the secret to getting a real harvest, not just a sad-looking houseplant.
Lots of folks think a sunny windowsill is enough, but for a crop like potatoes that lives and breathes sunlight, it’s almost never going to cut it. Without that intense, direct light, your plants will get etiolated. That's a fancy word for long, weak, and spindly stems reaching desperately for a light source. That kind of flimsy growth can't support tuber development underground.
Mastering Your Indoor Lighting
To sidestep the leggy plant problem and push for strong, stocky growth, a full-spectrum LED grow light is pretty much non-negotiable for indoor potatoes. These lights are designed to mimic the sun's natural spectrum, giving your plants the fuel they need for proper photosynthesis.
Consistency is key here. Your potato plants are going to need a solid 10 to 12 hours of direct light every single day. I like to hang the light about 6 to 12 inches above the plants, raising it as they grow taller so the top leaves don't get scorched. A simple outlet timer takes the guesswork out of it and ensures your plants get their daily dose of light without fail.
Remember, the point of indoor lighting isn't just to keep the plant alive. It’s about giving it enough raw energy to make starches and store them in its tubers. Good, consistent light is a direct investment in the size and number of potatoes you'll dig up later.
Mixing the Perfect Potato Soil
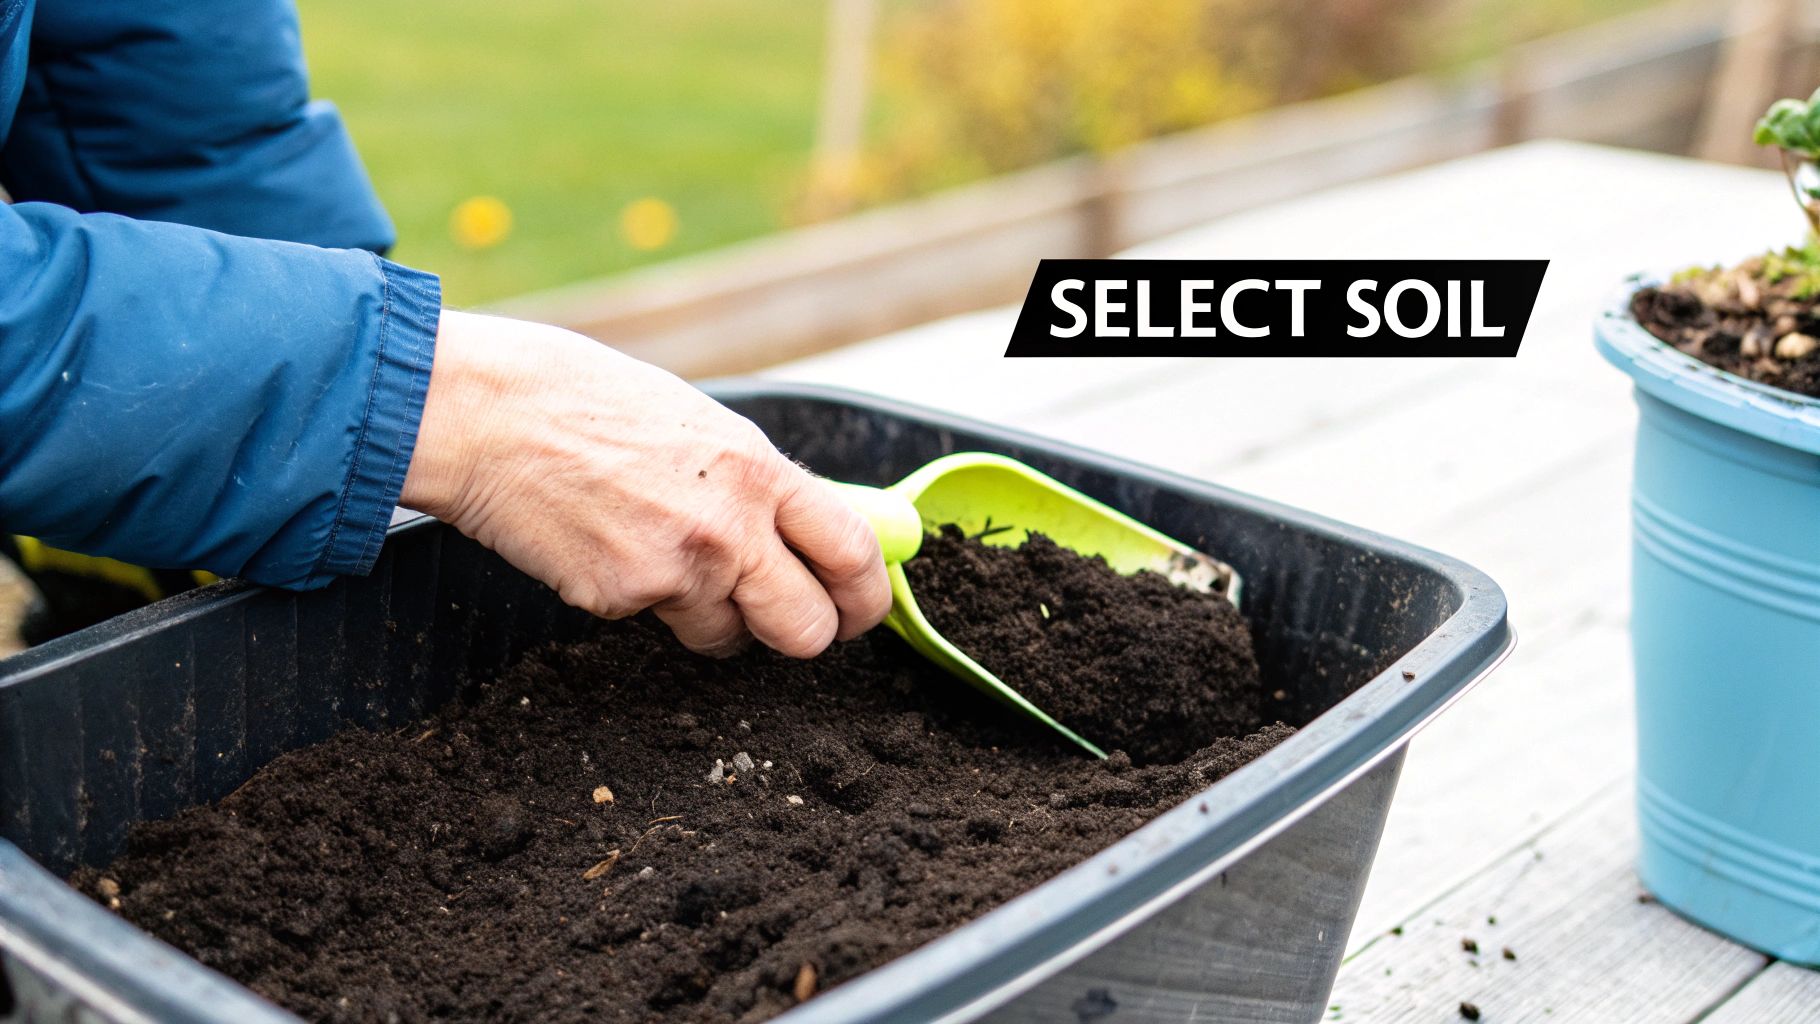
If there's one thing potatoes can't stand, it's "wet feet." Their roots will rot in a heartbeat if they're stuck in dense, soggy soil. The goal is a growing medium that’s light, airy, and drains like a champ. That heavy clay from your garden or a basic, cheap potting mix just won’t do the job.
You can whip up the perfect blend yourself pretty easily. My go-to recipe combines three ingredients that give you the ideal balance of structure, nutrients, and drainage. It ensures your tubers have room to expand and prevents the soil from turning into a compacted brick.
Here’s a tried-and-true recipe that’s never failed me for container spuds:
2 parts high-quality potting soil: This is the foundation. It provides structure and a starting dose of nutrients.
1 part compost or worm castings: This is the good stuff. It enriches the soil with organic matter and beneficial microbes, acting like a slow-release fertilizer.
1 part perlite or vermiculite: This is absolutely crucial for creating air pockets and preventing compaction. It keeps the soil from getting waterlogged and lets the roots breathe.
Mix everything together thoroughly before you start filling your containers. This simple blend creates the perfect environment for healthy roots and big tubers. Getting your soil mix right from the very beginning is one of the most important things you can do for a successful harvest.
Planting and Nurturing Your Potato Plants
With your setup ready and your seed potatoes showing off their sturdy new sprouts, it's time to get your hands dirty. This is the moment all that prep work pays off and real growth begins. Our goal here is simple: give the plants a strong start and the right care, so they’re encouraged to produce a generous harvest of tubers right inside their container.
Start by filling your grow bag or pot with about four to six inches of your light, well-draining soil mix. Gently place your chitted seed potatoes on top of the soil, making sure the sprouts are facing up. Be careful with them—those sprouts are fragile, and they’re the starting point for your new plant.
This graphic lays out the first few critical steps for getting your seed potatoes in the soil.
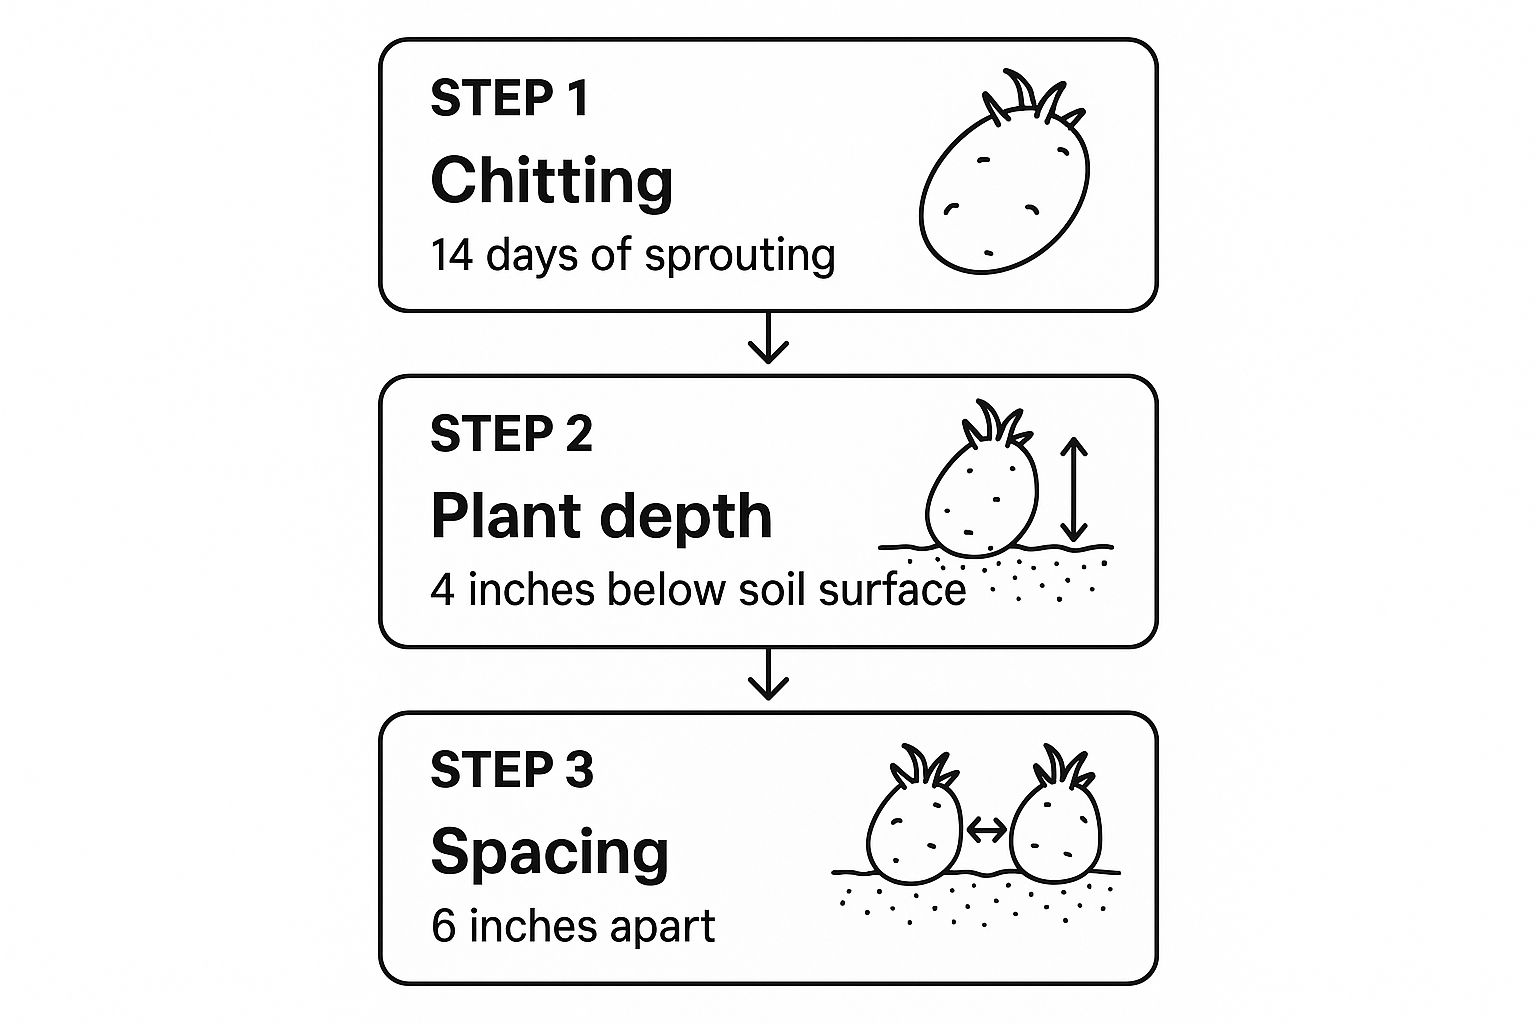
Following this process—chitting, planting at the right depth, and giving each piece enough room—is what sets you up for a great indoor harvest.
Mastering the Art of Hilling Indoors
Once your seed potatoes are settled, cover them with another three to four inches of soil. Water them in well to help the soil settle around them, aiming for moist but never waterlogged. As the green shoots break through the soil and grow taller, you'll start the single most important task for growing potatoes: hilling.
In a garden, hilling means mounding soil up around the plant's base. For indoor containers, it's even easier. When your potato plants are about six to eight inches tall, just add more of your soil mix to the container, burying about half of the stem. You only need to leave the top few inches of leafy growth exposed.
You'll repeat this every few weeks as the plant gets taller, adding more soil until you reach the top of the container.
Why is hilling so important? Potatoes don’t form on the roots; they grow on side stems called stolons that emerge from the main stem. By continually burying the stem, you encourage the plant to send out more stolons all the way up its length. More stolons mean more potatoes.
Watering and Feeding for Tuber Growth
Consistent moisture is key, but overwatering is probably the fastest way to ruin your indoor potato crop. The best way to check is with your finger. If the top one to two inches of soil feel dry, it's time to water thoroughly. Let any excess drain completely from the bottom of the container.
When it comes to feeding, you’ll need some patience. Wait until the plants are well-established and about a foot tall before adding any fertilizer. When you do, reach for a balanced liquid fertilizer that's lower in nitrogen.
High Nitrogen: This will give you beautiful, lush green leaves above the soil but not much else.
Balanced (Lower Nitrogen): This directs the plant's energy downward into what you really want—tuber development.
Feed your plants every two to three weeks, following the directions on the fertilizer package. This schedule gives them just enough nutrients to fuel the potato harvest without pushing too much leafy growth. You can learn more about general care and find other helpful tips in our detailed article on how to grow potatoes right.
Harvesting and Storing Your Indoor Potatoes
After months of patient tending, you've made it to the best part: the harvest. This is where all your work pays off. Knowing the right time to dig for that buried treasure is the key to getting the best flavor and texture from your homegrown spuds.
The plant itself will give you the most obvious clue. That lush, green foliage will start to yellow, wilt, and eventually die back completely. Don't panic—this is exactly what you want to see. It’s a sign that the plant has poured all its energy into the tubers underground. This usually happens somewhere between 70 to 120 days after you first planted, depending on the variety you're growing.
Knowing When to Dig
Once you see the foliage die back, fight the urge to dig in right away. This is your cue to stop watering the container. Let the soil dry out for a week or two before you start harvesting. This simple step helps the potato skins "set," or toughen up, making them less likely to bruise when you handle them. It's a small bit of patience that preps them for much longer storage.
A common mistake is harvesting when the soil is still wet. Damp potatoes are far more susceptible to rot and mold, which can ruin your entire crop before you even get a chance to enjoy it. Patience is your best friend in this final stage.
For an even more detailed breakdown of timing, check out our guide on when to dig up potatoes for the perfect harvest.
The Gentle Art of Harvesting
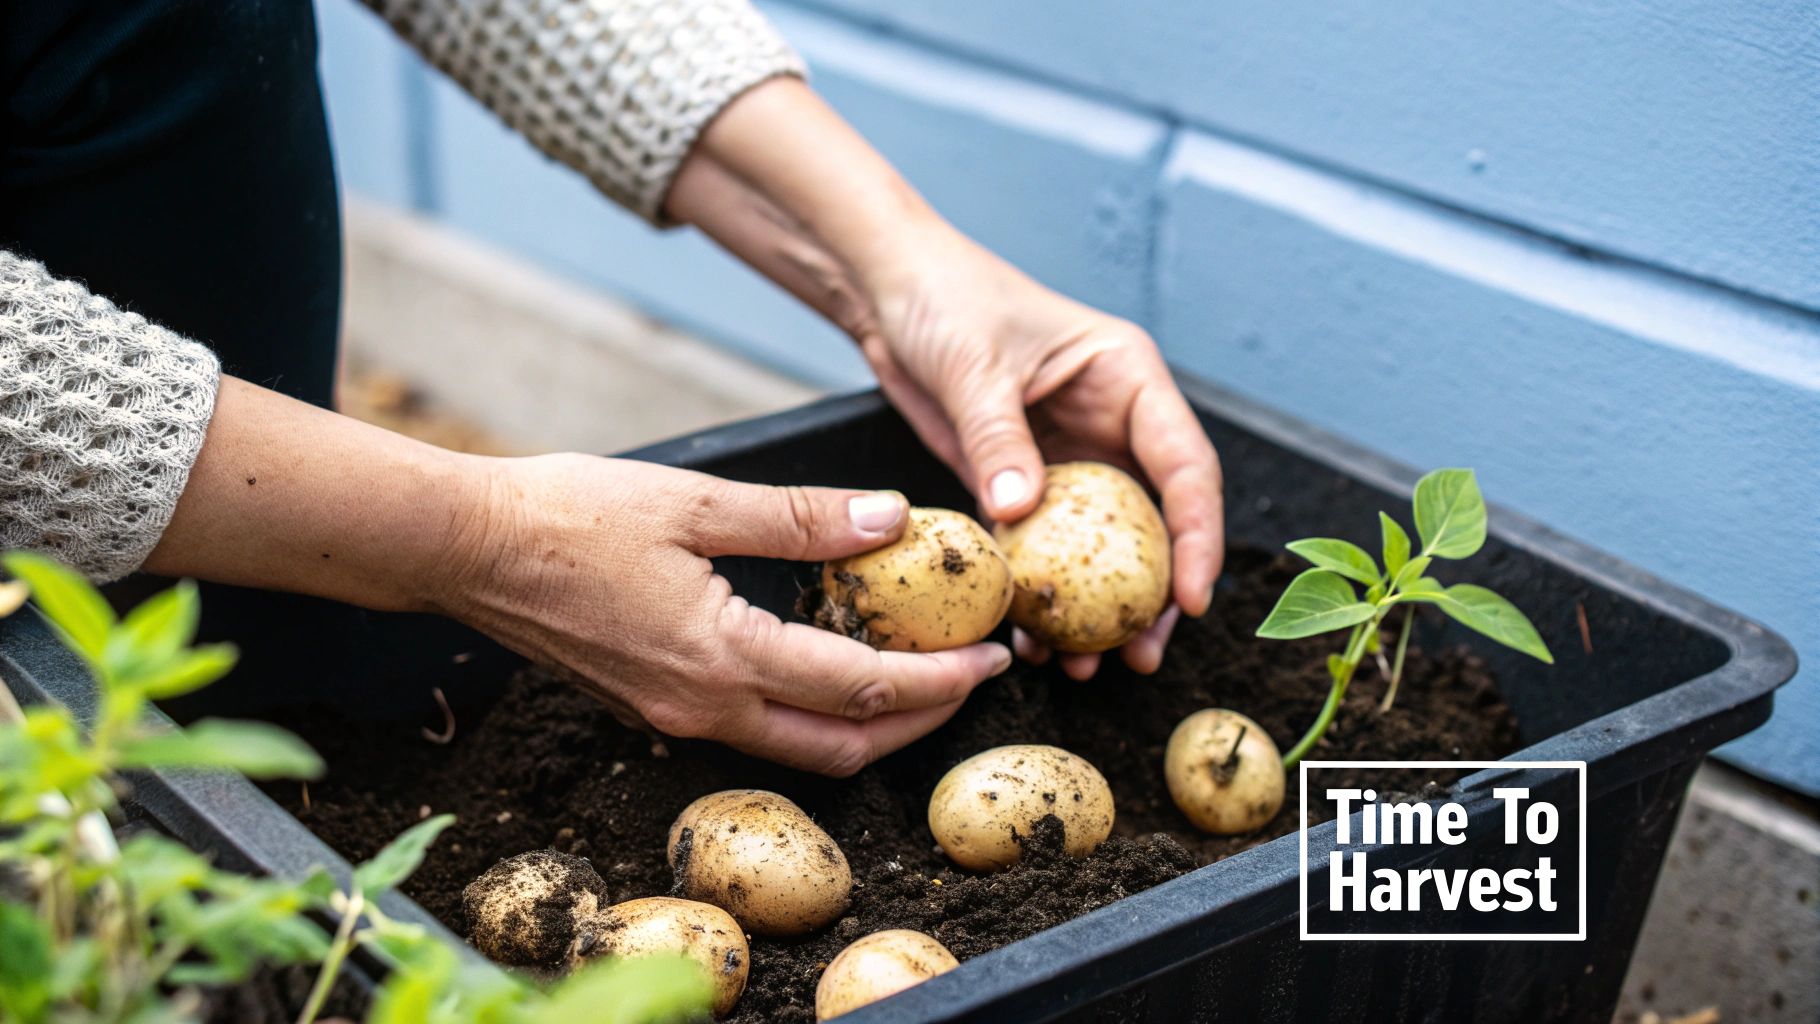
Now for the fun part. Tip your grow bag or container onto a tarp or some newspaper to make cleanup easier later. Gently sift through the soil with your hands. Using your hands instead of a sharp trowel is the best way to avoid accidentally cutting or bruising your potatoes.
You might be surprised by the yields you can get indoors. A controlled environment often leads to some impressive results. Research into hydroponic methods has shown that indoor potato cultivation can actually produce larger tubers. One 2023 study found that up to 20% of the yield was made up of potatoes larger than 60 grams, a big difference from conventional methods where most fall into smaller sizes. You can find more details on these controlled environment findings on nature.com.
Curing for Long-Term Storage
Hold off on washing or cooking your potatoes just yet. The final step before storage is curing, and it's essential if you want them to last.
Brush Off Dirt: Gently brush off any large clumps of soil. Whatever you do, don't wash them—moisture is the enemy of long-term storage.
Find a Dark Space: Lay the potatoes out in a single layer in a dark, cool, and well-ventilated spot. A closet, basement, or pantry usually works perfectly.
Let Them Rest: Leave them to cure for about two weeks.
This curing process allows the skins to fully harden and any minor nicks or cuts to heal over. Once cured, your indoor-grown potatoes can last for several months, giving you a delicious reward for all your hard work.
Got Questions About Growing Potatoes Indoors? We've Got Answers
Even with the best guide, a few questions are bound to pop up when you're starting something new. It's totally normal. Getting clear answers can be the difference between a bucket full of spuds and a bucket full of frustration.
Let’s dig into some of the most common uncertainties and troubleshoot the things that trip up new indoor potato growers.
How Many Potatoes Will I Actually Get From One Plant?
This is the big one, right? For a single plant in a standard 5-gallon container, you can realistically expect about 5 to 10 small or medium potatoes. The final tally really depends on the variety you've chosen and how well you dial in the growing conditions.
If you give your plant everything it wants—especially strong, consistent light and the right nutrients at the right time—you can definitely push that number higher. Going bigger with a 10-gallon grow bag gives the plant more real estate to form tubers, often leading to a much better harvest. From my experience, the early-season, determinate types tend to give the best yields in containers.
Remember, container size directly impacts your harvest potential. Giving your plant more room for its roots and tubers is the simplest way to encourage a larger yield.
Can I Just Plant a Potato From the Grocery Store?
It's tempting to grab that sprouting potato from the back of the pantry, but this is one shortcut you'll want to skip. Potatoes from the supermarket are almost always treated with sprout inhibitors to keep them from growing on the shelf.
Even more important, they aren't certified to be disease-free. They can carry pathogens that will absolutely thrive in the warm, cozy environment of your home, potentially dooming your entire project from the start. For the best shot at a healthy harvest, always start with certified seed potatoes from a trusted garden supplier.
What Are the Most Common Problems I Might Face?
When things go wrong with indoor potatoes, it almost always comes back to two things: light and water. These are the fundamentals, and they're surprisingly easy to get wrong if you aren't paying close attention.
Not Enough Light: Potatoes are sun-worshippers. They need 10+ hours of strong, direct light every single day to thrive. A sunny windowsill just won't cut it. A dedicated grow light is pretty much non-negotiable if you want to avoid weak, leggy plants that produce nothing.
Watering Gone Wrong: Overwatering is the fastest way to kill your potato plant, period. It invites root rot and is a dinner bell for fungus gnats. Before you even think about watering, stick your finger into the soil. If the top inch or two isn't completely dry, walk away. And make sure that container has excellent drainage.
Do I Need to Worry About Pests Indoors?
While you've dodged some of the biggest outdoor culprits like slugs and potato beetles, you're not entirely in the clear. Aphids and fungus gnats can still show up to the party uninvited.
Fungus gnats are usually a dead giveaway that you're overwatering. Your best defense is to check on your plants regularly, make sure they have good air circulation, and keep a simple organic solution like neem oil on hand if you spot any pests. Starting with certified disease-free seed potatoes is also your best line of defense against disease.
At The Grounded Homestead, we're passionate about helping you connect with your food. Explore more tips and guides to start your own journey toward a healthier, homegrown lifestyle at https://thegroundedhomestead.com.


Facebook
Instagram
X
Youtube