How to Prepare Potting Soil A Gardener's Guide
How to Prepare Potting Soil A Gardener's Guide
Making your own potting soil comes down to three key things: a base like peat moss, something for aeration like perlite, and a nutrient source like good compost. It’s a simple recipe, but getting the balance right gives you a lightweight, well-draining, and fertile home for your container plants. You get total control over what your plants are growing in, and that’s a big deal.
Why Garden Soil Fails in Pots
Before we start mixing, let's get one common mistake out of the way, because it will doom your container plants before they even get started: never use soil straight from your yard. It seems natural, and it’s definitely cheap, but what works in the ground is a disaster in the confined space of a pot.
The world inside a container is completely artificial. It doesn’t have the worms, microbes, and natural drainage channels that make garden soil work. When you scoop that soil into a pot, its structure immediately starts to break down.
The Problem with Compaction
In-ground soil is a delicate mix of clay, silt, sand, and organic matter. In a pot, after a few waterings, those fine particles settle together and get incredibly dense. All the tiny air pockets that roots need to breathe get squeezed out.
Think of it like a sponge slowly turning into a brick.
This compaction is a death sentence for most container plants. Here’s why:
Poor Drainage: Water hits that dense soil and just sits there. With nowhere to go, you get a soggy, waterlogged mess. This is the fast track to root rot, a fungal disease that will kill a plant in no time.
Stunted Root Growth: Tender new roots simply can’t push through soil that dense. Without a healthy, expanding root system, the plant can’t pull up the water and nutrients it needs to survive, let alone thrive.
Nutrient Lockout: When soil is compacted and constantly wet, its pH and chemical balance can go haywire. Even if there are nutrients in the soil, the plant can’t access them.
A good potting mix isn't just there to hold the plant upright. Its real job is to create the perfect habitat for the roots—providing structure, holding consistent moisture, draining away the excess, and letting air circulate. Garden soil just can't do all of that in a pot.
The Missing Ingredients
And there's more. Garden soil is often full of weed seeds, tiny pests, and all sorts of pathogens that can run wild in a closed container. While there's a lot to learn about preparing garden soil for in-ground beds, the rules for pots are completely different.
Good potting mixes are designed from the ground up to be lightweight and sterile, giving your plants a clean start. By making your own, you’re not just mixing ingredients—you’re building the perfect foundation for healthy, vibrant container gardening.
The Three Core Components of Potting Soil
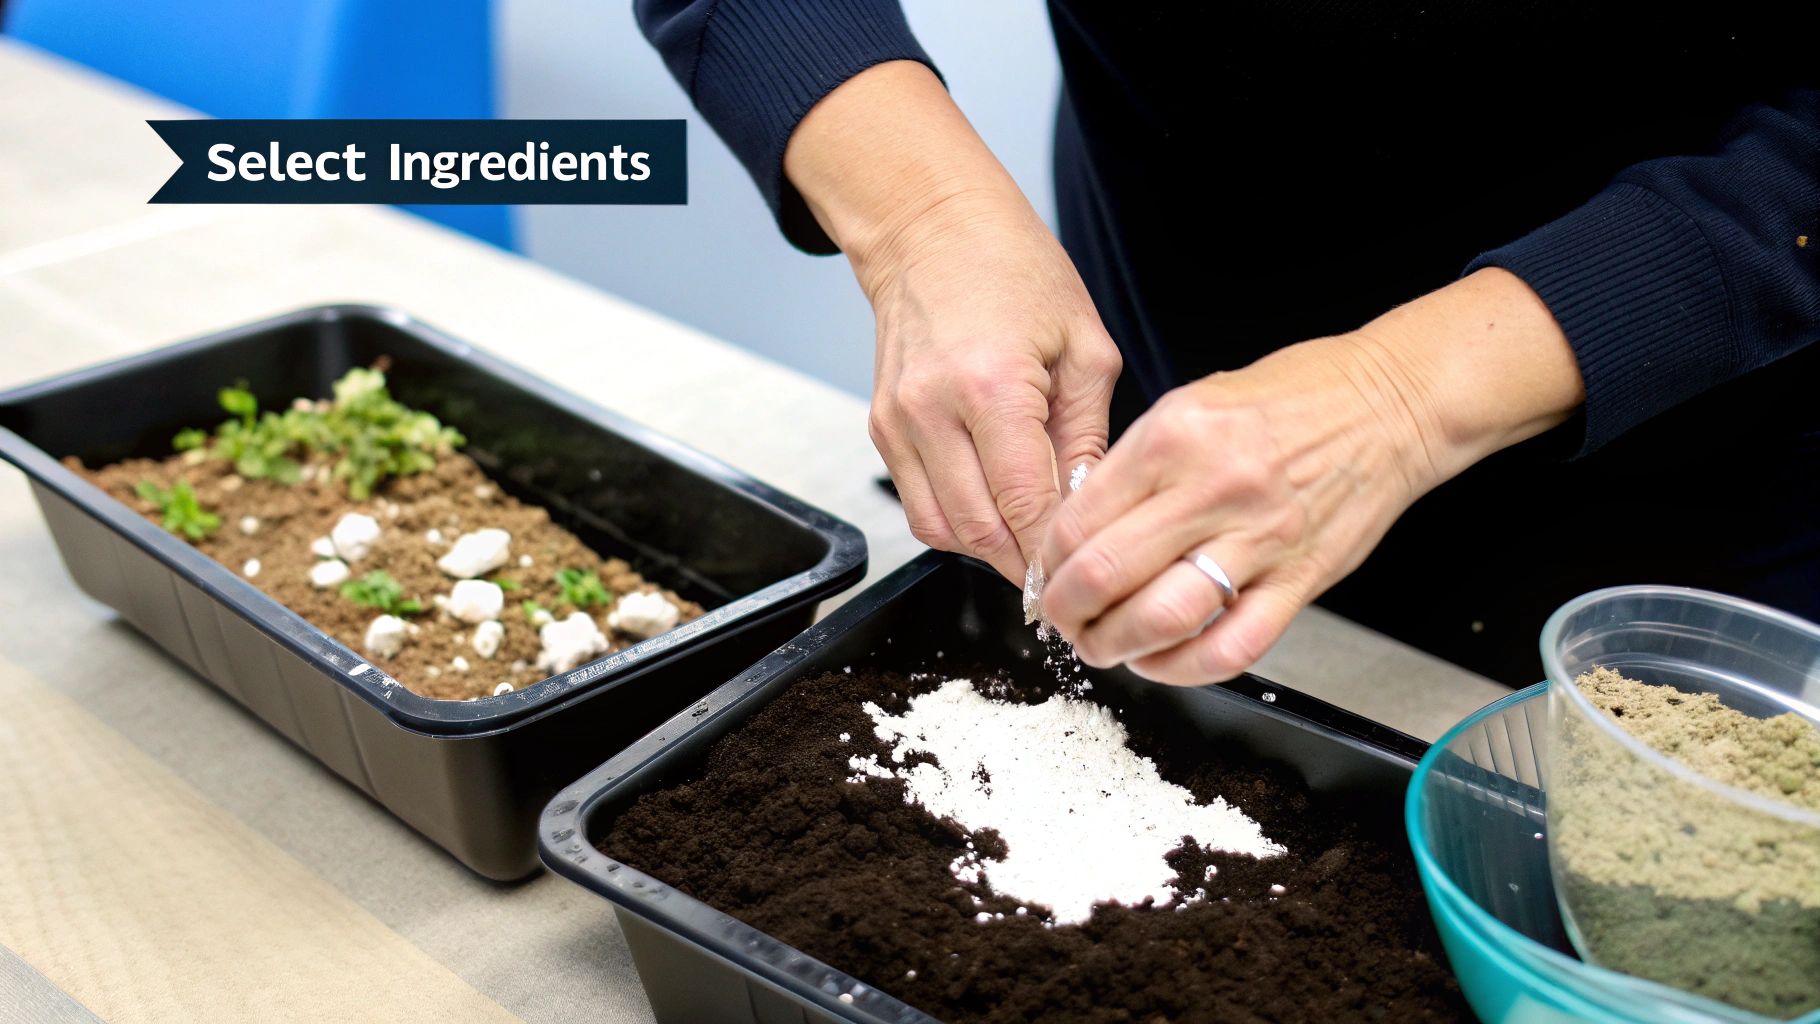
When you start mixing your own potting soil, you’re basically becoming a chef for your plants. Instead of balancing flavors, you’re balancing structure, drainage, and nutrition. Every great mix, from a simple all-purpose blend to a highly specialized recipe, is built on three fundamental types of ingredients.
Think of these as the building blocks. Understanding what each one does—and why it matters—is the secret to creating the perfect home for whatever you want to grow. It’s a skill that pays off every single season.
The Base: Your Soil's Foundation
The base is the main event, making up the bulk of your mix—often as much as 50-60% of the total volume. Its primary job is to give roots something to hold onto while retaining moisture. The two most common options present a key decision for any gardener.
Peat Moss: For decades, this has been the standard. It’s light, sterile, and holds an incredible amount of water. On the downside, it’s acidic and can be a real pain to re-wet once it completely dries out.
Coconut Coir: A popular and more sustainable alternative, coco coir is a byproduct of the coconut industry. It boasts a more neutral pH than peat, wets easily, and offers fantastic water retention.
Your choice often boils down to sustainability concerns and your plants' specific needs. For acid-loving plants like blueberries or azaleas, peat is a natural fit. For most everything else, coco coir is an excellent, eco-friendly choice.
Aeration: Keeping Roots Breathing
Compacted, waterlogged soil is a death sentence for container plants. It leads straight to root rot. Aeration ingredients are lightweight materials that create tiny air pockets throughout the soil, ensuring water drains freely and roots get the oxygen they need to thrive.
The real magic of a great potting mix is in the spaces between the particles. Excellent aeration allows roots to breathe, preventing the soggy conditions that cause the most common container gardening failures.
The two workhorses of aeration are:
Perlite: This is the small, white, styrofoam-like stuff you see in most commercial mixes. It’s a super-light volcanic glass that provides top-notch drainage and aeration but holds very little water itself.
Vermiculite: This mineral looks like small, golden-brown flakes. It also adds aeration, but it has the unique ability to absorb and hold water and nutrients, releasing them back to the plant as needed.
A common mistake is thinking they're interchangeable. Use perlite when you need sharp drainage for plants like succulents, cacti, or rosemary. Choose vermiculite when you want to boost moisture retention for thirsty plants like ferns or many vegetables. Figuring out the best soil for growing vegetables often comes down to getting this aeration balance just right.
Nutrition: The Engine of Growth
This final component provides the essential fuel your plants need to grow strong and healthy. Unlike the sterile base and aeration materials, this part of the mix is alive with beneficial microorganisms.
Compost: Well-rotted compost is the gold standard here. It delivers a slow-release source of a wide range of nutrients and dramatically improves the soil's structure and water-holding capacity.
Worm Castings: Often called "black gold," worm castings are incredibly nutrient-dense. They're packed with minerals and beneficial microbes that boost plant health and can even help suppress diseases.
This nutritional element is what truly brings your soil to life.
Comparing Core Potting Soil Ingredients
To make sense of it all, let's break down how these core ingredients stack up. Think of this as your cheat sheet for building the perfect blend.

Each ingredient plays a distinct role. By learning to combine them with purpose, you move beyond following recipes and start creating custom soils perfectly suited to your plants.
Proven Recipes for Different Plant Types
Once you get a feel for the basic ingredients, you can stop using a one-size-fits-all approach and start creating mixes that truly cater to your plants. This is where the real magic happens. A thirsty fern would quickly perish in the gritty, fast-draining soil a succulent loves, and a cactus would rot in a rich, spongy mix designed for tropicals.
Think of these recipes as reliable starting points, not rigid rules. Your climate, the size and material of your pot, and even the humidity in your home can change how a mix performs. Don’t be afraid to tweak the ratios a bit. Gardening is all about observation and adjustment.
A Versatile All-Purpose Mix
This is my go-to workhorse recipe, perfect for the vast majority of common houseplants like pothos, monsteras, philodendrons, and spider plants. It hits that sweet spot between holding enough moisture to keep roots happy and draining well enough to prevent sogginess. It’s a beautifully balanced foundation for steady, healthy growth.
2 parts Coconut Coir (or Peat Moss)
1 part Perlite
1 part Compost
This blend is incredibly forgiving. If you find your plants are drying out a little too fast for your liking, just bump up the coir a bit or toss in a handful of vermiculite to hold extra moisture.
Gritty Mix for Succulents and Cacti
If there’s one thing that kills succulents and cacti, it’s wet feet. Root rot is their number one enemy. These desert natives are built for arid conditions and absolutely require a soil that drains almost instantly, letting their roots dry out completely between waterings. For this mix, aeration is everything.
Here’s how to build a blend they’ll love:
1 part Coconut Coir
2 parts Coarse Sand or Horticultural Grit
2 parts Perlite or Pumice
We're only using a little coir here—just enough to give the roots something to grab onto. The real stars are the sand and perlite, which create a super airy, gritty structure. Just be sure to use coarse horticultural sand; fine play sand will compact and do more harm than good.
The goal with succulents is to mimic their natural, rocky environment. This gritty mix prevents water from clinging to their sensitive roots, which is the most common reason they fail indoors.
Rich Mix for Ferns and Tropicals
Now, let's swing to the other end of the spectrum. Plants like ferns, calatheas, and other tropicals often come from shady forest floors where the soil is consistently moist, spongy, and loaded with organic material. They crave a mix that acts like a sponge, holding onto water without ever becoming stagnant or dense.
2 parts Coconut Coir or Peat Moss
1 part Vermiculite
2 parts High-Quality Compost or Leaf Mold
The heavy dose of coir creates a water-retentive base, while the vermiculite helps hold onto both moisture and nutrients. It’s the high compost content, though, that really gives this mix the light, spongy texture that tropical roots love to explore.
Nutrient-Dense Mix for Container Vegetables
Growing vegetables in containers, especially heavy feeders like tomatoes and peppers, demands a soil that can deliver a serious, sustained punch of nutrients. This recipe is built for performance. It has the fertility needed to fuel vigorous growth and support a bountiful harvest all season long.
Container gardening has exploded in popularity, pushing the whole horticulture industry to develop more specialized blends. You can see just how big this trend is in this detailed potting soil mixes market report, which shows a huge shift toward precisely formulated soils for indoor and container applications.
For a powerhouse vegetable mix, combine:
2 parts Coconut Coir
2 parts Compost
1 part Perlite
1 part Worm Castings
That double dose of compost, combined with the incredibly nutrient-rich worm castings, makes this blend a fertility powerhouse. It gives your vegetables all the fuel they need to thrive.
Mixing Your Soil for Perfect Consistency
Once you’ve got your ingredients and ratios sorted out, it’s time for the best part: getting your hands dirty. The goal isn’t just to toss everything together. We're aiming for a uniform, fluffy mixture where every single scoop has that perfect balance of structure, aeration, and nutrition. How you mix makes a huge difference.
Before you start dumping ingredients, there’s one non-negotiable prep step, especially if you’re using peat moss or a compressed block of coco coir. This stuff is almost always bone-dry and can be hydrophobic, meaning it actually repels water at first. If you try mixing it dry, you'll end up with a dusty mess and pockets of dry soil that just won't hydrate properly later on.
To get it right, put your peat or coir into a big tub or wheelbarrow. Slowly add warm water while breaking it up with your hands or a garden trowel. You’re looking for the consistency of a damp, wrung-out sponge—it should feel moist, but not be dripping wet. Trust me, taking a few minutes to pre-moisten your base makes the whole process go smoother.
Choosing Your Mixing Method
The right tools can save you a lot of sweat. Your best bet depends entirely on how much soil you’re whipping up.
For small batches (under 5 gallons): A large bucket or a sturdy plastic tub is all you need. Mixing by hand works great here, and it gives you a fantastic feel for the soil's texture and moisture level.
For large batches (over 5 gallons): A wheelbarrow is your best friend. It gives you plenty of room to turn the soil over with a shovel or a hoe, ensuring everything gets incorporated without spilling. Another great method for big jobs is "tarp mixing"—just pile your ingredients on a big tarp and have a friend help you pull the corners back and forth to tumble everything together.
This infographic breaks down a simple process for checking your final mix for moisture and pH before you get to planting.
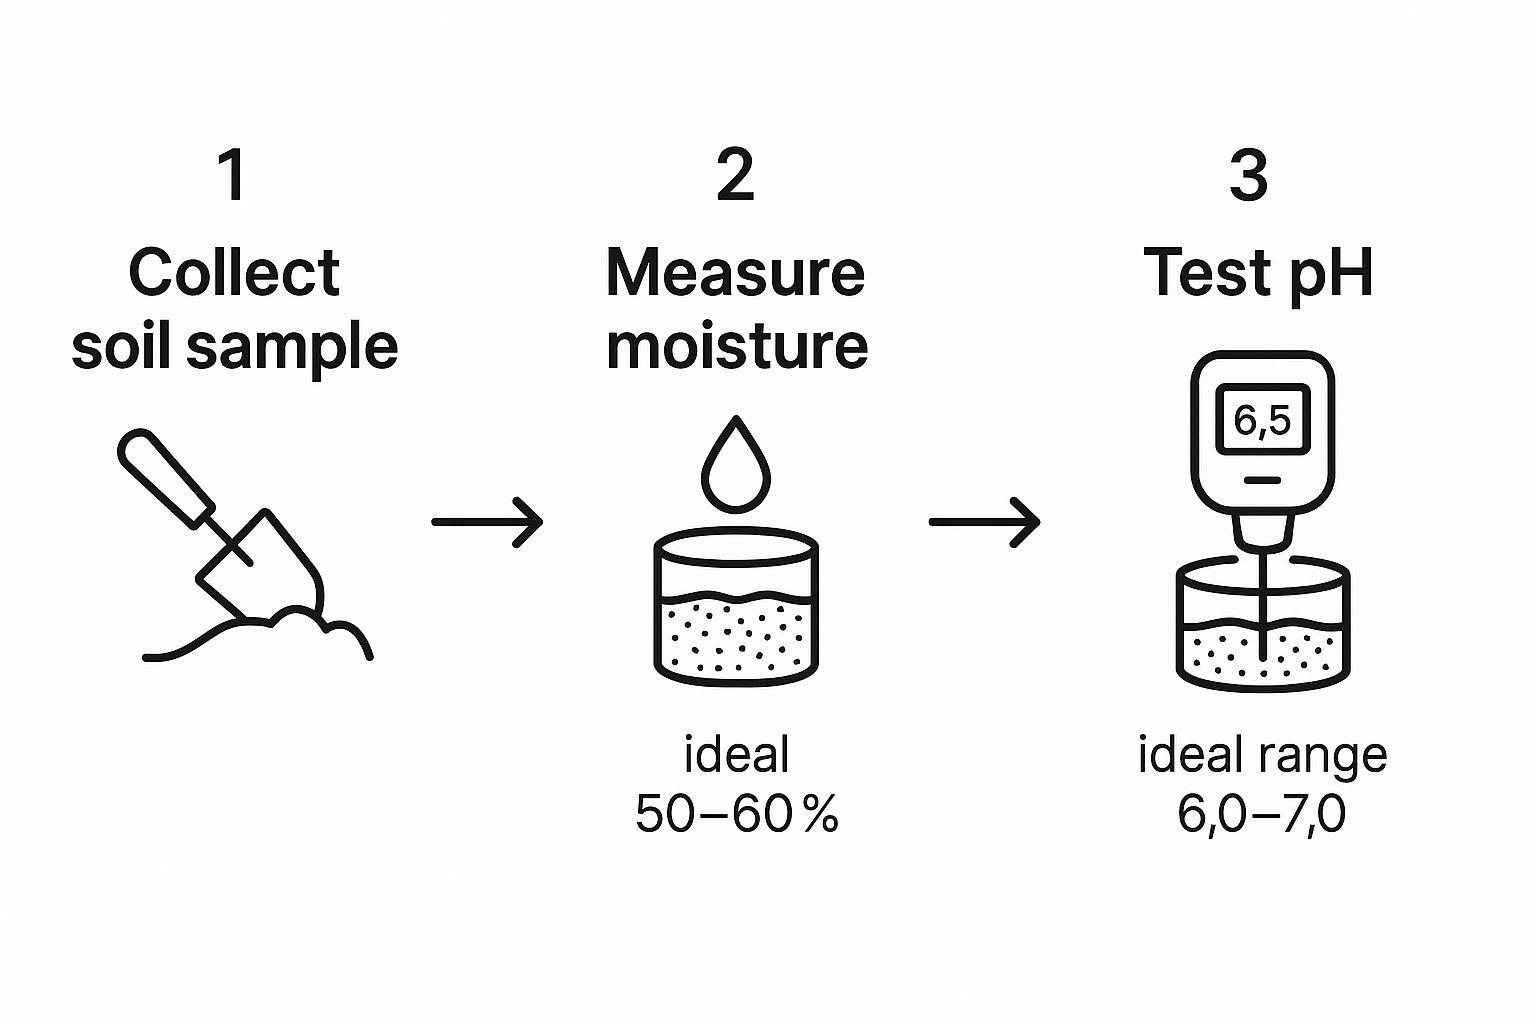
As this shows, the ideal finished soil isn't just well-mixed. It should also have a moisture level somewhere between 50-60% and a pH that most plants will be happy with.
Storing Your Homemade Mix
Chances are you’ll make more potting soil than you need right away. Storing it properly keeps it fresh and ready for your next project. Your best bet is to keep any leftover mix in a container with a lid, like a clean trash can or a large storage tote.
Keep the container sealed up. This prevents the soil from drying out completely and stops pests or opportunistic weed seeds from moving in. A well-stored mix can easily stay good for several seasons, saving you a ton of time and money down the road.
How to Fix Common Homemade Soil Problems
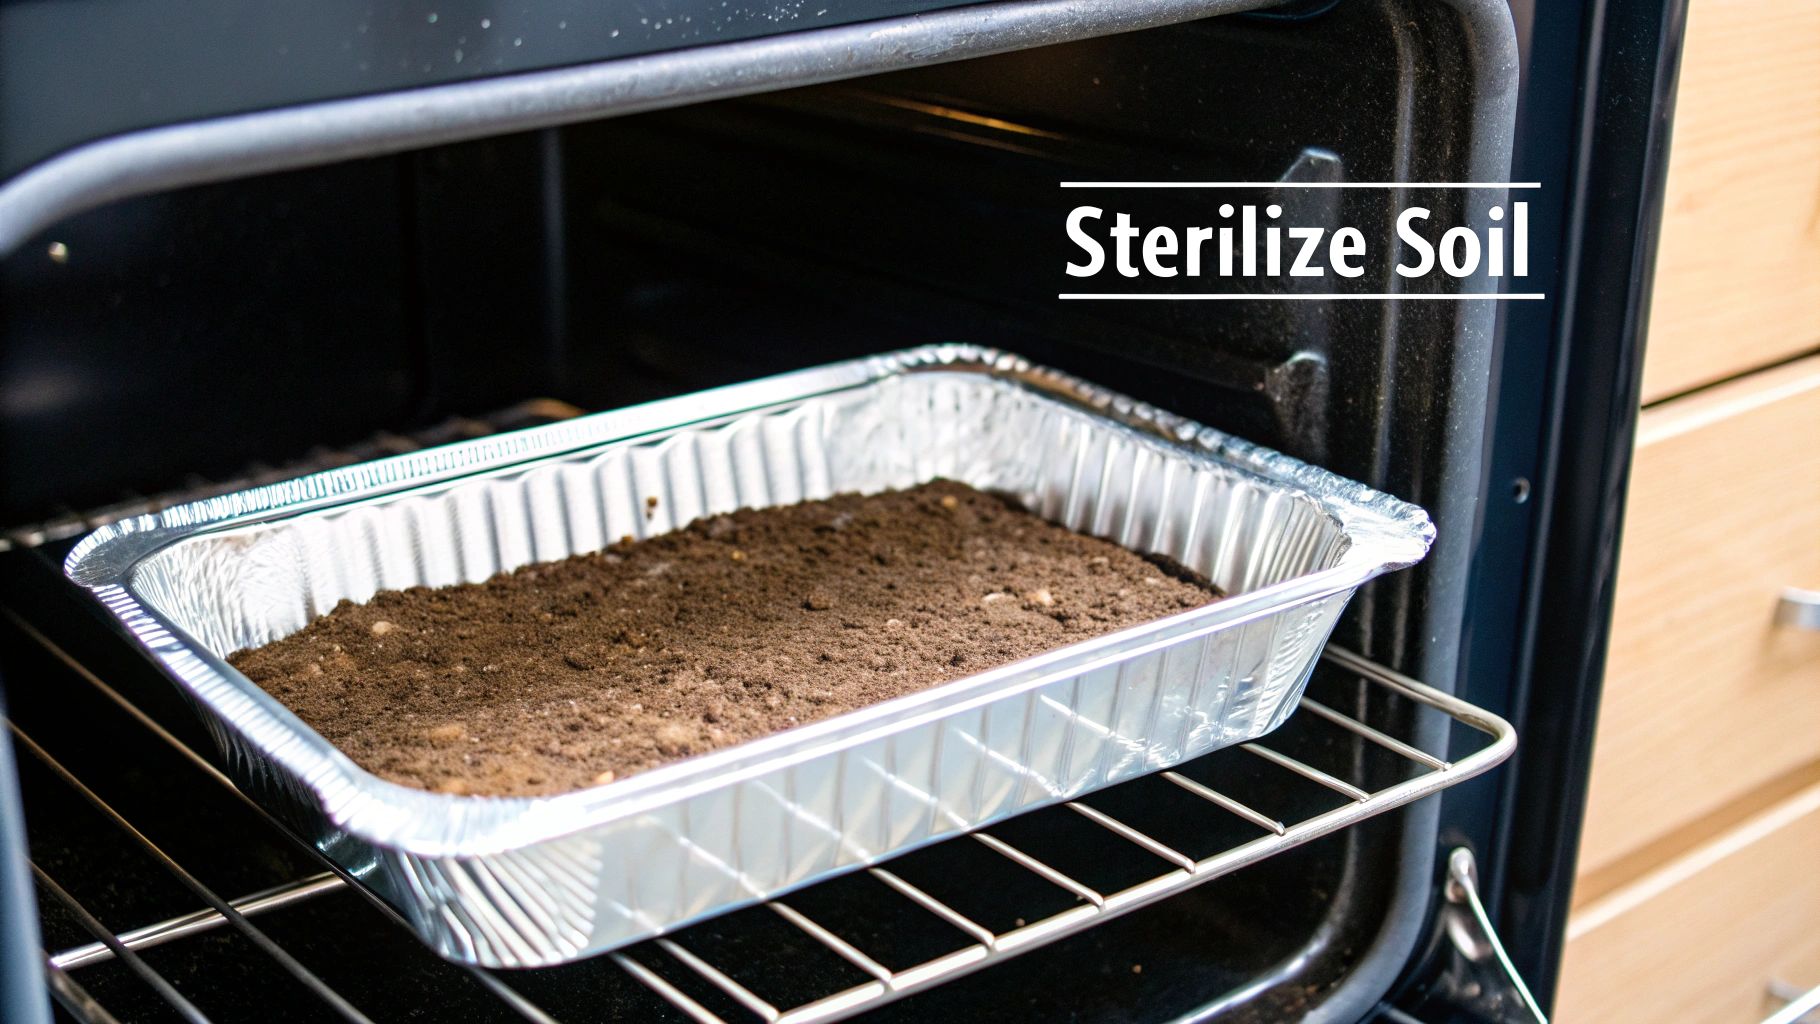
Even with the best recipe, sometimes a fresh batch of homemade potting soil just feels... off. Think of it like cooking—sometimes you need to adjust the seasoning. The good news is that most soil issues are easy to spot and even easier to fix once you know what you’re looking for.
The most common problem I see is a mix that holds too much water. If your soil feels heavy, muddy, or downright soggy long after you’ve watered, you’ve got a drainage issue on your hands. This suffocates the roots, cutting off oxygen and creating the perfect storm for root rot.
The fix is simple: you need more air in the mix. Gently unpot your plant and mix in more perlite or pumice. A good starting point is adding about one extra part of perlite for every three or four parts of your original soil. This creates little air pockets that let excess water drain right out.
Diagnosing Dry or Nutrient-Poor Soil
On the flip side, you might have soil that dries out in the blink of an eye. If you water a plant and it runs straight out the bottom, leaving the root ball almost completely dry, your mix is lacking water retention. This usually happens when there's a little too much sand or perlite in the blend.
To fix this, you need to add something that acts like a sponge. Mixing in more compost or a handful of vermiculite will make a world of difference. These ingredients soak up water and release it slowly, giving the roots plenty of time to get a good drink.
Another headache is spotting signs of a nutrient-hungry plant, like yellowing leaves or slow, stunted growth. This just means your plants have gobbled up all the initial food in the soil. An easy fix is to top-dress the pot with a fresh layer of rich compost or worm castings. For plants that are heavy feeders, it's a good idea to work a good natural fertilizer for vegetables into your regular watering routine for a more long-term solution.
Here's a final tip for organic mixes: fungus gnats. These annoying little pests love soil that stays consistently damp. The easiest way to get rid of them is to simply let the top inch or two of your soil dry out completely between waterings. This breaks their life cycle and usually solves the problem without any fuss.
Answering Your Top Potting Soil Questions
Once you get the hang of making your own potting mix, a few specific questions almost always come up. Getting these right is often the difference between a mix that just works and one that helps your plants truly thrive.
Let's clear up some of the most common things gardeners wonder about when they start mixing their own soil.
Can I Reuse Old Potting Soil?
Absolutely, but you can’t just dump it from an old pot into a new one. Soil from last season is usually stripped of its nutrients and can sometimes hold onto pests or diseases from the previous plant.
To bring it back to life, start by sifting out all the old roots, stems, and leftover debris. Then, you need to recharge it. Mix in some fresh, high-quality compost or worm castings to get those nutrients back in there. A good rule of thumb is to add about one part compost to every three parts old soil. I also like to toss in another handful of perlite to restore that light, airy structure.
What Is the Difference Between Peat Moss and Sphagnum Moss?
This one trips a lot of people up, but they're very different materials from the same plant.
Sphagnum Moss is the long-fibered, living plant material skimmed right off the top of a bog. It’s what you often see lining hanging baskets or used in floral arrangements because it’s fantastic at holding onto moisture.
Peat Moss, on the other hand, is the dead, decomposed material harvested from deep down in the bog. It’s fine, almost like a soil conditioner, and it’s the ingredient we use in potting mixes for its water retention and slight acidity.
When a potting soil recipe calls for "peat," it is always referring to peat moss. Using the long-fibered sphagnum moss by mistake will give you a stringy, dense mix that just doesn't perform the same way.
How Do I Test My Mix for Good Drainage?
There’s a simple, hands-on way to know if your drainage is on point before a single seed goes in. Grab a pot (with drainage holes, of course!), fill it with your new mix, and water it thoroughly until water streams out the bottom.
Now, let it sit for a minute or two. Lift the pot. It should feel damp and moist, but noticeably lighter than it did when it was completely saturated. If it still feels like a heavy, waterlogged brick, it’s holding too much water and needs more aeration. Go back and mix in another scoop or two of perlite to fix it.
At The Grounded Homestead, we're passionate about empowering you with the knowledge to grow your own food confidently. From soil science to seasonal planting, explore our resources to guide your journey. Find more expert tips and join our community at https://thegroundedhomestead.com.


Facebook
Instagram
X
Youtube