How to Test Garden Soil for a Thriving Garden
How to Test Garden Soil for a Thriving Garden
Before you even think about planting a single seed, the most important thing you can do is figure out what’s going on beneath the surface. Soil testing isn't some tedious chore; it's the single best diagnostic tool you have. It takes the guesswork out of gardening, saving you from wasted time, money, and a whole lot of frustration.
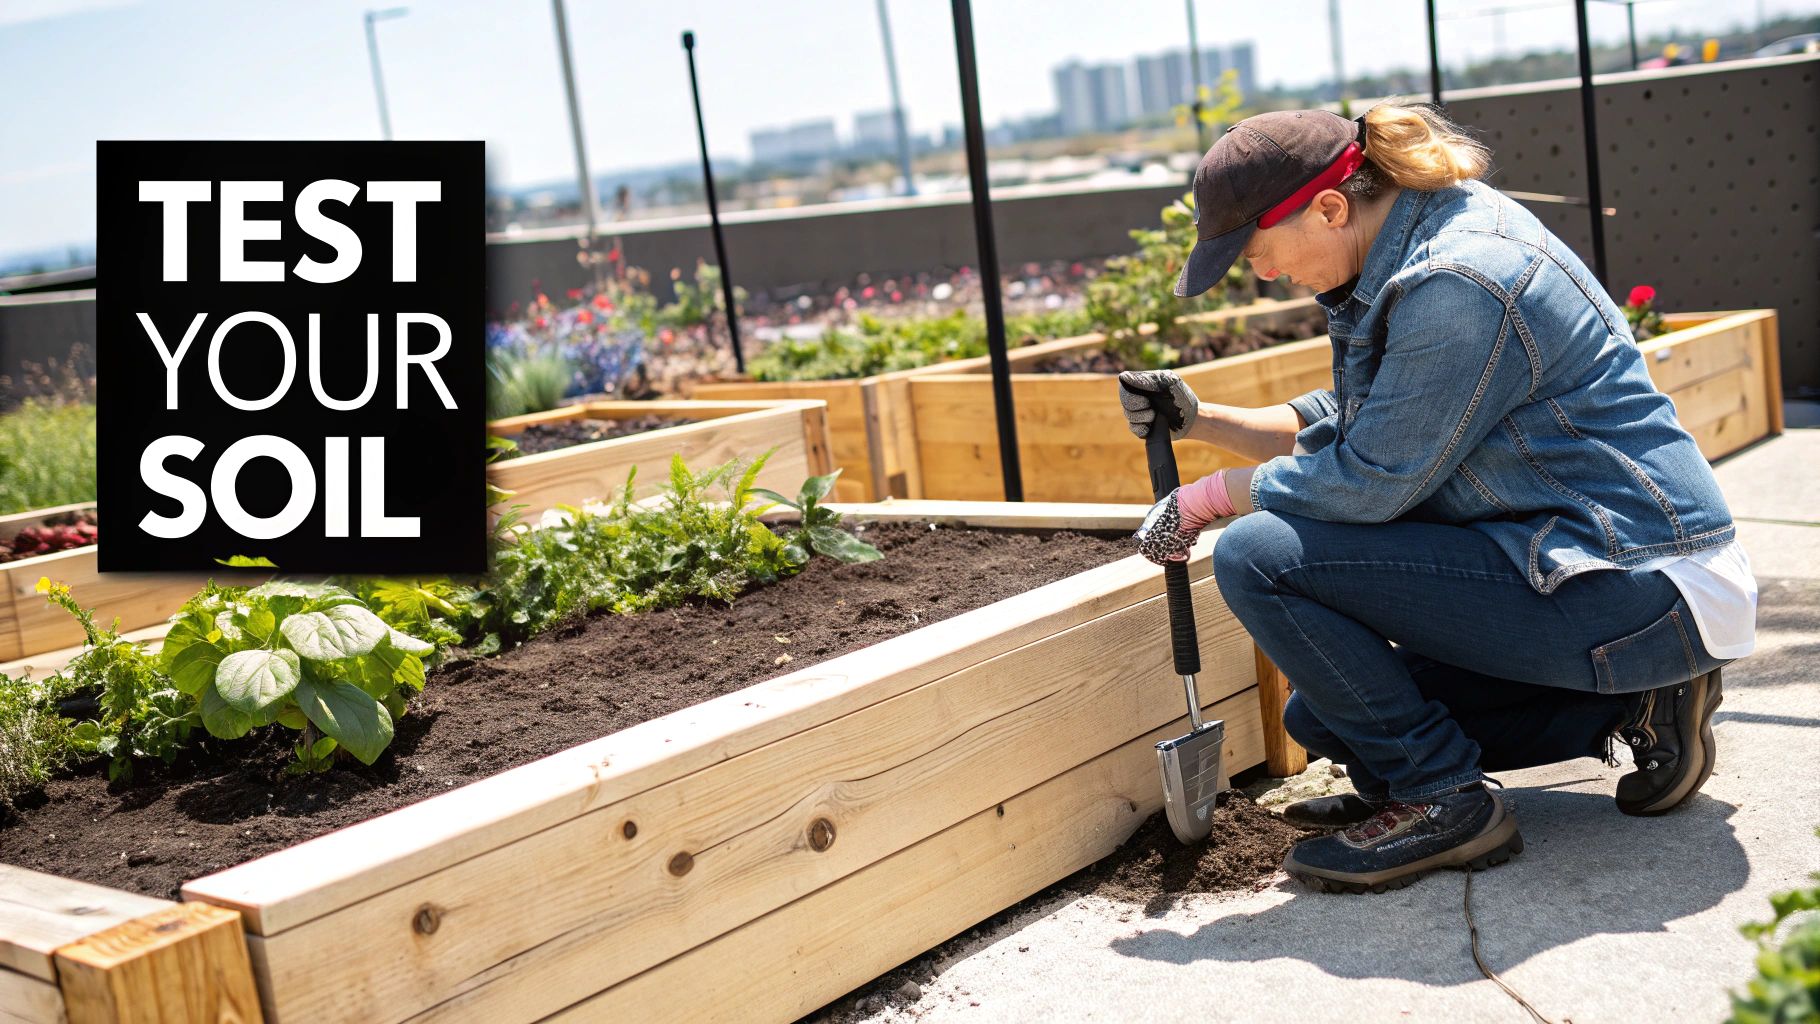
I saw this play out perfectly with a friend whose prized roses were turning yellow, despite getting the right amount of sun and water. We ran a quick soil test and found a major magnesium deficiency—something no all-purpose fertilizer would have ever fixed. A little Epsom salt, guided by those results, and the roses were back to their old selves in a few weeks. That’s the power of knowing, not guessing.
Unlock Your Garden's Full Potential
A soil test gives you a clear roadmap for what your garden actually needs. It delivers hard data on two of the most critical parts of your soil's health: its pH and nutrient levels.
Soil pH Control: This number tells you how acidic or alkaline your soil is, and it directly controls a plant's ability to soak up nutrients. Your soil could be packed with good stuff, but if the pH is off, those nutrients get "locked up," and your plants can't access them.
Nutrient Availability: A good test shows you where you stand on the big three—nitrogen (N), phosphorus (P), and potassium (K). It’ll tell you if you’re low on something or, just as importantly, if you have too much. This lets you add exactly what's missing instead of just throwing generic fertilizer at the problem.
This isn't just a backyard gardener's trick anymore. The demand for accurate soil diagnostics is booming, with the global soil testing market expected to jump from USD 4.3 billion in 2025 to nearly USD 6.9 billion by 2035.
Understanding your soil is the difference between gardening by chance and gardening with intention. It's the secret to creating https://thegroundedhomestead.com/post/best-soil-for-growing-vegetables and flowers that truly flourish.
At the end of the day, knowing your soil’s makeup is just good, sustainable gardening. When you consider broader issues like the environmental impact of landfills on soil, you realize how important it is to protect the ground you're working with. A simple test ensures your plants have the best possible start.
How to Collect a Perfect Soil Sample
Every soil test, whether it’s a simple kit from the hardware store or a full-blown lab analysis, is only as good as the sample you send in. A bad sample gives you a bad diagnosis. It’s that simple.
Think of it this way: you wouldn't want a doctor drawing your blood with a dirty needle. The same principle applies here. Getting the sample right is the first—and most important—step to understanding what your garden actually needs.
The Right Tools and Timing
First, round up your gear. You’ll need a clean garden trowel or spade, a plastic bucket, and the sample bag that came with your test kit or from the lab. I can't stress "clean" enough. Any lingering fertilizer residue, rust, or old soil clinging to your tools can throw off the results.
Here’s a common mistake I see all the time: using a galvanized or brass bucket. Those metals can leach tiny amounts of zinc or copper into your soil, giving you a false reading. Suddenly your test says you have plenty of micronutrients when you might actually have a deficiency. Always, always use a clean plastic bucket.
Timing matters, too. Don't dig for samples right after a heavy rainstorm. Sopping wet soil is a pain to work with and can mess with the nutrient concentration readings. On the flip side, avoid sampling right after you’ve spread fertilizer or compost. If you do, you're not testing your soil; you're just testing the amendment you just added.
This infographic breaks down the basic collection process perfectly.
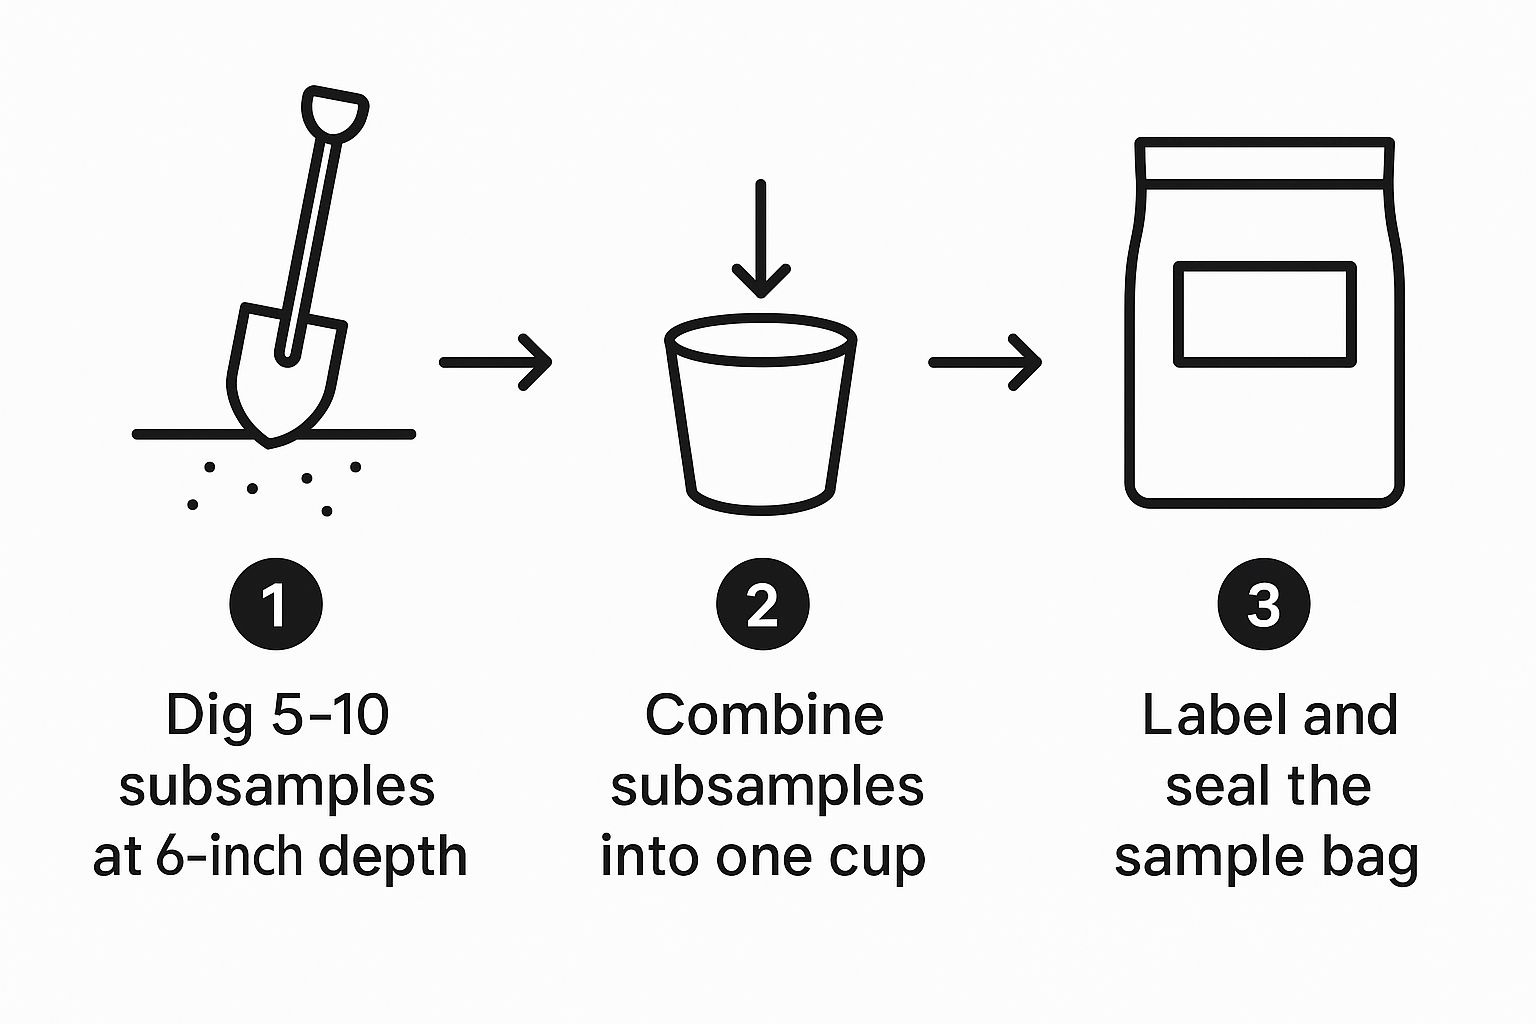
The key takeaway here is creating a composite sample. It’s the only way to get a result that truly represents your whole garden bed, not just one random spot.
Creating a Representative Composite Sample
Grabbing a single scoop of dirt from one spot won't tell you the whole story. Your soil’s chemistry can change every few feet. To get a real, average picture of your garden's health, you need to mix up a composite sample.
This just means taking smaller sub-samples from several different spots and mixing them all together.
Picture yourself walking a zig-zag or "W" pattern across your vegetable patch. You'll want to stop at about 8-10 points along that path to grab a little soil.
At each point, do this:
Clear the surface. Scrape away any mulch, grass, leaves, or other junk. You want to test the soil itself, not the top dressing.
Dig a V-shaped hole. Use your trowel to dig a small hole about 6-8 inches deep. This is the root zone, where most of your plants are pulling up nutrients.
Take a slice. From one of the straight sides of that "V," slice off a thin, 1-inch-thick piece of soil from the top to the bottom of the hole.
Toss it in your bucket. Put that slice into your plastic bucket. Now, head to the next point on your zig-zag path and do it all again.
Once you have all your sub-samples in the bucket, it's time to mix. Get in there with your hands or the trowel and really blend everything together, breaking up clumps and pulling out any big rocks or roots.
This well-mixed blend is your final composite sample.
Pro Tip: If you're testing different areas with different purposes—say, your lawn versus your vegetable garden—collect a separate composite sample for each one. Label them clearly. Their soil needs are almost certainly different, and treating them the same is a recipe for frustration.
From your bucket of mixed soil, scoop out just enough to fill the sample bag, which is usually about a cup or two. Seal it up, label it, and you're officially ready to get some answers.
Getting Your Hands Dirty: Decoding Your Soil with DIY Test Kits
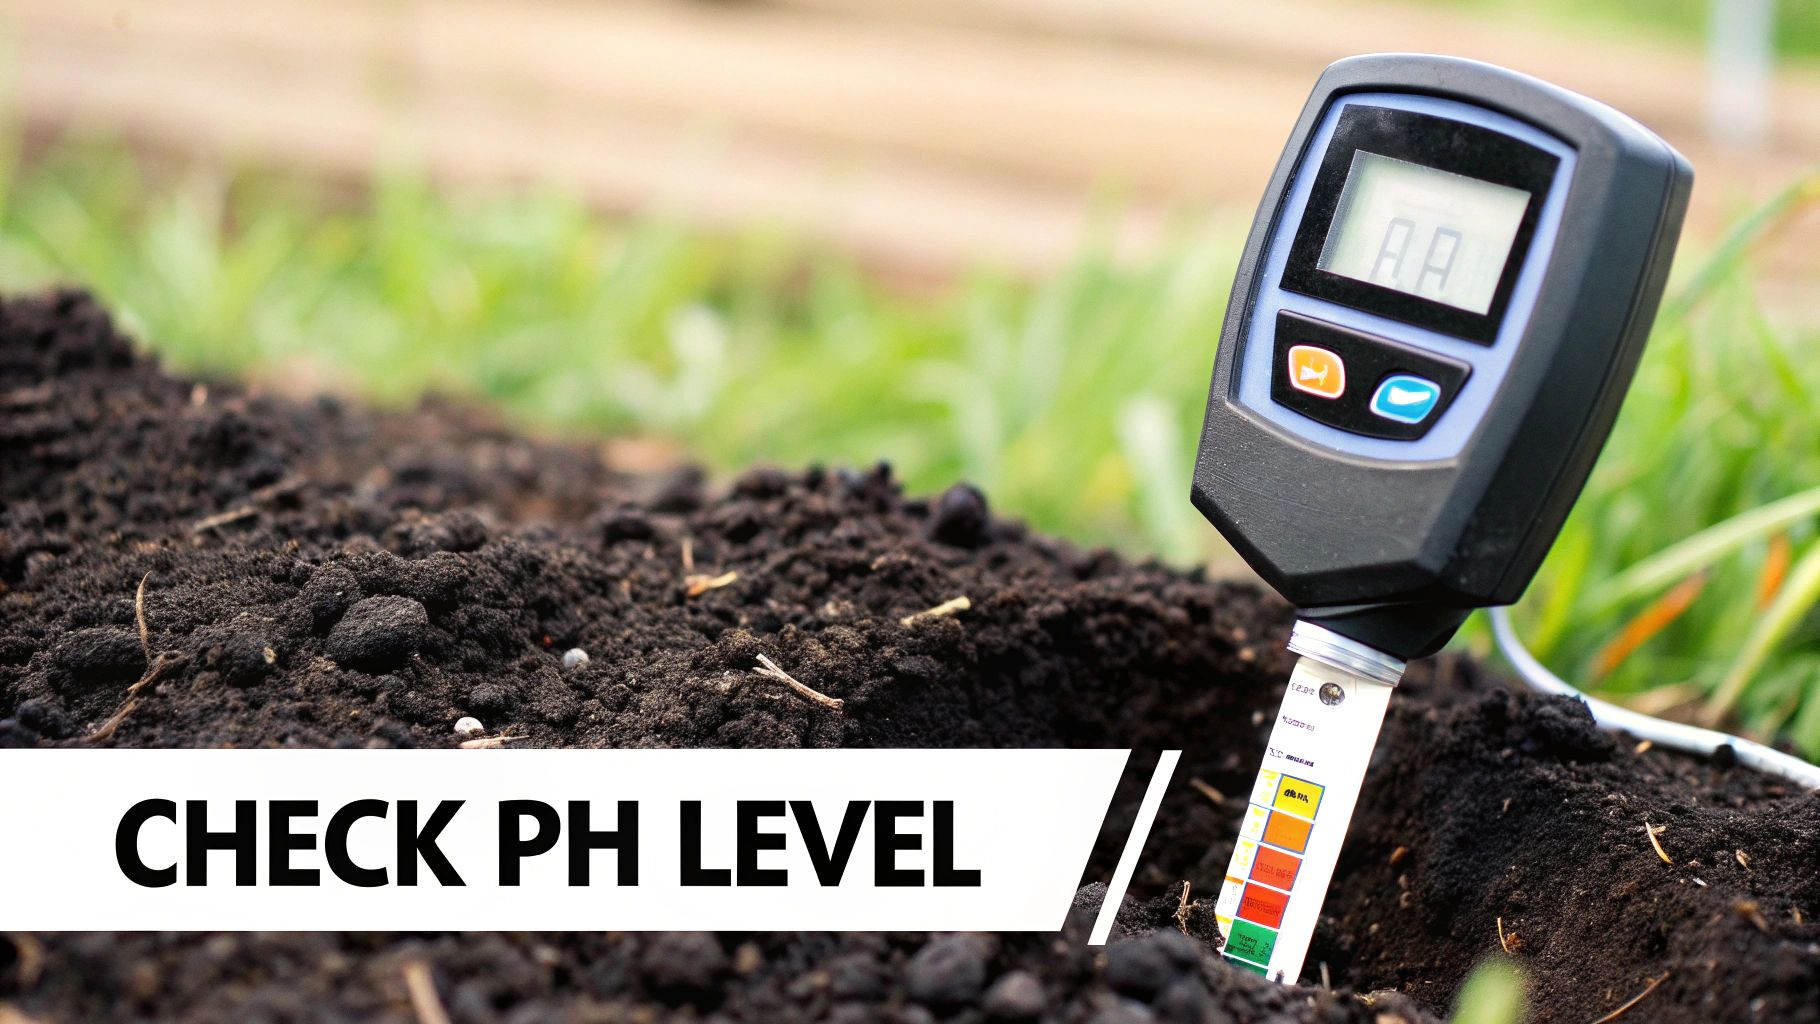
If you're eager for some quick insights into what's happening under your feet, a DIY soil test kit is a fantastic place to start. They give you a solid baseline reading of your garden's health without the long wait time of a professional lab.
While they aren't going to give you the same pinpoint precision, they're more than enough to guide your immediate soil improvement plans.
These kits aren't just for backyard gardeners, either. Their popularity has exploded, with the global market hitting around USD 3.69 billion back in 2020. That growth is fueled by their role in sustainable agriculture and managing crops all over the world.
Let's break down the most common—and most useful—at-home tests you can run yourself.
The Simple Jar Test: What's Your Soil Made Of?
Before you even think about chemical reagents, there’s a simple, revealing test you can do with just a clear jar, some water, and a bit of patience. This is the classic "jar test," and it’s brilliant for understanding your soil's physical makeup, or its texture.
Your soil is a combination of three main particle types: sand (the biggest), silt (medium), and clay (the smallest). The ratio between them dictates how well your soil holds onto water and nutrients.
Here’s how you do it:
Grab a straight-sided, clear jar and fill it about one-third of the way with your soil sample.
Add water until the jar is almost full, leaving just a little air at the top.
Screw the lid on tight and shake it like crazy for a few minutes until all the soil clumps are completely broken up.
Now, set the jar down and watch. The heavy sand particles will settle out first, usually within a minute. Go ahead and mark this layer on the jar.
Over the next few hours, the finer silt particles will settle into a layer on top of the sand. Mark that layer, too.
Finally, over the next day or two, the tiniest clay particles will drift down to form the top layer. The water might still look cloudy, but you'll see a third distinct layer.
By looking at the thickness of these layers, you get a clear picture of your soil's personality. Is it sandy, heavy on the clay, silty, or a nice, balanced loam? This is powerful knowledge. It tells you if you need to add organic matter to help sandy soil hold water or to break up compacted, heavy clay.
Chemical Kits for pH and Nutrients
Once you have a handle on texture, it's time to dig into your soil's chemistry. Most DIY test kits are designed to measure soil pH and the big three macronutrients: Nitrogen (N), Phosphorus (P), and Potassium (K).
These kits typically work by mixing a small amount of soil with a specific chemical reagent and some distilled water. You then match the color of the solution to a chart provided in the kit.
Crucial Tip: Always, always use distilled water for these tests. Tap water can contain its own minerals and have a specific pH, which will throw off your results and could lead you down the wrong path when amending your garden.
Reading the color chart is usually pretty straightforward. For a pH test, a green result might mean your soil is neutral (around 7.0), while yellow suggests it's acidic and a dark green or blue points toward alkaline conditions. The nutrient tests work the same way, with colors indicating levels from "deficient" to "surplus."
While these kits are incredibly handy for a quick snapshot, think of the N-P-K results as a guide, not gospel. They tell you what's present in the soil, but not necessarily what's "plant-available." Still, they're excellent for flagging any major deficiencies.
If you want to get a better handle on your garden's immediate needs, you can explore how to test soil at home with easy DIY tips and gain some really valuable insights. These kits provide a solid starting point for any gardener wanting to truly understand their soil.
Going Pro: When to Send Your Soil to a Lab
While the DIY kits give you a fantastic snapshot, sometimes you need to pull out the microscope. A professional lab test is an unbeatable investment when you’re facing down a real head-scratcher.
Think about it. Are you starting a brand-new garden from scratch on unknown ground? Battling a mystery plant problem that just won’t quit, no matter what you try? Or maybe you just want the most precise, no-nonsense data you can get. This is when you call in the experts.
A lab test is the difference between a quick check-up and a full diagnostic screening for your soil. These reports go way beyond what at-home kits can deliver. They break down not just the big three (N-P-K) and pH, but also a whole range of micronutrients like zinc, iron, and manganese, plus your soil's organic matter content.
This kind of comprehensive view completely removes the guesswork.
How to Get a Professional Soil Test
The best place to start is usually your local university’s cooperative extension service. These folks are dedicated to helping home gardeners and farmers, and they offer affordable, high-quality soil testing that’s dialed in for your specific region. Just search for "[Your State] cooperative extension soil test," and you’ll be on the right track.
Once you find a lab, the process is pretty straightforward:
Get the Kit: Most labs will mail you a small kit that comes with a sample bag and a submission form.
Take Your Sample: You'll use the same composite method we talked about earlier—digging up soil from 8-10 different spots to create one mixed, representative sample.
Fill Out the Form (Don't Skip This!): This part is crucial. Be as detailed as you can. Tell them what you plan to grow. Are you dreaming of a vegetable garden? A lush lawn? Or maybe a bed of acid-loving blueberries? This context is what allows the lab to give you truly customized recommendations for amendments.
Mail It In: Just package it up as instructed and send it off. In a couple of weeks, you’ll get a detailed report back.
DIY Kit vs Professional Lab Test
Feeling torn between a quick home test and a full lab analysis? Here’s a detailed comparison to help you decide which soil testing route is right for your gardening goals and budget.

Ultimately, the best choice depends on your needs. For routine health checks, a DIY kit is a great tool. But for foundational planning or serious troubleshooting, nothing beats the precision of a professional lab.
The detailed report from a professional lab is your ultimate roadmap to a thriving garden. It doesn't just give you numbers; it gives you a precise, actionable plan to create the perfect soil environment for your plants.
If you want to dig even deeper into the pros and cons, be sure to check out our detailed guide on soil testing at home.
The value of this kind of detailed analysis is becoming more widely recognized, too. In North America alone, the soil testing, inspection, and certification market was valued at around USD 6 billion in 2023. That number, highlighted by market insights from Straits Research, shows a huge commitment to data-driven growing practices—a professional approach that’s just as valuable for the home gardener as it is for a large-scale farmer.
Putting Your Soil Test Results Into Action
Getting a soil test report back is like being handed a cheat sheet for your garden. But all that data is only useful if you know how to turn it into a real-world plan. This is where the work begins—translating those numbers into specific, actionable steps that will directly improve your garden’s health and productivity.
The first, and often most important, number to look at is the pH level. This single metric controls how well your plants can absorb every other nutrient in the soil. Even a garden swimming in nutrients can starve its plants if the pH has everything locked up.
Adjusting Your Soil pH
Most garden vegetables and flowers really hit their stride in a slightly acidic to neutral range, typically between 6.0 and 7.0. If your test shows a number outside this sweet spot, making adjustments is your top priority.
For Acidic Soil (Low pH): If your soil is too acidic (below 6.0), you need to "sweeten" it up. The most common and effective way is by adding lime. Powdered or pelletized limestone slowly raises the pH, making key nutrients like nitrogen and phosphorus much more available to plant roots. Wood ash can also do the trick, but use it sparingly—it works fast.
For Alkaline Soil (High pH): When your soil is too alkaline (above 7.5), you’ll need to lower the pH. Adding elemental sulfur is a reliable method, though it takes a little time for soil microbes to convert it into sulfuric acid. You can also incorporate organic matter like composted oak leaves or pine needles, which helps gently lower alkalinity over time.
Decoding and Addressing Nutrient Levels
Beyond pH, your report will break down the levels of the big three macronutrients—Nitrogen (N), Phosphorus (P), and Potassium (K). Your test will probably label these as "low," "adequate," or "high," giving you clear instructions on what to add—and just as importantly, what to leave out.
A "low phosphorus" reading, for example, is a direct signal to work in a source like bone meal or rock phosphate. These amendments are slow-release, perfect for building up this essential nutrient for strong root development and vibrant blooms.
On the flip side, if your report shows "high potassium," you now know to steer clear of fertilizers with a high "K" number, like many winterizer formulas or another dose of wood ash. Over-fertilizing can be just as damaging as under-fertilizing, leading to nutrient imbalances that stress your plants out.
A soil test doesn't just tell you what your garden is missing; it tells you what it already has in abundance. This knowledge prevents you from wasting money on unnecessary amendments and protects your plants from the stress of over-fertilization.
Once you have a clear picture of your soil’s composition, you can make smarter decisions everywhere. Understanding these nutrient levels is the first step toward unlocking lush growth with indoor plant fertilizer, since the principles of balanced plant nutrition apply whether you're gardening indoors or out.
Improving Your Soil Structure
Finally, your lab report might have a note on your soil's organic matter content or overall texture. Whether you're working with heavy, sticky clay or loose, fast-draining sand, the solution is almost always the same: add more compost.
Compost is the ultimate soil conditioner. For heavy clay soil, it forces the tiny particles apart, creating crucial channels for air and water that dramatically improve drainage. In sandy soil, it acts like a sponge, helping to retain the moisture and nutrients that would otherwise just wash away.
By combining the specific recommendations from your test with the universal benefits of organic matter, you build a complete strategy. For a more detailed walkthrough on amending different soil types, our guide on preparing garden soil offers practical next steps. Your test results give you the "what," and these techniques provide the "how."
Got Questions About Soil Testing? We've Got Answers
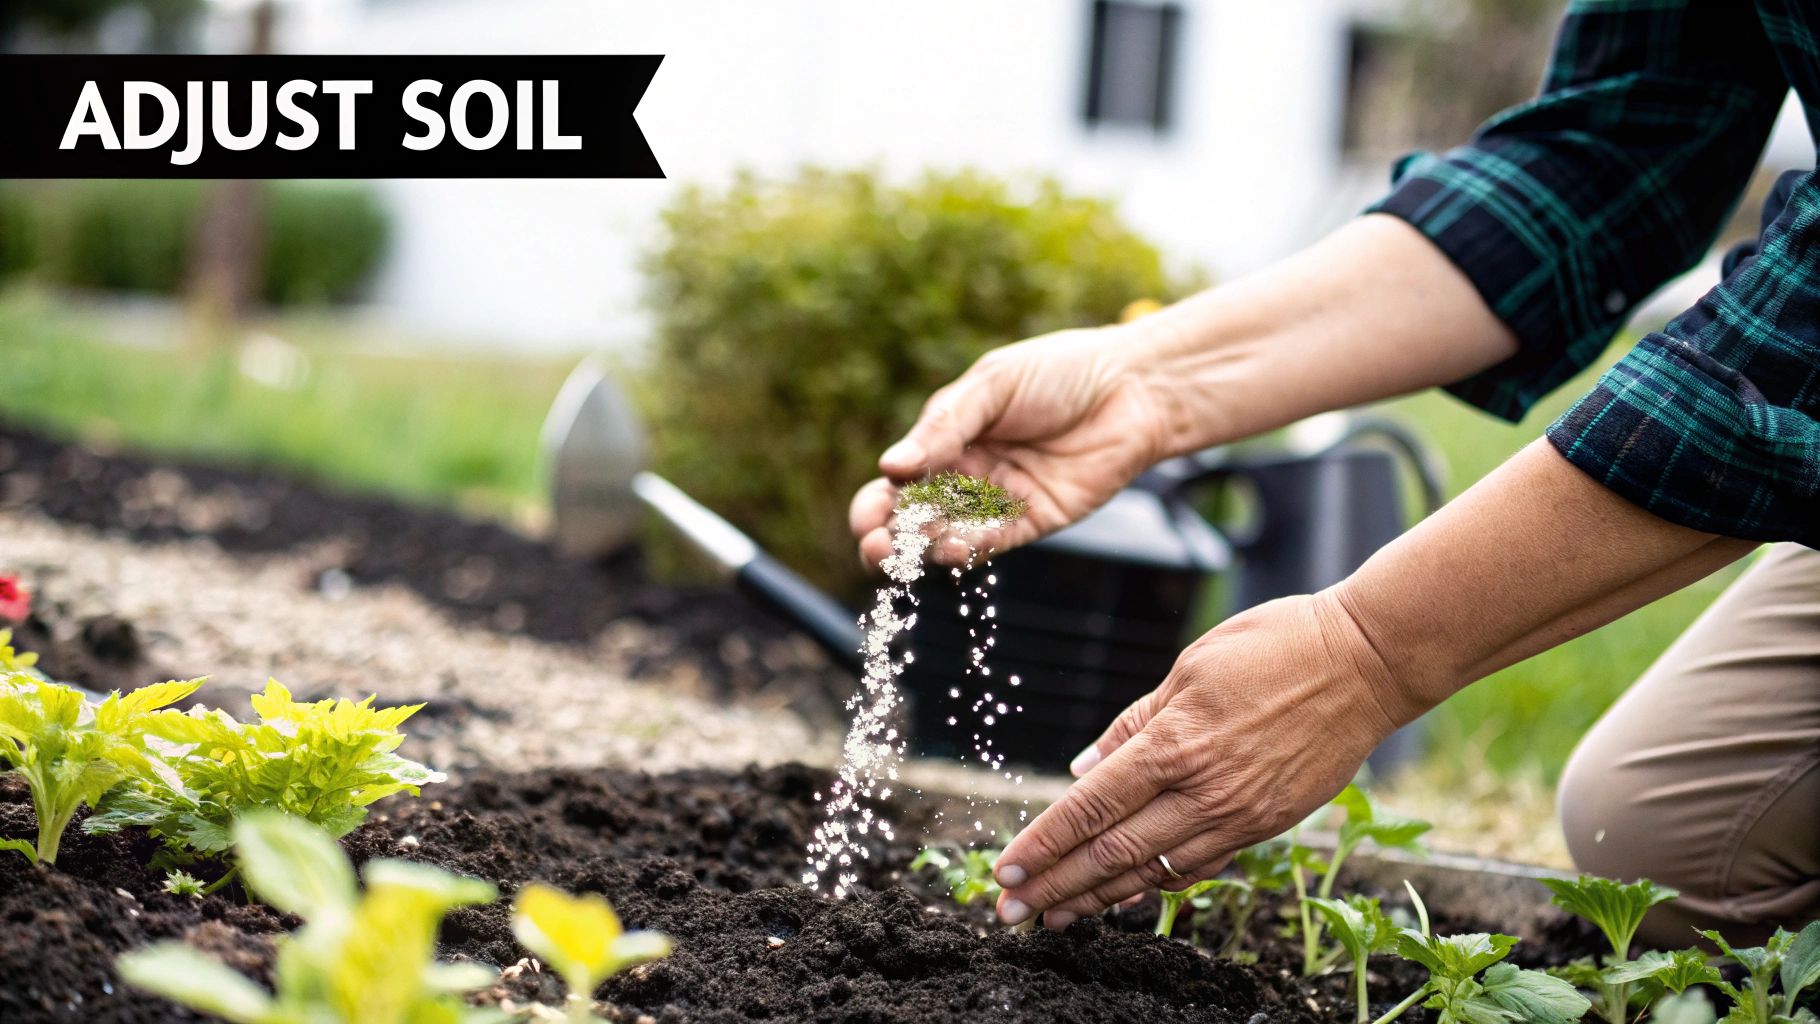
Even after you've learned the ropes of testing your garden soil, a few questions almost always pop up. It’s totally normal. Here are some quick, clear answers to the things gardeners most often ask.
How Often Should I Test My Garden Soil?
For an established home garden that’s doing pretty well, testing your soil every 2-3 years is a great rhythm. That’s frequent enough to catch any big shifts in pH or nutrient levels without going overboard.
But if you’re planning major changes, breaking ground on a new garden bed, or seeing trouble signs like yellow leaves or weak growth, testing annually is a smart move. It gives you the feedback you need, right when you need it.
Can I Use One Soil Test for My Entire Yard?
It's tempting to lump it all together, but that’s one of the biggest mistakes you can make. The soil in your vegetable patch has a completely different job—and a different history—than the soil under your lawn or in a flower bed.
For results that are actually useful, you have to collect separate samples for each unique area of your yard. Treating your whole property as one big zone will only get you vague advice that doesn't really help anything grow better.
What Is the Best Time of Year to Test Soil?
The sweet spots for soil testing are late fall, after the garden season has wrapped up, or in early spring before you put anything in the ground.
Testing at these times gives you a crucial window to add any amendments your soil needs. Things like lime or sulfur need time to work their magic, and this timing lets them fully integrate into the soil before the main growing season kicks off.
Just be sure to avoid testing soil that’s frozen solid or completely waterlogged—it’ll throw off your results every time.
Are DIY Soil Test Kits Accurate?
Those DIY kits you see at the garden center are fantastic for getting a quick, general read on your soil's pH and the main N-P-K nutrient levels.
While they don't have the laser-like precision of a professional lab, they are definitely accurate enough to help most home gardeners make basic soil improvement decisions. They’re great for flagging any major deficiencies or excesses so you can take action.
At The Grounded Homestead, we believe that understanding your soil is the first real step toward a garden that’s more productive and rewarding. For more tips on growing your own food and living a healthier lifestyle, explore our other resources. Learn more at The Grounded Homestead.


Facebook
Instagram
X
Youtube