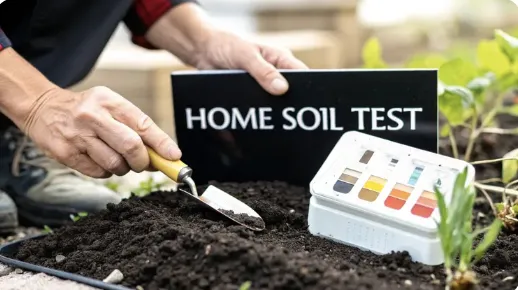
Your Guide to Soil Testing at Home
Your Guide to Soil Testing at Home
Ever wonder why your neighbor's garden seems to flourish with almost no effort while yours struggles? The secret isn’t some magic fertilizer or rare plant variety. It’s often hidden right beneath your feet, and soil testing at home is the key to unlocking it.
This isn't some complex chore reserved for scientists—it's the single most impactful step any gardener can take to solve frustrating problems and finally grow healthier, more vibrant plants.
Why Your Garden's Success Starts with Soil
Forget the guesswork and the money wasted on the wrong amendments. Understanding your soil's unique makeup is like getting a roadmap to a thriving garden, allowing you to give your plants exactly what they need to succeed. A simple test empowers you to work smarter, not harder.
Think of it like this: your soil is the foundation of a house. If that foundation is weak or out of balance, everything you try to build on top of it will struggle.
By testing, you replace assumptions with facts. This one simple action can be the difference between a garden that merely survives and one that truly thrives, producing healthier food and more brilliant blooms.
Maybe you've seen frustrating signs in your own garden—like yellowing leaves, stunted growth, or flowers that just won't bloom. These are often the symptoms of a deeper issue that a soil test can diagnose with surprising clarity.
Before you spend another dollar on generic "all-purpose" fertilizers, a quick soil test can tell you exactly what your garden needs—or, just as importantly, what it doesn't need. This targeted approach prevents you from accidentally harming your soil by adding too much of one nutrient, which can be just as damaging as having too little.
Take a look at how this simple diagnostic tool provides clear solutions to some of the most common gardening headaches.
How Home Soil Testing Solves Common Garden Problems
This table gives you a quick snapshot of how testing your soil provides clear solutions to frustrating garden issues, leading to tangible results.

By connecting the symptom to the source, soil testing moves you from a reactive gardener to a proactive one. You're no longer just treating problems as they appear; you're creating the conditions for success from the ground up.
Pinpoint Specific Garden Issues
Without a test, you're essentially gardening blind. You might see yellowing leaves and immediately assume it's a nitrogen deficiency. But what if the real problem is a pH imbalance that’s "locking up" the nitrogen already in your soil, making it unavailable to your plants? A soil test cuts right through the confusion.
Solve Nutrient Deficiencies: Identify exactly which of the "big three" nutrients—Nitrogen (N), Phosphorus (P), and Potassium (K)—are lacking so you can add the right amendments without overdoing it.
Correct pH Imbalances: Discover if your soil is too acidic or alkaline for the specific plants you want to grow. Blueberries love acidic soil, while lavender prefers it alkaline. This single piece of data is a game-changer.
Improve Soil Structure: While it's not a chemical test, the process of collecting samples encourages you to get your hands dirty and observe your soil's texture—is it sandy, clay, or a nice, rich loam? This is crucial for root growth and water retention. You can learn more by checking out our guide on preparing garden soil for planting.
This proactive approach is catching on far beyond backyard gardens. The global soil testing market was valued at USD 6.05 billion in 2024, with on-site equipment like home kits projected to grow even faster. This trend shows a clear shift toward data-driven soil management at all scales. If you're curious, you can find more information about this growing industry and its market dynamics.
Choosing the Right Soil Testing Method for You
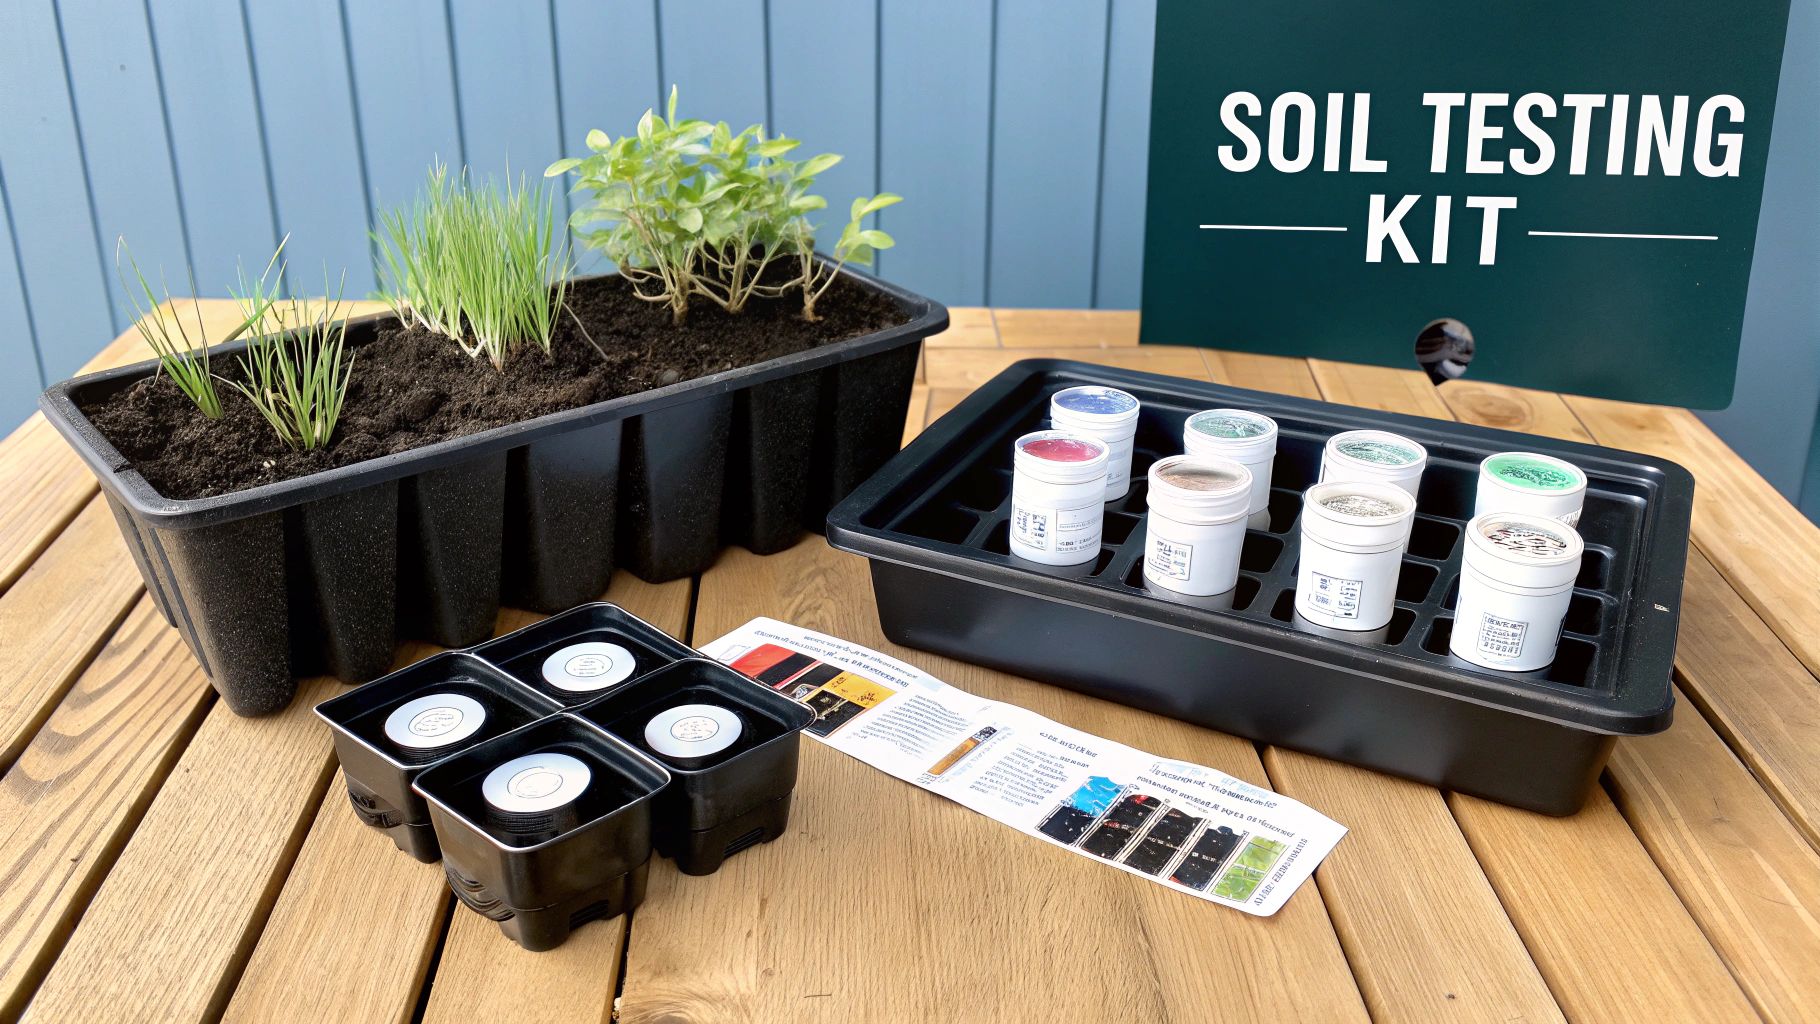
Not all soil tests are created equal. The best one for your garden really comes down to your goals, your budget, and what problems you’re trying to solve. Making the right choice upfront means you get information you can actually use without spending money on a test you don't need.
Let’s walk through the common options for soil testing at home so you can find the perfect fit for your situation.
The Simple DIY Jar Test for Texture
This is the most basic soil test you can do, and it costs nothing but a few minutes of your time. The "jar test" won't tell you about your soil's pH or nutrient levels, but it reveals something just as important: its texture.
By just shaking some soil and water in a jar and letting it settle, you can get a clear look at the ratio of sand, silt, and clay. This matters because a sandy soil drains lightning-fast and struggles to hold onto nutrients, while a heavy clay soil can turn into a waterlogged mess that suffocates plant roots.
Knowing your soil texture is the first step toward improving it with amendments like compost or peat moss. It’s the perfect starting point for any new gardener trying to understand the ground they’re working with.
At-Home Chemical Test Kits
This is probably what most people think of when they hear "soil testing at home." These kits are affordable, you can find them just about anywhere, and they give you quick results on your soil’s pH and the big three macronutrients: Nitrogen (N), Phosphorus (P), and Potassium (K).
These kits are fantastic for routine check-ups in an established garden or for figuring out common plant issues.
Scenario: Your tomato plants have yellowing lower leaves. An at-home kit could quickly point to a nitrogen deficiency, telling you it's time to add a nitrogen-rich amendment like blood meal.
Best For: Annual garden maintenance, troubleshooting common plant problems, and getting a general health snapshot of your soil.
The popularity of these kits for home gardeners is no surprise. The global market for soil testing kits is growing fast, with forecasts showing a compound annual growth rate of 10.3% from 2025 to 2035. This boom is driven by a demand for immediate, reliable soil diagnostics. You can see more data about this expanding market on Research Nester.
When to Send a Sample to a Lab
While home kits are great, they do have their limits. A professional lab analysis is the most thorough option you can get. It provides a detailed breakdown of pH, N-P-K, organic matter content, and a full suite of micronutrients like zinc, iron, and boron.
A lab test is your best friend when you're dealing with stubborn, mysterious issues that a basic test just can't explain. If your plants are struggling despite your best efforts, a lab report can uncover the hidden cause.
Think about sending a sample to a lab if you are:
Starting a large-scale garden or small farm.
Dealing with consistent crop failure or poor yields year after year.
Worried about potential contaminants, especially in urban or previously industrial soil.
The detailed report you get back can look a bit intimidating at first, but it gives you precise, science-backed recommendations for amending your soil. It takes all the guesswork out of the equation. It's a small investment for a huge return in garden productivity and peace of mind.
How to Collect a Perfect Soil Sample
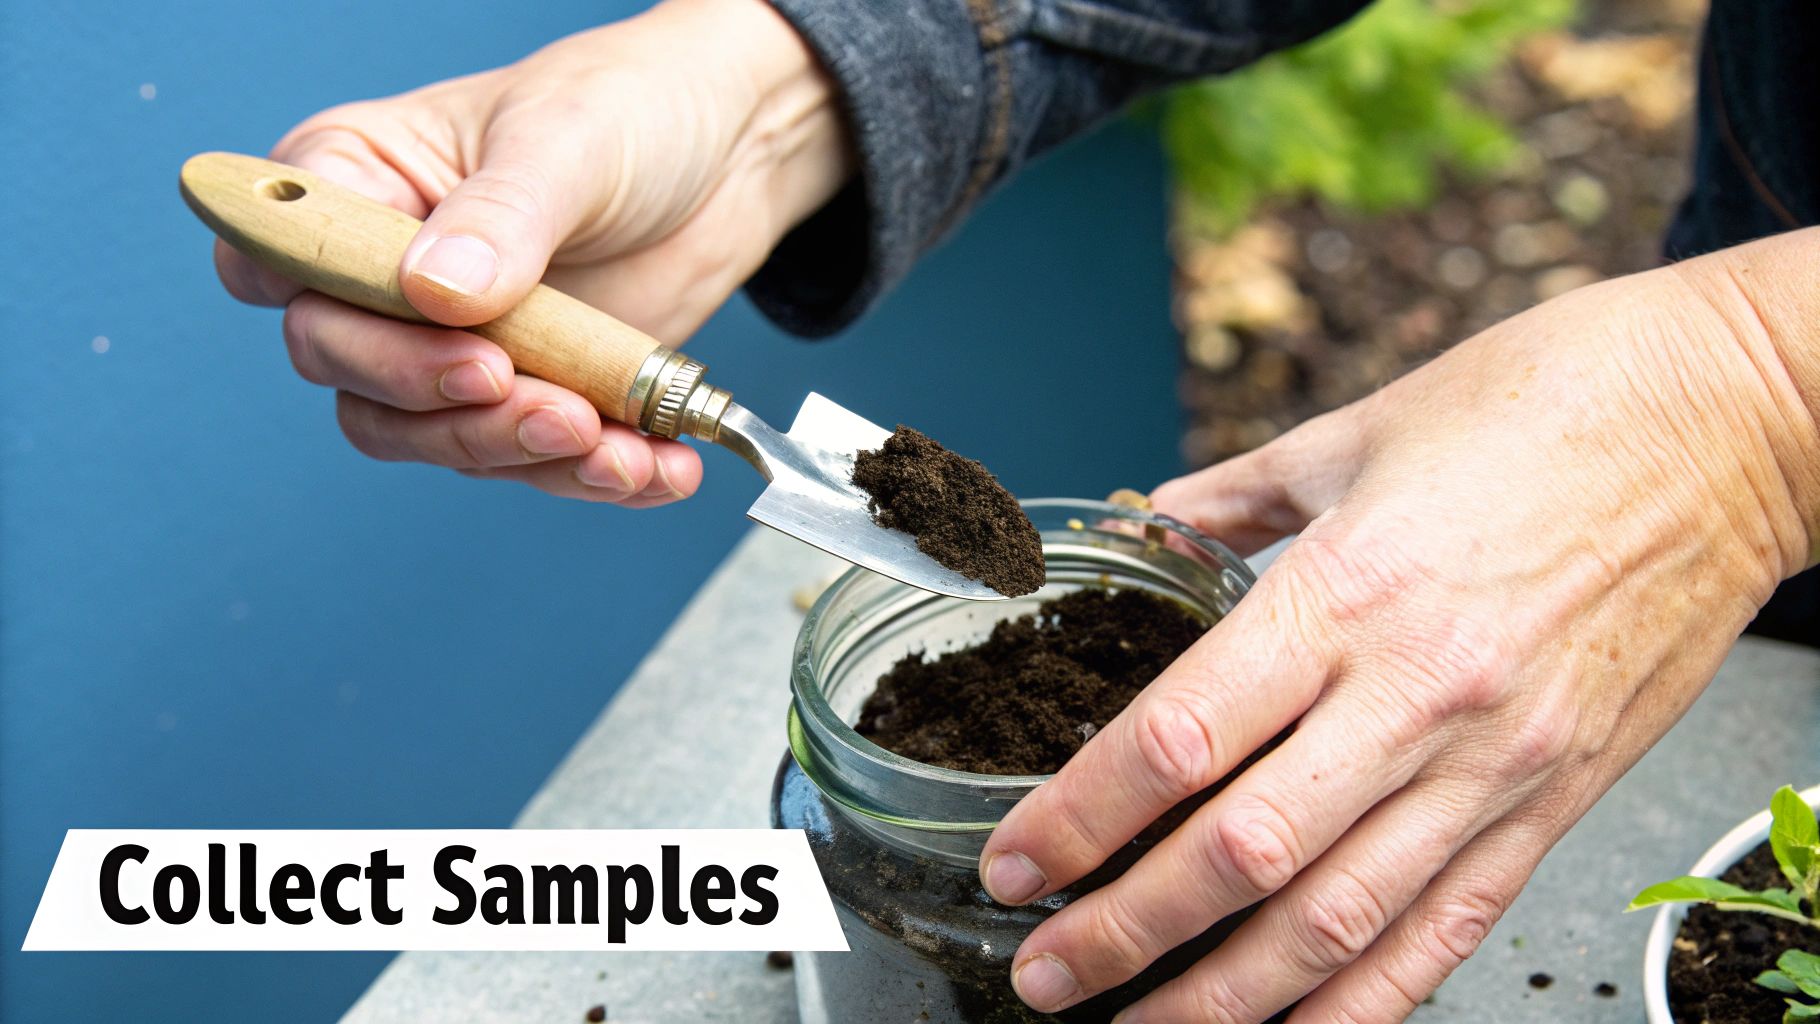
Any soil test at home is only as good as the sample you send it. This is a classic case of "garbage in, garbage out." Taking a few extra minutes to collect your soil the right way makes sure the data you get back is a true reflection of your garden—making the whole effort worthwhile.
The good news? You don’t need any fancy equipment. A clean bucket, a garden trowel, and a few minutes are all it takes to get a sample that will deliver reliable, actionable results.
Assemble Your Simple Toolkit
Before you head out to the garden, grab your supplies. The most important rule here is cleanliness. Any leftover residue from old fertilizers, soil amendments, or even rust can contaminate your sample and throw off your results.
Your soil collection kit should include:
A Clean Plastic Bucket: Steer clear of galvanized or rusty metal buckets. Zinc and iron can leach into your soil and skew the numbers. A simple plastic pail is perfect.
A Clean Trowel or Spade: Stainless steel is ideal, but any well-cleaned, rust-free tool will do the job. Just give it a good rinse and dry it off before you start digging.
A Ziplock Bag: This is for storing and labeling your final, mixed sample.
With these simple tools in hand, you’re ready to get a sample that truly represents what’s going on in your garden soil.
Think of yourself as a detective gathering evidence. A single scoop from one spot won't tell the whole story. The goal is to create a 'composite sample'—a well-mixed blend from multiple locations that provides an accurate average of the entire area.
Create a Representative Composite Sample
A single sample from one spot is just a snapshot; a composite sample gives you the full picture. For a standard garden bed or lawn area, your goal is to collect soil from 5 to 8 different spots.
Walk in a zigzag pattern across the area you plan to test. At each point, clear away any surface stuff like grass, mulch, or leaves. Then, grab your trowel and dig a small, V-shaped hole down to the correct depth.
Getting the depth right is critical, and it changes based on what you’re growing:
For Lawns and Perennials: Dig down about 4 to 6 inches. This is the primary root zone where these plants do most of their feeding.
For Vegetable Gardens and Annuals: You'll want to go a bit deeper, around 6 to 8 inches. Plants like tomatoes and corn send roots further down into the soil.
From one side of each V-shaped hole, take a uniform slice of soil about an inch thick. Toss all of these slices into your clean plastic bucket. Once you've collected soil from all your spots, mix everything in the bucket together thoroughly. This blend is your composite sample.
From this bucket, pull out one or two cups of the mixed soil. If it’s wet, spread it out on a newspaper to air dry for a bit. Then, put it in a ziplock bag and label it. This is the sample you’ll use for your home test kit or send off to the lab.
Finally, a few common mistakes can really mess things up. Don't take samples from weird spots, like right next to a compost pile, in a low area where water puddles, or too close to a driveway. Also, make sure to wait at least 4 to 6 weeks after applying any fertilizer before you test. Follow these simple rules, and you’ll start your soil testing journey on the right foot.
Using a Home Soil Test Kit Like a Pro
With your composite soil sample ready, it’s time to get your hands dirty with the actual test. Opening a home soil test kit can feel a bit like a throwback to high school chemistry class, but don't worry. Once you get the hang of it, the process is pretty straightforward. I'll walk you through a few practical tips to make sure you get reliable results every time.
First things first: prep your soil. Most kits need the soil to be completely dry and free of any extra stuff like roots, pebbles, or bits of mulch. If you haven't already, spread your sample out on a piece of newspaper or a paper plate and let it air-dry overnight. This is a crucial step because any excess moisture can dilute the chemical reactions and throw off your readings.
Following the Kit's Instructions
Every test kit is a little different, but they all operate on the same basic principle. You’ll mix a small amount of your prepared soil with water and a reagent, which usually comes in a little powder-filled capsule. Shake it up, and then wait for the color to develop.
The instructions will give you exact ratios for soil and water—follow them to the letter. I’ve seen people just eyeball it, but using too much or too little soil will definitely skew your results and give you a false picture of your garden's nutrient levels.
A common mistake I see is rushing the process. The kit will specify how long to wait for the colors to fully develop, which is usually between 5 and 10 minutes. Set a timer and be patient. Checking the results too early is a surefire way to misread them.
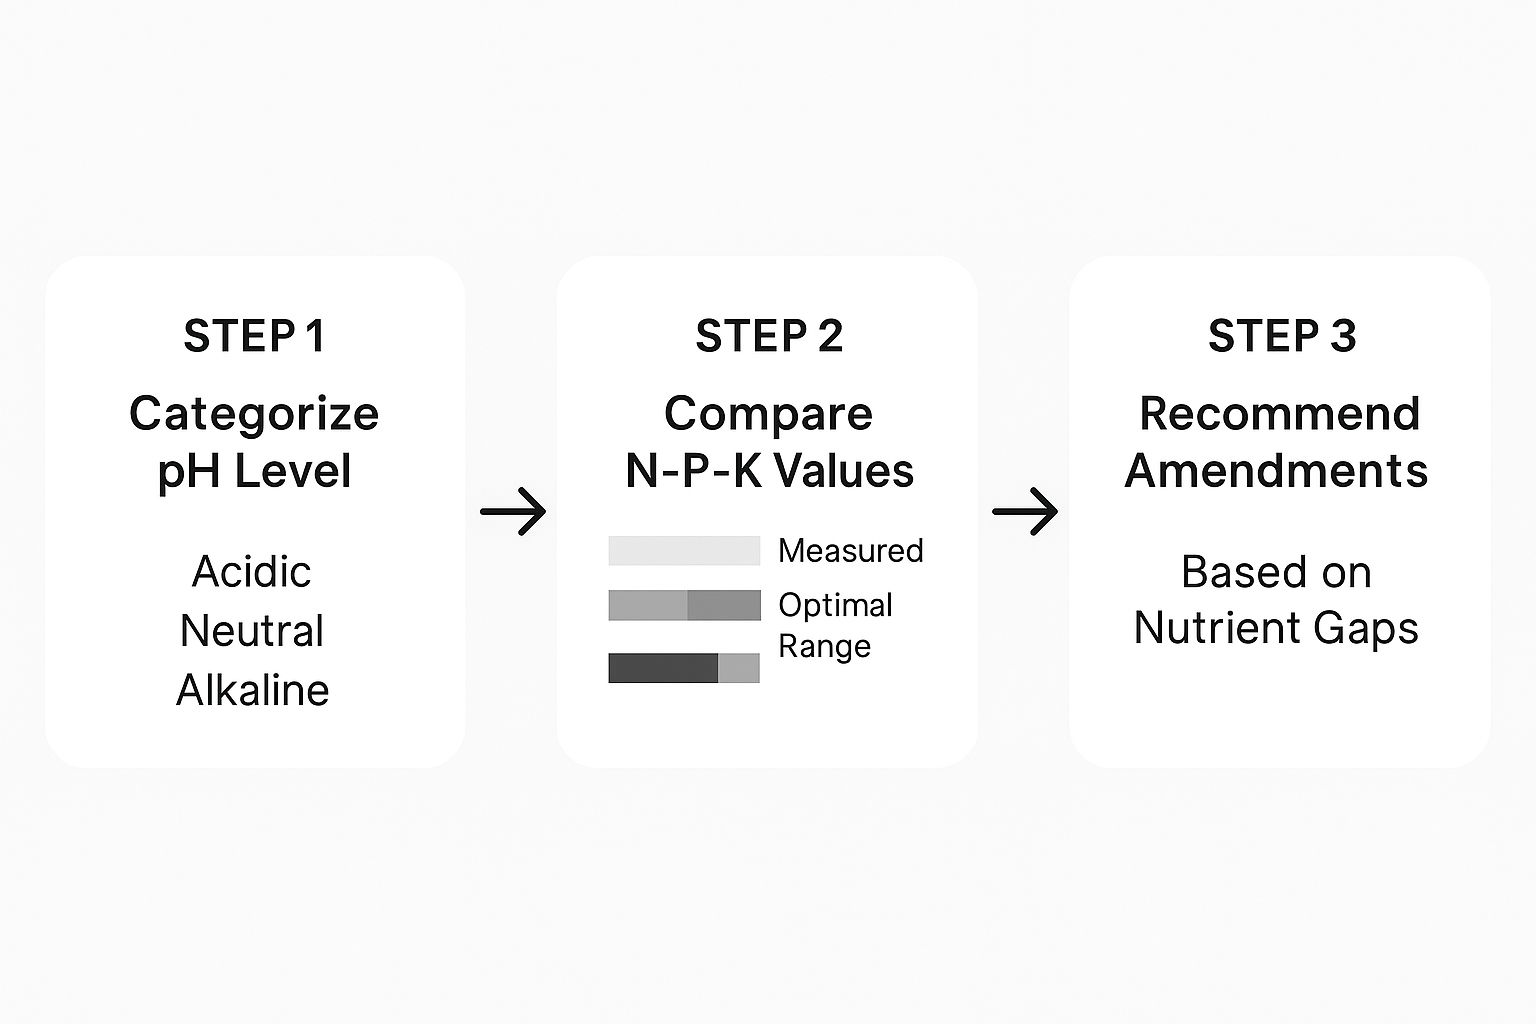
The heart of these kits is the visual comparison system. It’s a simple but effective way to get quick, actionable information on your soil’s pH, nitrogen, phosphorus, and potassium levels without needing any complex lab equipment.
Getting a Clear and Confident Reading
This is where many new gardeners get a little stuck. Telling the difference between subtle shades of green for nitrogen or blue for phosphorus can feel like a guessing game. It doesn't have to be.
Here are a few tricks I've learned over the years to make it much easier:
Find Natural Daylight: Don't try to read your results under the warm, yellow glow of indoor lights. Take your vials over to a window with bright, indirect sunlight. This gives you the truest color representation.
Use a White Background: Hold your color comparator chart up against a plain white sheet of paper. This simple trick creates a neutral background that makes the colors in your vial pop, so matching them to the chart is much more accurate.
Get a Second Opinion: Still unsure? Just ask someone else to take a look. A fresh set of eyes can often spot the correct match right away.
The growing popularity of home kits and lab services is part of a larger trend. The soil testing market in North America is expanding, partly because regulations now require testing for a huge portion of farmland—about 75% in the U.S. in 2023. You can learn more about how regulations and soil health awareness are driving this market if you're curious about the bigger picture.
Once you have your results, the next step is turning that data into an action plan for your garden. Address the pH first, then tackle any nutrient gaps one by one. This methodical approach ensures you're giving your plants exactly what they need to thrive.
Turning Your Soil Test Results into Action
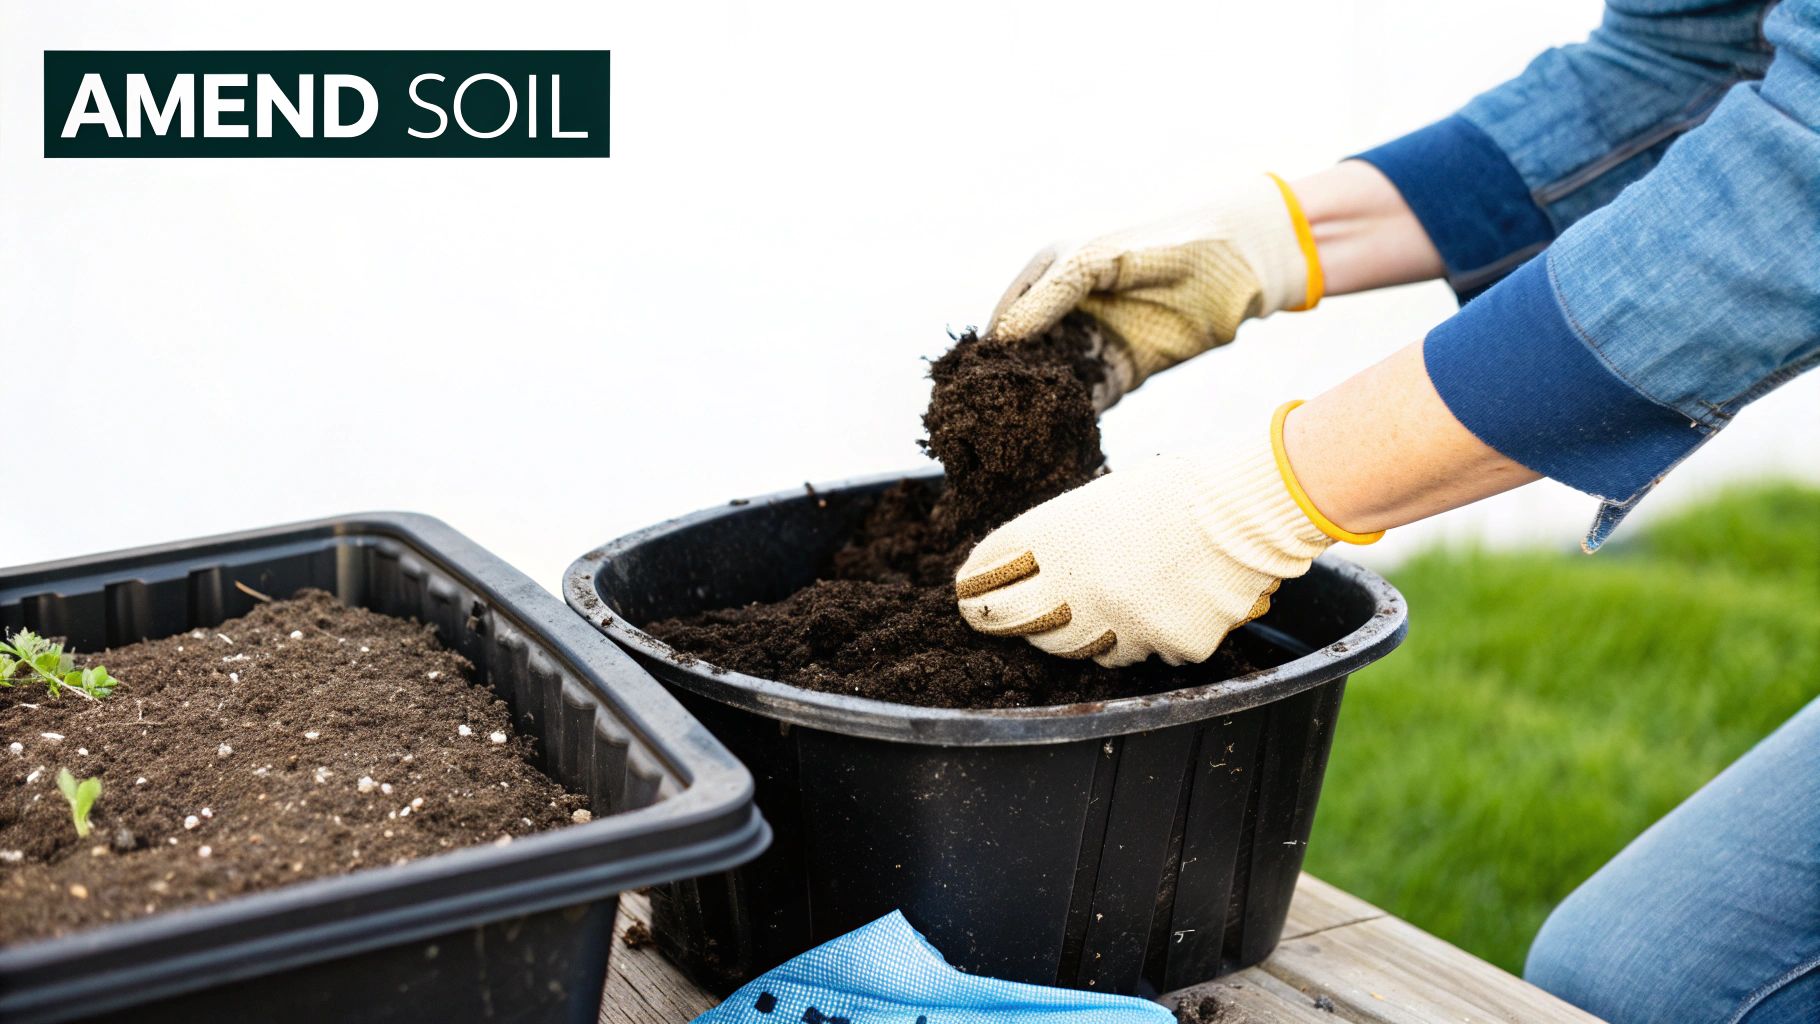
Getting results from your soil testing at home is just the start. The real work—and the real magic—happens when you turn those numbers into a plan. Think of those colors and readings from your kit as a direct message from your garden. It’s time to translate that message into healthy, productive soil.
Your first and most important result is pH. This single number dictates which nutrients your plants can actually use, no matter how much compost you add. Think of pH as the gatekeeper to your garden's pantry. If the gate is locked (meaning the pH is way too high or low), your plants can starve even when surrounded by a feast.
Decoding Your Soil's pH Level
Most garden vegetables and flowers thrive in a slightly acidic to neutral pH range, typically somewhere between 6.0 and 7.0. Once you drift too far outside that sweet spot, nutrient availability takes a nosedive. Your home test kit will likely classify your soil’s pH as acidic, neutral, or alkaline.
Here’s what that means in the real world:
Acidic Soil (pH below 6.5): This is fantastic if you're trying to grow blueberries, azaleas, or potatoes. For most other veggies, though, acidic conditions can unlock toxic levels of aluminum and manganese while tying up essential nutrients like phosphorus and magnesium.
Alkaline Soil (pH above 7.5): Plants like lavender, lilacs, and clematis don't mind alkaline soil. But for your tomatoes, peppers, and beans, a high pH makes iron and manganese unavailable. This often leads to yellowing leaves, a classic sign of chlorosis.
To fix the pH, you’ll add specific soil amendments. If your soil is too acidic, you'll need to add lime to raise it. If it's too alkaline, adding elemental sulfur or working in acidic organic matter like pine needles or peat moss will help lower it over time.
Correcting your soil's pH is the most critical first step you can take. It's like tuning an old radio to the right station. Once the pH is balanced, your plants can finally hear all the nutrient signals you’re sending them.
The N-P-K Numbers Explained
Next up are the "big three" macronutrients: Nitrogen (N), Phosphorus (P), and Potassium (K). Your test kit will show if your soil is deficient, adequate, or has a surplus of these key players. Each one has a distinct, vital job to do.
Nitrogen (N): This is the engine for lush, leafy growth. If your spinach, lettuce, or lawn looks pale and seems to be growing in slow motion, a nitrogen deficiency is a very likely culprit.
Phosphorus (P): Think of phosphorus as the fuel for strong roots, vibrant flowers, and healthy fruit. Low phosphorus often shows up as stunted plants, weak root systems, and a disappointing lack of blooms or vegetables.
Potassium (K): This nutrient is like the plant's immune system. It helps regulate water, strengthens cell walls, and boosts resilience against drought, disease, and pests.
Once you know what’s missing, you can pick the right fix. For example, if your test shows low phosphorus, a targeted addition of bone meal gives your plants exactly what they need without overloading them on other nutrients. This focused approach is a huge part of building the best soil for growing vegetables and other productive plants.
The table below gives you a quick-reference guide for matching common soil amendments to your specific test results. Use it to choose the right solution for your garden's unique needs.
Matching Soil Amendments to Your Test Results
Use this quick-reference table to find the right organic and conventional solutions for common soil imbalances revealed by your test.

Choosing the right amendment based on your test results ensures you’re giving your soil exactly what it needs to thrive. This isn’t just about fixing a problem; it’s about building a healthier, more resilient garden from the ground up.
Common Questions About Soil Testing at Home
Even with a solid plan, a few questions always seem to pop up when you're digging into a new gardening technique. Let's run through some of the most common things people ask about soil testing at home. Getting these cleared up will help you get the most accurate, useful results possible.
How Often Should I Really Test My Soil?
For an established garden or lawn that seems to be doing fine, testing every 2 to 3 years is a good rhythm. This keeps you ahead of any slow-moving changes, like nutrient depletion or a gradual pH shift, without making extra work for yourself.
That said, some situations call for a closer look. You should plan on testing annually if you're:
Starting a brand new garden bed from scratch.
Wrestling with a stubborn problem area where plants just won't thrive.
Growing heavy feeders like tomatoes, corn, or squash that can strip nutrients from the soil in a single season.
In these spots, an annual test gives you a much clearer, more immediate picture of what your soil needs so you can make adjustments right away.
Can I Use One Test for My Entire Yard?
It’s really tempting to mix soil from all over your property into one big sample, but it’s a shortcut I’d advise against. The soil in your front lawn, your backyard vegetable patch, and your perennial flower beds have completely different histories and demands.
Think about it: your lawn probably gets a different fertilizer than your vegetable garden. Mixing those soils together would give you an average result that isn't really true for either spot.
Here's a simple pro tip: Treat each distinct area as its own "zone." Collect one composite sample for your lawn, another for the veggie beds, and a third for any major flower gardens. Just make sure to label your sample bags clearly—'Front Lawn,' 'Veggie Patch,' 'Rose Bed'—so you can keep the results straight.
Are Home Soil Test Kits Actually Accurate?
This is a great question, and the short answer is yes—they are definitely accurate enough for the decisions most of us make in our home gardens. A good DIY kit will give you a reliable ballpark reading for your soil's pH and the main macronutrients (N-P-K).
Often, that's all the information you need to make a big, positive change. For instance, finding out your soil is highly acidic and low on nitrogen is a clear signal to add some lime and a nitrogen-rich amendment. You can find some great organic options in our guide to the best natural fertilizer for vegetables.
A professional lab test will always give you a more precise and detailed analysis, but for a fraction of the cost, a home kit provides excellent, actionable data. For routine check-ups and solving common garden problems, it’s an incredibly valuable tool to have on hand.
At The Grounded Homestead, we believe that understanding your soil is the first step toward a more productive and rewarding garden. We're here to provide the knowledge you need to grow healthier food, right at home. https://thegroundedhomestead.com


Facebook
Instagram
X
Youtube