How to Can Tomato Sauce Safely at Home
How to Can Tomato Sauce Safely at Home
There’s something deeply rewarding about preserving the best flavors of summer. Canning your own tomato sauce might sound like a huge undertaking, but it's a satisfying process that connects you to generations of self-sufficiency.
Imagine pulling a jar of vibrant, sun-ripened tomato sauce from your pantry in the middle of winter—a sauce you made yourself. That’s the magic we’re bottling up today.
This guide is designed to walk you through the entire process, step by step. We're focusing on the safest, most reliable methods approved by food preservation experts. By the end, your pantry will be stocked with food that’s not just delicious, but completely safe to enjoy.
Why Acidity Is So Important
The single most important rule in safely canning tomatoes is understanding acidity. While tomatoes are naturally acidic, their pH level can be all over the place depending on the variety, how ripe they are, and even the soil they grew in.
For water bath canning—the simplest method we'll use here—your food must have a high acid level (a pH of 4.6 or lower). This prevents the growth of nasty bacteria, specifically Clostridium botulinum, which can cause botulism.
Since we can’t test every single tomato, we stick to one simple, non-negotiable rule: always add bottled lemon juice or citric acid. This tiny step is your guarantee that the sauce is acidic enough for safe canning.
Water Bath vs. Pressure Canning
You'll hear two terms thrown around in the canning world, and it's crucial to know which one to use.
Water Bath Canning: This is where you submerge sealed jars in boiling water for a specific amount of time. It’s only safe for high-acid foods like fruits, pickles, and properly acidified tomatoes.
Pressure Canning: This method uses a special canner that heats jars to a temperature hotter than boiling water (240°F or more). This is the only safe method for low-acid foods like plain vegetables, meats, and soups.
For a basic tomato sauce without adding low-acid ingredients like onions or peppers, water bath canning is the perfect place to start. It requires less specialized equipment and is a fantastic gateway into the world of home preservation.
Before we dive into the step-by-step process, here’s a quick look at the journey from tomato to shelf-stable sauce.
Tomato Sauce Canning At a Glance
This table breaks down the entire process into clear stages, so you know exactly what to expect at each step.

This table is your roadmap. Now, let’s get into the details.
This guide will walk you through every step of the water bath method for a simple, delicious tomato sauce. If you get hooked and want to learn more about preserving other garden goodies, our guide to canning vegetables for beginners is a great next step for expanding your skills. Let's get started on stocking that pantry.
Gathering Your Canning Equipment and Ingredients
Before a single tomato hits the chopping board, a successful canning day starts with getting your kitchen in order. Knowing how to can tomato sauce is just as much about having the right tools on hand as it is about the recipe. Think of it as setting up your workshop; a little organization upfront saves you from scrambling when you’re juggling pots of bubbling sauce and rows of hot jars.
Essential Canning Hardware
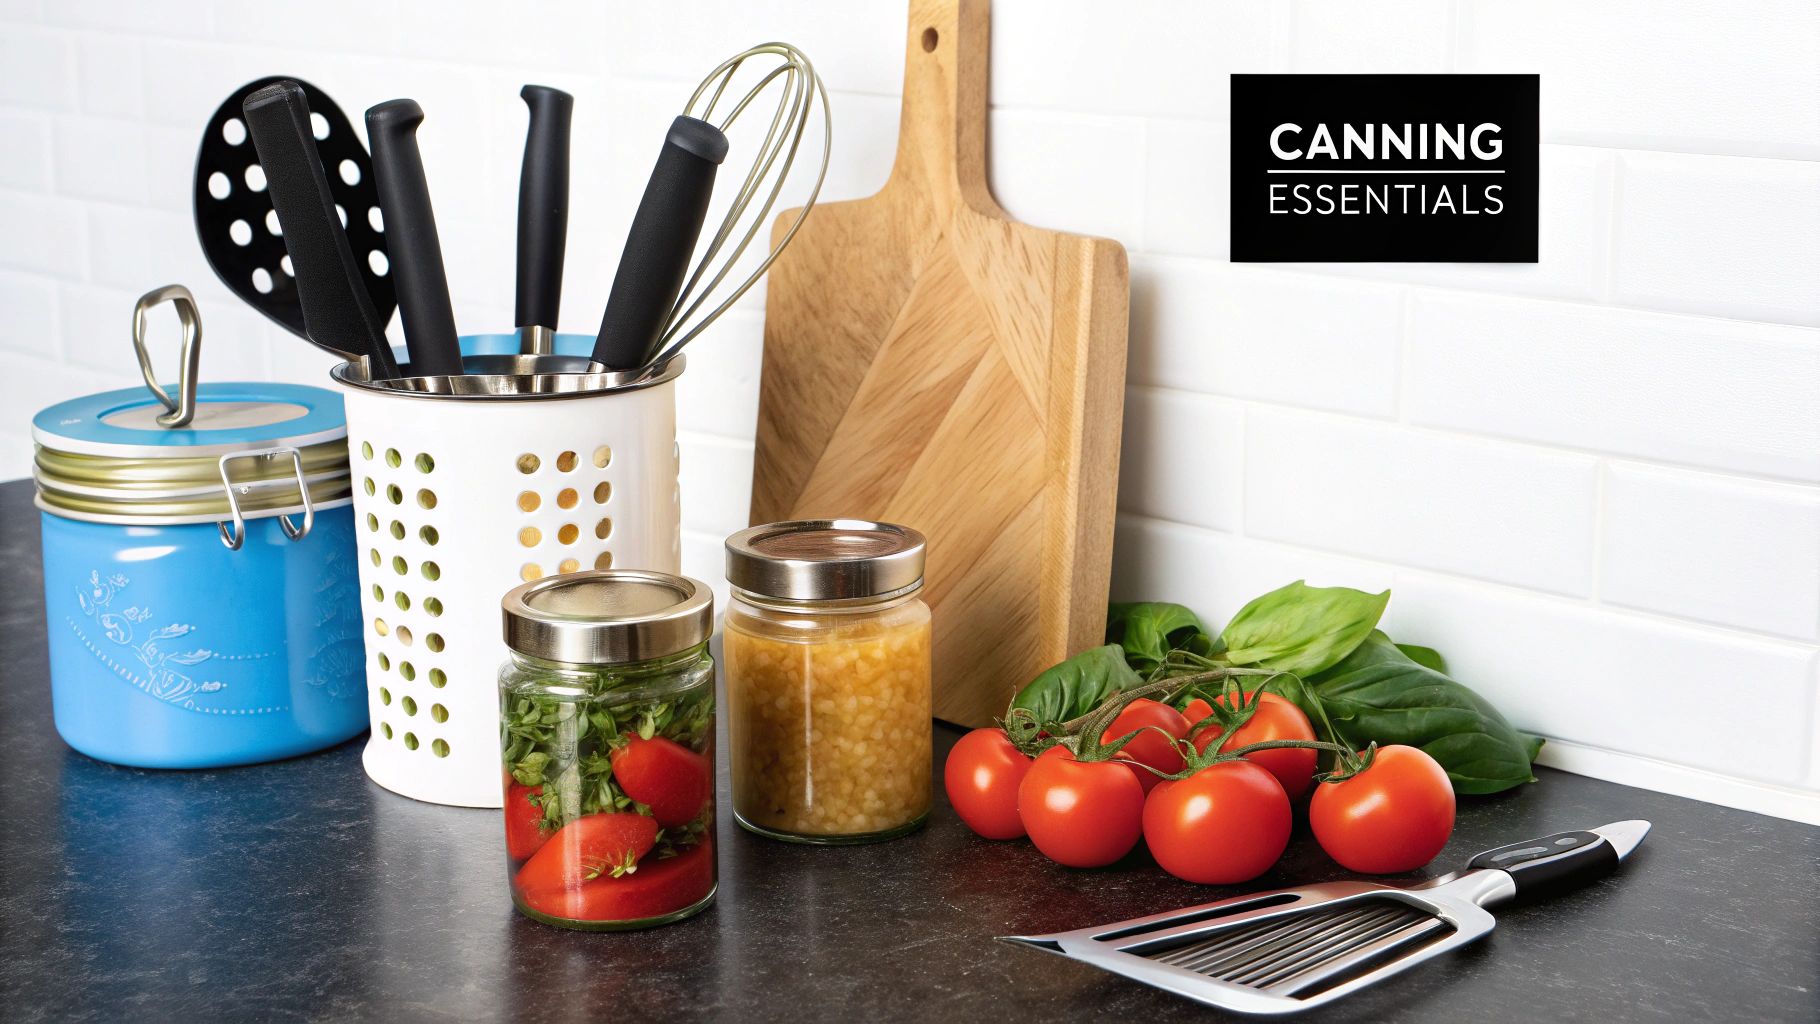
You don't need a commercial kitchen, but a few key pieces of equipment are non-negotiable for doing this safely and efficiently. These are the tools you absolutely must have before you start.
A Water Bath Canner or Large Stockpot: This is the heart of your operation. A dedicated water bath canner is fantastic because it’s deep and comes with its own rack. But don't worry if you don't have one—any big stockpot will do the trick, as long as it’s deep enough to cover your jars with at least one inch of water. Just be sure to put a rack or even a folded towel in the bottom to keep the jars from cracking against the direct heat.
Canning Jars, Lids, and Bands: Only use jars specifically made for canning. Give every single one a quick inspection for nicks or cracks that could compromise the seal. While you can reuse the jars and screw bands for years, the flat lids are a one-time-use item. You have to start with brand-new lids for every single batch to guarantee a strong, safe seal. No exceptions.
A Jar Lifter: This isn't a suggestion; it's a must-have. This simple tool is the only safe way to move hot, heavy jars in and out of boiling water. Its rubberized grips hold the jars securely, preventing the kind of slips that lead to serious burns.
Tools That Make Life Easier
Beyond the absolute essentials, a few other tools can make your workflow so much smoother. Honestly, I wouldn't can without my canning funnel—it’s a small investment that saves a ton of messy cleanup around the jar rims.
A food mill is another game-changer. It quickly separates seeds and skins from the pulp, saving you hours of tedious peeling and coring by hand.
Pro Tip: If you don't have a food mill, you can still get a silky-smooth sauce. Just blanch your tomatoes in boiling water for about 60 seconds, then immediately plunge them into an ice bath. The skins will slip right off, and then you can core and chop them before cooking them down.
Choosing the Best Tomatoes
The type of tomato you pick has a huge impact on the final consistency and flavor of your sauce. You can technically use any tomato, but some varieties are just built for sauce.
Paste tomatoes are the gold standard here. Varieties like Roma, San Marzano, and Amish Paste are perfect because they have meaty flesh, fewer seeds, and a much lower water content. This means your sauce will thicken up faster and have a richer, more concentrated flavor without needing hours of extra simmering.
The Most Important Ingredient for Safety
Now for the one ingredient that is absolutely not up for debate: acid. To safely can tomato sauce using a water bath method, you have to guarantee its acidity is at a pH of 4.6 or lower.
Because the natural acidity of tomatoes can vary wildly depending on the variety and growing conditions, you must add a standardized acid to every single jar.
Bottled Lemon Juice: Add 1 tablespoon per pint jar or 2 tablespoons per quart jar. It has to be bottled, not fresh, because its acidity level is consistent and tested.
Citric Acid: Add ¼ teaspoon per pint jar or ½ teaspoon per quart jar.
This isn't a flavor choice; it's a critical safety measure. With the growing popularity of home canning, it's more important than ever to stick to tested practices. You can see this trend in the larger market, too. The global demand for processed tomato products is booming, with the market projected to grow from 48.5 million metric tons to 64.6 million by 2033. You can explore more data on the global tomato processing industry to see just how big this is getting. With so many people getting into preserving, following the science is what keeps everyone safe.
Getting Your Tomatoes Ready for the Sauce Pot
This is where the real work—and the real magic—begins. We're about to turn a heaping crate of fresh, ripe tomatoes into jars of rich, flavorful sauce that will taste like summer in the middle of winter. Honestly, the care you take right now is probably the most important part of the whole process. It directly impacts the flavor, quality, and safety of every single jar you put up.
It all starts with clean, blemish-free tomatoes. Give them a good rinse under cool running water to get any garden dirt off. From there, we’ll jump into peeling and cooking them down.
The Easiest Way to Peel a Tomato
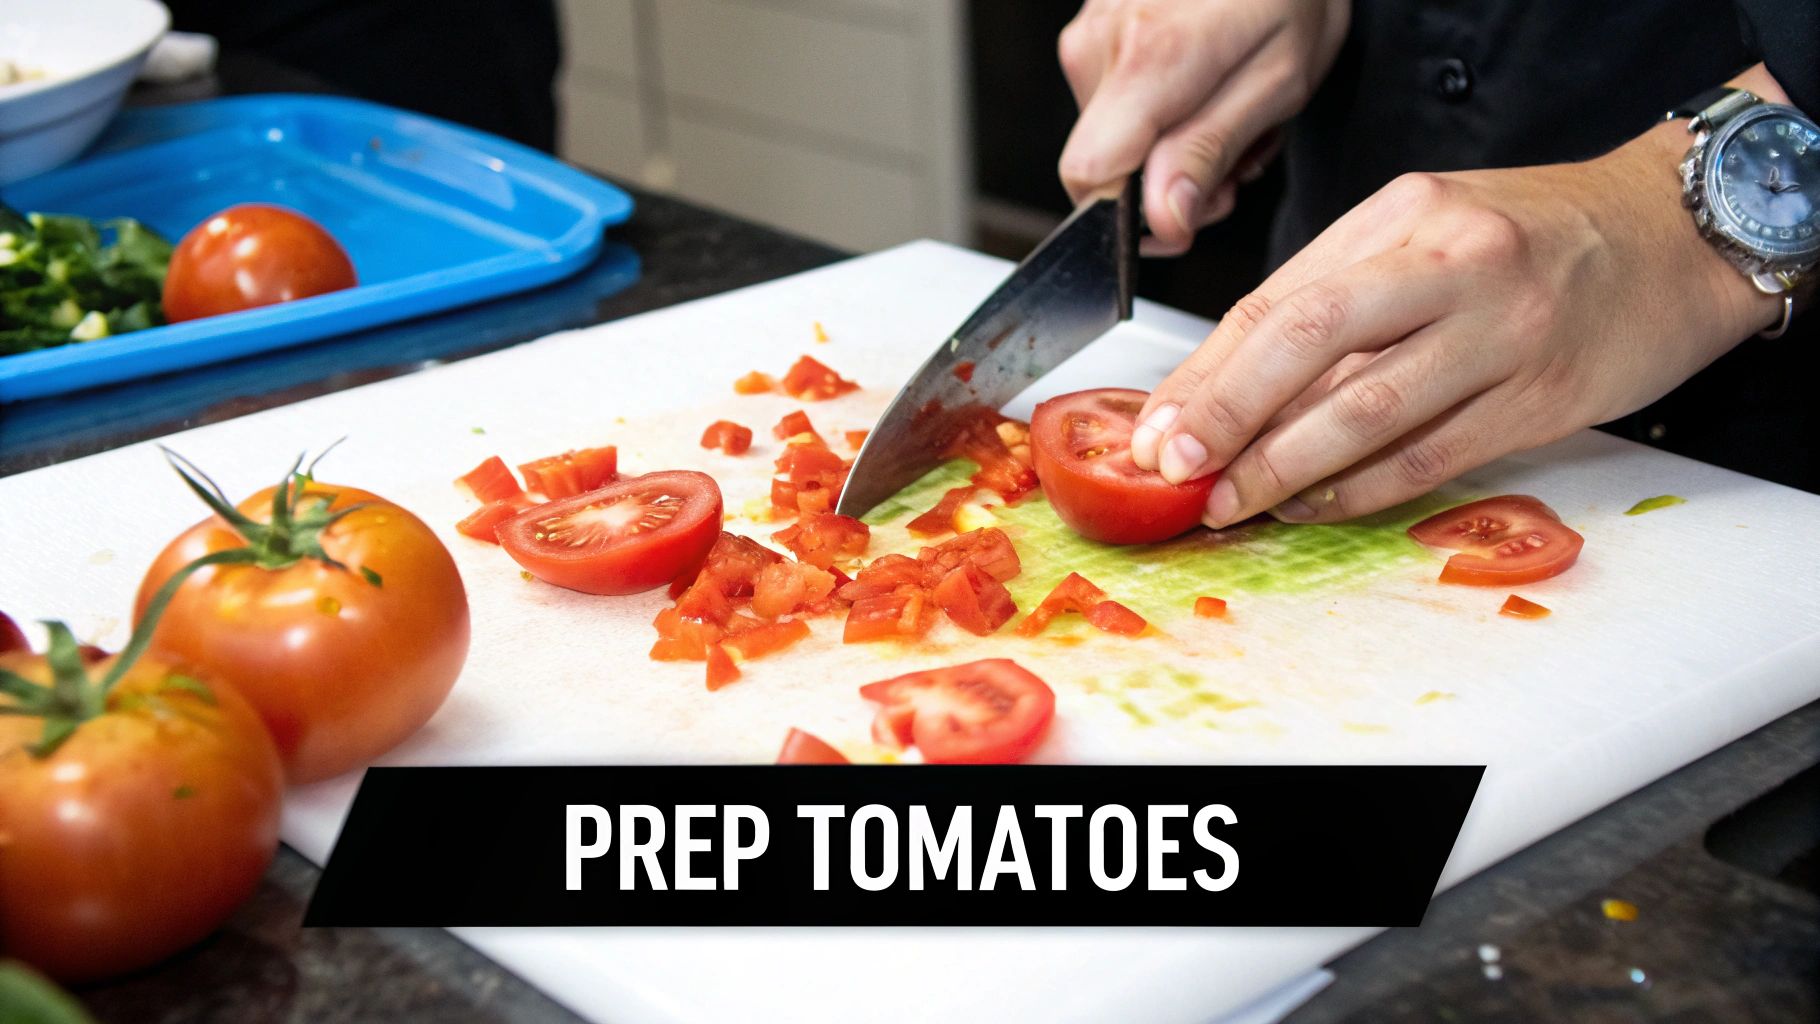
You can leave the skins on, but if you're after a smooth, refined sauce, peeling is the way to go. Forget trying to wrestle with a vegetable peeler; the absolute fastest method is blanching.
It’s a simple trick that uses a quick temperature shock to loosen the skins so they practically slide right off. It’s a game-changer when you have a big batch to get through.
Set Up Your Stations: First, get a large pot of water to a rolling boil. Right next to it, fill a big bowl (or a clean sink) with ice and cold water.
Score the Tomatoes: Using a small paring knife, cut a shallow "X" on the bottom of each tomato. This little cut gives the skin a perfect place to start splitting.
Blanch and Shock: Carefully lower a few tomatoes at a time into the boiling water. It only takes about 30 to 60 seconds—you'll see the skins around the "X" start to curl back. As soon as that happens, use a slotted spoon to move them straight into the ice bath.
Peel and Core: Once they're cool enough to handle, the skins will slip right off. After peeling, just use your paring knife to slice out the tough core where the stem was.
Cooking the Sauce Down
With your tomatoes all prepped, it's time to get them simmering. The goal here is pretty simple: break down the pulp, let the excess water evaporate, and concentrate all that incredible tomato flavor.
Toss your peeled and cored tomatoes into a large, heavy-bottomed pot. Stainless steel or enameled cast iron works best. You'll want to avoid reactive materials like aluminum, which can give your sauce an unpleasant metallic taste. Bring everything to a boil, then immediately reduce the heat to a steady, gentle simmer.
The longer you let it simmer, the thicker and richer your sauce will be. I usually aim for 1 to 2 hours, or until the sauce has reduced by about half. Just be sure to give it a stir every so often to keep it from scorching on the bottom.
A Safe and Simple Tomato Sauce Recipe
When you're canning with a water bath canner, you have to stick to recipes that have been tested for safety. This foundational recipe is perfect because it doesn't introduce any low-acid ingredients, which keeps the pH safely in the right range for this canning method.
Ingredients:
10 lbs paste tomatoes (like Roma or San Marzano), peeled and cored
1 teaspoon canning salt (this is optional and just for flavor)
After simmering the sauce to the thickness you like, you have a choice. For an ultra-smooth texture, run it through a food mill to remove the seeds. If you prefer a slightly more rustic sauce, an immersion blender works great. Either way, bring the finished sauce back to a full boil right before you start filling your jars.
A Critical Note on Seasoning
I know how tempting it is to throw in fresh garlic, onions, or a handful of basil from the garden. But for water bath canning, this is a major safety no-no. These ingredients are low-acid and will raise the overall pH of your sauce, creating a risky environment where harmful bacteria could grow.
For Water Bath Canning: Stick to dried herbs and spices only. You can add them during the last 15-20 minutes of simmering to let the flavors meld.
For Fresh Add-Ins: If your heart is set on a sauce with fresh garlic, onions, or peppers, you must use a pressure canner to process it safely. The only other safe option is to freeze it.
This focus on simplicity and safety is what makes home canning so rewarding. It’s also part of a much larger trend; the global tomato sauce market was valued at around USD 21.12 billion and is expected to grow to USD 25.74 billion. You can find more insights into the growing tomato sauce market on 360iresearch.com and see how this homemade staple plays a big role worldwide.
The Water Bath Canning Process from Start to Finish
With your sauce simmered to perfection, it’s time for the final act. This is where we lock in all that incredible summer flavor and make it shelf-stable for the colder months ahead. Water bath canning is a time-tested method that’s both safe and incredibly rewarding when you follow the steps. Think of it as a dance of heat, timing, and a little bit of patience.
We’re going to walk through every single motion, from prepping your canning station to hearing that deeply satisfying ping of a successful seal. The goal here is to create a safe, acidic environment where your sauce can live happily on a shelf, ready for a quick weeknight meal whenever you need it. Let’s get those jars ready.
This visual breaks down the initial cooking process, which is the essential first step before the canning even begins.
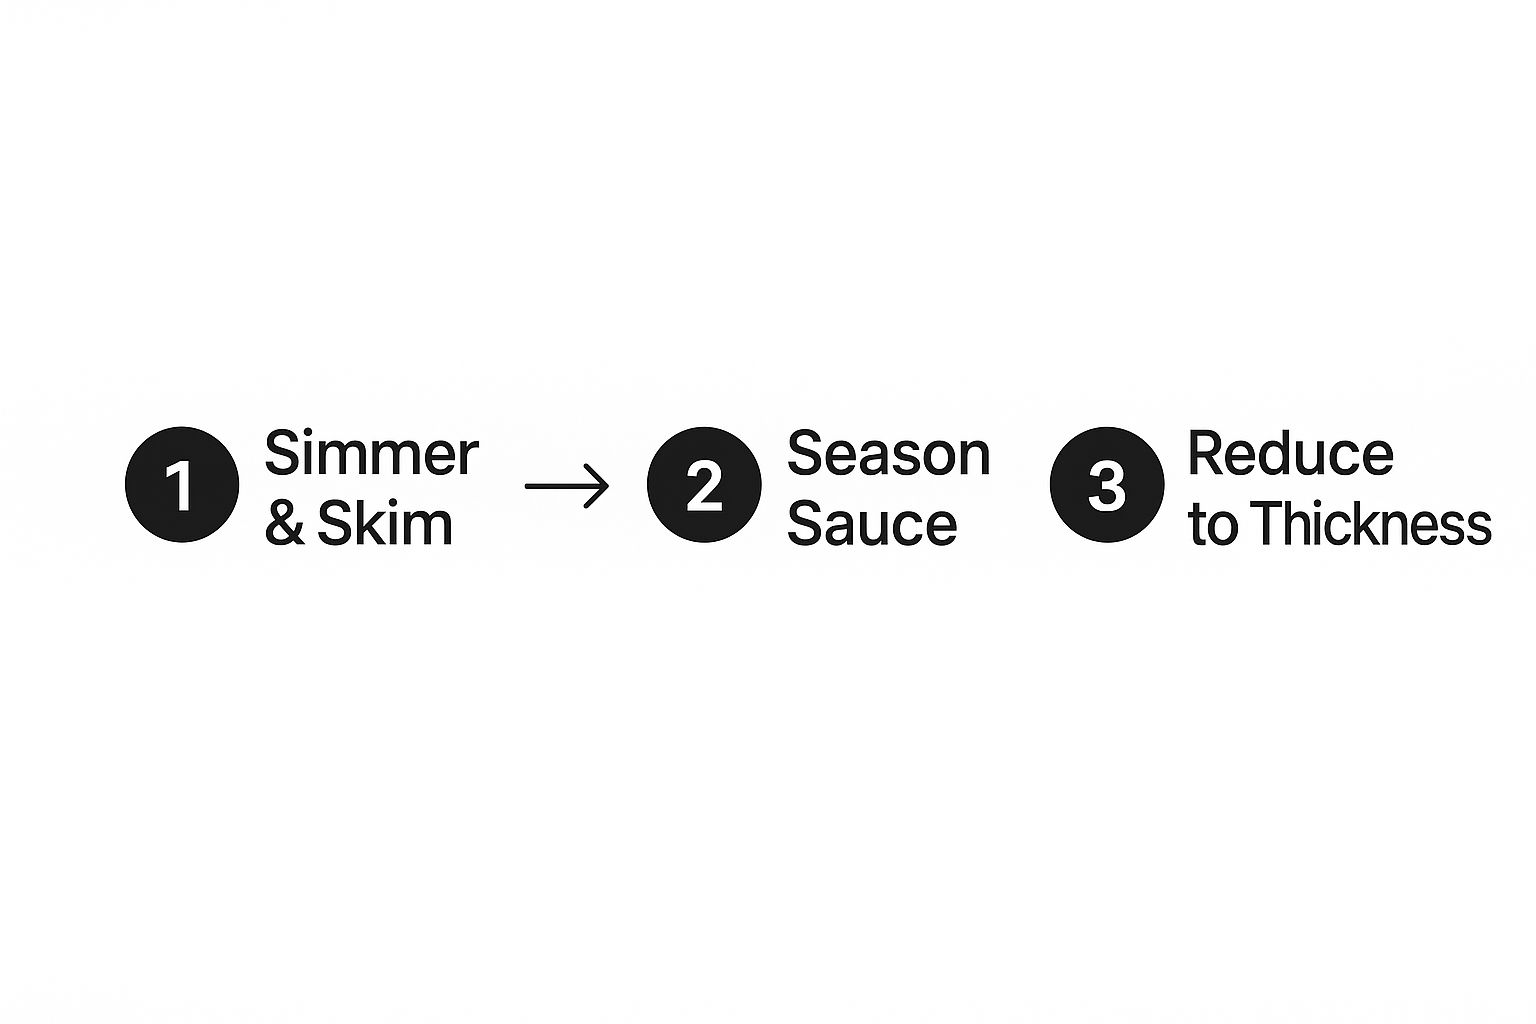
It shows how you go from simmering and skimming off impurities to seasoning and reducing the sauce down to that perfect canning thickness.
Setting Up for Success
Before a single drop of sauce goes into a jar, your workspace needs to be prepped and ready. I like to think of it as setting up an assembly line—having everything in its place keeps the process smooth and prevents any last-minute scrambling.
First, get your large water bath canner on the stove and fill it about halfway with water. Pop your clean jars inside and bring the water to a simmer. Keeping the jars hot is non-negotiable; it prevents thermal shock, which can cause them to crack or shatter when you pour in the hot sauce.
Meanwhile, in a small saucepan, warm up some water and place your new, clean lids inside. This softens the red sealing compound and helps it create that strong, airtight seal we're after. Your screw bands can just hang out nearby—they don’t need to be heated.
A Critical Safety Reminder: Never, ever reuse canning lids. That sealing compound is designed for one use only. Trying to get a second use out of them is a surefire way to end up with a failed seal, which means your food won't be preserved and could be unsafe to eat. Always start with fresh lids.
Filling and Sealing the Jars
This part moves fast, so having your station organized really pays off. Work with one jar at a time to make sure everything stays piping hot.
Using a jar lifter, carefully pull one hot jar from the canner, pouring the water from inside it back into the pot. Set it on a towel-lined counter to keep it from sliding around.
Now for the most important safety step when canning tomatoes: acidification. Before you add any sauce, you have to add acid.
For pint jars, add 1 tablespoon of bottled lemon juice or ¼ teaspoon of citric acid.
For quart jars, add 2 tablespoons of bottled lemon juice or ½ teaspoon of citric acid.
With the acid in, place your canning funnel in the jar and ladle in the hot sauce. Be mindful to leave the correct amount of headspace—that’s the empty space between the sauce and the jar rim. For tomato sauce, you want ½ inch of headspace.
Next, grab a non-metallic spatula or a bubble-popper tool and slide it down the inside walls of the jar. This releases any trapped air bubbles that could mess with your seal or the quality of the sauce. Double-check your headspace after this step; you might need to top it off with a little more sauce.
Finally, take a clean, damp cloth and meticulously wipe the rim of the jar. Even a tiny speck of sauce on the rim can prevent a proper seal. Place a warm lid on top, then screw on a band until it’s just fingertip-tight. This means you tighten it until you feel resistance, and then stop. If you crank it down too hard, air can't escape during processing, which often leads to a failed seal.
Processing Your Jars in the Water Bath
As each jar is filled and sealed, use your jar lifter to carefully place it back into the simmering water. Make sure the jars stand upright and aren't bumping into each other.
Once all the jars are in the canner, check the water level. The water must cover the tops of the jars by at least one to two inches. If you’re a little short, add more boiling water from a kettle.
Now, put the lid on the canner and turn the heat to high. The clock doesn't start until the water reaches a full, rolling boil. Once it’s boiling like crazy, start your timer.
Processing times for tomato sauce depend on your jar size and, most importantly, your altitude.
Pints: Process for 35 minutes.
Quarts: Process for 40 minutes.
If you live above sea level, you’ll need to adjust this time, since water boils at a lower temperature at higher altitudes. For those exploring different canning setups, there are great guides on how to can without a pressure canner that ensure you're following safe practices for whatever equipment you have.
When your timer dings, turn off the heat and remove the canner lid. Be sure to tilt it away from your face to avoid a blast of steam. Let the jars sit in the hot water for another five minutes. This little rest period helps prevent siphoning, which is when liquid gets pulled from the jars because of a sudden temperature change.
After five minutes, carefully lift the jars out and place them on a towel-lined counter, leaving some space between them to cool. Now for the best part: just listen for that wonderful "ping."
Cooling Jars and Checking for a Perfect Seal
The timer just went off, which means the most intense part of your canning day is officially behind you. But don't rush this final stage. What happens on your countertop over the next 24 hours is just as crucial as the time your jars spent in that boiling water bath. This is where your sauce truly becomes a shelf-stable pantry staple.
Your first move? Carefully lift the hot jars straight up out of the canner using your jar lifter. Place them on a thick, towel-lined surface or a wooden cutting board. Whatever you do, avoid setting hot glass directly on a cool surface like granite or tile—that's a recipe for thermal shock and cracked jars.
Give each jar at least an inch of space for air to circulate all around it. Now for the hardest part of the entire process: leave them completely alone. Resist every urge to touch, tighten, or nudge them for at least 12 to 24 hours.
As the jars cool, you'll start to hear the most rewarding sound in all of canning: a sharp, satisfying ping. That’s the sound of the vacuum seal forming as the lid pulls down tight. It’s music to a canner’s ears.
Verifying a Strong Seal
The next day, it's time to play inspector. A proper seal is the only thing standing between your delicious sauce and spoilage, so this step is absolutely non-negotiable.
Run through these three simple checks for every single jar:
The Look Test: Look at the lid. It should be curved slightly downward in the center, nice and concave. If it’s flat or bulging, the seal didn't take.
The Press Test: Gently press the middle of the lid with your finger. If it’s solid and doesn't move, you've got a good seal. If it flexes or makes a popping sound, that one's a fail.
The Tap Test: Grab a spoon and lightly tap the center of the lid. A sealed jar will make a distinct, high-pitched ringing sound. An unsealed one will sound dull and flat in comparison.
What If a Jar Doesn't Seal? Don't panic! It happens to even the most seasoned canners. If you find a jar that failed to seal within that 24-hour window, you have two safe options. You can either reprocess it immediately with a fresh lid for the full processing time, or just pop it in the refrigerator and plan to use that sauce within the next week.
Prepping Jars for Long-Term Storage
Once you've confirmed every jar has that perfect, solid seal, there are a couple of final steps to get them ready for the pantry. First, carefully remove the screw bands. This might feel wrong, but trust me, it’s a critical safety practice.
Leaving the bands on can trap moisture, which leads to rust. More importantly, a band can create a "false seal" by holding a lid in place that isn't truly sealed, which can allow spoilage to happen unnoticed. With the band off, you’ll easily spot a compromised lid later on.
After the bands are off, wipe down the jars and threads with a damp cloth to get rid of any sticky residue. Label each lid clearly with what’s inside and the date you canned it. This little habit will save you from a guessing game six months from now.
Finally, find your beautiful jars a home in a cool, dark, and dry place—a pantry or basement shelf is perfect. When stored properly, your sauce will maintain its best quality for 12 to 18 months.
Having your own supply is incredibly rewarding, especially when you hear about shifts in commercial production. For instance, California's harvest is projected to see a decrease from 10.1 million to 9.25 million metric tons. You can read more about these global tomato production trends on mexicobusiness.news and feel pretty good about the stash you have tucked away.
Common Canning Questions Answered
Even with the best instructions, your first few batches of canned tomato sauce can leave you with questions. It's completely normal to wonder about the little details—after all, this is food preservation, and getting it right really matters. This is where we’ll tackle the most common troubleshooting scenarios and frequently asked questions that pop up for new and experienced canners alike.
Think of this as your go-to reference for those "Is this supposed to happen?" moments. Getting clear, reliable answers will help you feel more confident in your process and prouder of the delicious sauce you’ve stocked in your pantry.
Why Is Adding Lemon Juice So Important?
This is the most critical question, and the answer is all about safety. Tomatoes are naturally acidic, but their pH level can vary wildly depending on the variety, soil conditions, and how ripe they are. For water bath canning to be safe, the food inside the jar must have a pH of 4.6 or lower.
Adding a measured amount of bottled lemon juice or citric acid is your safety guarantee. It ensures the acidity is consistently low enough to prevent the growth of Clostridium botulinum spores, which are the source of botulism. Fresh lemon juice isn't a safe substitute because its acidity can vary, but bottled juice is standardized for consistency.
Never, ever skip this step. It's the single most important thing you can do to ensure your home-canned tomato sauce is safe for your family.
Can I Add Fresh Garlic and Herbs?
It’s tempting to toss your favorite fresh ingredients like onions, bell peppers, or basil directly into the sauce before canning. The problem is that these are all low-acid foods. Mixing them in raises the sauce's overall pH, pushing it out of the safe range for water bath canning.
If you really want to include fresh, low-acid ingredients, you have two safe options:
Switch to a pressure canner: A pressure canner heats everything to a much higher temperature (above 240°F), which is necessary to kill potential bacteria in low-acid environments.
Freeze the sauce instead: Freezing is a perfectly safe way to preserve a sauce loaded with all the fresh garlic, onions, and herbs you want.
When water bath canning, you can safely add dried herbs and spices during the last few minutes of simmering your sauce.
What if My Sauce Separated in the Jar?
Don't worry, this happens all the time and is completely harmless! You might notice a layer of watery liquid separating from the thicker tomato pulp after the jars have cooled and settled on the shelf. This is purely a cosmetic issue and does not mean your sauce has spoiled.
It usually happens when tomatoes are heated too slowly, allowing natural enzymes to break down the pectin that helps keep the sauce emulsified. As long as the jar is properly sealed and shows no other signs of spoilage—like a bulging lid, mold, or an off smell—your sauce is perfectly safe to eat. Just give it a good stir after opening the jar.
This is also a good time to think about next year's garden. Learning https://thegroundedhomestead.com/post/how-to-save-tomato-seeds from your favorite sauce-making varieties can help you cultivate a crop that gives you a thicker sauce from the start.
What Do I Do if a Jar Doesn't Seal?
It happens to everyone eventually. You go to check your jars after 24 hours and find one that didn't seal properly—the lid is still popped up or makes a clicking sound when you press it. You have a couple of immediate options.
Re-process it: You can do this within 24 hours. You'll need to empty the sauce back into a pot, bring it to a boil, and repeat the whole jarring process with a clean jar and a brand-new lid.
Refrigerate it: The easiest fix is to just pop the unsealed jar in the fridge. Plan to use the sauce within a few days, treating it like any other fresh, opened food.
Whatever you do, do not store an unsealed jar at room temperature in your pantry. It is not shelf-stable and will spoil.
At The Grounded Homestead, we believe that learning these skills helps you build a more resilient and connected life. For more tips on gardening and preserving, check out our resources at https://thegroundedhomestead.com.


Facebook
Instagram
X
Youtube