How to Make Your Own Jerky from Scratch
How to Make Your Own Jerky from Scratch
Making your own jerky is a four-part craft: picking a lean cut of meat, whipping up a killer marinade, slicing it thin, and drying it low and slow until you hit that perfect, leathery chew. This guide is your roadmap for the whole process, from choosing the right steak to getting the hang of your dehydrator, oven, or smoker.
Why Bother Making Jerky at Home?
Forget those sad, preservative-packed bags from the gas station. We're talking about making ridiculously flavorful, perfectly textured jerky right in your own kitchen. When you learn how to make your own jerky, you call all the shots. You get to control the flavors, dial in the salt, and ditch all the weird additives you can't pronounce.
This is more than just a recipe; it’s a ticket to self-sufficiency and a real connection with your food. Plus, nothing beats the feeling of sharing a batch of your own signature jerky. It's a satisfying skill that turns a simple cut of meat into a high-protein snack perfect for a long hike, a road trip, or just a Tuesday afternoon pick-me-up.
More Than Just a Snack
The love for homemade jerky is exploding, and it’s easy to see why. People are tired of junk and want healthier, whole-food snacks. As everyone gets more health-conscious, the demand for clean-label and low-sugar foods just keeps climbing.
This isn't just a hunch; it's driving serious growth in the global jerky market. The market was valued at around USD 4.81 billion and is expected to hit USD 9.17 billion by 2035.
By mastering this timeless craft, you're not just making a snack; you're joining a movement of people who value quality, flavor, and knowing exactly what’s in their food.
Exploring the World of Dried Meats
Once you start learning how to make your own jerky, you'll probably get curious about other traditional dried meats. The world of charcuterie is huge, with amazing variations from all over the globe. A fantastic example is the savory, uniquely spiced South African biltong, which uses a completely different curing process.
What This Guide Covers
This guide is built to give you the confidence to nail it on your very first try. We'll walk through every critical detail to make sure your jerky is as safe as it is delicious. Here’s what you can expect to learn:
Picking the perfect meat: Find out why lean cuts are a must and which ones give you the best texture and flavor.
Crafting unforgettable marinades: Go beyond basic recipes and learn the secrets to balancing sweet, salty, and savory notes.
Mastering the slice: Discover how slicing with or against the grain completely changes the final chew.
Perfecting the drying process: We'll compare methods for a dehydrator, oven, or smoker to help you achieve that ideal leathery finish.
Storing for lasting freshness: Get pro tips on conditioning and storage to keep your jerky tasting great for weeks.
Essential Jerky Making Tools
Before we dive in, let’s talk gear. You don't need a professional kitchen, but a few key tools will make the process much smoother and give you better, more consistent results. Most of these are probably already in your kitchen.

Having the right tools on hand from the start takes the guesswork out of the equation and lets you focus on the fun part: creating amazing jerky. Now, let’s get to the meat of it.
Selecting the Right Cut of Meat
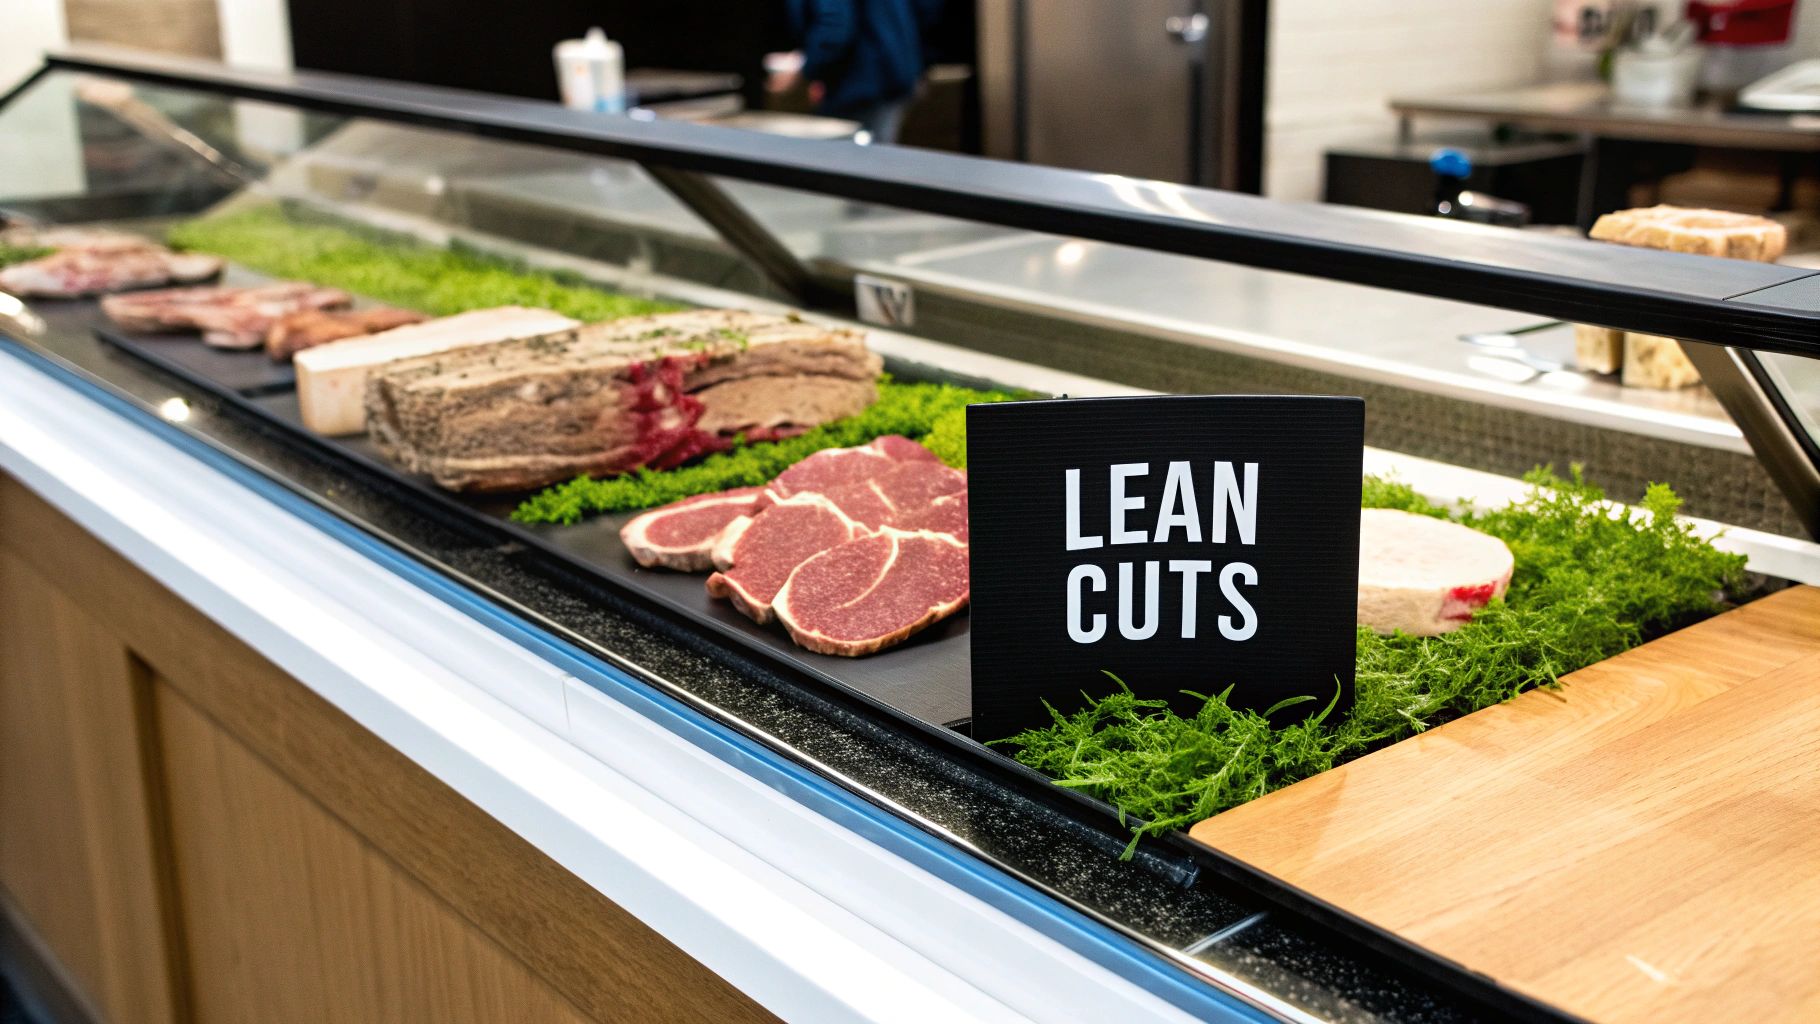
Let's get one thing straight: the secret to truly incredible jerky isn't found in a bottle of marinade. It starts at the butcher counter. The cut of meat you choose is the single most important decision you'll make, and the number one rule is simple: go lean.
Fat is the enemy of good jerky. It doesn’t dehydrate properly, and over time it turns rancid, which will ruin the shelf life of all your hard work. You're looking for cuts with as little marbling as possible—those big, economical roasts that are easy to trim and slice.
For classic beef jerky, you can't go wrong with these tried-and-true favorites:
Top Round: This is my go-to. It’s lean, full of flavor, and won't break the bank. Often considered the gold standard for a reason.
Bottom Round: Very similar to top round, this cut is just as lean and gives you a fantastic texture when you slice it thin.
Flank Steak: It's a bit pricier, but flank steak’s long muscle fibers deliver that classic, satisfying chew that many jerky lovers are after.
A simple tip when you're at the store is to ask the butcher to trim a "jerky roast" for you. They'll know exactly what you need—a well-trimmed, lean piece of beef, ready for slicing.
Exploring Meat Beyond Beef
While beef will always be king, don't feel like you have to stick to it. The jerky world is huge! Beef still dominates the jerky snacks market, but poultry jerky is the fastest-growing category out there, mostly because it's so lean and appeals to folks looking for a healthier snack.
Different meats bring their own unique character to the table. Here are some of my favorite alternatives:
Venison: If you can get your hands on it, venison is a game-changer. It's naturally lean and produces a deep, rich flavor that's hard to beat.
Turkey Breast: For a much milder, leaner option, turkey is fantastic. If you happen to process your own birds, our guide on how to butcher a turkey can help you get the perfect cuts for jerky.
Pork Loin: Trim off every last bit of visible fat, and pork loin makes a surprisingly tender and savory jerky. It’s a nice change of pace.
Identifying the Muscle Grain
Once you've got your meat, it's time to learn how to read it. Look closely at the cut and you’ll see long, parallel fibers running through the muscle. That’s the grain. The direction you slice—either with or against these fibers—will completely change how your jerky chews.
Beyond just the cut, understanding how to make meat tender is a skill that pays off. Here's how it applies to jerky:
Slicing against the grain (across the fibers) will break them up, creating a more tender, easier-to-chew jerky. This is great for beginners or if you just prefer a softer bite.
Slicing with the grain (parallel to the fibers) keeps those long muscle fibers intact. This is how you get that classic, tough, pull-apart jerky that purists crave.
There's no right or wrong answer. It all comes down to the chew you're looking for.
Crafting a Marinade with Real Flavor
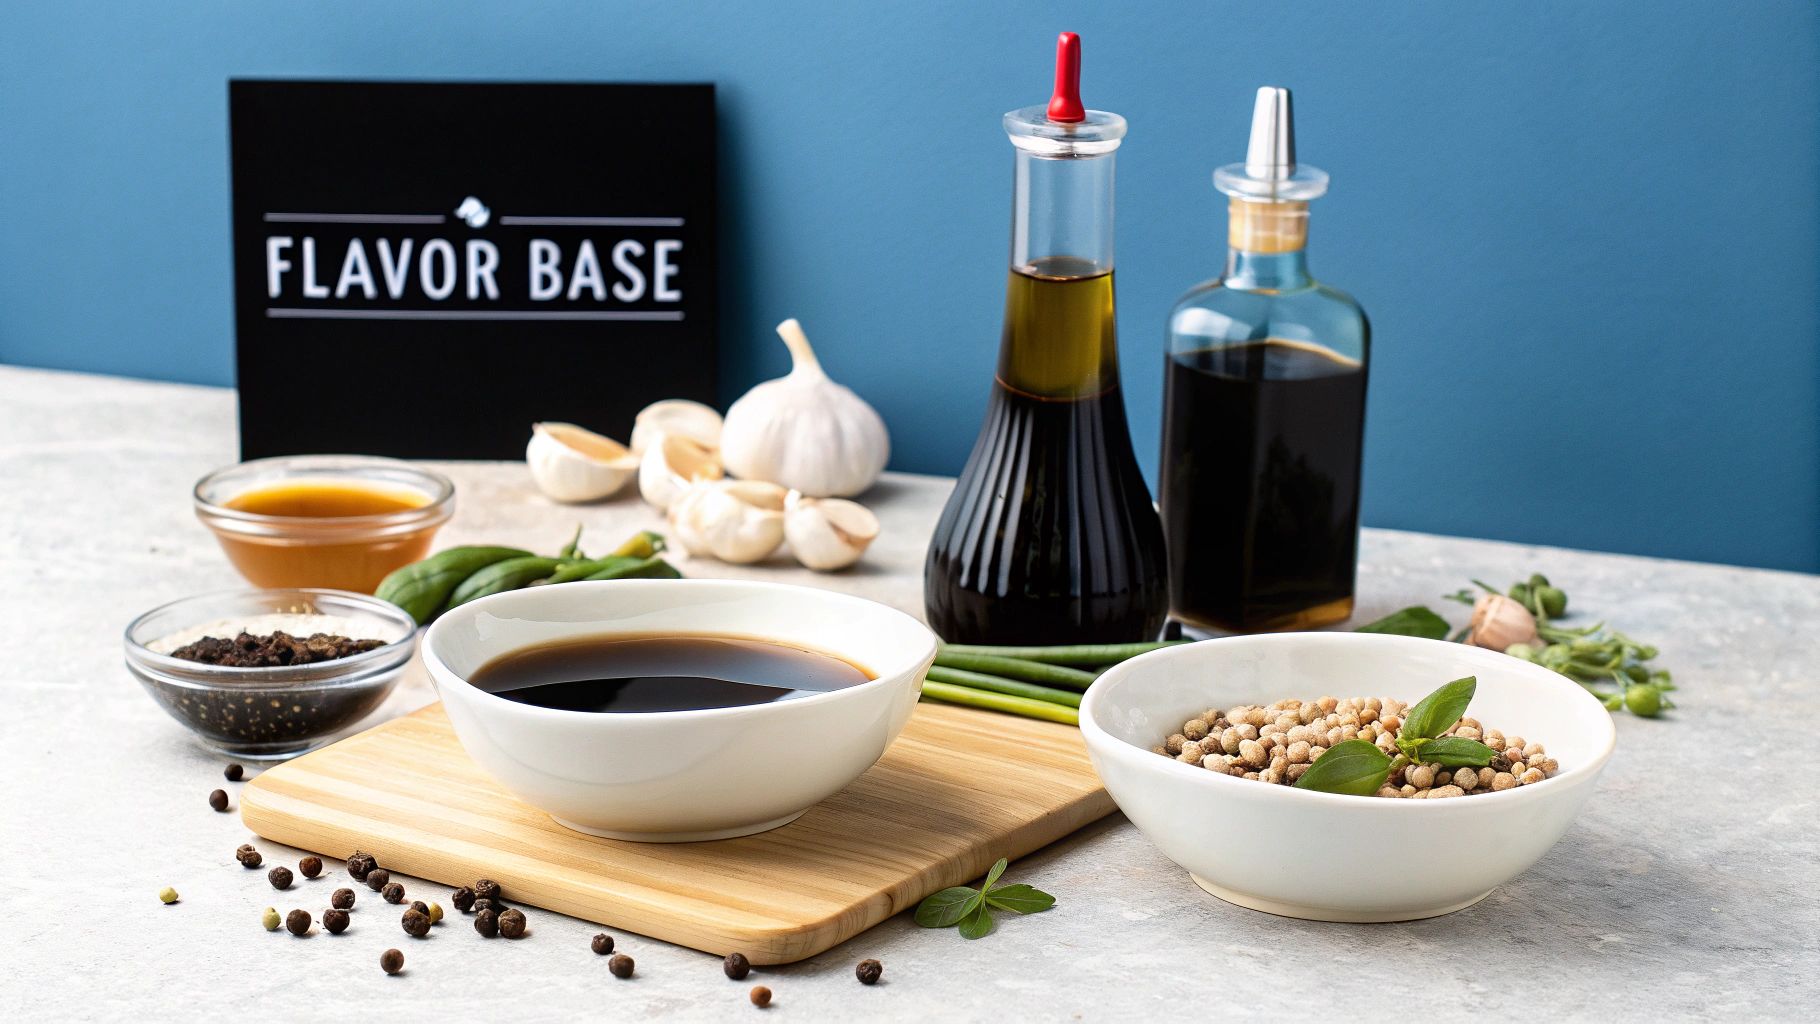
This is where the real artistry begins. A killer marinade does more than just add flavor; it’s a crucial step that tenderizes the meat and helps with preservation.
Forget boring, one-note recipes. We’re going to build a marinade from the ground up by balancing five key flavor pillars. Once you nail this framework, you can stop following recipes and start inventing your own.
The Five Pillars of a Perfect Marinade
To craft a balanced and unforgettable marinade, you need to pull an ingredient from each of these five categories. Think of it like building a chord—each note plays a part.
Salty: This is your foundation and preservative. Soy sauce, tamari, or Worcestershire sauce provide that essential savory character.
Sweet: A touch of sweetness is non-negotiable for balancing the salt. Honey, maple syrup, or a little brown sugar adds depth and a hint of caramelization.
Acidic: This component is key for tenderizing the muscle fibers. Apple cider vinegar, rice vinegar, or a squeeze of citrus juice brightens the whole profile.
Aromatic: These are your background notes that create a rich, savory aroma. Generous amounts of garlic and onion powder are the bare minimum here.
Spicy: Finally, the kick. This can be as simple as cracked black pepper or as intense as cayenne, chipotle powder, or crushed red pepper flakes.
The secret is balance. Your goal is for no single element to overpower the others. A great marinade should complement the beef, not bury it.
To help you get creative, here's a quick chart to inspire your own marinade experiments. Just pick an ingredient or two from each category and see what you come up with.
Marinade Component Ideas

Once you understand how these profiles work together, you'll find it's almost impossible to make a bad marinade.
My Go-To Jerky Marinade Recipes
To get you started, here are three of my favorite combinations that show how to use the five pillars. Each recipe is designed for roughly four pounds of sliced meat, which will yield about one pound of finished jerky.
Feel free to tweak the spice levels—that’s the fun part.
Classic Smoky Teriyaki
1 cup soy sauce (Salty)
¼ cup brown sugar (Sweet)
2 tbsp rice vinegar (Acidic)
1 tbsp garlic powder & 1 tbsp onion powder (Aromatic)
1 tsp ground ginger & 1 tsp black pepper (Spicy)
Smoky Chipotle Heat
1 cup soy sauce (Salty)
2 tbsp honey (Sweet)
2 tbsp apple cider vinegar (Acidic)
1 tbsp onion powder (Aromatic)
1 tbsp chipotle powder & 1 tsp cayenne (Spicy)
Tangy Black Pepper
¾ cup Worcestershire sauce (Salty)
1 tbsp maple syrup (Sweet)
¼ cup apple cider vinegar (Acidic)
2 tbsp garlic powder (Aromatic)
2 tbsp coarse black pepper (Spicy)
Once you’ve whisked your ingredients together, submerge the meat strips completely. I always use a large zip-top bag and press out as much air as possible before sealing it.
Let it marinate in the refrigerator for at least 12 hours, but for truly deep, locked-in flavor, go for a full 24 hours. Trust me, it’s worth the wait.
How to Slice Meat for Perfect Jerky
Once you’ve picked a great lean cut and trimmed off every last bit of visible fat, you’re at what I consider the most important step for texture. How you slice the meat will define the entire chew of your finished jerky. Thankfully, getting it right is simpler than you’d think.
Your biggest decision is whether to slice with the grain or against the grain. Take a close look at your cut of meat—you’ll notice long muscle fibers all running in the same direction. When you slice perpendicular to those fibers (against the grain), you break them up. This gives you a tender, easier-to-chew jerky that's perfect for snacking.
But if you slice parallel to those fibers (with the grain), you keep them long and intact. This is how you get that classic, tough, satisfyingly chewy jerky that a lot of old-school jerky lovers are after. There’s no right or wrong answer here; it’s all about the kind of bite you want.
The Secret to Uniform Slices
No matter which direction you cut, the goal is consistency. You’re aiming for strips between 1/8 and 1/4 inch thick. Thinner slices will dry faster and get almost crispy, while thicker ones will stay much chewier.
Here’s the single best tip I can give you: pop your meat in the freezer for 1-2 hours before you even think about slicing it. This firms up the roast just enough to make it incredibly easy to handle. It stops the meat from squishing under your blade, letting you get perfectly even strips, whether you’re using a sharp knife or a fancy meat slicer.
The real magic of partially frozen meat is the control it gives you. It transforms a slippery, difficult task into a precise and almost effortless process, ensuring every piece of jerky dehydrates evenly.
This infographic breaks down the essential steps for slicing perfect jerky every time.
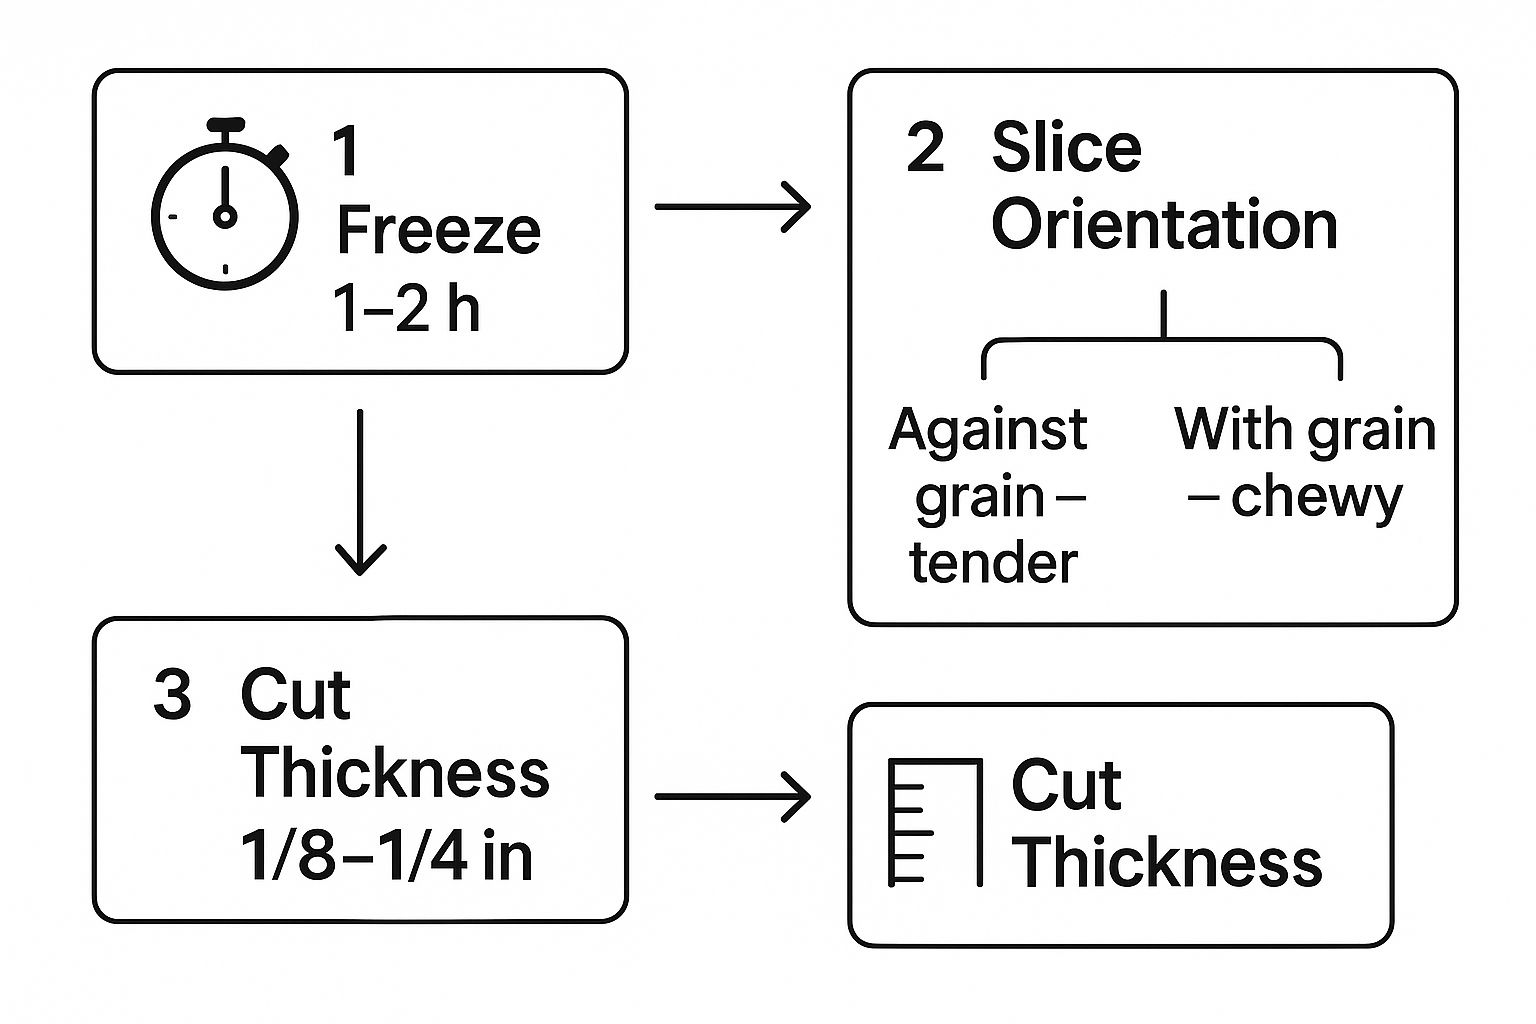
As you can see, the process flows from firming the meat in the freezer to making that crucial decision on slice orientation, and finally, cutting to the correct thickness.
The Final Prep Before Marinating
Once all your meat is sliced, there’s one last, critical step before it hits the marinade. Lay the strips out on a few paper towels and pat them completely dry.
This small action makes a huge difference. By removing that excess moisture from the surface, you allow the marinade to really soak into the meat instead of just getting diluted by water. It also ensures the meat dehydrates properly rather than steaming, which is a surefire way to get a rubbery texture. Don't skip this; it sets the stage for a truly top-tier final product. Your future self will thank you.
Mastering the Low and Slow Drying Process
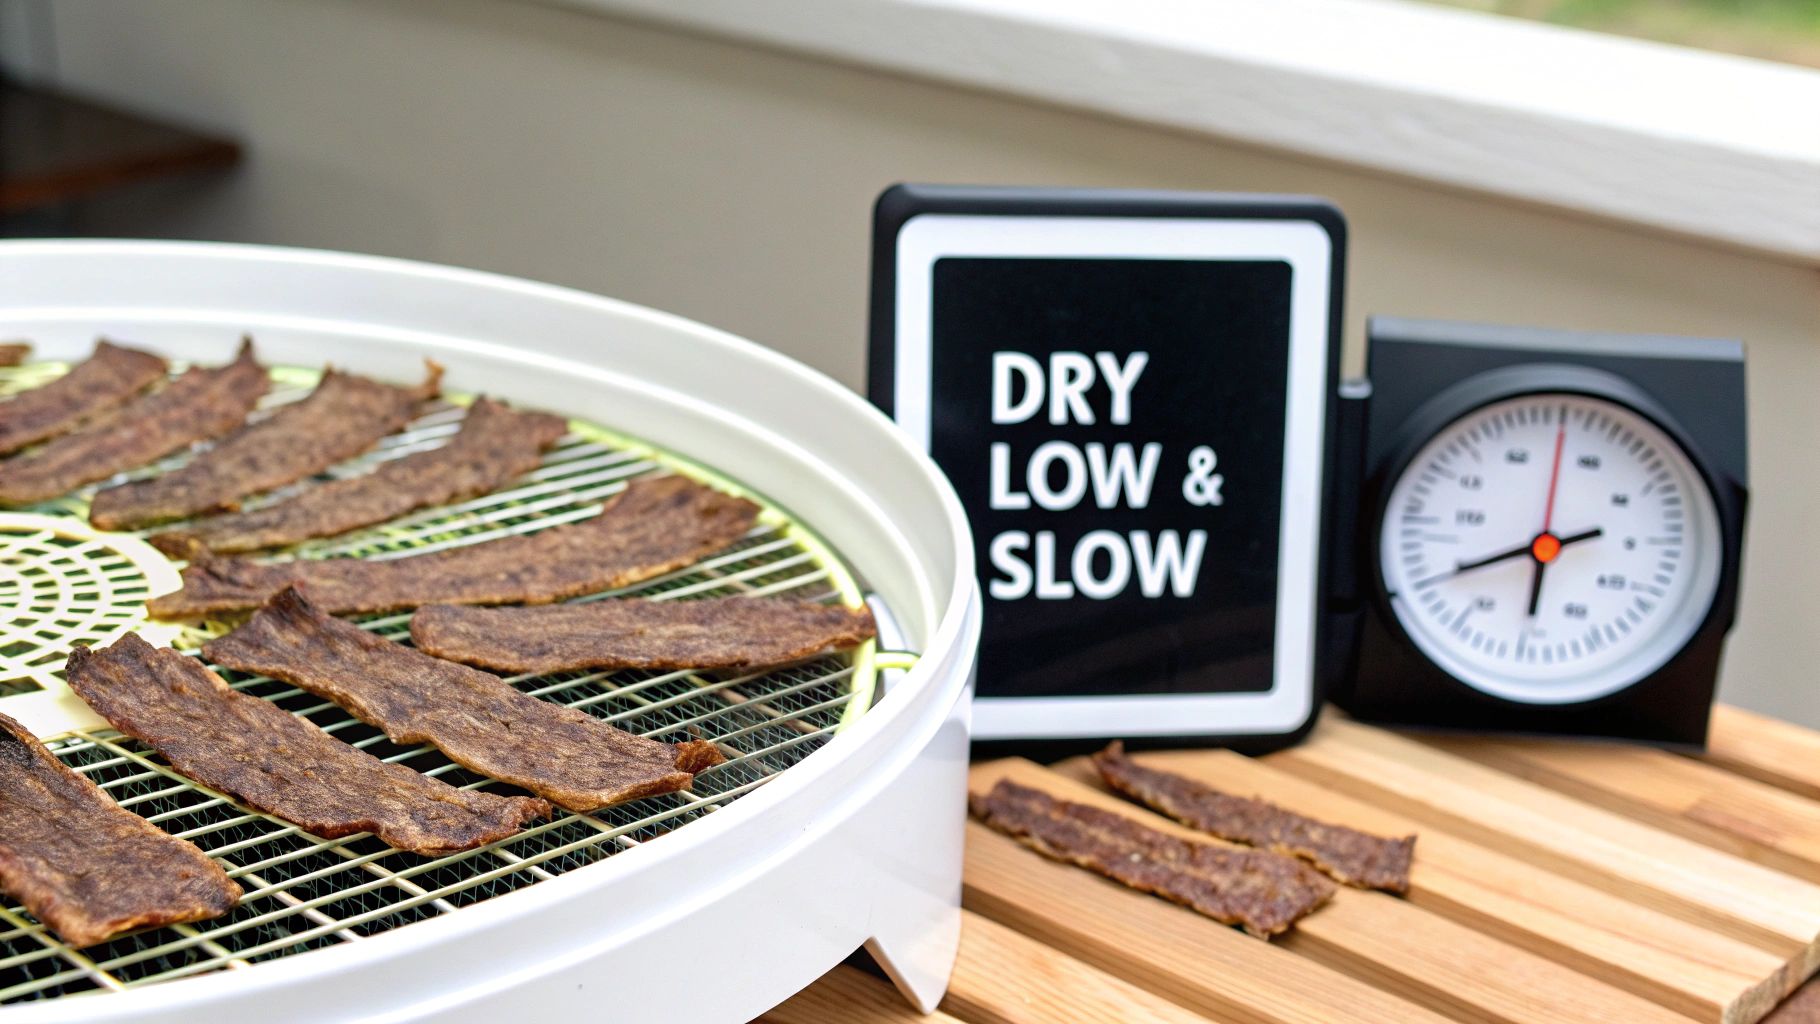
After all that careful prep work, this is where your patience really pays off. The goal here is simple but crucial: dehydration, not cooking. To get that perfect leathery texture without turning your meat brittle, you need low temperatures and slow, steady airflow.
This is the stage that transforms those marinated strips into a shelf-stable snack. We'll walk through the three most common methods. Each gives you a slightly different result, so you can pick the one that fits your kitchen setup and what you're trying to achieve, flavor-wise.
Using a Food Dehydrator
If you plan on making jerky more than once, a dedicated food dehydrator is your best friend. It’s the most reliable and efficient tool for the job because it’s built to provide consistent, low heat and excellent air circulation.
Lay your marinated strips directly onto the dehydrator trays. The number one rule here is to leave space between each piece. Don't let them touch or overlap. Good airflow around every single surface is what ensures even drying.
Set your dehydrator somewhere between 160°F and 165°F. This range is just hot enough for food safety but low enough to slowly pull the moisture out instead of cooking the meat. The whole process can take anywhere from 4 to 8 hours, depending on your machine and how thick you sliced the meat.
Once you get the hang of it, you might find yourself wanting to dehydrate other things. Many of the same principles apply when you learn how to dehydrate vegetables for your pantry.
Using a Standard Oven
No dehydrator? No problem. Your home oven can absolutely do the job, as long as you can get the temperature low enough.
First, set your oven to its lowest possible setting, ideally between 170°F and 180°F. Arrange the jerky strips directly on wire racks and place them over baking sheets to catch any drips. Just like with a dehydrator, airflow is everything.
The secret to great oven jerky is managing moisture. Prop the oven door open just a crack with the handle of a wooden spoon. This simple trick lets all that moisture escape, preventing the meat from steaming so it can actually dehydrate.
Oven-dried jerky usually takes between 3 to 6 hours. You'll want to keep a closer eye on it, since oven temperatures can fluctuate a lot more than a dehydrator.
Using a Smoker for Extra Flavor
For anyone craving that deep, authentic smoky flavor, using a smoker is the ultimate move. This technique infuses the meat with incredible character while it slowly dries.
Get your smoker holding a steady, low temperature around 180°F. I like to use wood like hickory or mesquite for that classic, robust smoke flavor, but feel free to experiment. Lay the strips right on the smoker grates, making sure they don't overlap.
Smoking jerky generally takes about 4 to 5 hours. The combination of low heat and smoke creates a jerky with a depth of flavor that you just can't get any other way.
Knowing When Your Jerky Is Done
It doesn't matter which method you use—the signs of perfectly finished jerky are always the same. Don't just set a timer and walk away. Toward the end of the process, start checking a piece every 30-45 minutes.
Pull a piece out and let it cool for a minute or two. Perfect jerky should be leathery and pliable. When you bend it, it should crack but not snap in half. If it breaks easily, it’s overcooked. If it just bends without cracking at all, it needs more time in the heat.
How to Properly Store Your Homemade Jerky
You've put in the time to create amazing jerky, so the last thing you want is for it to go bad before you can enjoy it. Don't let improper storage ruin all your hard work. The final step to perfect homemade jerky actually starts right after it comes out of the dehydrator, with a crucial process called conditioning.
After your jerky has cooled down completely, toss all the strips into a large zip-top bag. Seal it up, but don't squeeze the air out just yet. Let that bag sit on your counter for about 24 hours. This simple step allows any lingering pockets of moisture to distribute evenly through the whole batch, giving every piece that consistent texture you're after.
If you peek at the bag and see any condensation forming inside, that’s a dead giveaway your jerky needs more drying time. Just spread it back on the dehydrator trays for another hour or two before you try conditioning it again.
Conditioning isn't just a suggestion—it's your final quality check. This step is non-negotiable for preventing mold and ensuring every single piece has that perfect, leathery chew you worked so hard to achieve.
Short-Term and Long-Term Storage Solutions
For jerky you plan to snack on over the next couple of months, an airtight container is all you need. It'll stay fresh for 1-2 months when stored in a cool, dark spot like your pantry. A simple glass jar or plastic container works perfectly.
But if you’re making a big batch to last, oxygen is your enemy. Vacuum sealing is, hands down, the best way to store jerky long-term. It dramatically slows down spoilage and locks in all that amazing flavor. If you didn't use curing salts in your recipe, it's a good idea to store your vacuum-sealed packs in the freezer, where they can easily last for over a year.
Getting your jerky storage right is just one part of the bigger picture of food preservation. To round out your skills, take a look at our guides on preserving food at home. When you handle it right, your delicious jerky can be a safe and satisfying snack for months to come.
Common Jerky Making Questions Answered
Even when you follow a recipe to the letter, things can go sideways. Knowing how to troubleshoot is what separates a good jerky maker from a great one. Let’s tackle some of the most common questions that pop up.
One of the biggest concerns is always food safety. The USDA recommends heating meat to 160°F to kill off nasty bacteria like E. coli. If your dehydrator doesn't get that hot, you have an easy workaround: pre-heat the marinated strips in a 275°F oven until they hit that magic 160°F internal temperature, then move them to the dehydrator to finish the job.
Getting the Texture Just Right
Texture is another frequent sticking point. If your jerky turns out so tough you could sole a boot with it, you likely sliced it too thick or just left it in a bit too long. On the flip side, if it feels moist or overly soft, it simply needs more time to dry. Patience is key here.
Remember the bend test: Perfect jerky should crack when you bend it 90 degrees, but it shouldn't snap clean in half. This is your most reliable sign of doneness—far more accurate than just watching the clock.
What about those white, powdery spots you sometimes see on finished jerky? Don't panic! This is usually just salt crystallizing on the surface as moisture evaporates, especially common if you used a salt-heavy marinade. It’s completely harmless.
However, if you spot fuzzy, colored patches—think green, blue, or black—that's mold. No saving that one. The whole batch has to go.
Here are a few other common troubleshooting scenarios:
Why is my jerky so dry? It was probably over-dried. Start checking it more frequently toward the end of the drying time. Remember, thinner slices dry out much, much faster.
Can I use ground meat? Absolutely. Ground meat jerky, usually shot from a jerky gun, is a fantastic and easy option. Just make sure you're using lean ground beef (at least 90% lean) to keep the fat content down.
How much jerky will my meat yield? A good rule of thumb is a 4:1 ratio. For every 4 pounds of raw meat you start with, expect to get about 1 pound of finished jerky back.
Ready to take your homesteading and healthy eating journey to the next level? Join the community at The Grounded Homestead for more guides, tips, and inspiration on growing your own food and mastering traditional skills. Explore our resources at https://thegroundedhomestead.com.


Facebook
Instagram
X
Youtube