How to Preserve Fresh Herbs All Year Long
How to Preserve Fresh Herbs All Year Long
If you want to keep that summer-fresh flavor in your kitchen all year long, you have to get one thing right from the start: Match the herb to the right preservation method.
It's simpler than it sounds. Hardy, woody herbs like rosemary and thyme are perfect for drying. Delicate, tender herbs like basil, mint, and cilantro hold their vibrant flavor best when frozen. Getting that first choice right is the foundation for successfully capturing your garden's flavor long after the season ends.
The Secrets to Preserving Fresh Herbs
Knowing how to preserve fresh herbs is a skill that completely transforms your cooking, letting you pull the taste of summer out of the pantry in the dead of winter. It all begins with a good harvest. The quality of your preserved herbs is directly tied to the quality of the fresh herbs you start with.
For the most potent flavor and aroma, I always try to harvest in the morning after the dew has dried but before the sun gets too intense. If you want a deeper dive into that first crucial step, our post on how to harvest herbs for peak freshness is a great resource.
And what about store-bought herbs? The good news is, their quality has seen a major boost lately. Thanks to advances in hydroponic and vertical farming, the time from harvest to your grocery store has been cut down to just 24-48 hours. This controlled-environment agriculture has reduced supply chain waste by 20-30%, ensuring the herbs you buy are at their peak—a trend that’s growing fast.
Choosing Your Preservation Path
Deciding whether to dry, freeze, or infuse your herbs can feel a bit overwhelming at first. To make it easier, let’s walk through a simple decision-making process based on the herb you’re holding and how long you want to keep it.
This chart breaks it down visually, showing you how to pick the best method based on whether your herb is leafy and delicate or woody and robust.
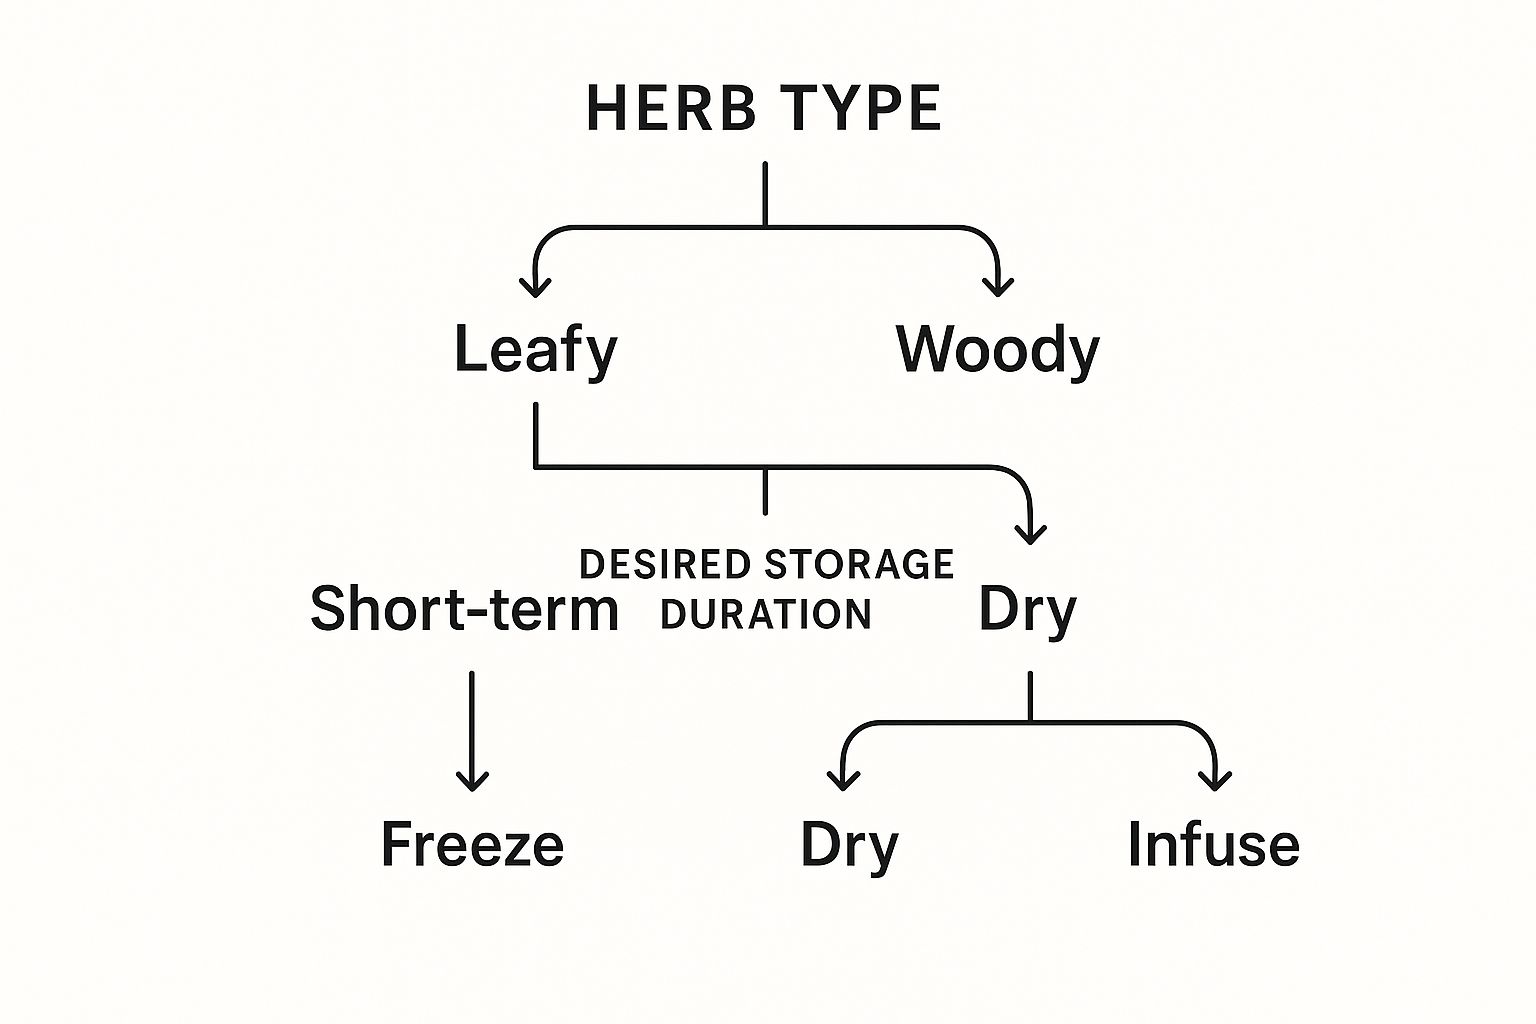
The takeaway here is pretty clear: woody, sturdy herbs are built for drying, while delicate, leafy herbs are best frozen to keep their fresh character intact.
To help you get a feel for what works best, here’s a quick guide to the three main methods we'll be covering. Think of it as your cheat sheet for deciding what to do with that bumper crop of basil or thyme.
Key Takeaway: The structure of the herb is your best guide. Hardy, low-moisture herbs like thyme and oregano concentrate their flavor when dried. Tender, high-moisture herbs like parsley and cilantro will taste much fresher if you freeze them.
To make your decision even easier, let's compare these techniques side-by-side.
Quick Guide to Herb Preservation Methods
This table breaks down the three primary preservation methods, helping you choose the right technique based on the herb type, desired flavor, and how long you want it to last.

Each method has its place in the kitchen. Drying is classic and simple, freezing captures that "just-picked" taste, and infusing creates incredible pantry staples like flavored oils and vinegars. Now, let's get into the step-by-step for each one.
Keeping Your Herbs Fresh This Week
Not every herb needs to be preserved for months. Sometimes, you just want to keep that bunch of cilantro or parsley from going limp before you finish the week’s meal plan. This is where a couple of simple tricks come in, turning wilted waste into vibrant flavor.
These are my go-to methods for getting the most out of every bunch I bring home, whether it’s from my own garden beds or the farmers market. They’re all about managing moisture and slowing down that natural decay just enough.
The Bouquet Method for Tender Herbs
For leafy, tender-stemmed herbs like parsley, cilantro, dill, and mint, the best approach is to treat them like a fresh bouquet of flowers. It sounds simple, but it works surprisingly well to keep them perky and ready to use.
Give them a fresh cut. Snip about a half-inch off the bottom of the stems. Just like with flowers, this helps them drink up water more effectively.
Place them in water. A small jar or glass with an inch or two of water is perfect. Pop the herb bouquet right in.
Cover and chill. Loosely drape a plastic bag—a produce bag from the store is ideal—over the leaves. Then, place the whole setup in the refrigerator. The bag acts like a mini-greenhouse, keeping just enough humidity around the leaves to stop them from drying out in the cold air.
This little trick can easily keep your herbs bright and crisp for over a week. It’s a huge step up from just tossing them in the produce drawer.
The Damp Towel Wrap for Delicate Leaves
Some herbs, especially basil, are divas about the cold. Basil is notorious for turning black in the fridge, so it needs a gentler approach. This method also works wonders for other delicate herbs or when you're just out of fridge space.
First, grab a paper towel and get it slightly damp—you want it moist, not sopping wet. Gently wrap your bunch of basil in the damp towel.
Next, slide the wrapped bundle into a zip-top bag, but don’t seal it all the way. Leaving it a bit open allows for air circulation and prevents the slimy leaves that come from too much trapped condensation. You can store this right on the counter or in a cool, dark spot in your kitchen.
This technique strikes the perfect balance between moisture and air. The damp towel provides hydration to prevent wilting, while the unzipped bag prevents the condensation that turns good herbs bad.
Research actually backs this up as one of the most effective ways to preserve fresh herbs for short-term use. Properly wrapping and refrigerating herbs (when appropriate) can extend their life by up to 7 to 10 days. For basil, the damp towel method can keep its flavor and texture intact for about a week, a big improvement over the two or three days it might last otherwise. For more on preservation trends, check out the fresh herb market report.
Mastering the Art of Drying Herbs
Drying is the classic, time-tested method for a reason. It’s the perfect way to handle robust, low-moisture herbs whose flavors actually become more concentrated and intense through the process. I’m talking about those woody-stemmed workhorses like rosemary, thyme, oregano, and sage—they are ideal candidates for drying.
This method works by slowly pulling the water content out of the leaves, which stops the natural decay process and concentrates the herb's essential oils. The result is a shelf-stable ingredient packed with a potent, earthy flavor that can last for months, if not longer.
The Classic Air-Drying Method
There's something wonderfully simple and rustic about air-drying. It's the most traditional way to preserve fresh herbs and my personal go-to for creating those beautiful, farmhouse-style bundles. Best of all, it requires no special equipment—just a bit of patience and a good spot with decent air circulation.
First, gather your herbs into small, loose bunches. Tie them together at the stem ends with a bit of twine or a rubber band. The key is to keep the bundles small so that air can flow freely around every sprig, which is crucial for preventing mold.
Next, find a warm, dry, and dark location to hang them. A pantry, a spare closet, or even a dry corner of the attic works perfectly. By hanging them upside down, you allow the flavorful oils to flow from the stems down into the leaves as they dry. Depending on your home's humidity and the type of herb, this can take anywhere from one to three weeks.
Using Your Oven or Dehydrator
If you’re short on time or live in a humid climate where air-drying feels like a gamble, your oven or a food dehydrator can get the job done much faster. The absolute key to both is low and slow heat.
Oven Drying: Set your oven to the lowest possible temperature, ideally below 180°F (82°C). Any hotter and you'll cook the herbs, destroying their delicate oils and flavor. Spread them in a single layer on a baking sheet and prop the oven door open slightly to let moisture escape. They'll typically be ready in one to four hours.
Dehydrator Drying: This is my most trusted method for consistent and reliable results. Set the temperature between 95°F and 115°F (35°C and 46°C). Arrange the herbs on the trays, making sure they don’t overlap, and let the machine work its magic. This also usually takes between one and four hours.
A common mistake is rushing the process with high heat. Remember, the goal is to dehydrate, not cook. Low temperatures preserve the integrity of the essential oils, which is where all the flavor and aroma reside.
For those who want to compare these techniques at a glance, here’s a quick breakdown to help you decide which path to take.
Comparing Herb Drying Techniques

Each method has its place in the kitchen. For me, air-drying is a summer ritual, while the dehydrator is a workhorse for preserving big batches quickly.
Knowing When They Are Ready and How to Store Them
No matter which method you choose, the test for doneness is the same: the herbs should be brittle and crumble easily between your fingers. If the leaves bend or feel even slightly pliable, they need more time. Any moisture left behind is an invitation for mold in storage.
Once they're perfectly dry, gently strip the leaves from the stems. You can leave the leaves whole or crush them right away. I strongly recommend storing them whole and crushing them just before you use them—this keeps the essential oils locked inside for maximum flavor.
Store your dried herbs in airtight containers, like small glass jars, and keep them away from heat, light, and moisture. A cool, dark pantry is the ideal home. When properly dried and stored, your herbs will hold their potent flavor for six months to a year, ready to bring a welcome taste of summer to your winter dishes.
Freezing Herbs to Capture Peak Freshness
When you’ve got a garden overflowing with fresh herbs, especially the delicate ones, drying isn't always your best move. For leafy, high-moisture herbs like basil, cilantro, mint, and parsley, freezing is your secret weapon. It locks in that bright, just-picked flavor in a way that drying simply can’t match.
Freezing basically hits the pause button, halting the enzymes that cause decay and preserving the vibrant color and aromatic oils that make these herbs so special. Imagine dropping a cube of fresh basil into your winter tomato sauce—that’s the magic we’re aiming for.
Flash Freezing for Whole Leaves
One of the simplest ways to freeze herbs is to flash freeze the leaves whole. This method is fantastic for things like mint, sage, or parsley, where you might want to pull out individual leaves for a garnish or a specific recipe. It’s incredibly straightforward.
First, wash your herbs and pat them completely dry. This is a critical step; any leftover water will form ice crystals that damage the leaves and invite freezer burn.
Next, spread the individual leaves in a single layer on a baking sheet lined with parchment paper. Pop the whole tray in the freezer for about an hour, or until the leaves are frozen solid. Once they're firm, you can toss them into an airtight freezer bag or container. They won't clump together, so you can grab just what you need, when you need it.
Creating Versatile Herb Bombs
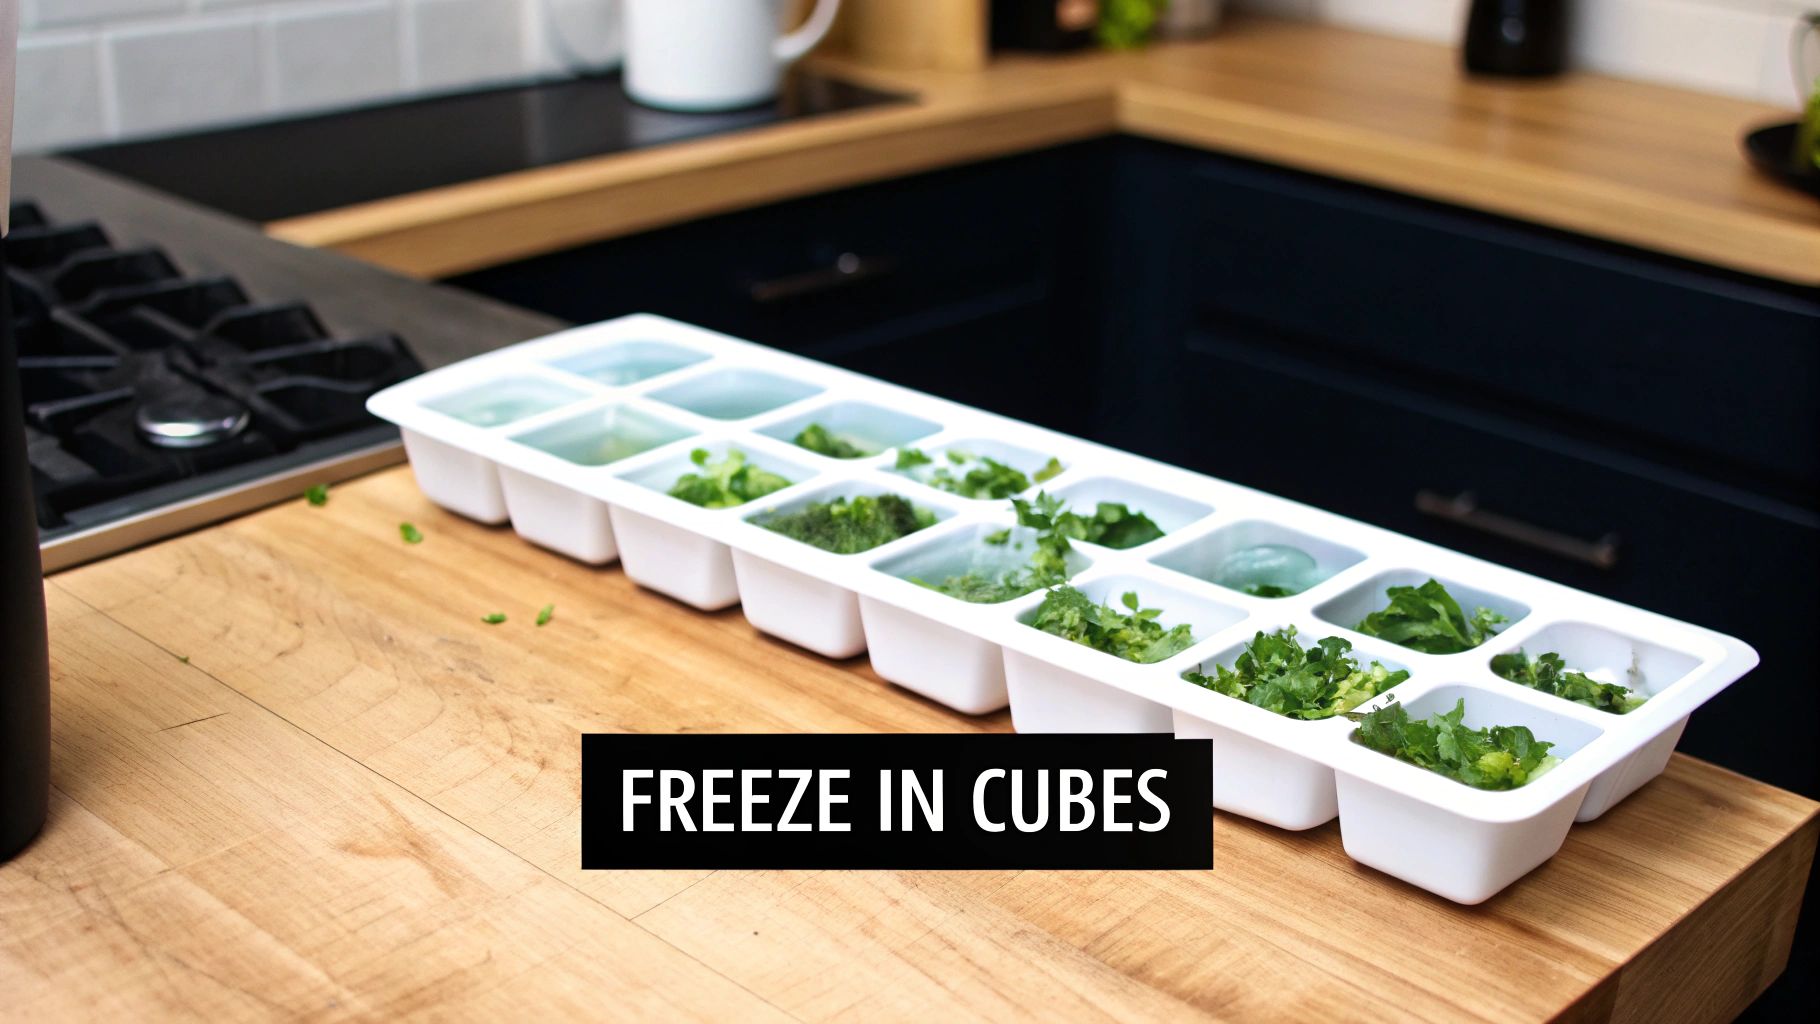
My absolute favorite technique is making "herb bombs" in ice cube trays. This is perfect for preserving chopped herbs and is a total game-changer for adding instant flavor to soups, stews, and sauces.
Chop your fresh herbs—basil, cilantro, and chives work beautifully here—and pack them into the compartments of an ice cube tray. You'll want to fill each section about two-thirds full to leave room for the liquid.
From here, you have two great options:
With Water: Top off the herbs with a bit of water. These cubes are perfect for dropping into water-based dishes like soups or for steaming vegetables.
With Olive Oil: This is my go-to method. Pouring a good quality olive oil over the herbs not only preserves them but also protects them from discoloration and freezer burn. The oil creates a barrier against air, which is what keeps something like basil vibrantly green instead of turning black.
Once frozen solid, pop the cubes out and store them in a labeled freezer bag. When you’re ready to cook, just toss a cube directly into the hot pan.
The oil method is more than just a storage trick; it's a culinary head start. The infused oil melts beautifully into a hot pan, releasing the fresh herb flavor and creating an instant, aromatic base for your cooking.
Extending Freshness with Modern Tools
While these classic methods are fantastic, modern tools can take your preservation efforts even further. Combining freezing with vacuum sealing, for example, dramatically increases shelf life.
Research shows that vacuum-sealed herbs can last 6 to 12 months in the freezer with minimal loss of flavor. That represents a 300% to 500% increase in usability compared to just refrigeration. Vacuum sealing removes the oxygen that causes oxidation—the primary culprit behind herbs losing their color and punch. You can learn more about how modern techniques are changing things in the fresh herbs market.
If you want to move past just drying and freezing, you’ll find a whole world of creativity waiting for you in infusions. Steeping your garden herbs in oils, vinegars, or even honey is a fantastic way to capture their very essence, creating ingredients that can truly elevate your everyday cooking.
This method works especially well for those woody, resinous herbs like rosemary and thyme, since their robust oils transfer so beautifully. But don't count out the tender ones—a bright, mint-infused vinegar or a sweet basil-infused honey can be an absolute game-changer for salad dressings and desserts.
This isn't just about storage; it's about transforming your harvest into something new and exciting. If you’re getting hooked on putting food by, our complete guide on preserving food at home covers a lot more ground on different techniques.
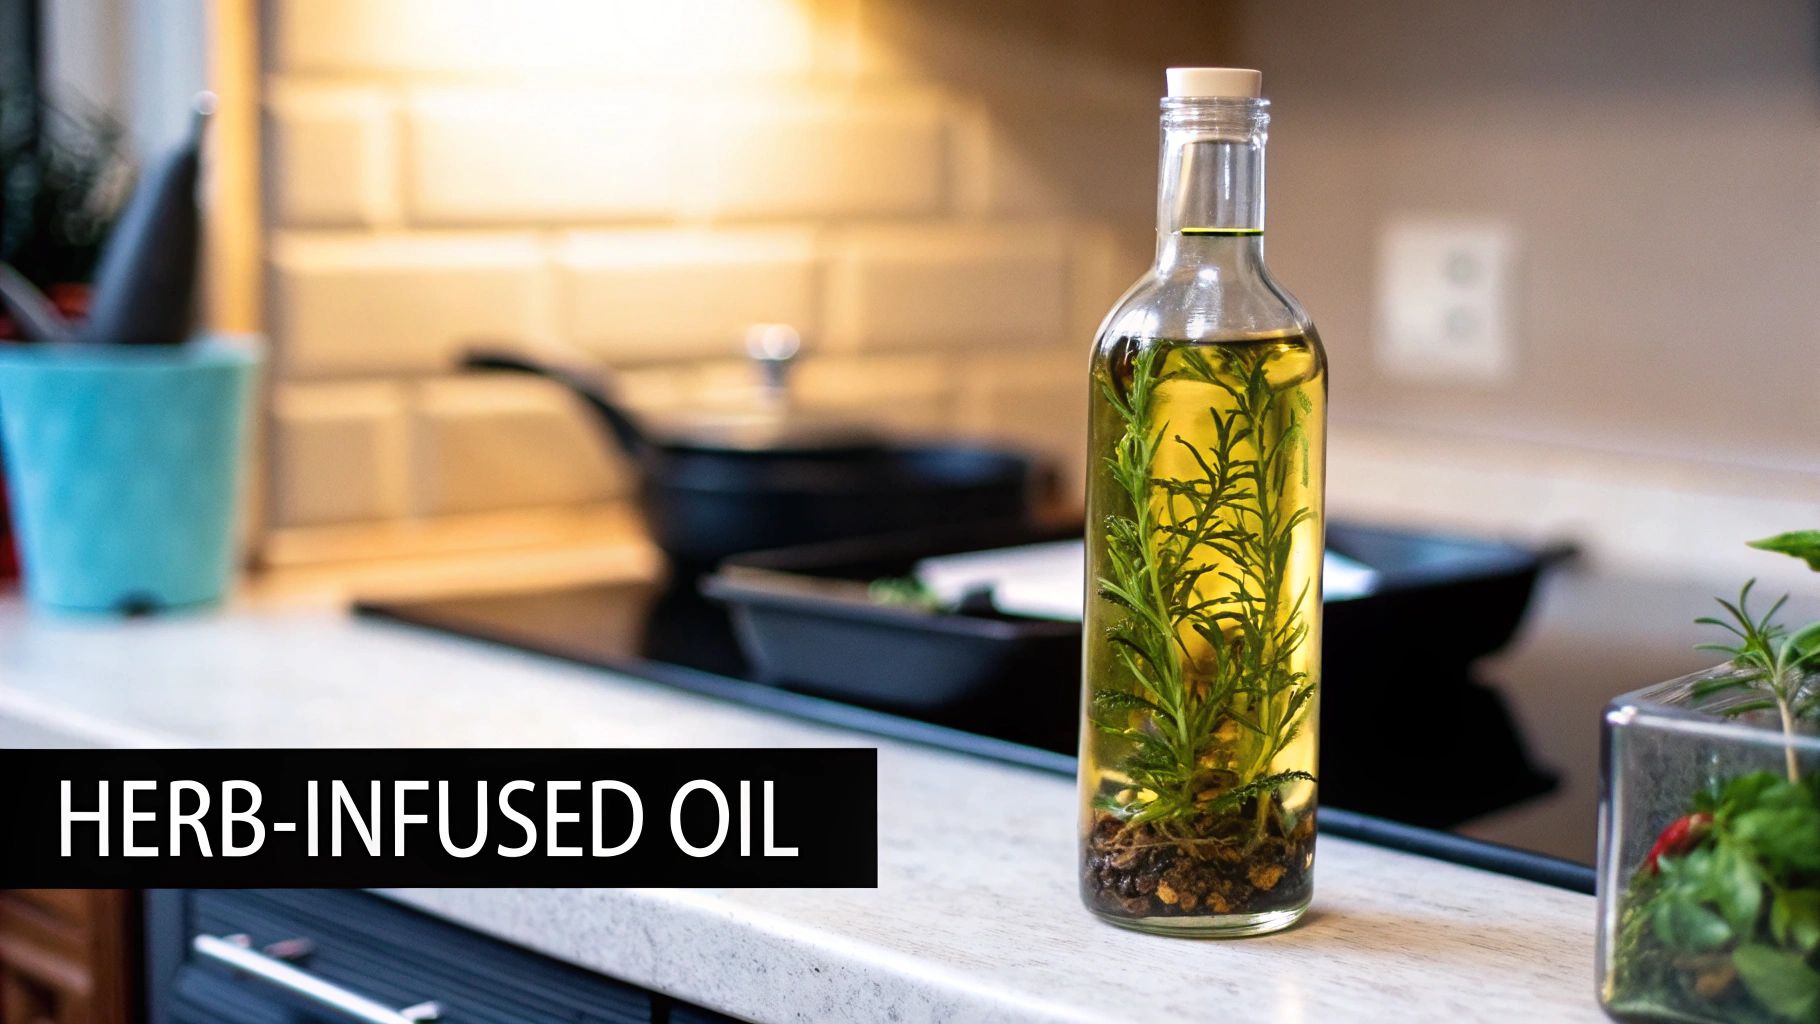
I have to admit, infusing is one of my favorite ways to bottle up the taste of summer. Just picture a jar of golden olive oil with a perfect sprig of rosemary suspended inside. It looks gorgeous on the counter and holds so much promise for roasting potatoes or vegetables.
Hot vs. Cold Infusion Methods
When you get down to it, you have two main ways to infuse: hot or cold. Each has its place, and the right choice really depends on your ingredients and how patient you are.
Cold Infusion: This is as simple as it gets. Just add your fresh herbs to a carrier like oil or vinegar, seal it up, and let it sit on the counter for a week or two. It’s completely hands-off and perfect for delicate herbs because there’s no heat to mess with their pure, clean flavor.
Warm Infusion: This method gets you there a lot faster. You gently warm the oil or vinegar with the herbs, which coaxes out the essential oils much more quickly. The key here is to keep the heat very low. You never want to simmer or fry the herbs—that would cook them and completely change the flavor you’re trying to capture.
I almost always lean toward cold infusion for its simplicity and the incredibly pure flavor it produces. That said, if I'm in a pinch and need a last-minute gift or a special infused oil for dinner tonight, the warm method works wonders in a fraction of the time.
Critical Safety Tips for Infused Oils
When you're preserving fresh herbs in oil, safety absolutely has to be your top priority. Fresh herbs contain water, and mixing water with oil in an environment without oxygen can create a risk for botulism, a very serious foodborne illness.
To keep things safe, make sure your herbs are completely dry before you submerge them in oil. If you insist on using fresh herbs, the finished oil must be refrigerated and used within one week. For a shelf-stable oil that can sit on the counter, using fully dried herbs is the only safe way to go.
Our Favorite Infusion Pairings
Ready to give it a try? These combinations are practically foolproof and a great way to dip your toes into the world of infusions. They’re fantastic for whipping up salad dressings, making marinades, or just drizzling over a finished dish for a pop of flavor.

Honestly, experimenting with different combinations is half the fun. A beautiful jar of rosemary-infused olive oil or a bottle of mint vinegar also makes a wonderful, thoughtful gift straight from your garden.
Your Questions on Preserving Herbs Answered
As you get your hands dirty with herb preservation, you’re bound to run into a few snags. It happens to everyone. This is where we tackle those common questions that pop up, turning potential frustrations into confident know-how.
Think of this as a quick-reference guide for those "what if" moments. We’ll cover the most frequent issues gardeners and home cooks run into, with clear, practical answers to get you back on track.
Should I Use a Microwave to Dry Herbs?
While it’s tempting to look for a shortcut, using a microwave to dry herbs is one I almost always steer people away from. The intense, uneven heat essentially cooks the leaves, vaporizing the delicate essential oils that give them flavor and aroma. You end up with something brittle, but bland.
For a far better, more flavorful result, stick with the slow-and-steady methods: air-drying, a dehydrator, or an oven on its absolute lowest setting. These techniques preserve the herb’s true character. If you’re in an absolute pinch, you can try it in very short 20-second bursts, but just know the final product won’t be nearly as potent.
Is It Necessary to Wash Herbs Before Preserving?
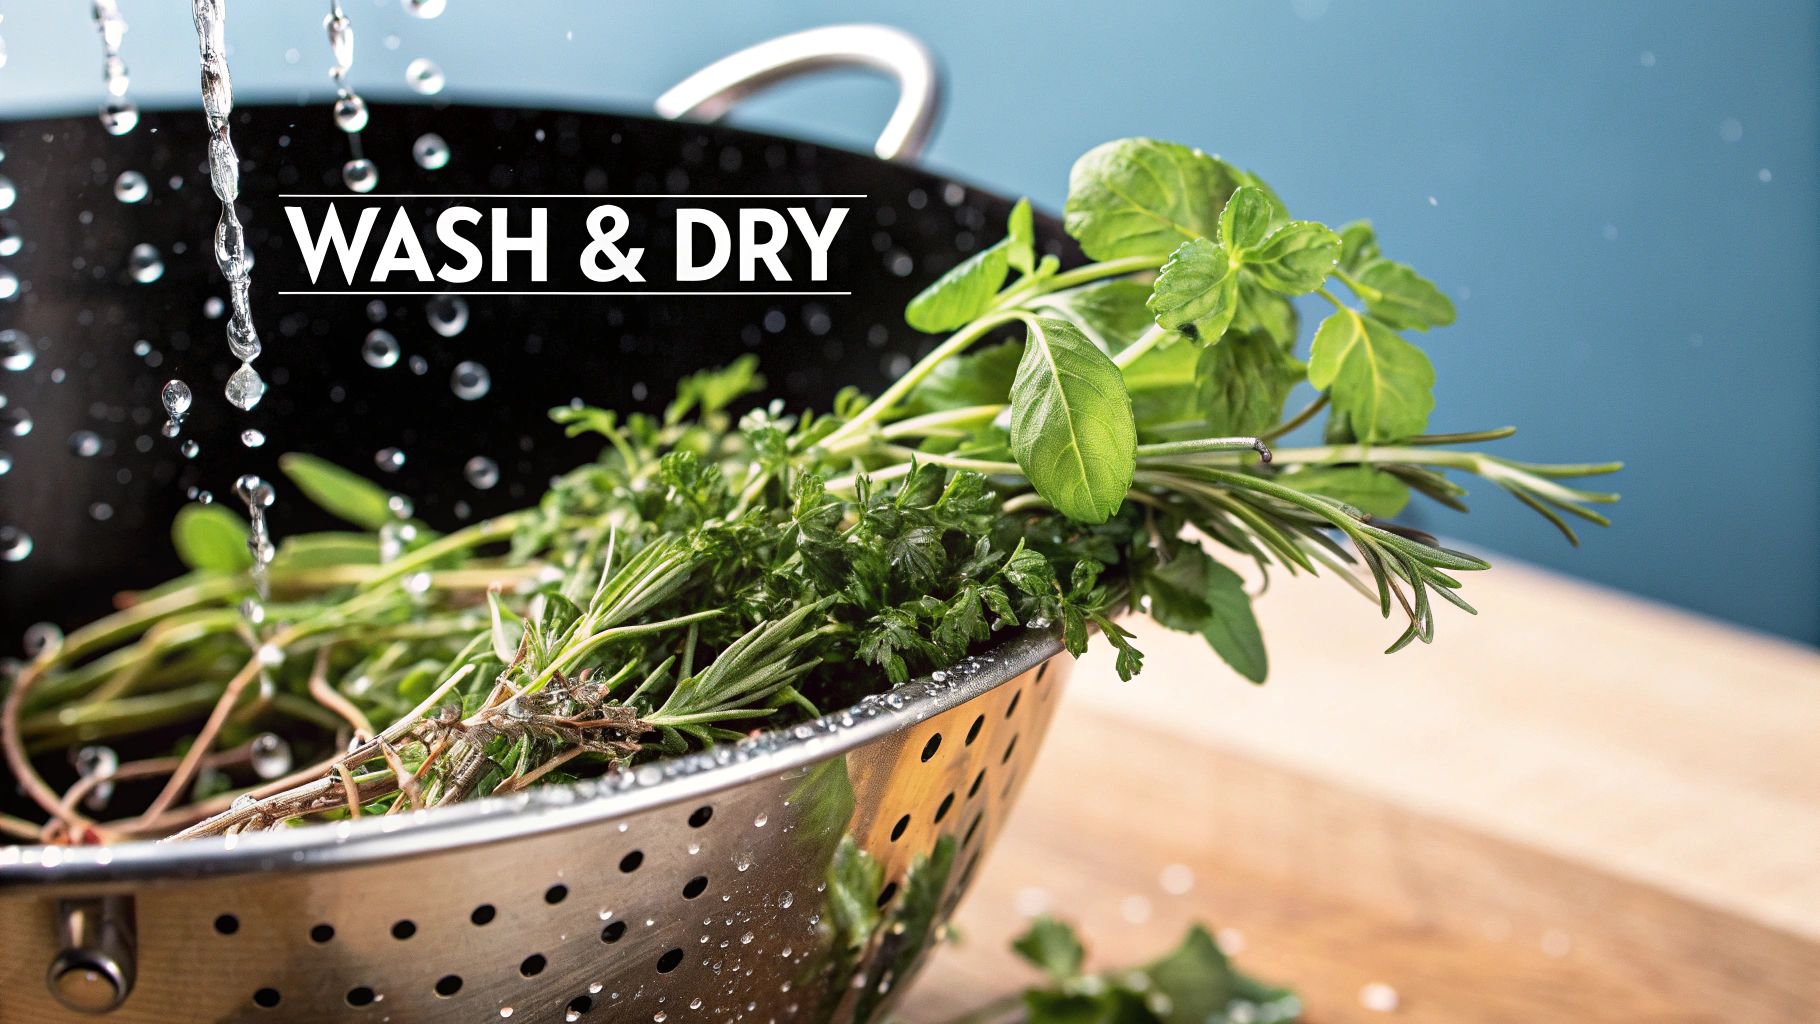
Yes, this is a non-negotiable step, especially if you’ve just brought your herbs in from the garden or a farmers' market. A quick rinse under cool water gets rid of any lingering dirt, tiny pests, or residues you definitely don't want in your final product.
But the most critical part comes right after washing: you must get them completely dry.
For Drying: Any moisture left on the leaves is an open invitation for mold, which can ruin an entire batch.
For Freezing: Excess water creates big ice crystals that damage the herb’s texture and lead to freezer burn much faster.
A gentle pat-down with a clean kitchen towel or a few spins in a salad spinner works wonders.
Key Takeaway: Washing is for cleanliness; thorough drying is for quality. Don't skip that second part. This principle of removing excess moisture is fundamental to all sorts of preservation, not just for herbs. If you're branching out, our guide on canning vegetables for beginners explores similar core concepts.
Why Did My Frozen Basil Turn Black?
Ah, the classic blackened basil problem. It’s frustrating, but the reason is simple: oxidation. When the delicate leaves are cut or bruised, enzymes inside react with the air and cause them to darken. It’s the same chemical reaction that turns a sliced apple brown.
To stop it, you need to blanch the leaves first. A quick dip in boiling water for just a few seconds, followed immediately by a plunge into an ice bath, deactivates those browning enzymes. After the ice bath, pat the leaves completely dry before freezing.
An even better method, in my opinion, is to puree the fresh basil with a bit of olive oil. Freeze this vibrant green paste in ice cube trays. The oil coats the tiny leaf particles, creating a protective barrier against the air and locking in that beautiful color.
How Do I Choose the Best Preservation Method?
Choosing the right technique really comes down to the herb’s natural makeup. I've found a simple distinction that makes the decision easy.
Hardy, low-moisture herbs with woody stems—like rosemary, thyme, sage, and oregano—have robust flavors that concentrate beautifully when dried. Their structure holds up well to the process.
On the other hand, tender, high-moisture herbs with soft stems—think basil, cilantro, parsley, and mint—lose their bright, fresh essence when you dry them. For these, freezing is by far the superior choice for capturing that just-picked flavor.
A good rule of thumb: if it has a woody stem, drying is your best bet. If it has a soft stem, freezing will almost always give you a better result.
At The Grounded Homestead, our goal is to help you bridge the gap between wanting to grow your own food and knowing how to do it. We're here to share our journey and provide the resources you need to cultivate a healthier, more self-sufficient lifestyle. Explore more on our site.


Facebook
Instagram
X
Youtube