How to Store Garden Potatoes for Lasting Freshness
How to Store Garden Potatoes for Lasting Freshness
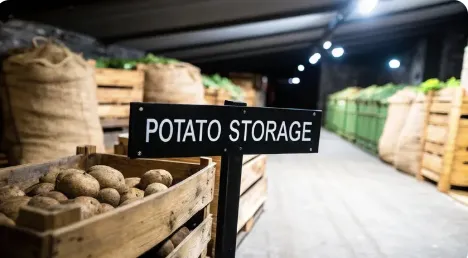
To get your garden potatoes to last through the winter and beyond, you need to give them what they want: a cool, dark, and humid spot to rest. Think of it like creating the perfect root cellar environment. This setup is the secret to preventing sprouting, stopping the skins from turning bitter and green, and keeping your harvest from shriveling into sad, soft spuds.
The Three Pillars of Perfect Potato Storage
Storing potatoes isn't just about shoving them in a dark corner and hoping for the best. It’s about recreating the underground conditions they’re used to. Once you master the big three—temperature, light, and humidity—you can dramatically extend the life of your harvest and avoid the most common storage mistakes.
Temperature and Light: A Delicate Balance
The ideal temperature range is surprisingly specific. You’re aiming for somewhere between 4°C to 10°C (39°F to 50°F). If your storage spot gets too cold, the potato starches convert to sugars, giving them an oddly sweet taste and causing them to darken when you cook them. Go too warm, and you’re basically sending them an invitation to sprout and spoil.
Just as critical is keeping them in complete darkness. Any exposure to light tells a potato to start producing solanine, which is what creates that tell-tale green skin. Solanine is not only bitter, but it can be toxic if you eat enough of it. A pitch-black storage area isn’t just a suggestion—it’s non-negotiable for keeping your potatoes safe and delicious. And remember, poor storage can lead to other issues, which we touch on in our guide to protect potatoes from common pests.
Why Humidity is Non-Negotiable
Finally, let's talk about humidity. This is the one people often forget, but it’s what keeps your potatoes firm and hydrated for months. Without enough moisture in the air, your potatoes will slowly lose water through their skins, leaving you with soft, shriveled spuds no one wants to eat.
The sweet spot for humidity is a relative humidity of 85-95%. This high humidity helps the potato skins act like a natural seal, locking in moisture and preserving that firm, fresh-from-the-garden texture.
For a quick reference, here are the ideal conditions you're trying to create.
Ideal Potato Storage Conditions at a Glance

Getting these conditions right is the foundation of turning your fresh harvest into a food supply that lasts. Understanding how to manage the environment is key, and you can find some great effective cabinet humidity control tips that apply the same principles to different storage situations. Master these three elements, and you’re well on your way.
Mastering the Art of Curing Potatoes
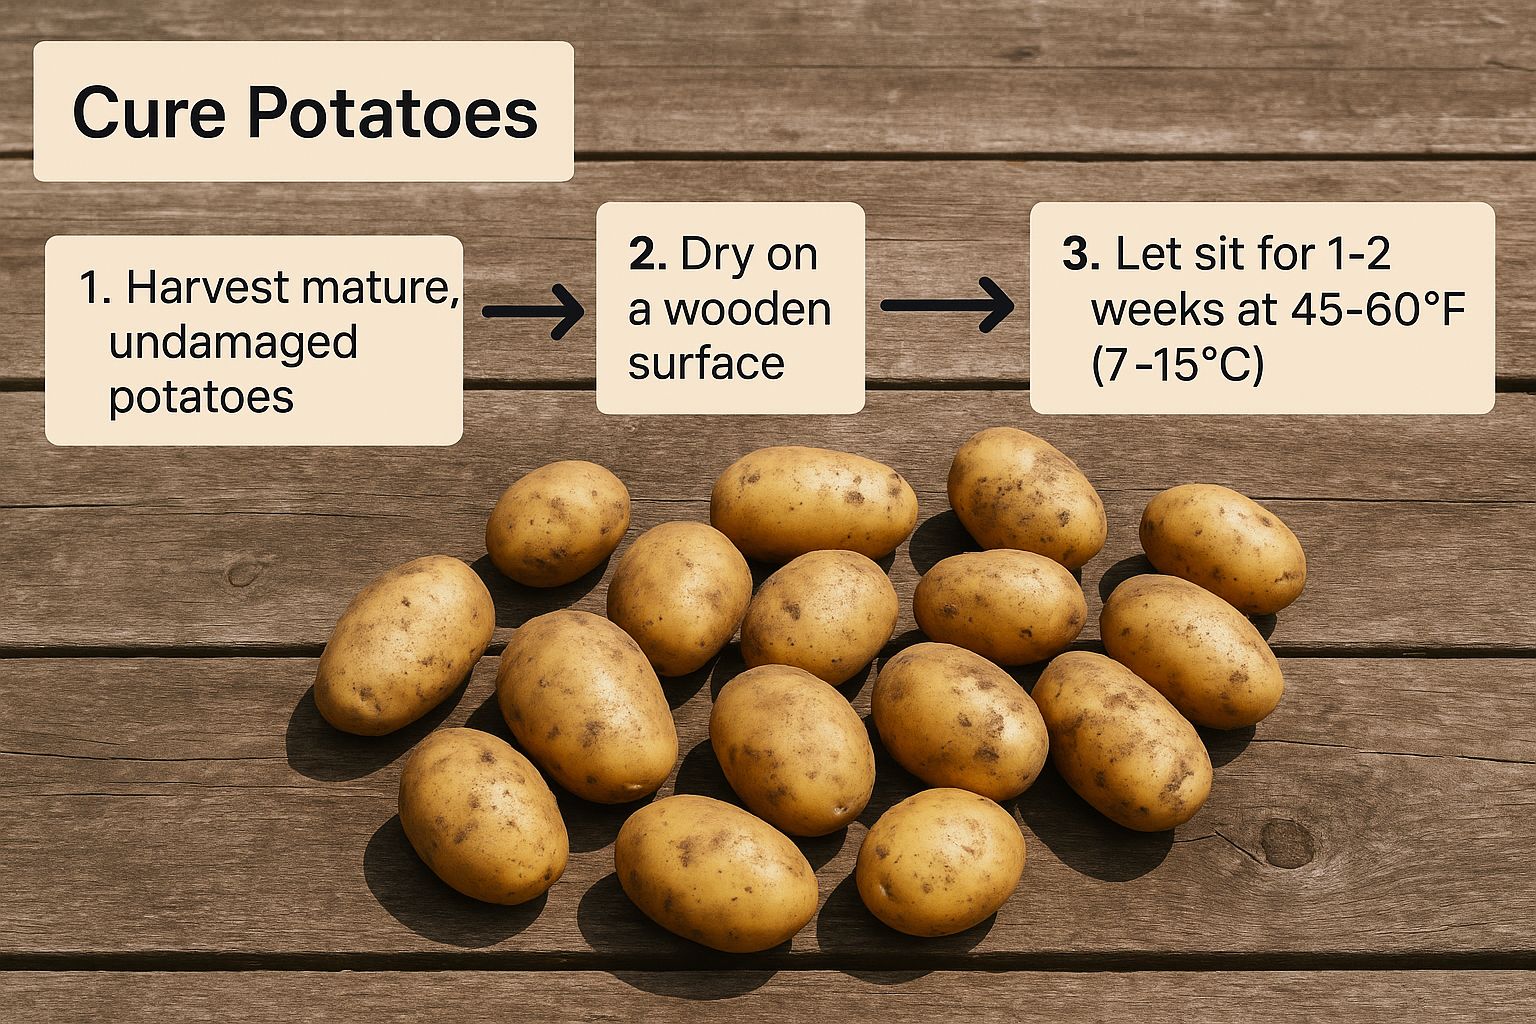
Before your potatoes can settle in for a long winter’s nap, they need a short stay at what I like to call a "potato spa." This step, known as curing, is absolutely crucial. It’s what toughens up their delicate skins, heals any nicks from harvesting, and gets them ready for long-term storage.
Think of it as creating a protective armor that locks in moisture and defends against rot.
So many gardeners skip this part. They pull their spuds from the garden and toss them straight into the pantry, only to find them shriveled or spoiling just a few weeks later. Proper curing can be the difference between potatoes that last a month and potatoes that last all winter.
The Simple Curing Process
It's a straightforward process, really. All you need is a space that is relatively warm, dark, and has decent airflow. A covered porch out of direct sun, a well-ventilated garage, or even a spare room can work perfectly.
Lay your unwashed potatoes out in a single layer. You can use newspaper, cardboard, or wire racks—anything that allows for good circulation. The key is making sure they aren't touching. You want air to move freely around each one to prevent moisture from getting trapped between them.
Let them rest like this for about one to two weeks. The goal is to create an environment where the skins can dry and harden without any light exposure, which would trigger greening and ruin the potato.
This simple setup is all it takes to get the best results.

You'll know the process is complete when the skins feel dry and tough, almost leathery to the touch. Any small cuts from your shovel should have formed a dry callus, effectively sealing the potato off from bacteria.
Once they reach this stage, they are officially ready to be moved to their final, long-term storage spot.
How to Sort Your Harvest for Long-Term Success
Once your potatoes have cured, it’s time for the most important step: inspection. Think of it as triage for your harvest, and it’s every bit as critical as the digging or curing. The old saying, "one bad apple spoils the bunch," is gospel here. A single rotting potato can absolutely ruin an entire crate.
Your job is to separate your harvest into two distinct piles. One for the cellar, and one for the kitchen. Potatoes perfect for long-term storage go in one pile, and those that need to be eaten in the next few weeks go in the other. This simple act of sorting is your best defense against finding a mushy, spoiled mess down the line.
What to Look For
Grab each potato and give it a good once-over. You’re playing detective, searching for any weakness or damage that could shorten its shelf life. Your inspection should be quick but thorough.
Keep a sharp eye out for these issues:
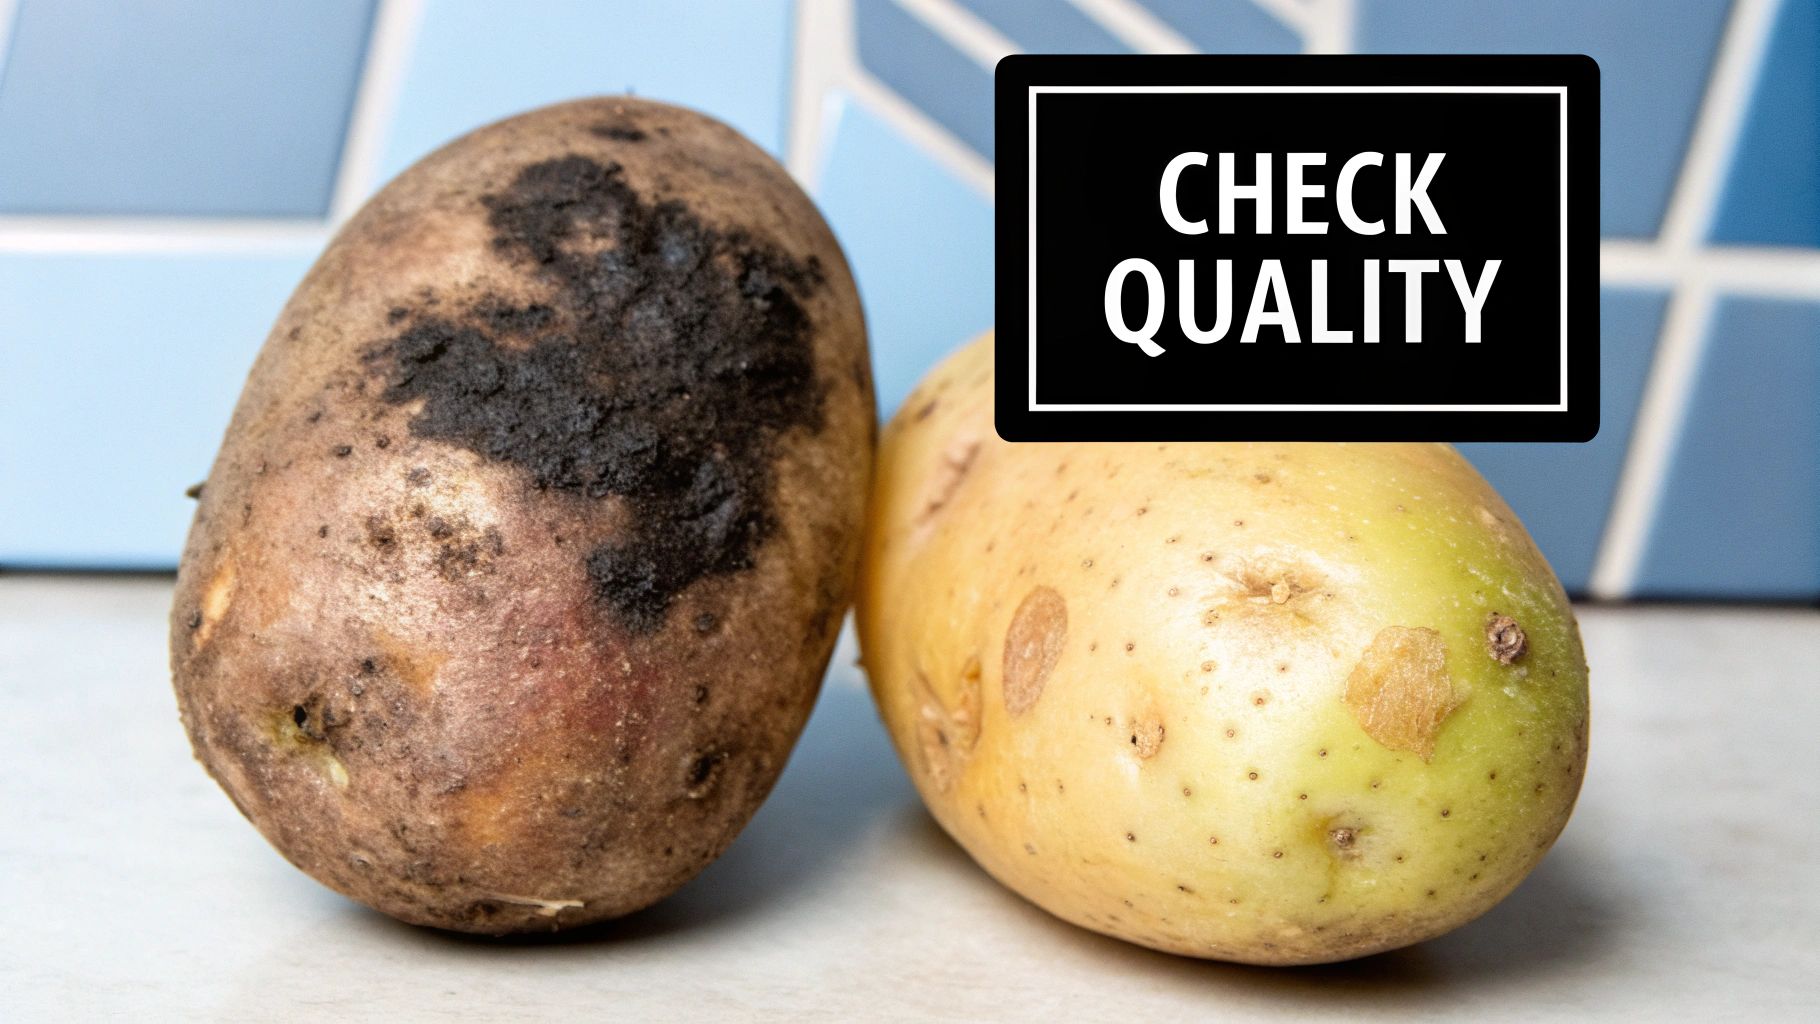
Soft Spots or Blemishes: Any mushy area is a huge red flag for rot. These spuds should go straight to the "use now" pile (after cutting away the bad part, of course) or into the compost.
Deep Cuts or Gashes: While curing heals minor scrapes, deep wounds from a shovel or pitchfork are open doors for bacteria. Add these to your "use first" pile.
Green Skin: A hint of green means the potato saw too much light and produced solanine. You can still eat them if you peel the skin and cut away all the green flesh, but they absolutely cannot be stored.
Signs of Blight or Disease: Look for dark, sunken spots or any strange textures. Don’t risk it. These should be discarded far from your garden and compost pile to prevent spreading disease.
By sorting your harvest now, you're making sure only the healthiest, most solid potatoes make it into long-term storage. This one step will dramatically increase your chances of enjoying your homegrown spuds deep into the winter.
This careful sorting, paired with a well-timed harvest, really sets you up for success. To get the timing just right, check out our guide on when to dig up potatoes.
Finding the Ideal Storage Spot in Your Home
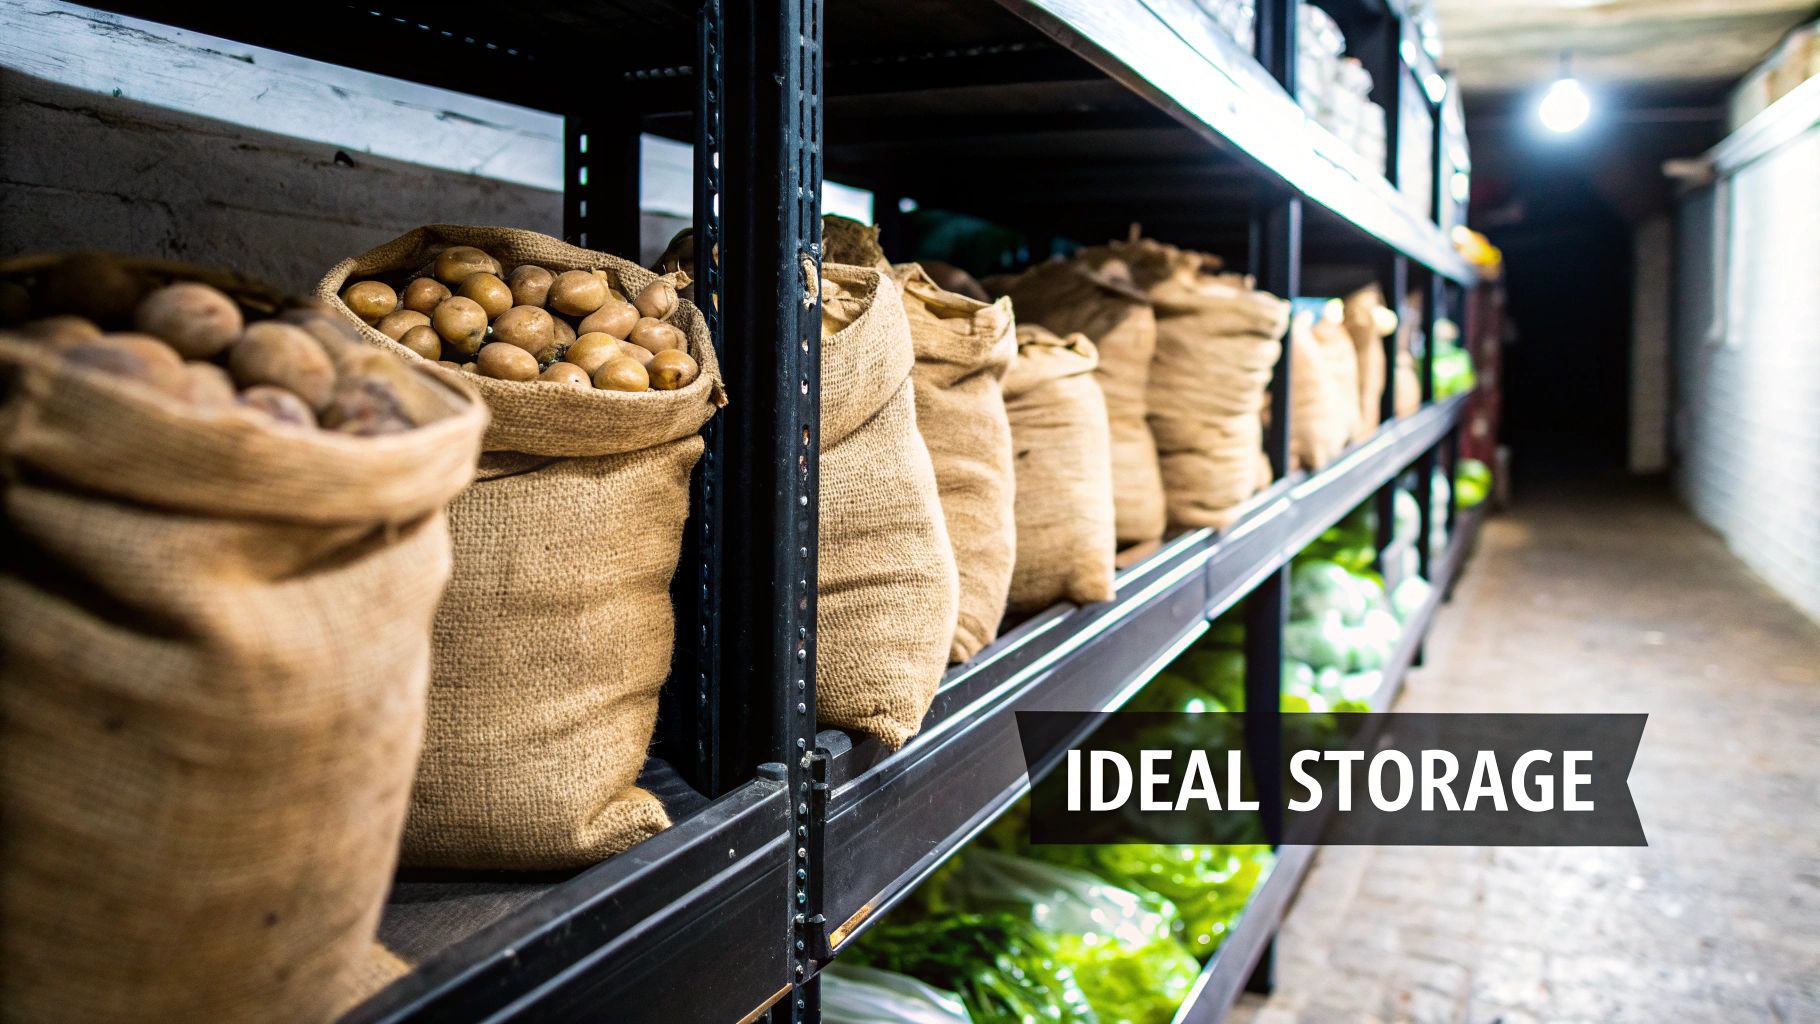
You don't need a classic root cellar to successfully store your potato harvest. The real secret is finding a spot in your own home that mimics those ideal conditions—cool, dark, and stable. With a little creativity, you can turn an everyday space into the perfect long-term home for your spuds.

Most homes have hidden potential for this. Think unheated basements, insulated garages, or even a dark closet on an exterior wall. The goal is to find a place that consistently stays within that sweet spot of 4°C to 10°C (39°F to 50°F) without wild temperature swings.
Evaluating Potential Storage Zones
Before you commit to a spot, you need to play detective. Place a simple thermometer in the potential area and check it at different times of the day for a week. This gives you a clear picture of how much the temperature fluctuates.
Here are a few common options I've seen work well:
Unheated Basement: This is often the gold standard. The ground provides natural insulation, keeping the temperature cool and steady. Just make sure it’s completely dark.
Insulated Garage: An attached garage can be a good candidate, but only if it’s well-insulated enough that it doesn’t freeze in winter or bake in summer. If you're using your garage for storage, checking out the best garage storage systems can give you some great ideas for keeping things organized.
Cool Closet or Pantry: A closet against an unheated, north-facing wall might just stay cool enough. The key is to avoid any closets that share a wall with a heated room or have hot water pipes running through them.
Remember, consistency is more important than perfection. A spot that stays at a steady 12°C (54°F) is far better than one that bounces between 2°C and 15°C.
Modifying Your Space for Success
Once you've chosen a location, a few simple tweaks can turn it into a five-star potato hotel. If the spot gets a bit too much light, blacking out a window with cardboard or a heavy curtain is an easy fix.
If you're worried about sudden cold snaps in a garage, you can offer some crucial protection by covering your potato crates with old blankets or insulated tarps.
Humidity is another factor you can influence. Basements are often naturally humid, but a dry garage might cause your potatoes to shrivel up. You can easily maintain that ideal 85-95% humidity level by placing a shallow pan of water near your storage containers. This simple trick helps keep your spuds firm and ready for the kitchen.
Choosing the Right Containers for Optimal Airflow
What you store your potatoes in is just as important as where you put them. The single biggest mistake I see people make is sealing their spuds away in a plastic bin. This is a surefire way to trap moisture, creating a perfect breeding ground for mold and rot. Before you know it, your precious harvest is a slimy, unusable mess.
The secret to long-lasting potatoes is simple: ventilation. They need to breathe. Choosing a container with plenty of airflow is non-negotiable if you want to prevent the moisture buildup that leads to spoilage. This one choice can be the difference between enjoying your potatoes for months or composting them after just a few weeks.

Comparing Classic Storage Options
Fortunately, the best options are often the most traditional ones. These containers are tried-and-true for a reason—they're fantastic at promoting the airflow potatoes crave.
Wooden Crates: An excellent choice, especially the kind with slatted sides. Wood is naturally breathable and sturdy enough that you can stack them without crushing the potatoes at the bottom.
Wicker Baskets: Lightweight and incredibly breathable, wicker is another great option. The natural gaps in the weave provide all-around ventilation, which is exactly what you want for keeping potatoes dry.
Burlap Sacks: The classic potato sack is iconic for a reason. Its coarse weave allows for superior air circulation, though they can be a bit harder to stack without bruising the spuds inside.
No matter what container you pick, never overfill it. I make it a rule to fill them no more than 15 cm (6 inches) deep. This prevents the potatoes on the bottom from getting crushed by the weight above and ensures air can still move freely around every last one.
The One Neighbor Potatoes Can't Stand
There’s one critical rule for organizing your root cellar or pantry: potatoes and onions should never be neighbors. Onions release ethylene gas as they age, which acts as a ripening agent. Storing them next to your potatoes will signal your spuds to start sprouting way ahead of schedule, drastically shortening their shelf life.
Keep them in separate corners of the room or, at the very least, on different shelves. It's also a great habit to do a quick monthly inspection. Just sift through your containers, feel for any soft spots or sprouts, and check for signs of mold. If you find a problem spud, pull it out immediately to keep it from spoiling the rest.
Got Potato Problems? We’ve Got Answers.
Even with the best-laid plans, a few surprises can pop up in your potato bin. Knowing how to handle these common issues is what separates a decent harvest from a supply that lasts deep into winter.
From little green spots to unexpected sprouts, a bit of know-how ensures all your hard work pays off. Let's tackle some of the most frequent questions that come up once the spuds are stored away.
What Do I Do if My Potatoes Start Sprouting?
Don’t panic if you see a few small sprouts. It’s not a sign of failure! This is usually just the potato telling you its environment is a little too warm or humid, which is its natural cue to start growing again.
As long as the potato is still firm and isn’t shriveled, it's perfectly safe to eat. Just snap off the sprouts with your fingers right before you cook them. Be sure to pull those sprouted spuds to the front of the line and use them up first.
Should I Wash Potatoes Before Storing Them?
It's so tempting to wash off all that dirt before you put your potatoes away, but you have to resist the urge. Moisture is the number one enemy of long-term potato storage. It creates the perfect breeding ground for mold and rot.
Instead, let your potatoes air dry completely after you pull them from the ground. Once the soil is dry and crumbly, you can gently brush off the large clumps with your hands. Save the real washing for right before they hit the cooking pot.
Key Takeaway: That thin layer of dry soil acts as a natural protective barrier. Washing potatoes before storing them introduces moisture that will dramatically shorten their shelf life.
Why Are My Potatoes Turning Green?
Potatoes turn green when they're exposed to light. This triggers the production of a compound called solanine, which has a bitter taste and can be harmful if you eat a lot of it. This is exactly why storing them in complete darkness is non-negotiable.
If you find a few potatoes with green skin, they can usually be salvaged. You just have to be thorough.
Grab a peeler and remove all of the skin.
Use a knife to generously cut away any green-tinged flesh underneath.
The rest of the potato is perfectly fine to cook and eat.
How Often Should I Check My Stored Potatoes?
Getting into the habit of a quick monthly check-in is one of the smartest things you can do. This simple routine lets you catch any potential problems before they have a chance to spread to the rest of your harvest.
Once a month, gently sift through your potatoes and keep an eye out for:
Sprouting: Snap off any sprouts you find.
Soft Spots: If a potato feels mushy, pull it out immediately.
Shriveling: This might mean your storage area is a little too dry.
Mold: Any potato with visible mold needs to be discarded.
By pulling out any troublemakers right away, you protect the entire batch. This proactive approach is a cornerstone of any successful strategy for long-term food storage.
At The Grounded Homestead, we believe that growing and storing your own food is one of the most rewarding skills you can learn. Explore more guides and tips to help you on your homesteading journey at https://thegroundedhomestead.com.


Facebook
Instagram
X
Youtube