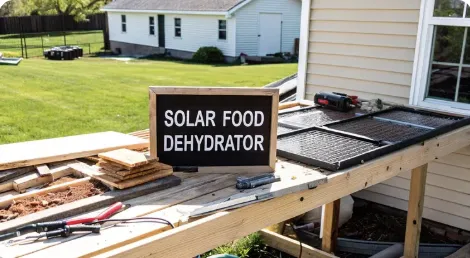
Build a Solar Food Dehydrator DIY Project
Build a Solar Food Dehydrator DIY Project
Building a solar food dehydrator diy project is a simple way to preserve your garden's harvest using only the sun's power. It’s a practical, off-grid solution that cuts down on food waste and lets you make healthy, preservative-free snacks without touching your electricity bill. This project is a direct line to a more sustainable, self-sufficient lifestyle.
Why Build Your Own Solar Dehydrator
Imagine capturing free energy from the sun to turn fresh summer fruits into delicious, shelf-stable snacks for winter. Building a solar food dehydrator is more than just a clever weekend project; it's a real, tangible step toward self-sufficiency and shrinking your environmental footprint.
When you build your own, you get complete control over the materials and design. It's the perfect opportunity to use upcycled items like old windows or scrap lumber you've had lying around.
This journey is about more than just construction, though. It's about embracing a mindset of resourcefulness. You’ll get the deep satisfaction of making something truly useful with your own two hands—a tool that directly contributes to a healthier way of life.
The Tangible Benefits of Going Solar
The most immediate win is the savings. A solar dehydrator uses nothing but the sun's heat to gently pull moisture from your produce, preserving it without needing a single watt of electricity.
This is a world away from electric methods, which can really add up on your utility bill. Over a summer of weekly use, a household could save between £50 to £100 on electricity bills alone just by switching to a DIY solar dehydrator. These energy market statistics really put it into perspective.
Beyond the savings, you'll also get to enjoy:
Healthier Food: You're in charge of what goes into your snacks. By drying your own fruits, vegetables, and herbs, you skip the preservatives, added sugars, and sulfites that are so common in store-bought options.
Reduced Food Waste: That bumper crop of tomatoes or apples doesn’t have to go to waste. Dehydration is a powerful way to preserve excess produce, locking in flavor and nutrients for months. Our guide on preserving food at home offers more fantastic techniques.
Eco-Friendly Living: Since it operates entirely off-grid, your dehydrator has a minimal carbon footprint. For those inspired to scale up their sustainable efforts, there are even funding opportunities for larger renewable energy projects.
Building your own solar dehydrator isn't just about saving money—it's about gaining food independence. You're creating a direct link between your garden and your pantry, powered entirely by a free, natural resource.
Gathering Your Materials and Tools
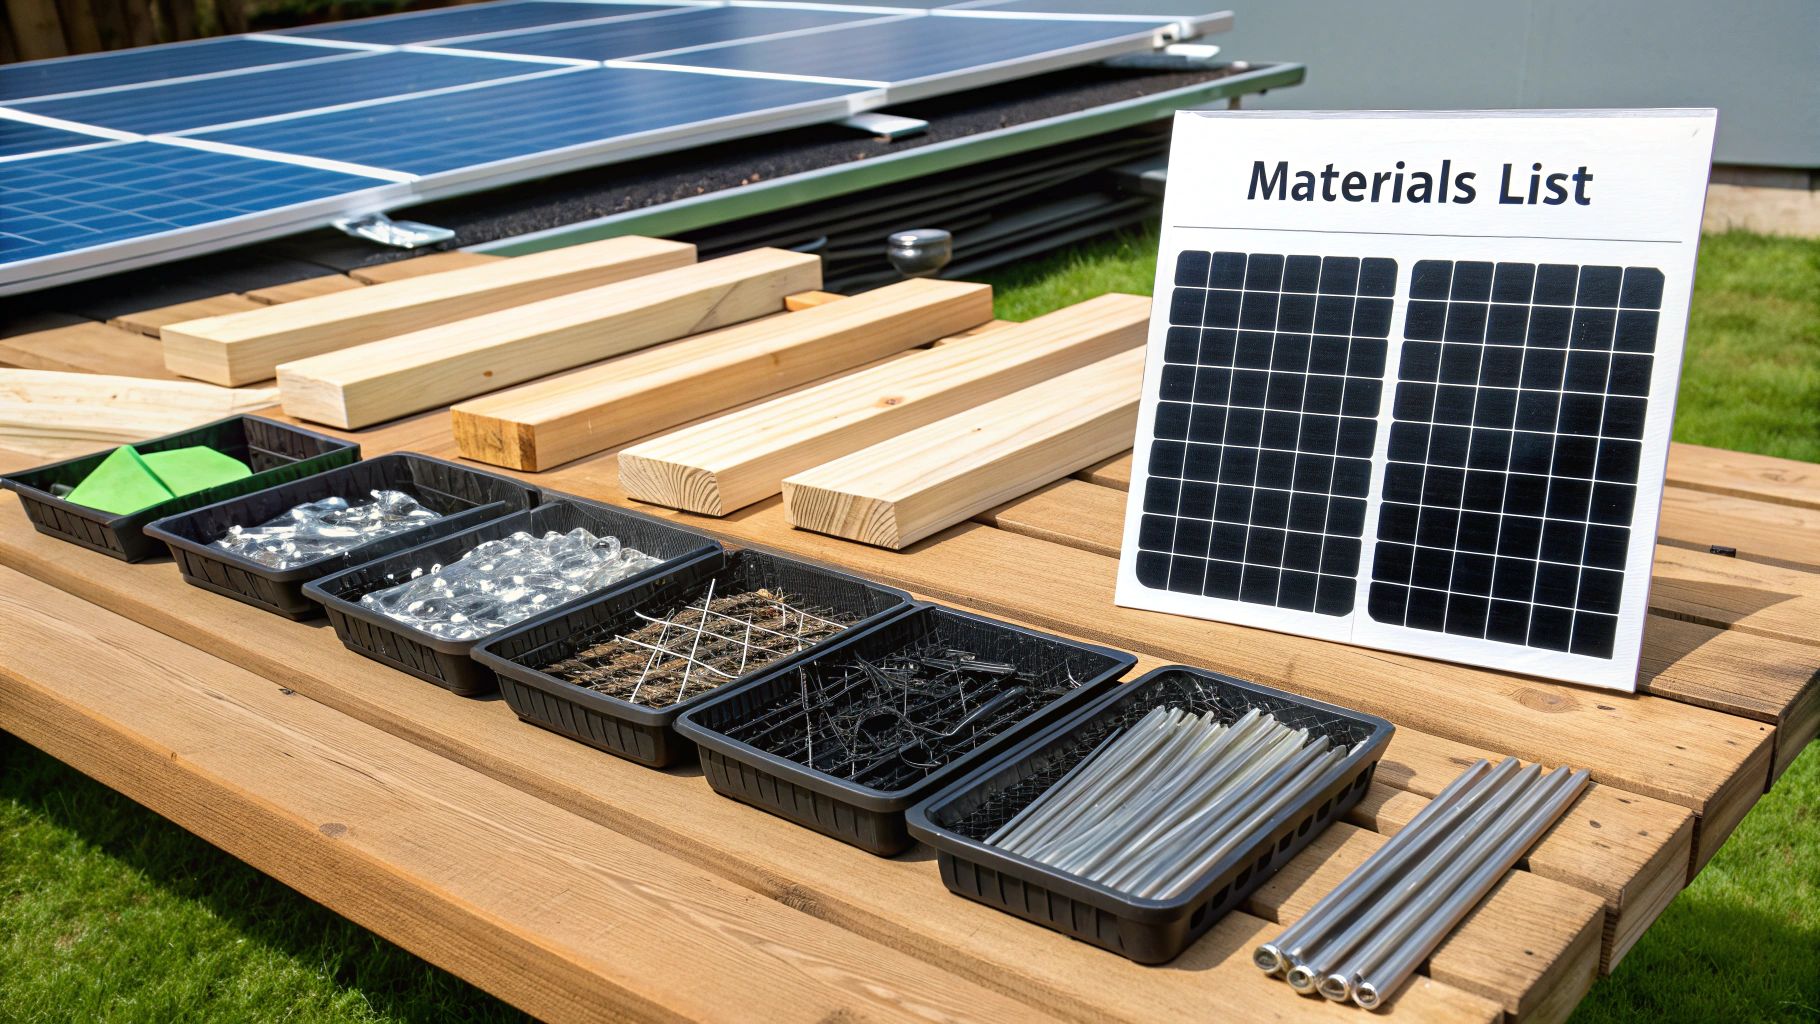
A good solar food dehydrator diy project doesn’t start with the first cut—it starts with smart prep. Gathering the right components ahead of time makes all the difference, and the real beauty of this build is its flexibility. You can build a seriously effective unit using mostly upcycled or scrap materials.
Before you head to the hardware store, take a look around your own workshop or garage. An old single-pane window is a perfect find for the transparent cover. Leftover lumber from a deck project, like 2x4s or plywood sheets, can easily form the main structure. Even small offcuts of hardware cloth or food-safe screen mesh can be repurposed for the drying trays.
Core Structural Materials
Your dehydrator needs a solid frame to hold everything together and an efficient system for trapping heat. The frame is the skeleton, but the collector and absorber plate are the engine of your machine.
For the Frame: Plywood is a common choice for the main box because it's stable and easy to work with. If you can find it, exterior-grade sheets are best, but any ¾-inch plywood will do the job. You'll also need some basic lumber (like 2x4s or 2x2s) for the internal bracing and supports.
For the Glazing: This is your "window" that lets the sunlight pour in. A reclaimed glass panel from an old window is ideal and often free. Otherwise, a sheet of clear polycarbonate or acrylic (plexiglass) works just as well and is much less likely to break.
For the Absorber Plate: This is the critical component that soaks up solar radiation and converts it to heat. A thin sheet of metal painted matte black is the gold standard for efficiency. In a pinch, you can even use a piece of plywood painted black, though it won't be quite as effective at absorbing heat.
At its heart, a DIY solar food dehydrator uses simple materials—often reclaimed wood, mesh screens, and transparent covers—to harness passive solar heat and airflow. By relying entirely on the sun, these dehydrators operate with zero ongoing energy costs, unlike their conventional electric counterparts. Discover more insights about sustainable food preservation at backyard-farmer.com.
To help you decide where to spend and where to save, here’s a quick breakdown of the essential materials versus some optional upgrades.
Essential vs Optional Materials Breakdown

This table should give you a good idea of how you can adapt the build to your budget and the materials you have on hand. Don't be afraid to get creative with what you can find!
Essential Tools for Assembly
You don’t need a professional workshop to pull this off, but having a few key tools will make the job much easier and safer. I’ve broken them down into what you absolutely need and what’s just nice to have.
Must-Have Tools
Measuring Tape & Pencil: Accuracy is your best friend here. A snug fit is a good fit.
Saw: A circular saw will make quick work of cutting the plywood and lumber, but a simple hand saw is perfectly capable if that’s what you’re working with.
Drill with Bits: Essential for pre-drilling holes to prevent the wood from splitting and for driving in all your screws.
Staple Gun: This is by far the fastest and easiest way to attach screen mesh to your drying trays.
Nice-to-Have Tools
Speed Square: Invaluable for making perfectly straight and angled cuts. A real time-saver.
Caulking Gun: Really useful for sealing up any gaps to improve heat retention and keep pests out.
Clamps: A second set of hands. They hold pieces firmly in place while you fasten them together, which is a huge help when working alone.
With your materials and tools gathered and organized, you're ready to stop planning and start building.
Constructing Your Dehydrator Frame
Alright, time to move from paper plans to sawdust. This is where your stack of lumber starts to look like the real deal—the frame of your solar food dehydrator diy project. We're going to tackle this in two main chunks: the drying chamber, where the food will live, and the solar collector, which is the engine that makes the whole thing run.
The cuts are pretty straightforward, but you'll want to be precise. Taking your time to get square cuts and accurate measurements now will save you a lot of headaches later. It ensures everything fits together snugly, creating an efficient box that traps heat and keeps unwanted critters out. Even if you're new to this kind of project, the design is simple enough to be forgiving.
Laying the Foundation: The Main Box
The main box, or drying chamber, is where all the magic happens. Its job is to hold your drying racks and funnel hot air up and over your food, wicking away moisture. For this build, we're aiming for a box that’s about 2 feet wide, 2 feet deep, and 3 feet tall. Of course, feel free to tweak these numbers to match the materials you have on hand or how much you plan to dry at once.
First up, cut the ¾-inch plywood for the sides, back, and bottom of the chamber. You'll need two side pieces, one back piece, and a bottom piece. We'll leave the top open for now, as it needs to connect to the solar collector later on.
With your main panels cut, use 2x2 lumber to build out an internal frame. This not only adds a ton of rigidity but also gives you a solid surface to screw the plywood panels into. I like to assemble the two sides and the back panel first. Always pre-drill your holes to keep the plywood from splitting—it's a small step that makes a huge difference. Your speed square is your best friend here; use it to make sure every corner is a perfect 90-degree angle.
Once the back and sides are together, you can screw on the bottom panel. Just like that, you have a basic box. It should feel a bit like you're building a simple cabinet. If you're looking for more practice with similar woodworking, our guide on how to build a cold frame uses a lot of the same basic principles.
Building the Heat Engine: The Solar Collector
The solar collector is, without a doubt, the most important piece of this puzzle. Think of it as a shallow, angled box that attaches to the front of your drying chamber. Its only job is to soak up as much sunshine as it can, heat the air passing through it, and kickstart the natural convection that drives the whole process.
You can build the collector frame from 1x4 or 2x4 lumber. It's essentially a rectangle that will eventually be covered by your glazing material (like a sheet of glass or polycarbonate). The inside of this box must be painted with high-quality, matte black paint. This part isn't optional. Glossy paint will reflect sunlight, but a matte black finish absorbs it, turning that light into heat with incredible efficiency.
Inside the collector, you'll need to install an absorber plate. This can be a thin sheet of metal or even a piece of plywood—as long as it’s also painted matte black. Corrugated metal works especially well because the ridges increase the surface area, letting it grab even more heat. Mount the absorber plate inside the collector box, leaving a small air gap underneath. This is crucial. It allows cool air to enter from the bottom, get heated as it passes under the hot plate, and then rise into the drying chamber.
Don't just build the solar collector flat. Giving it a slight angle is vital—and not just for looks. It ensures the surface stays perpendicular to the sun's rays for more of the day, which dramatically boosts the amount of energy you can capture.
This simple graphic shows the basic assembly flow for putting the frame together.
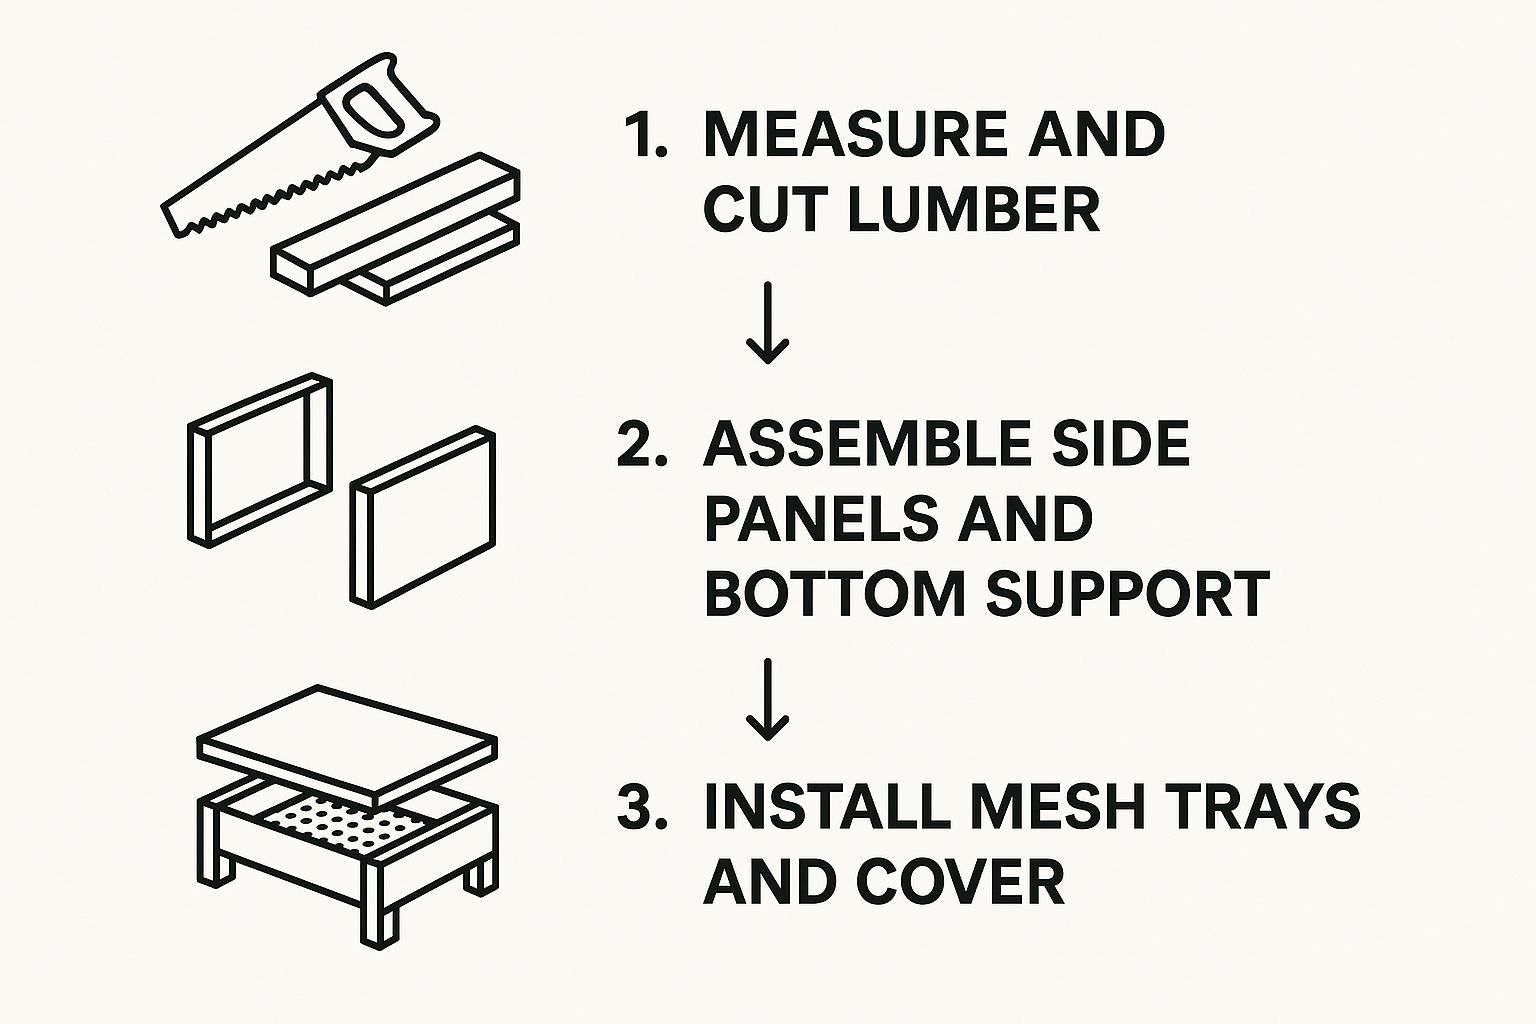
Following this order keeps the build logical and stable. You start with the main structure and then add the functional guts.
Assembling the Components
Now it's time to marry the two main pieces. Attach the solar collector to the front of the drying chamber at an angle somewhere between 30 to 45 degrees. This angle is the sweet spot for maximizing sun exposure throughout the day. The bottom of the collector will need an intake vent, covered with a screen, to let fresh air in while keeping bugs out.
The top of the collector should line up perfectly with an opening you'll cut at the bottom of the drying chamber. This connection lets the super-heated air flow directly from the collector into the chamber where your food is waiting. To complete the circuit, you'll also need an exhaust vent at the very top of the chamber's back panel. This creates a complete airflow path: cool air comes in the bottom, gets heated, rises through the food, and the now-moist air escapes out the top.
Creating the Drying Trays
The drying trays are just simple frames, usually made from 1x2 lumber, with a food-safe screen mesh stretched across them. Stainless steel screen is the gold standard for durability and food safety, but you can find other food-grade plastic meshes that work just as well.
Here’s how to whip them up:
Cut the Frame: Measure and cut your 1x2s to create rectangular frames that will slide easily into your drying chamber, leaving a little wiggle room.
Assemble the Frames: Use a bit of wood glue and some screws or staples to join the four corners of each frame.
Attach the Mesh: Cut your screen so it overlaps the frame by about an inch on all sides. Pull it tight and use a staple gun to secure it, placing staples every inch or two for a solid hold.
Inside the drying chamber, you’ll install simple runners for the trays to slide on. Leftover scraps of 1x2s are perfect for this. Space them about 4-6 inches apart vertically to ensure there's plenty of airflow around each tray. Once your trays are in, the main structure of your solar food dehydrator is complete and ready for the final touches.
Mastering Your Solar Dehydrator
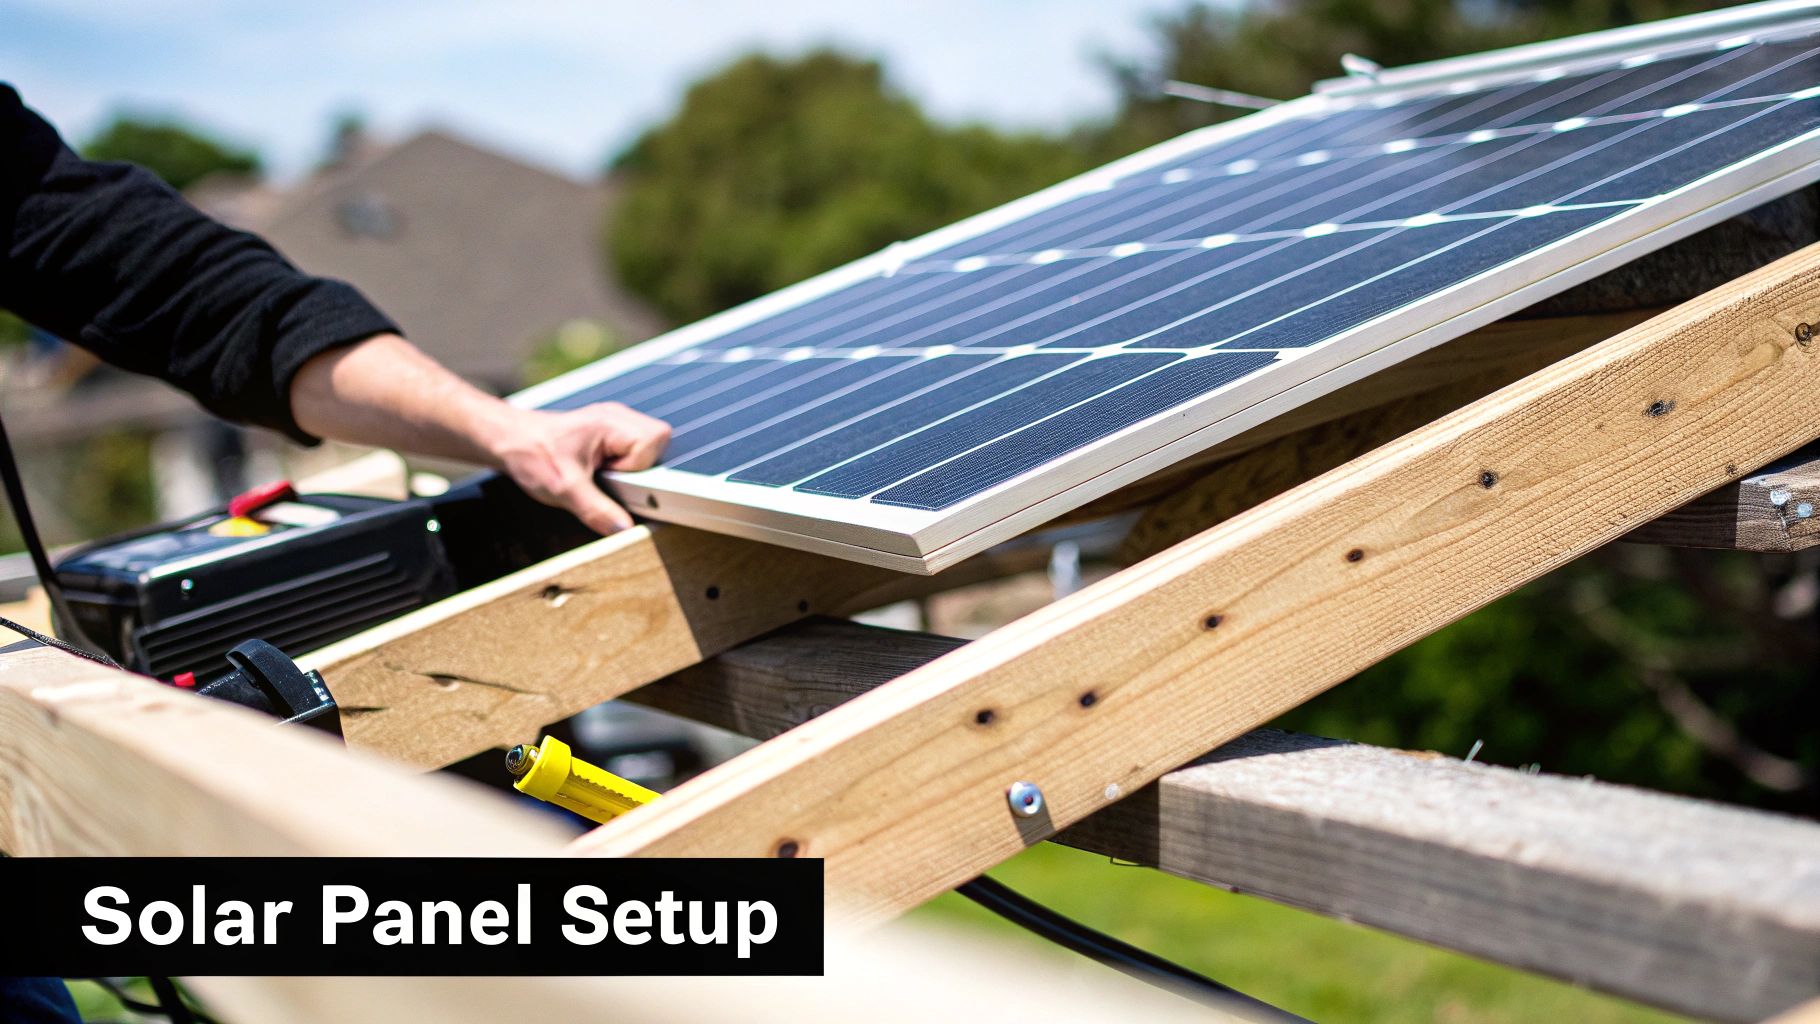
Alright, the build is done. Now for the fun part: turning fresh produce into shelf-stable gold. Getting great results from your solar food dehydrator diy project is all about technique from here on out. It’s an art that balances food prep, smart placement, and learning to read the subtle signs of perfectly preserved food.
It all starts with the food itself. Your new best friend is uniformity. Slicing your fruits and veggies to a consistent thickness—aim for ¼-inch or less—is the secret to even drying. Thinly sliced apples will give you those satisfyingly crisp chips, while anything thicker might end up leathery.
Some veggies, like green beans or carrots, really benefit from a quick blanch before they go on the trays. Just a brief dip in boiling water followed by an ice bath helps lock in their color and texture. For a deeper dive, our guide on https://thegroundedhomestead.com/post/how-to-dehydrate-vegetables has detailed prep tips for specific crops.
Optimizing Your Setup for Success
How you position and load your dehydrator makes a huge difference in its efficiency. Unlike an electric model, this isn't a "set it and forget it" machine. It works in harmony with the sun, and you're the conductor.
Think like a sunflower. You’ll want to orient the dehydrator to face the sun directly. I usually find myself adjusting its position once or twice throughout the day to follow the sun's path across the sky. This simple tweak can shave hours off your drying time. Of course, none of that matters if the collector is dirty, so regular cleaning solar collection surfaces for optimal performance is key to soaking up every possible ray.
Loading the trays correctly is just as important.
Give It Room to Breathe: Whatever you do, don't overcrowd the trays. Food needs to be in a single layer with plenty of space around each piece. This lets the warm, moist air escape properly.
Rotate, Rotate, Rotate: The trays at the bottom, closer to the heat source, almost always dry faster. About halfway through the process, make a plan to rotate your trays from top to bottom to get a more consistent result.
A simple oven thermometer placed inside can be a game-changer. The sweet spot for most foods is between 95°F and 115°F. If you see it getting too hot, just prop the door open slightly. This helps regulate the temperature and keeps you from accidentally cooking the food instead of drying it.
Knowing When Your Food Is Ready
Drying times are more of an art than a science. They depend heavily on the day's humidity, the intensity of the sun, and the water content of what you're drying. Herbs are your quickest win, often ready in just a few hours. When they crumble easily between your fingers, they're done.
Fruits are ready when they feel leathery and pliable. If you tear a piece in half, there should be no visible moisture inside. Vegetables, on the other hand, should be brittle or what I call "crisp-dry." You shouldn't find any soft spots left.
Learning these visual and textural cues is how you'll truly master your dehydrator. It’s how you turn a summer harvest into something you can enjoy for months to come.
Troubleshooting Common Problems
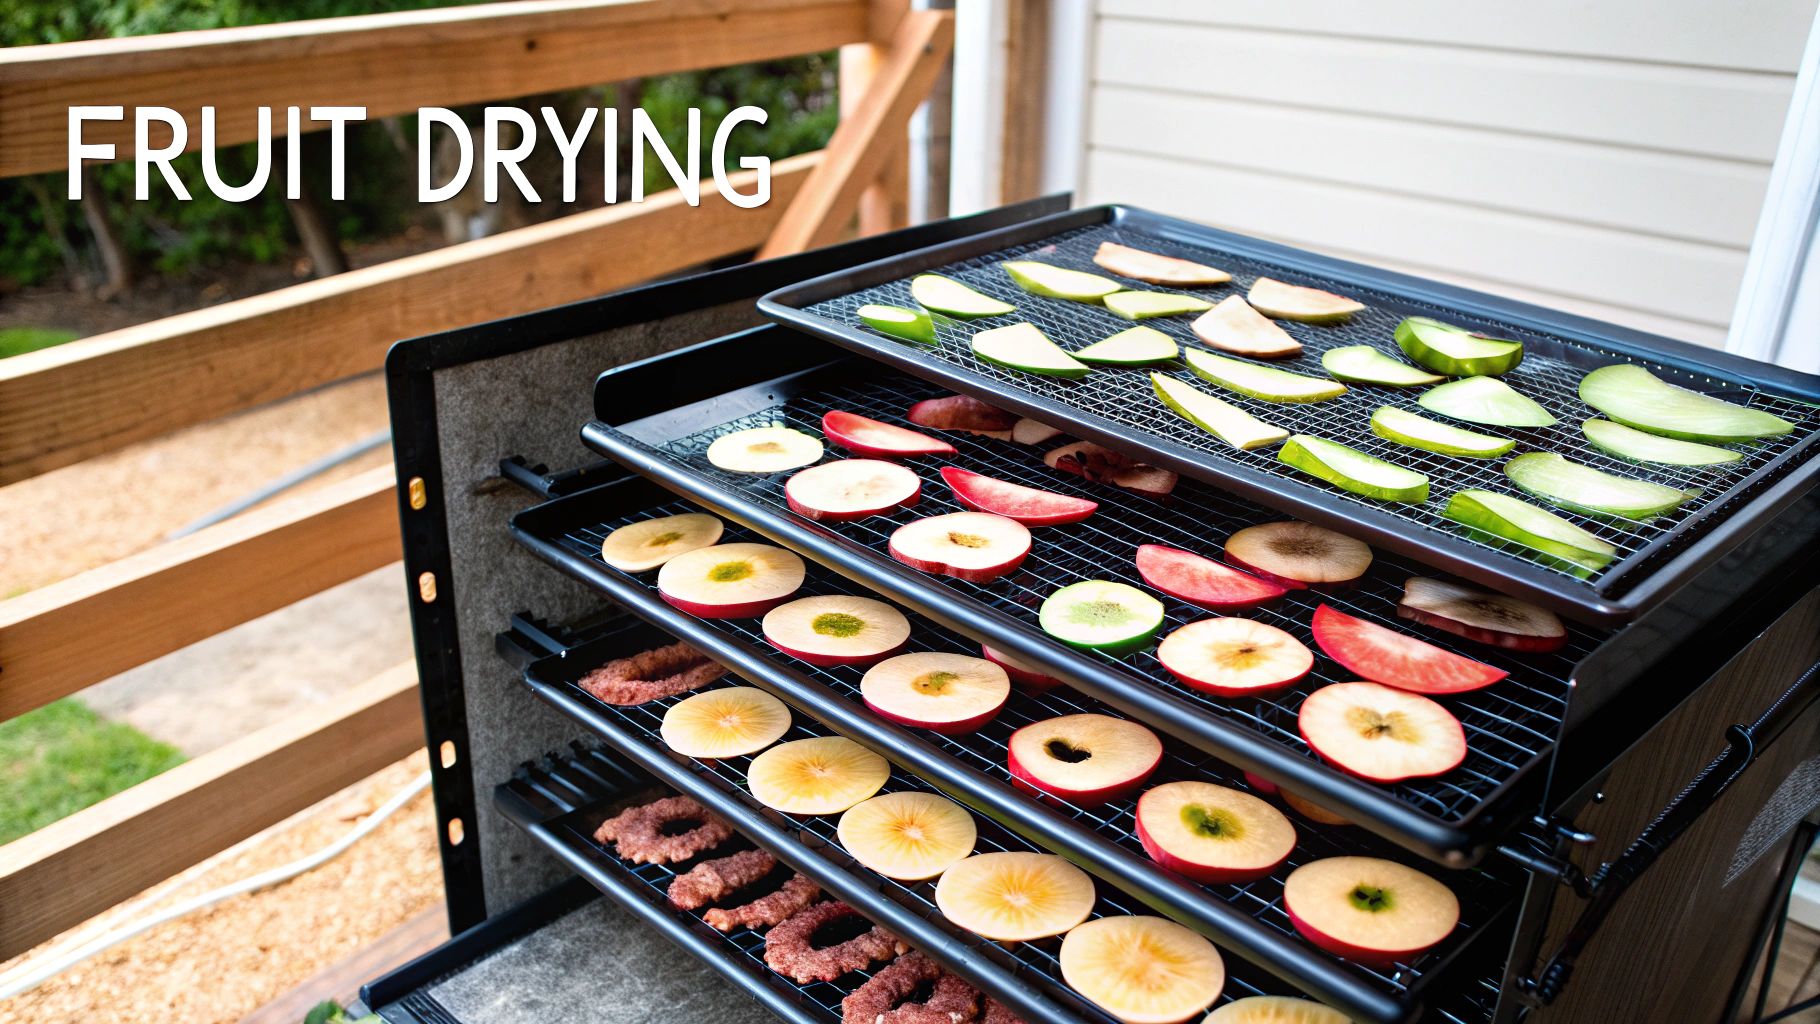
Even the best-laid plans can hit a snag. It's just part of any good DIY project. If your solar food dehydrator diy build isn't quite hitting the mark, don't get discouraged. Most of the time, the fix is surprisingly simple.
Let’s tackle the most common complaint I hear: "My food is taking forever to dry!" Nine times out of ten, the problem is airflow. You need that air moving to carry moisture away. First thing to check—are your intake and exhaust vents completely clear? Even a small obstruction can kill your circulation.
If the vents are clear, the next culprit is usually a lack of heat. Take a look at your absorber plate. Is it painted a true, flat black? Any gloss or shine will reflect heat right back out instead of soaking it up. Also, double-check the angle of your collector. It needs to be aimed squarely at the sun to really maximize that heat gain.
Diagnosing Moisture and Pest Issues
Seeing condensation building up on the inside of the glass or plastic? That's a classic sign of trapped, humid air. It means your top exhaust vent is either too small or blocked. All that warm, moist air needs an escape route. Making that vent just a little bit bigger almost always solves the problem instantly.
Keep in mind, the sweet spot for drying most foods is between 95°F and 115°F. Too much moisture hanging around not only slows things down but can also create a breeding ground for mold. Good, active airflow isn't just a suggestion—it's essential.
And what about unwelcome guests? Finding bugs inside your dehydrator is a real bummer, but it's totally preventable. The screen mesh on your vents is your first line of defense. If you're seeing insects inside, your mesh is probably too coarse. A quick swap to a finer, food-grade screen material on all your openings will keep even the tiny guys out.
Here are a few other quick fixes I've learned over the years:
Uneven Drying: If the trays on the top are drying way faster than the bottom, it's just a circulation quirk. Get in the habit of rotating your trays—swap the top and bottom ones about halfway through the process. You'll get much more consistent results.
Food "Cooking" Instead of Drying: Things can get surprisingly hot in there, sometimes over 140°F. If your food looks like it's cooking, you've got too much heat. The easiest fix is to just prop the door open a tiny crack. It lets a little heat escape and improves the airflow at the same time.
By running through these checkpoints, you can diagnose and solve just about any issue that pops up. A few small tweaks are usually all it takes to get your dehydrator running like a dream.
Got Questions About Your New Solar Dehydrator?
Once you’ve put the tools away and stepped back to admire your finished work, a few questions are bound to bubble up. It's one thing to build it; it's another to know how to run it. Let's cover some of the most common things people ask right after finishing their solar food dehydrator diy project.
How Hot Will This Thing Actually Get?
This is usually the first question on everyone's mind. A well-built dehydrator on a clear, sunny day can easily hit internal temperatures between 120°F and 140°F (that’s about 49°C to 60°C).
That’s the sweet spot—more than hot enough to safely and efficiently dry out most of what you'd pull from the garden, from fruits and veggies to herbs.
Does It Work on Cloudy Days?
The short answer is, not really. Your dehydrator is powered by direct sunlight. Without it, you just won't generate the heat needed for effective drying.
On a bright but overcast day, you might get a little bit of drying action, but it won't be enough to safely remove moisture before spoilage can set in. Think of it as a sun-powered appliance—no sun, no power.
What Should I Try Drying First?
For your first run, I always recommend starting with something forgiving. You want a quick win to build your confidence.
Herbs are perfect. Things like mint, rosemary, or oregano have very little moisture to begin with and are often completely dry in a single sunny afternoon.
Thinly sliced fruits work great too. Apples, bananas, or strawberries are good choices. Their natural sugars help with preservation, and you can easily see them shrink and dry.
The ideal temperature for most herbs is between 95°F and 115°F. If you find your dehydrator is running hotter than that, just prop the door open an inch or two. This little trick helps regulate the temperature and boosts airflow, ensuring your delicate leaves dry out instead of cook.
How Do I Store Everything I’ve Dried?
Proper storage is what makes all this work worth it. After your food is completely dry and has cooled down to room temperature, pack it into airtight containers. Glass mason jars are my go-to.
Store your jars in a cool, dark place like a pantry or cupboard. When stored correctly, your dehydrated goodies can easily last for a year, locking in that summer flavor for the darker months ahead.
At The Grounded Homestead, we're all about empowering you with the knowledge to grow, preserve, and enjoy your own food. Find more sustainable living guides and homesteading tips at https://thegroundedhomestead.com.


Facebook
Instagram
X
Youtube