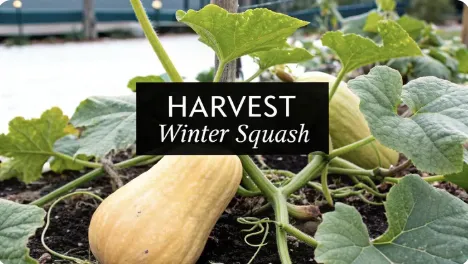
When to Harvest Winter Squash for Peak Flavor
When to Harvest Winter Squash for Peak Flavor
When to Harvest Winter Squash for Peak Flavor
Reading the Signs of a Ripe Squash
Quick Maturity Indicators for Popular Winter Squash
Decoding the Three Signs of Squash Maturity
Observe the Color Transformation
Perform the Rind Hardness Test
Proper Techniques for Harvesting and Handling
The Importance of the Stem Handle
Handling with Care Post-Harvest
Protecting Your Harvest from an Early Frost
Making the Call on a Hard Freeze
The Curing Process for Better Flavor and Storage
Creating the Ideal Curing Spot
Common Questions About Harvesting Winter Squash
What Happens if I Pick My Winter Squash Too Early
The real secret to sweet, flavorful winter squash that keeps for months isn’t just in how you grow it—it’s knowing exactly when to bring it in from the field. The perfect time to cut it from the vine is when the rind turns deeply colored and tough as wood, and the stem has dried and hardened completely. These physical cues are far more trustworthy than simply counting days on a calendar.
In short: Harvest winter squash when the rind resists your thumbnail, the color is deep and matte, and the stem has dried completely—these three signs guarantee peak flavor and long storage.
Reading the Signs of a Ripe Squash
Trying to guess when your winter squash is ready can feel like a gamble, especially for new gardeners. The “days to maturity” listed on a seed packet is more of a guideline than a rule—weather, soil health, and watering habits can all shift the ripening timeline. So, how do you know how to tell if a winter squash is ripe? The key is to read the signals from the plant itself—that’s how you’ll get the timing (and flavor) just right.
A good harvest starts with understanding your plant’s rhythm. Most varieties take about 45-60 days from pollination to full maturity, but treat that as a baseline, not a rule.
For a deeper dive into squash development, see Fruition Seeds' winter squash guide.
If you want maturity ranges by type (e.g., acorn 55–60 days, butternut 60–70, hubbard 80–90 after flowering), Iowa State University Extension provides a clear breakdown for vine crops.

Key Indicators to Watch For
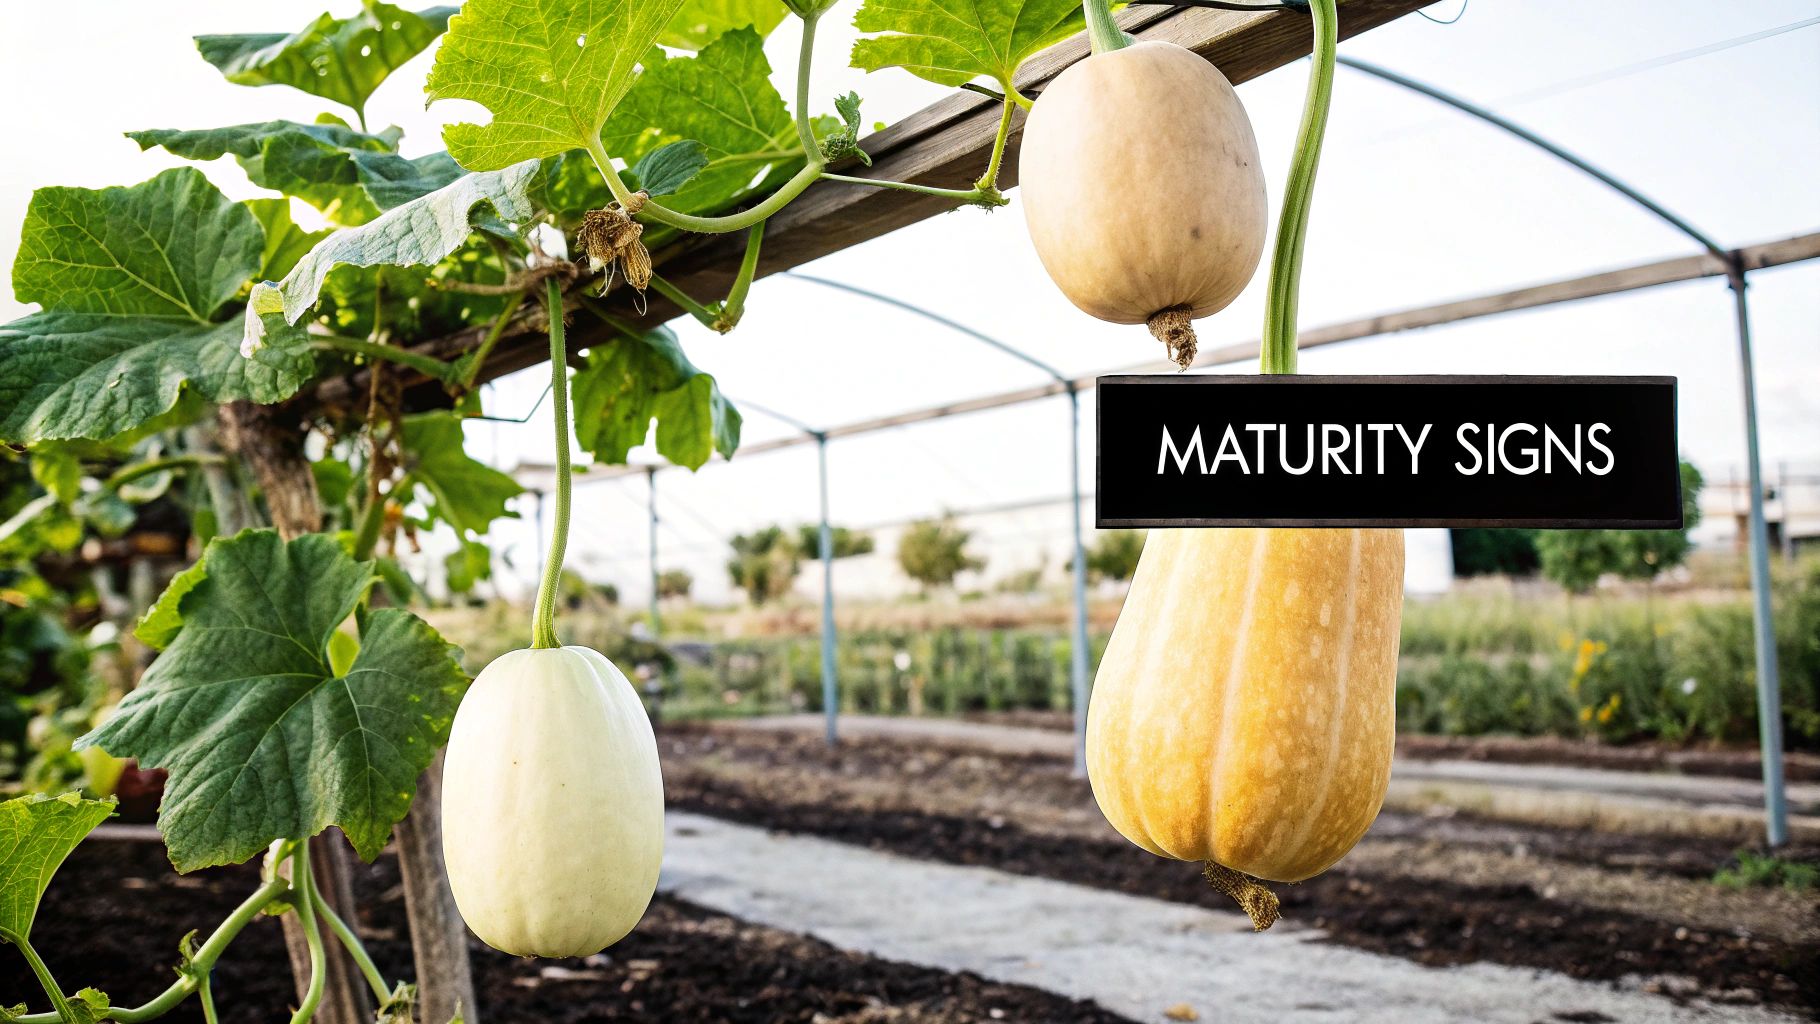
Instead of relying on the calendar, watch for these three foolproof signs that your squash is ready to harvest and cure. These three signs—color, rind hardness, and stem dryness—are the universal language of ripeness. When those indicators are flashing, that is the best time to harvest winter squash.
Deep, Consistent Color: A butternut squash should be a solid, deep tan, completely free of green streaks. An acorn squash shifts from bright, shiny green to dark, dull green. That glossy shine? A clear sign of immaturity.
A Rock-Hard Rind: This is the most critical test. Press your thumbnail firmly into the skin—if you can dent or puncture it, the squash isn’t ready. A mature squash will have a rind that feels as hard as wood, fully resisting your nail.
A Dry, Woody Stem: Inspect the short stem (the peduncle) that connects the squash to the vine. It should be dry, shrunken, and woody to the touch. If it’s still soft and green, the plant is still feeding the fruit—it needs more time.
For maximum flavor and long storage, all three signs should appear together. Harvesting a squash with a hard rind but a green stem often leads to bland flavor and poor keeping quality.
Seasonal Timing Tip: In most regions, winter squash reaches maturity between late September and mid-October—just before the first frost. In warmer climates, harvest can stretch into November if vines remain healthy and frost-free.
Quick Maturity Indicators for Popular Winter Squash

Butternut squash reaches peak harvest about 60 days after flowering when the rind turns deep tan and woody. Acorn types mature sooner—around 55 days—once the rind dulls and the stem dries. Spaghetti and kabocha varieties take closer to 70–90 days. Spaghetti turns uniform golden yellow first, then hardens enough to resist a thumbnail; harvest once the stem has dried and shriveled.
These visual and physical cues are always more reliable than calendar dates. Mastering them is a core skill for any gardener. For more detail, explore our complete guide to growing pumpkins and squash.

Learning to read the signals your plants send is the only foolproof way to know when to harvest for peak flavor and long storage.
Let’s break down the three unmistakable signs of maturity every gardener should look for.
Think of these signs as a team effort—you really want to see all three before making the cut. Sometimes a squash will show perfect color but still have a soft rind. That just means it needs more time on the vine to finish developing sugars and hardening its protective skin.
Patience here pays off tenfold in flavor later.
Observe the Color Transformation
Color is usually the first sign you’ll notice—and the easiest one to spot from a few feet away. Immature squash have a vibrant, glossy sheen, while mature ones settle into deep, rich, and slightly dull hues.
Every variety has its own distinct color shift as it ripens.
A Butternut squash ripens from a pale, greenish-tan to a solid, deep beige, losing all stripes and green blotches. Acorn squash behaves the opposite way—it starts shiny and bright green, then dulls to a dark, flat tone.
If you notice orange patches on an acorn squash, it’s past its prime and overripe.
Key Takeaway: Look for a deep, uniform, dull color.
Shiny skin is a universal red flag—your squash is still growing and hasn’t yet developed its hard protective rind.

Perform the Rind Hardness Test
This is the most important test of them all. The rind’s hardness is a direct indicator of whether your squash is ready for long-term storage. A soft rind is an open invitation to rot, moisture loss, and pests.
Use the simple “thumbnail test.” Press the tip of your nail firmly into the squash’s rind to check its resistance.
If you can dent or puncture it easily: It’s not ready. The rind is still too thin and porous to protect the flesh inside—give it more time.
If your nail makes no impression at all: The rind has hardened perfectly. It should feel dense and wood-like—that hardened shell is what allows it to store for months without spoiling.
Examine the Stem and Tendril
The final piece of the puzzle is the stem and the nearby tendril. This is the squash’s life support system, and when it begins to dry and wither, it signals that the fruit has absorbed all the nutrients it can.
Look for a stem that’s dry, shriveled, and woody to the touch.
If it’s green, soft, or fleshy, the vine is still feeding the squash—not quite ready yet.
For extra confirmation, check the tendril closest to the stem. Once it withers and turns brown, it’s a reliable sign that your squash is mature and ready to harvest.

Proper Techniques for Harvesting and Handling
You’ve done the work, watched the squash mature, and now it’s finally time to bring it in. How you cut it from the vine is the last, critical step—get this wrong, and months of patient gardening can go to waste.
A clean cut and a gentle hand are what separate a squash that lasts until February from one that’s rotting by Halloween.
Always, always, use a sharp, clean tool. Think pruning shears or a sturdy knife.
Whatever you do, don’t twist or pull the squash from the vine. Rough handling can damage both the fruit and the plant.
I recommend investing in a reliable pair of Fiskars' Steel Pruning Shears—they make clean, precise cuts that protect both your squash and the vine from damage.
When you cut, leave 2 to 4 inches of stem attached to the squash. It’s not just for looks—it’s a handle with a purpose.
The Importance of the Stem Handle
That little piece of stem is more than a handle—it’s the squash’s natural seal. A squash with a broken stem is like a house with the door missing—an open invitation for bacteria, mold, and decay.
Think of the stem as a natural seal. As long as it’s intact, your squash is protected. Once that seal breaks, the clock on its storage life starts ticking fast.
And here’s a tip from experience: never, ever carry a heavy squash by its stem. It may look like a convenient handle, but it’s surprisingly fragile and can snap right off.
Always support the full weight from underneath—treat it like a carton of eggs.
The image below shows the key steps leading up to harvest—from monitoring the calendar to inspecting the rind and stem.

This process ties everything together—checking the days, testing the rind, and watching the skin change colors are all connected pieces of the same puzzle. Together, they tell you exactly when the time is right.
Handling with Care Post-Harvest
Bumps, bruises, and scrapes on the rind are just as damaging as a broken stem. Every nick becomes an open door for decay, turning a perfect squash into compost fodder.
Avoid Dropping: Never toss squash into a wheelbarrow or pile them in a basket. Set each one down gently, one by one.
Prevent Piling: Don’t stack them. Those rough, woody stems can puncture neighboring skins and invite rot.
Inspect for Pests: Check for signs of damage, like the tiny entry holes of vine borers.
If they’ve been a problem, see our squash vine borer survival guide for practical advice.
Gentle handling from vine to curing spot keeps the rind a perfect, unbroken barrier.
It’s the final touch that ensures months of flavorful, trouble-free storage.
Protecting Your Harvest from an Early Frost
For many gardeners, harvesting winter squash becomes a race against the first frost. After months of care, an unexpected cold snap can feel like a personal insult—and it can ruin your entire crop.
Even a light frost can scar the rind, making it impossible to cure properly and cutting its storage life short.

The trick is to watch the weather closely as your squash nears maturity. If a light frost is in the forecast, you still have options—you don’t have to harvest everything at once if the fruit isn’t quite ready.
A little proactive effort makes all the difference. Old blankets, bedsheets, or floating row covers can protect plants overnight, preventing frost from ever touching the fruit.
Drape the covers before dusk, then remove them in the morning once the air warms so sunlight can reach the leaves again.
Making the Call on a Hard Freeze
A hard freeze is a different story. When temperatures dip below 28°F (-2°C) for several hours, that’s your non-negotiable deadline. Freezing at that level damages the squash flesh itself, turning it mushy and inedible.
When a cold snap looms, it helps to know the line between nuisance and crop-killer; Penn State Extension explains why a hard freeze (below 28°F) compromises rind integrity and further outlines proper curing at 80–85°F after harvest.
If a hard freeze is on the way, harvest everything—even those slightly immature fruits.
Picking early is always a trade-off. An immature squash won’t have the same rich, sweet flavor as a fully ripened one—but a frozen squash is a total loss.
When in doubt, save the slightly underdeveloped fruit rather than losing everything to the cold.
Frost damage spells trouble for storage. It harms the rind—the squash’s natural armor for curing.
Harvesting too early can dull the flavor, but waiting too long risks losing the whole crop to cold injury and rot. Learning how to balance these decisions is a core skill for cool-climate gardeners who want to protect every last squash.
The Curing Process for Better Flavor and Storage
Bringing your squash in from the garden isn’t the finish line—it’s where the real magic begins. This short post-harvest rest period, called curing, transforms a good harvest into a great one. With these proper winter squash curing and storage tips, this simple but vital step will deepen the sweetness and prepare the squash for long-term storage.
During curing, the squash converts stored starches into sugars, turning its flavor from bland to rich and sweet. At the same time, the rind hardens into a tough, protective shell and heals small harvest scars, sealing out rot and moisture.
A properly cured squash can last for months in storage, becoming a dependable pantry staple well into winter.

Creating the Ideal Curing Spot
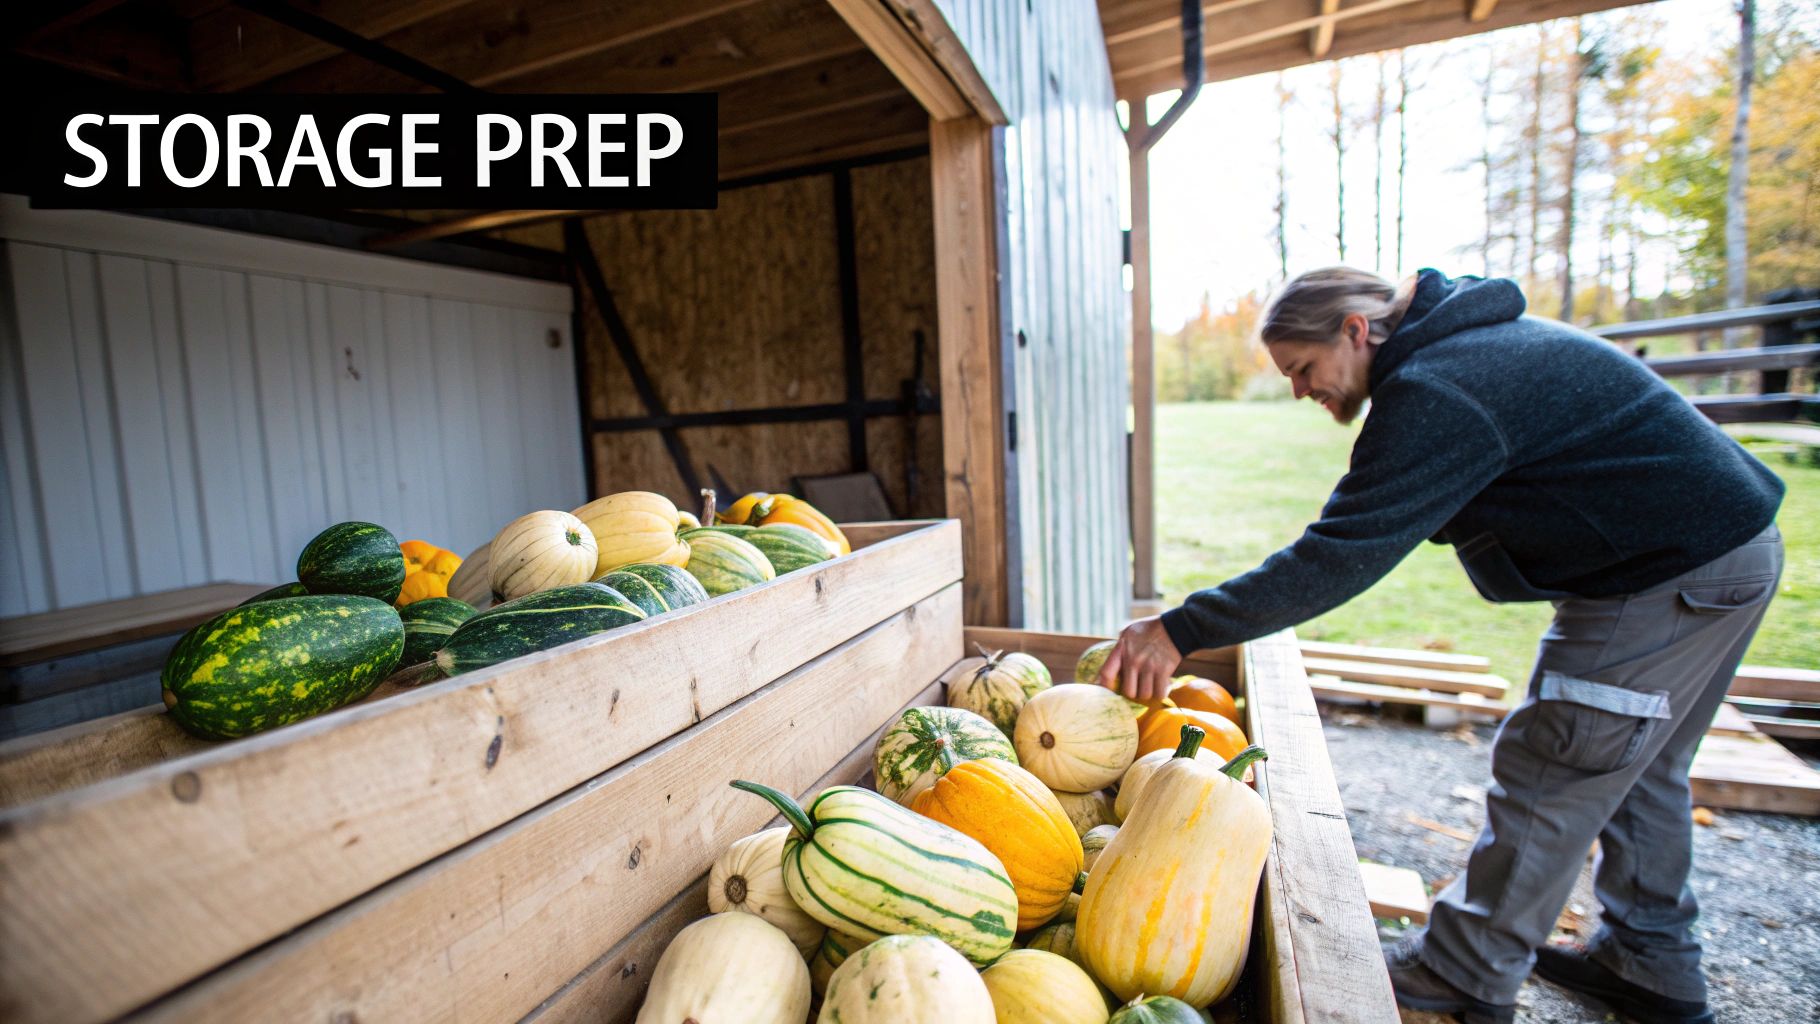
To cure your squash, you’ll need a warm, dry, sunny location with steady airflow. Aim for 80–85°F (27–29°C) with good ventilation. A sunny porch, greenhouse bench, or even a warm indoor windowsill works perfectly.
Lay the squash in a single layer, without touching. This prevents moisture from trapping between fruits, which can cause soft spots or mold.
Let them sit for 7–14 days, turning every few days so all sides get warm, even exposure.
Don’t skip this step! Curing is what gives homegrown squash its signature sweetness and complexity, turning it into a reliable pantry staple.
Mastering simple, traditional steps like this is the cornerstone of preserving food at home.
Not all squash cure at the same pace. Tough, thick-skinned varieties benefit from the full two-week cure, while delicate types need less time.
Delicate Squash (acorn, delicata): These thinner-skinned types cure in just 5–7 days.
Longer than that, and you’ll actually shorten their storage life.Hard-Skinned Squash (butternut, hubbard, spaghetti): These are built for the long haul. Give them 10–14 full days to develop that deep flavor and rock-hard rind.
After curing, move squash to a cool, dry storage area—ideally 50–55°F (10–13°C) with 50–60 % humidity. These steady conditions prevent mold and help maintain firmness for months.
Storage Life by Variety
Once cured, different squash varieties keep for different lengths of time.
• Acorn & Delicata: 1–2 months when stored at 50–55°F (10–13°C).
• Butternut & Spaghetti: 3–6 months under the same dry conditions.
• Hubbard & Kabocha: 5–7 months—their thick skins are built for long storage.
The key is a steady, low-humidity environment. Too much moisture invites mold, while air that’s too dry causes shriveling.
Practical Note: Once cured, winter squash can be tough to open or peel safely. A sharp Victorinox 6-inch Chef’s Knife paired with the OXO Good Grips Swivel Peeler makes prep easy and safe without wasting good flesh.

As the growing season winds down, a few tricky situations always seem to pop up. Here are some of the most common questions gardeners ask when it’s time to harvest winter squash—along with straightforward, experience-based answers.
What Happens if I Pick My Winter Squash Too Early?
If you harvest winter squash too early, you’ll notice right away. The flavor will be starchy and bland because the natural sugars haven’t fully developed, and the rind will be soft—leaving it vulnerable to rot and short storage life.
Unlike tomatoes, winter squash stops ripening the moment it’s cut from the vine. What you pick is what you get—so patience is key.
Can I Eat a Squash Right After Harvesting?
You can eat winter squash right after harvesting, but it won’t taste nearly as good. For the best flavor and texture, let it go through the curing process first.
Curing is what allows the squash’s starches to convert into sugars, creating that sweet, rich flavor it’s famous for.
My Vine Is Dying but the Squash Looks Unripe - What Do I Do?
Sometimes disease or pests take out a vine before the squash fully matures. If the fruit has reached full size and developed good color, go ahead and harvest it immediately.
Cut it from the dying vine, leaving as much stem attached as possible. Then move it to a warm, dry place to cure.
It may not store quite as long as a fully ripened squash, but this gives you the best chance to salvage your harvest and protect the fruits of your season’s work.
Video Summaries of this issue:
As always, the tools and supplies I mention are the same ones I rely on here at The Grounded Homestead. Some are affiliate links, which means I may earn a small commission—at no extra cost to you—but every recommendation is based on real use and trust.
At The Grounded Homestead, we believe that growing your own food is a rewarding journey. Growing and harvesting your own food teaches more than patience—it teaches stewardship. Each squash on the shelf is a reminder that good things take time and care.
Out here at The Grounded Homestead, that lesson never gets old. For more tips, guides, and homesteading inspiration, visit us at https://thegroundedhomestead.com.


Facebook
Instagram
X
Youtube